Yam Uri Raz
Cart 0
Home
About instruments DYI Workbench Contact
Cart 0
Home
Yam Uri Raz
AboutinstrumentsDYIWorkbenchContact
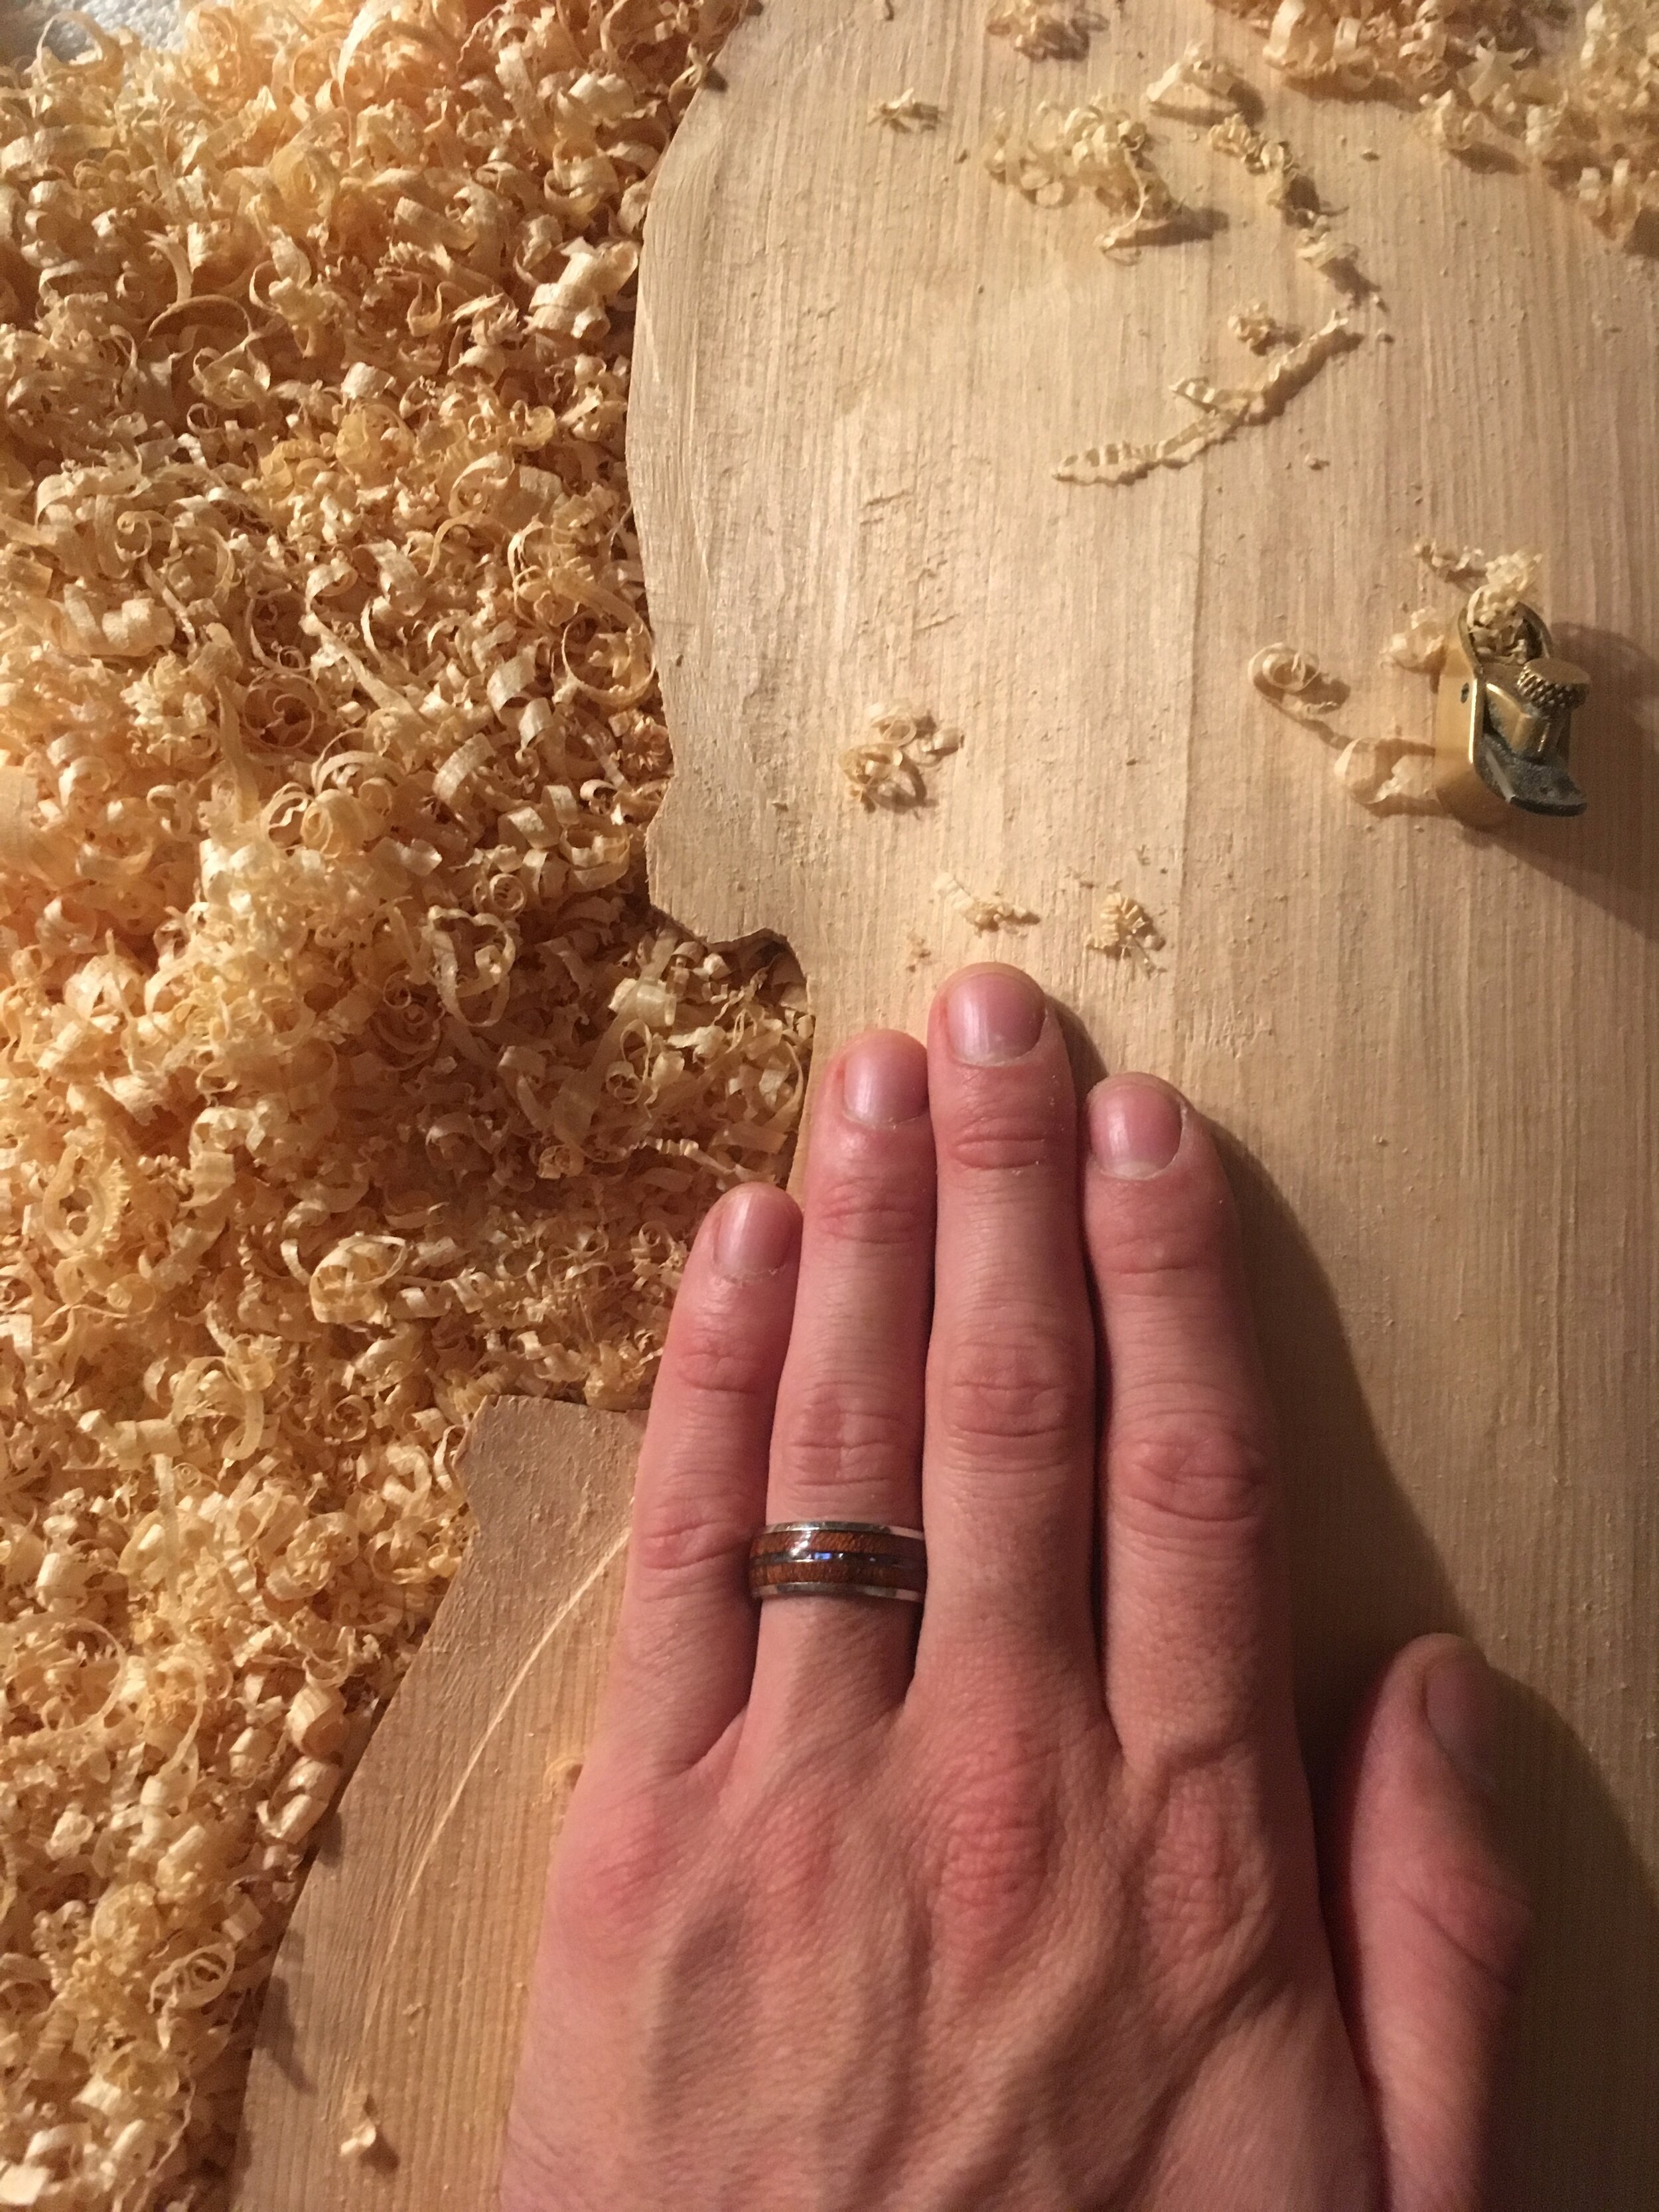
 working on the top finger plane
 working on the top finger plane

working on the top finger plane
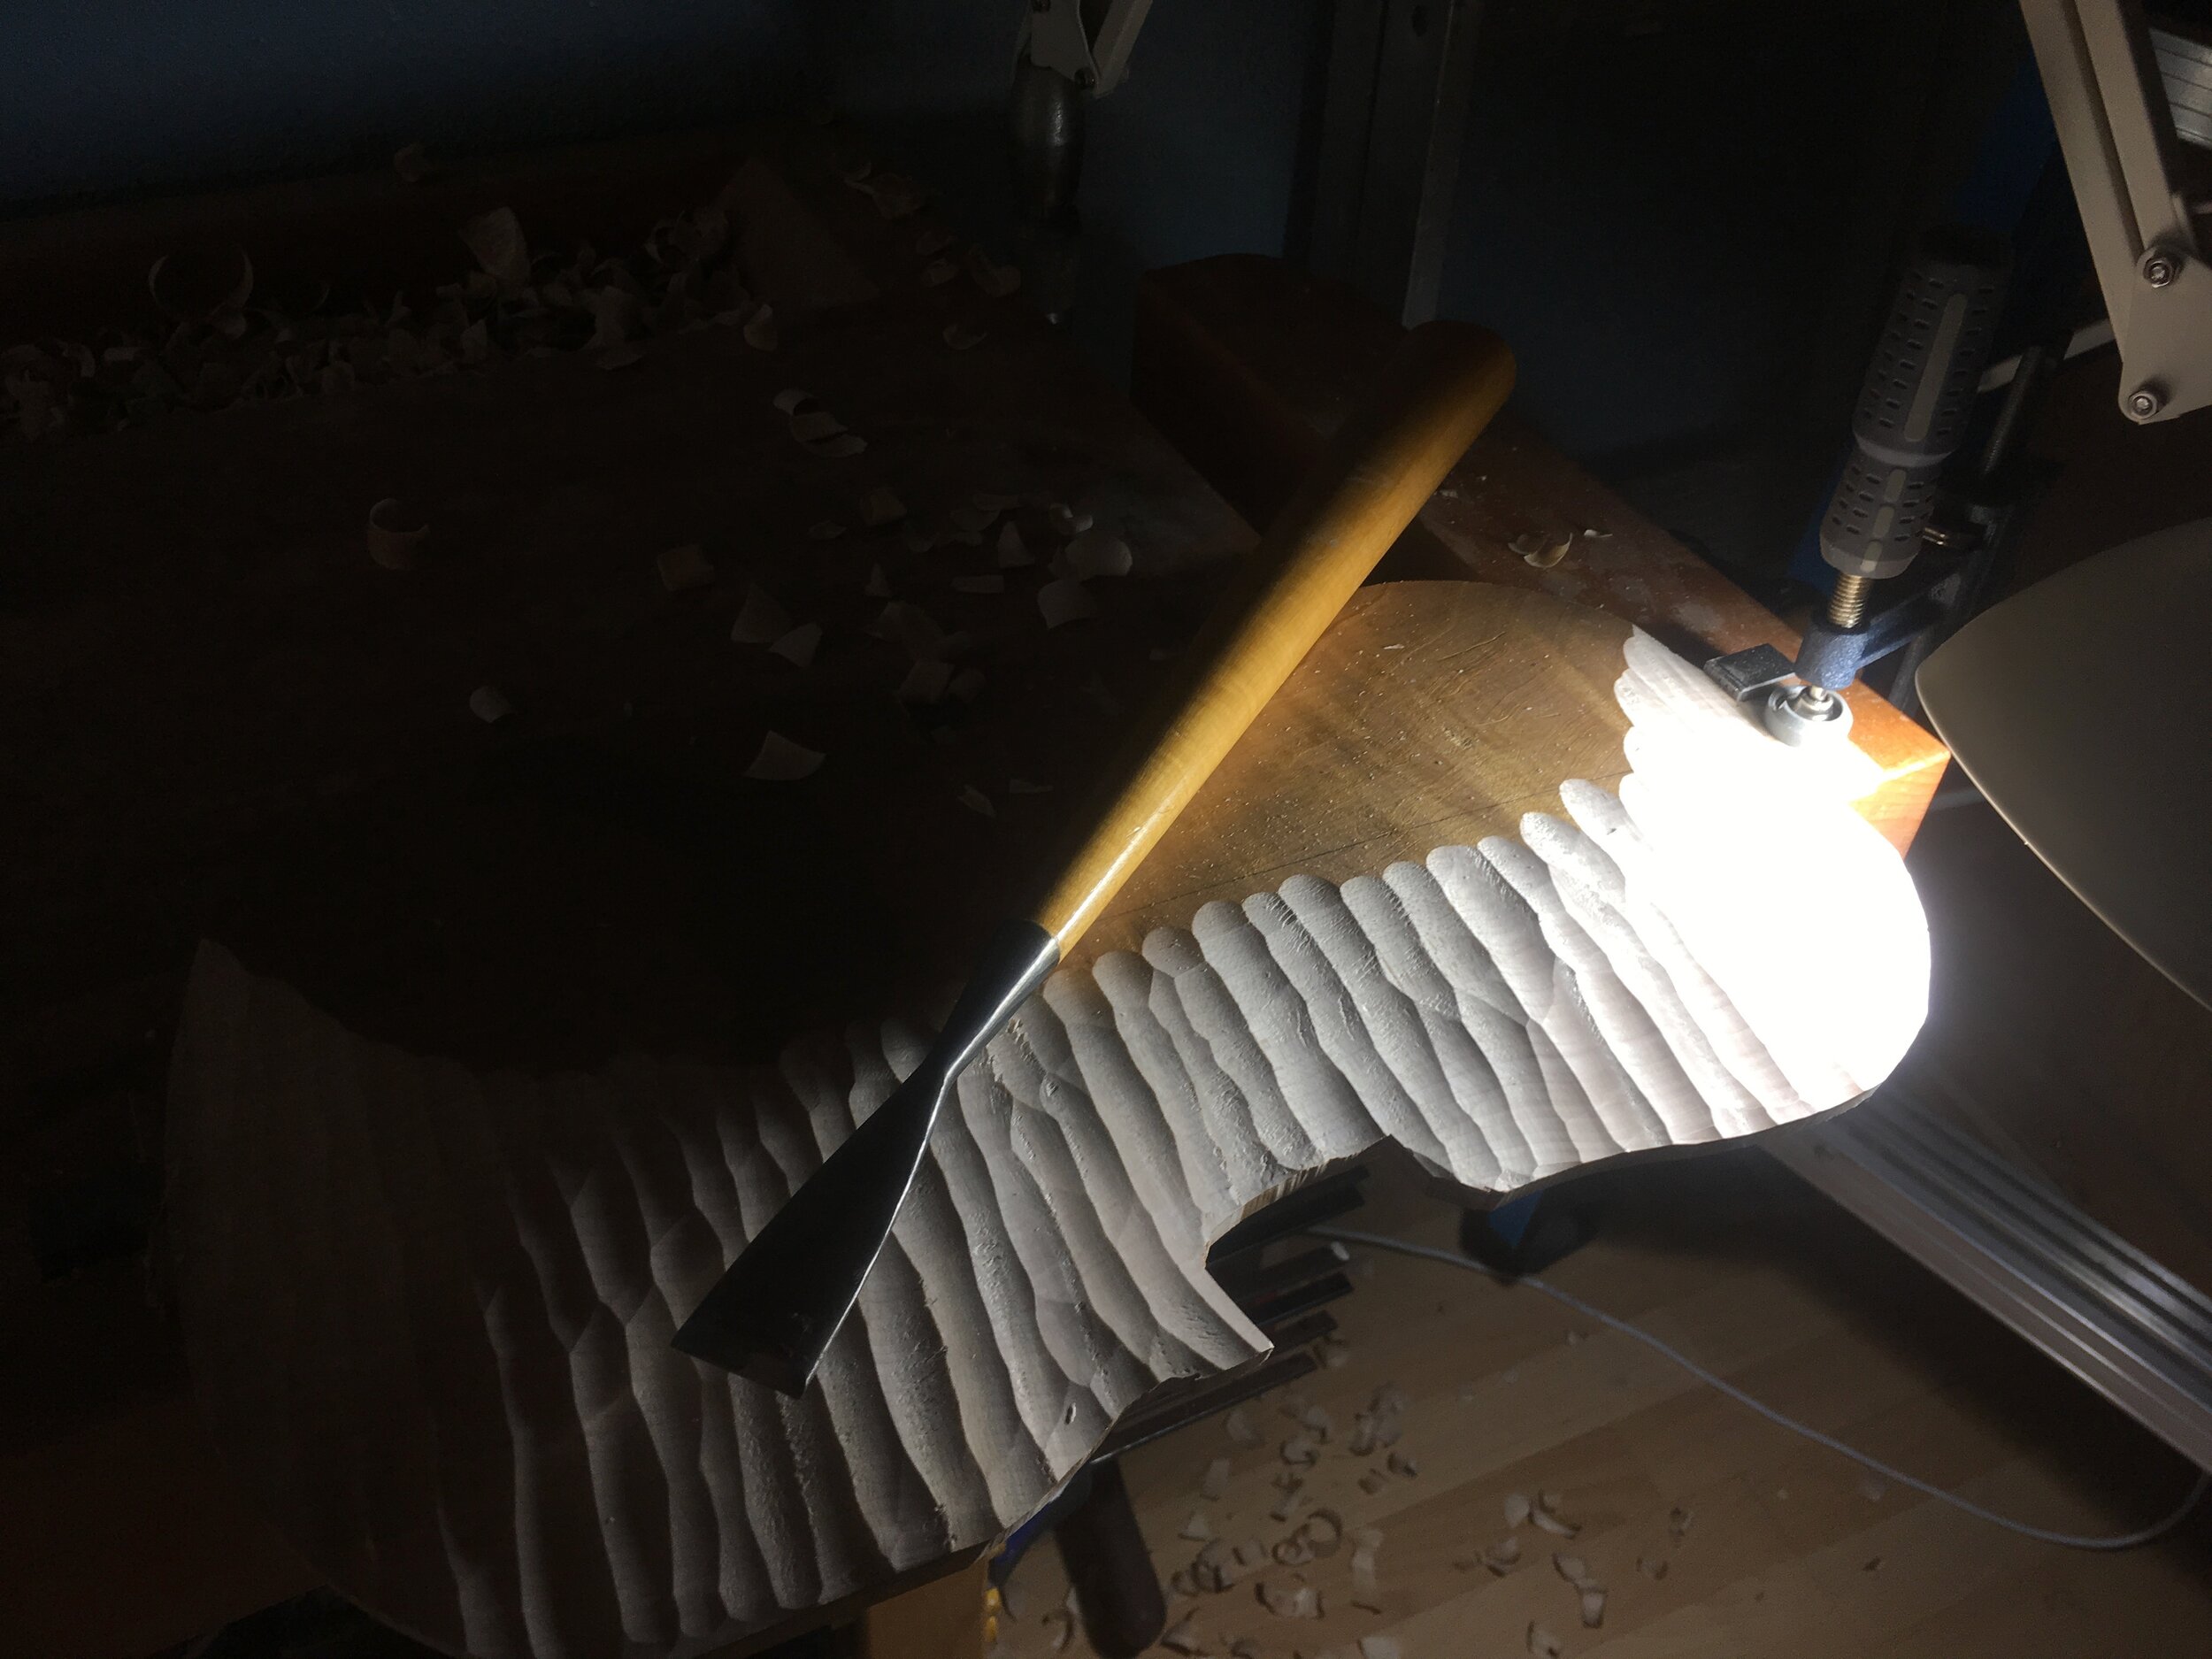
 Working with the gauge on the back
Working with the gauge on the back

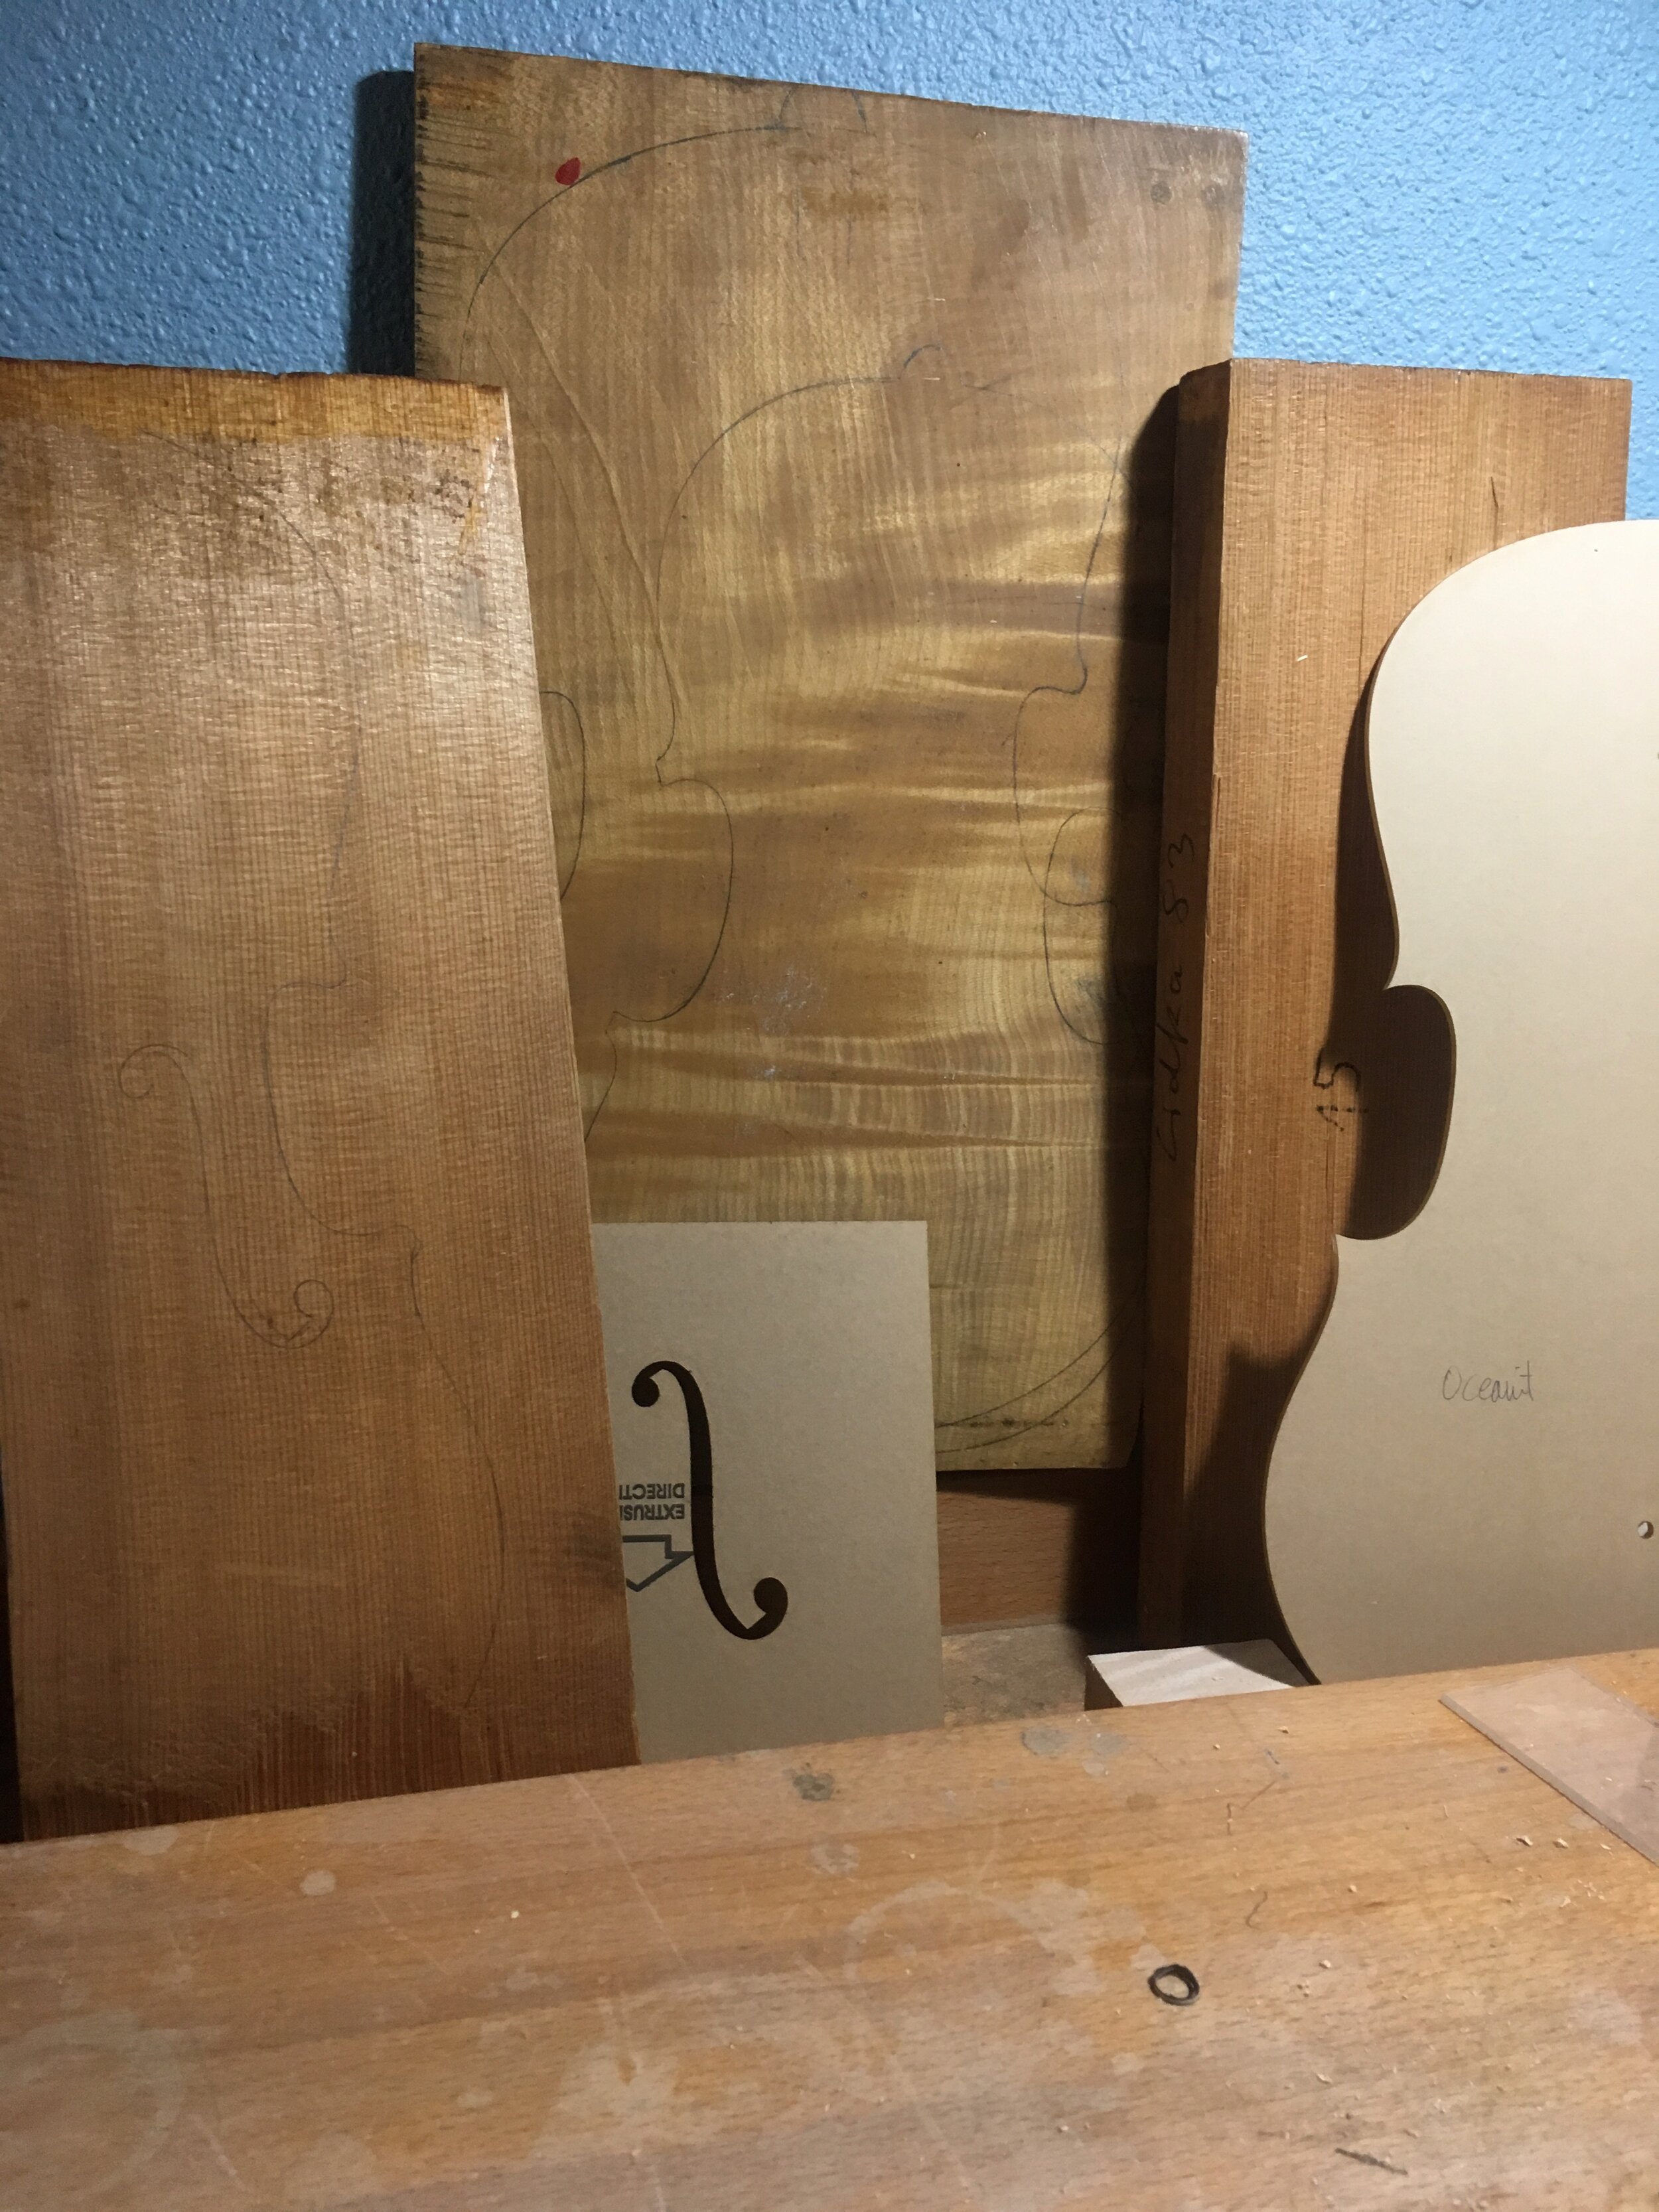
 Choosing the wood for the Testore viola

Choosing the wood for the Testore viola

 Testore model and mold

Testore model and mold

 Shaping the blocks before glueing the c bouts

Shaping the blocks before glueing the c bouts

 Glueing the upper and lower bout

Glueing the upper and lower bout

 Cleaning the ribs

Cleaning the ribs

 Center joint on the ribs

Center joint on the ribs

 Hot bending iron, bending the linings

Hot bending iron, bending the linings

 Linings almost ready to be glued

Linings almost ready to be glued

 Glueing the linings

Glueing the linings

 Planing the back flat

Planing the back flat

 After a ruff cut, in the vice before picture

After a ruff cut, in the vice before picture

 Gauging the back, using the light

Gauging the back, using the light

 Shaping the back with a fingerplane

Shaping the back with a fingerplane

 Chisel the contour flat

Chisel the contour flat

 Gauging the remains

Gauging the remains

 Before fluting

Before fluting

 Gauging the fluting

Gauging the fluting

 Gauging the remains

Gauging the remains

 Gauging the inside

Gauging the inside

 Finishing the measurements with the finger plane

Finishing the measurements with the finger plane

 Split wood spruce top - book-matched and planned

Split wood spruce top - book-matched and planned

 Gauging the shape of the arcing - top

Gauging the shape of the arcing - top

 shaping the top using a finger plane

shaping the top using a finger plane

 Scraping the top, finishing

Scraping the top, finishing

 Design of the f holes

Design of the f holes

 Gauging the fluting

Gauging the fluting

 lowering the fluting channel

lowering the fluting channel

 Shaping with a finger plane the f resonant area for maximum resonance

Shaping with a finger plane the f resonant area for maximum resonance

 Scraping

Scraping

 Gauging the inside of the top

Gauging the inside of the top

 Finger planing the top

Finger planing the top

 Back and top side by side

Back and top side by side

 Cutting of the f holes

Cutting of the f holes

 One down, one to go

One down, one to go

 Shaping the f holes with knives

Shaping the f holes with knives

 Finishing the measurements on the top

Finishing the measurements on the top

 Scraping the top to final measurements

Scraping the top to final measurements

 Bass bar from the remaining of the original top

Bass bar from the remaining of the original top

 Planing the bass bar to size

Planing the bass bar to size

 Bass bar fitted with pressure

Bass bar fitted with pressure

 Bass bar glued in with minimum pressure with many clamps

Bass bar glued in with minimum pressure with many clamps

 Bass bar shaped

Bass bar shaped

 Cutting the groves for the neck

Cutting the groves for the neck

 Getting the mold out

Getting the mold out

 Shaping the linings with a knife

Shaping the linings with a knife

 Glueing the back to the ribs

Glueing the back to the ribs

 Back glued and blocks shaped

Back glued and blocks shaped

 Purfling channel cut and deepened with a handmade chisel

Purfling channel cut and deepened with a handmade chisel

 Purfling before inlaying it inside

Purfling before inlaying it inside

 Neck planned flat and perpendicular

Neck planned flat and perpendicular

 Scroll designed

Scroll designed

 Scroll design 3D

Scroll design 3D

 Gauging the shape of the scroll

Gauging the shape of the scroll

 Depth of the pegbox

Depth of the pegbox

 Leaving gauge marks on scroll

Leaving gauge marks on scroll

 Finishing the fluting on the scroll with a gauge

Finishing the fluting on the scroll with a gauge

 Carving the purfling

Carving the purfling

 Glueing the neck-set

Glueing the neck-set

 Back button

Back button

 Tanning the top with UV light

Tanning the top with UV light

 Tanning the back with UV light

Tanning the back with UV light

 Tanning the scroll with UV light

Tanning the scroll with UV light

 Tanning the scroll with UV light

Tanning the scroll with UV light

1 2 3 4 5 6 7 8 9 10 11 12 13 14 15 16 17 18 19 20 21 22 23 24 25 26 27 28 29 30 31 32 33 34 35 36 37 38 39 40 41 42 43 44 45 46 47 48 49 50 51 52 53 54 55 56 57 58 59 60 61 62 63 64 65
Previous Next
 working on the top finger plane
 Working with the gauge on the back
 Choosing the wood for the Testore viola
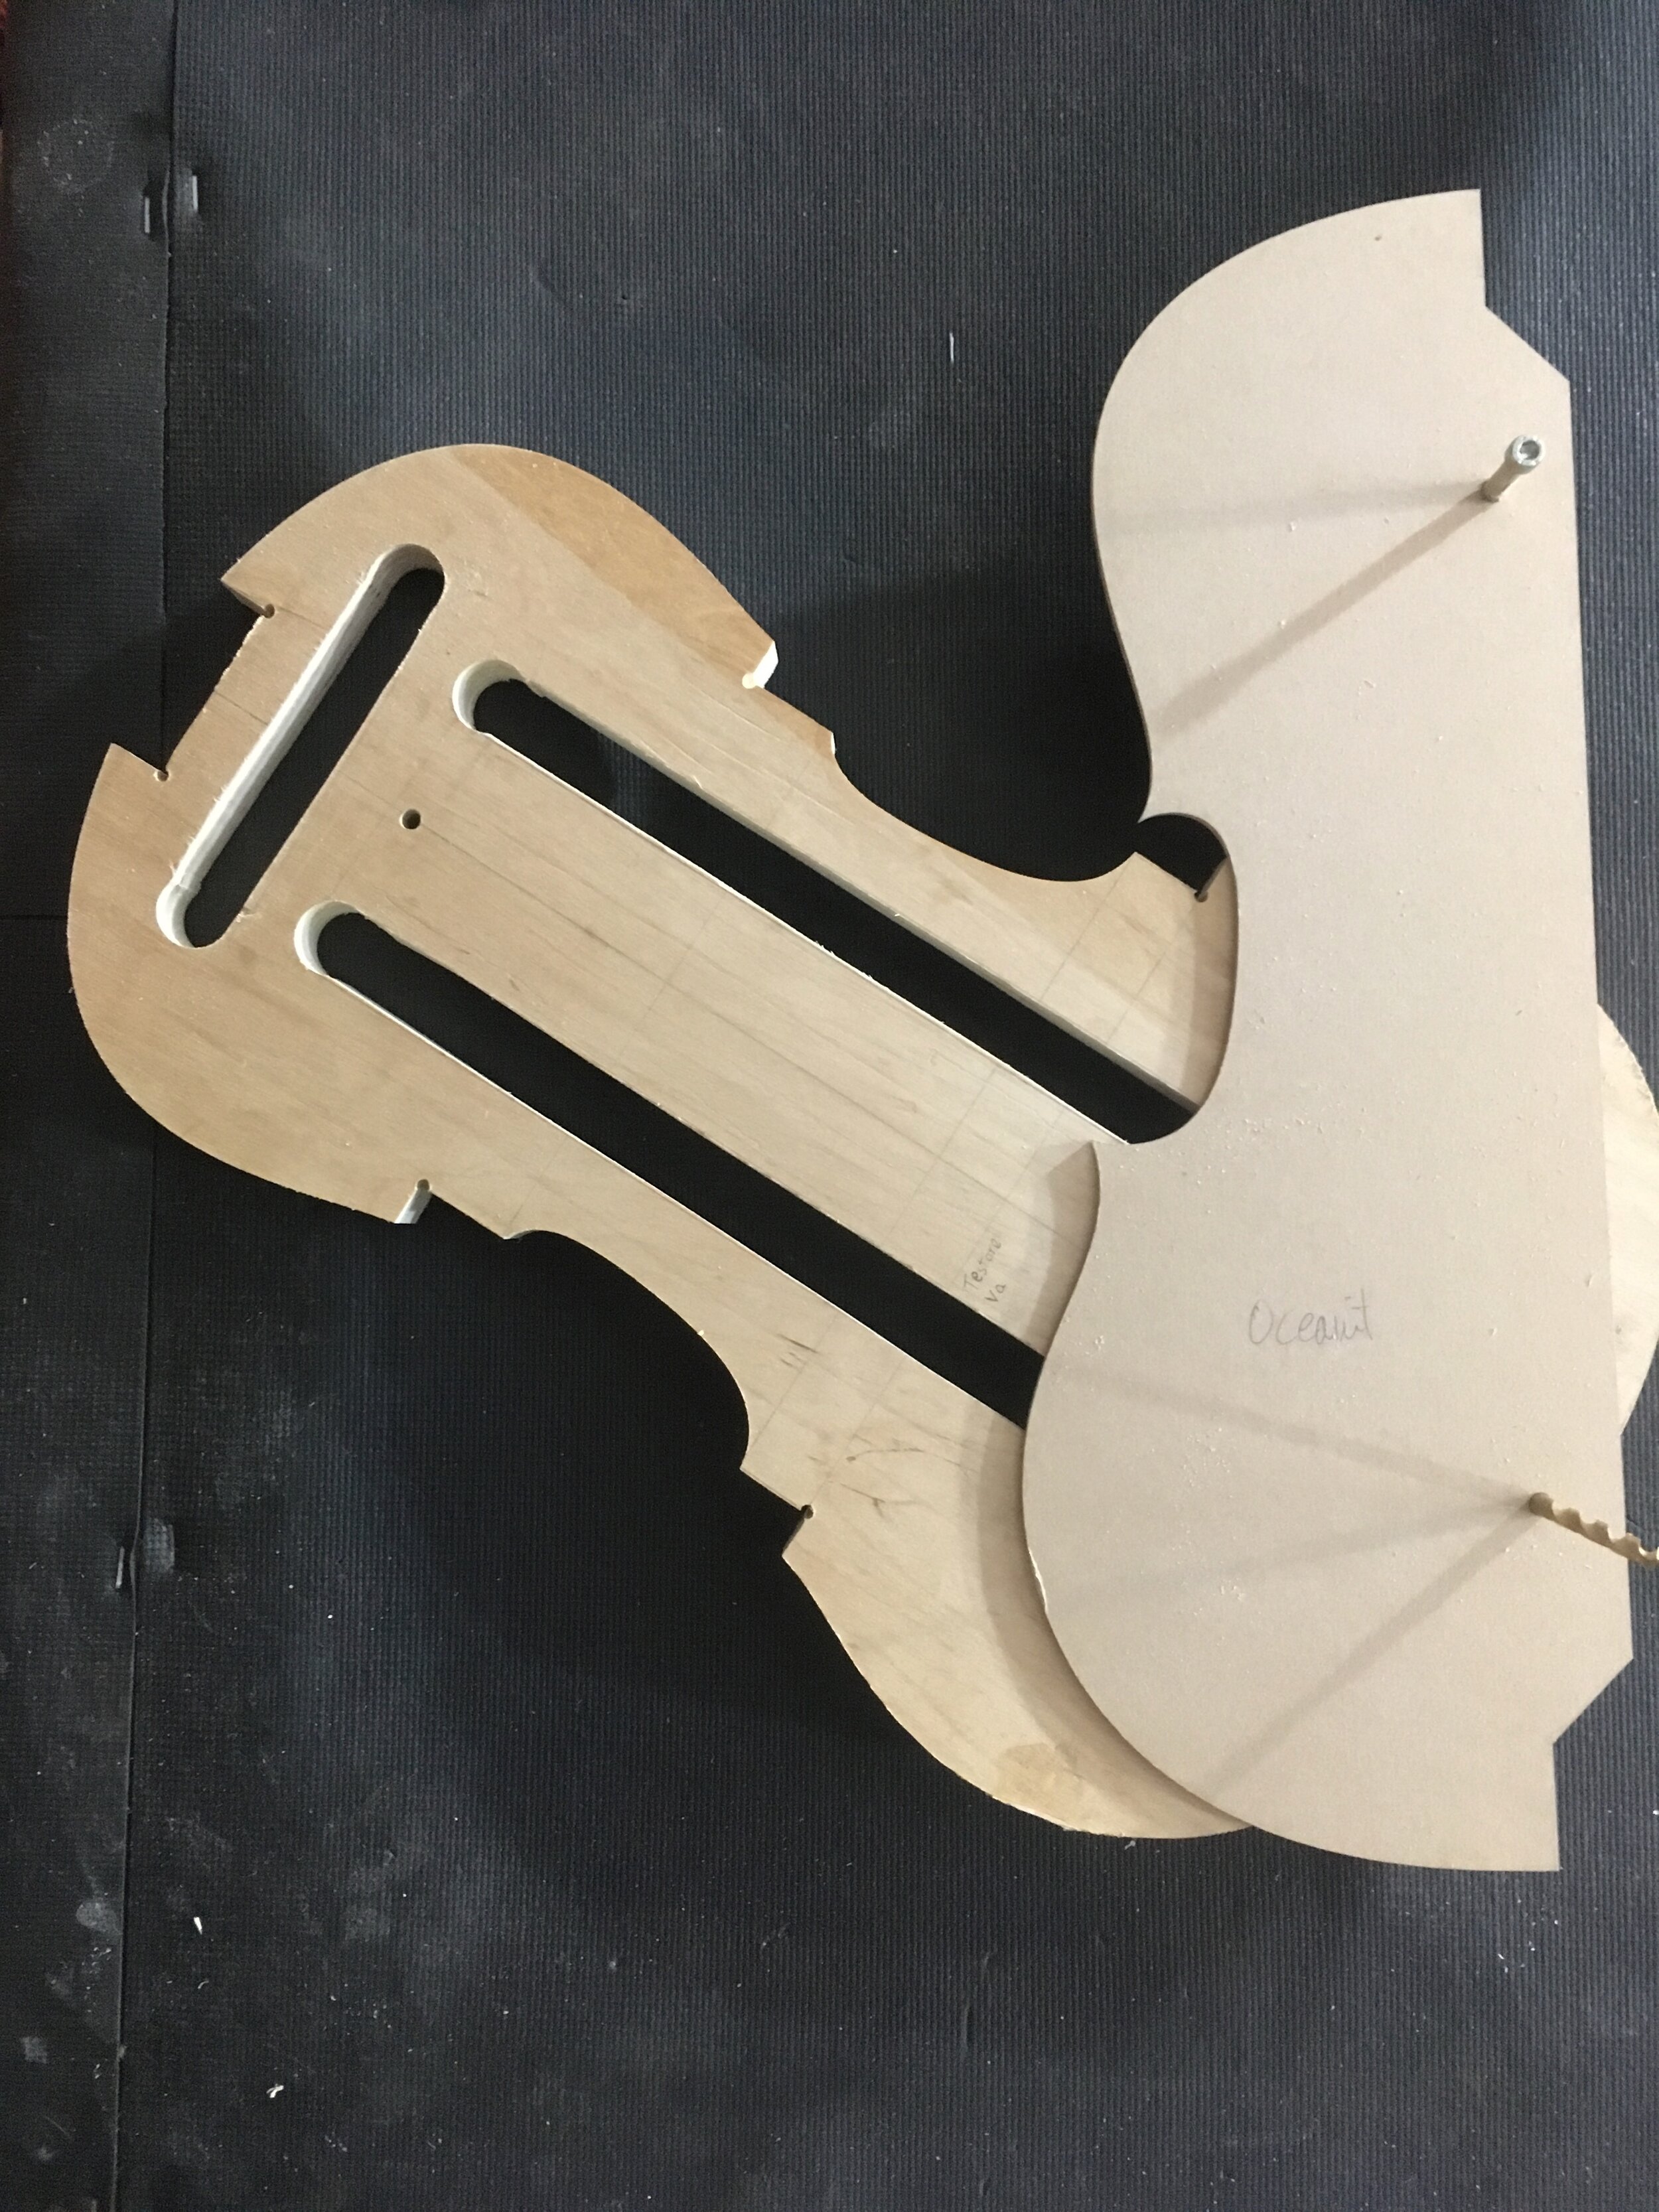
 Testore model and mold
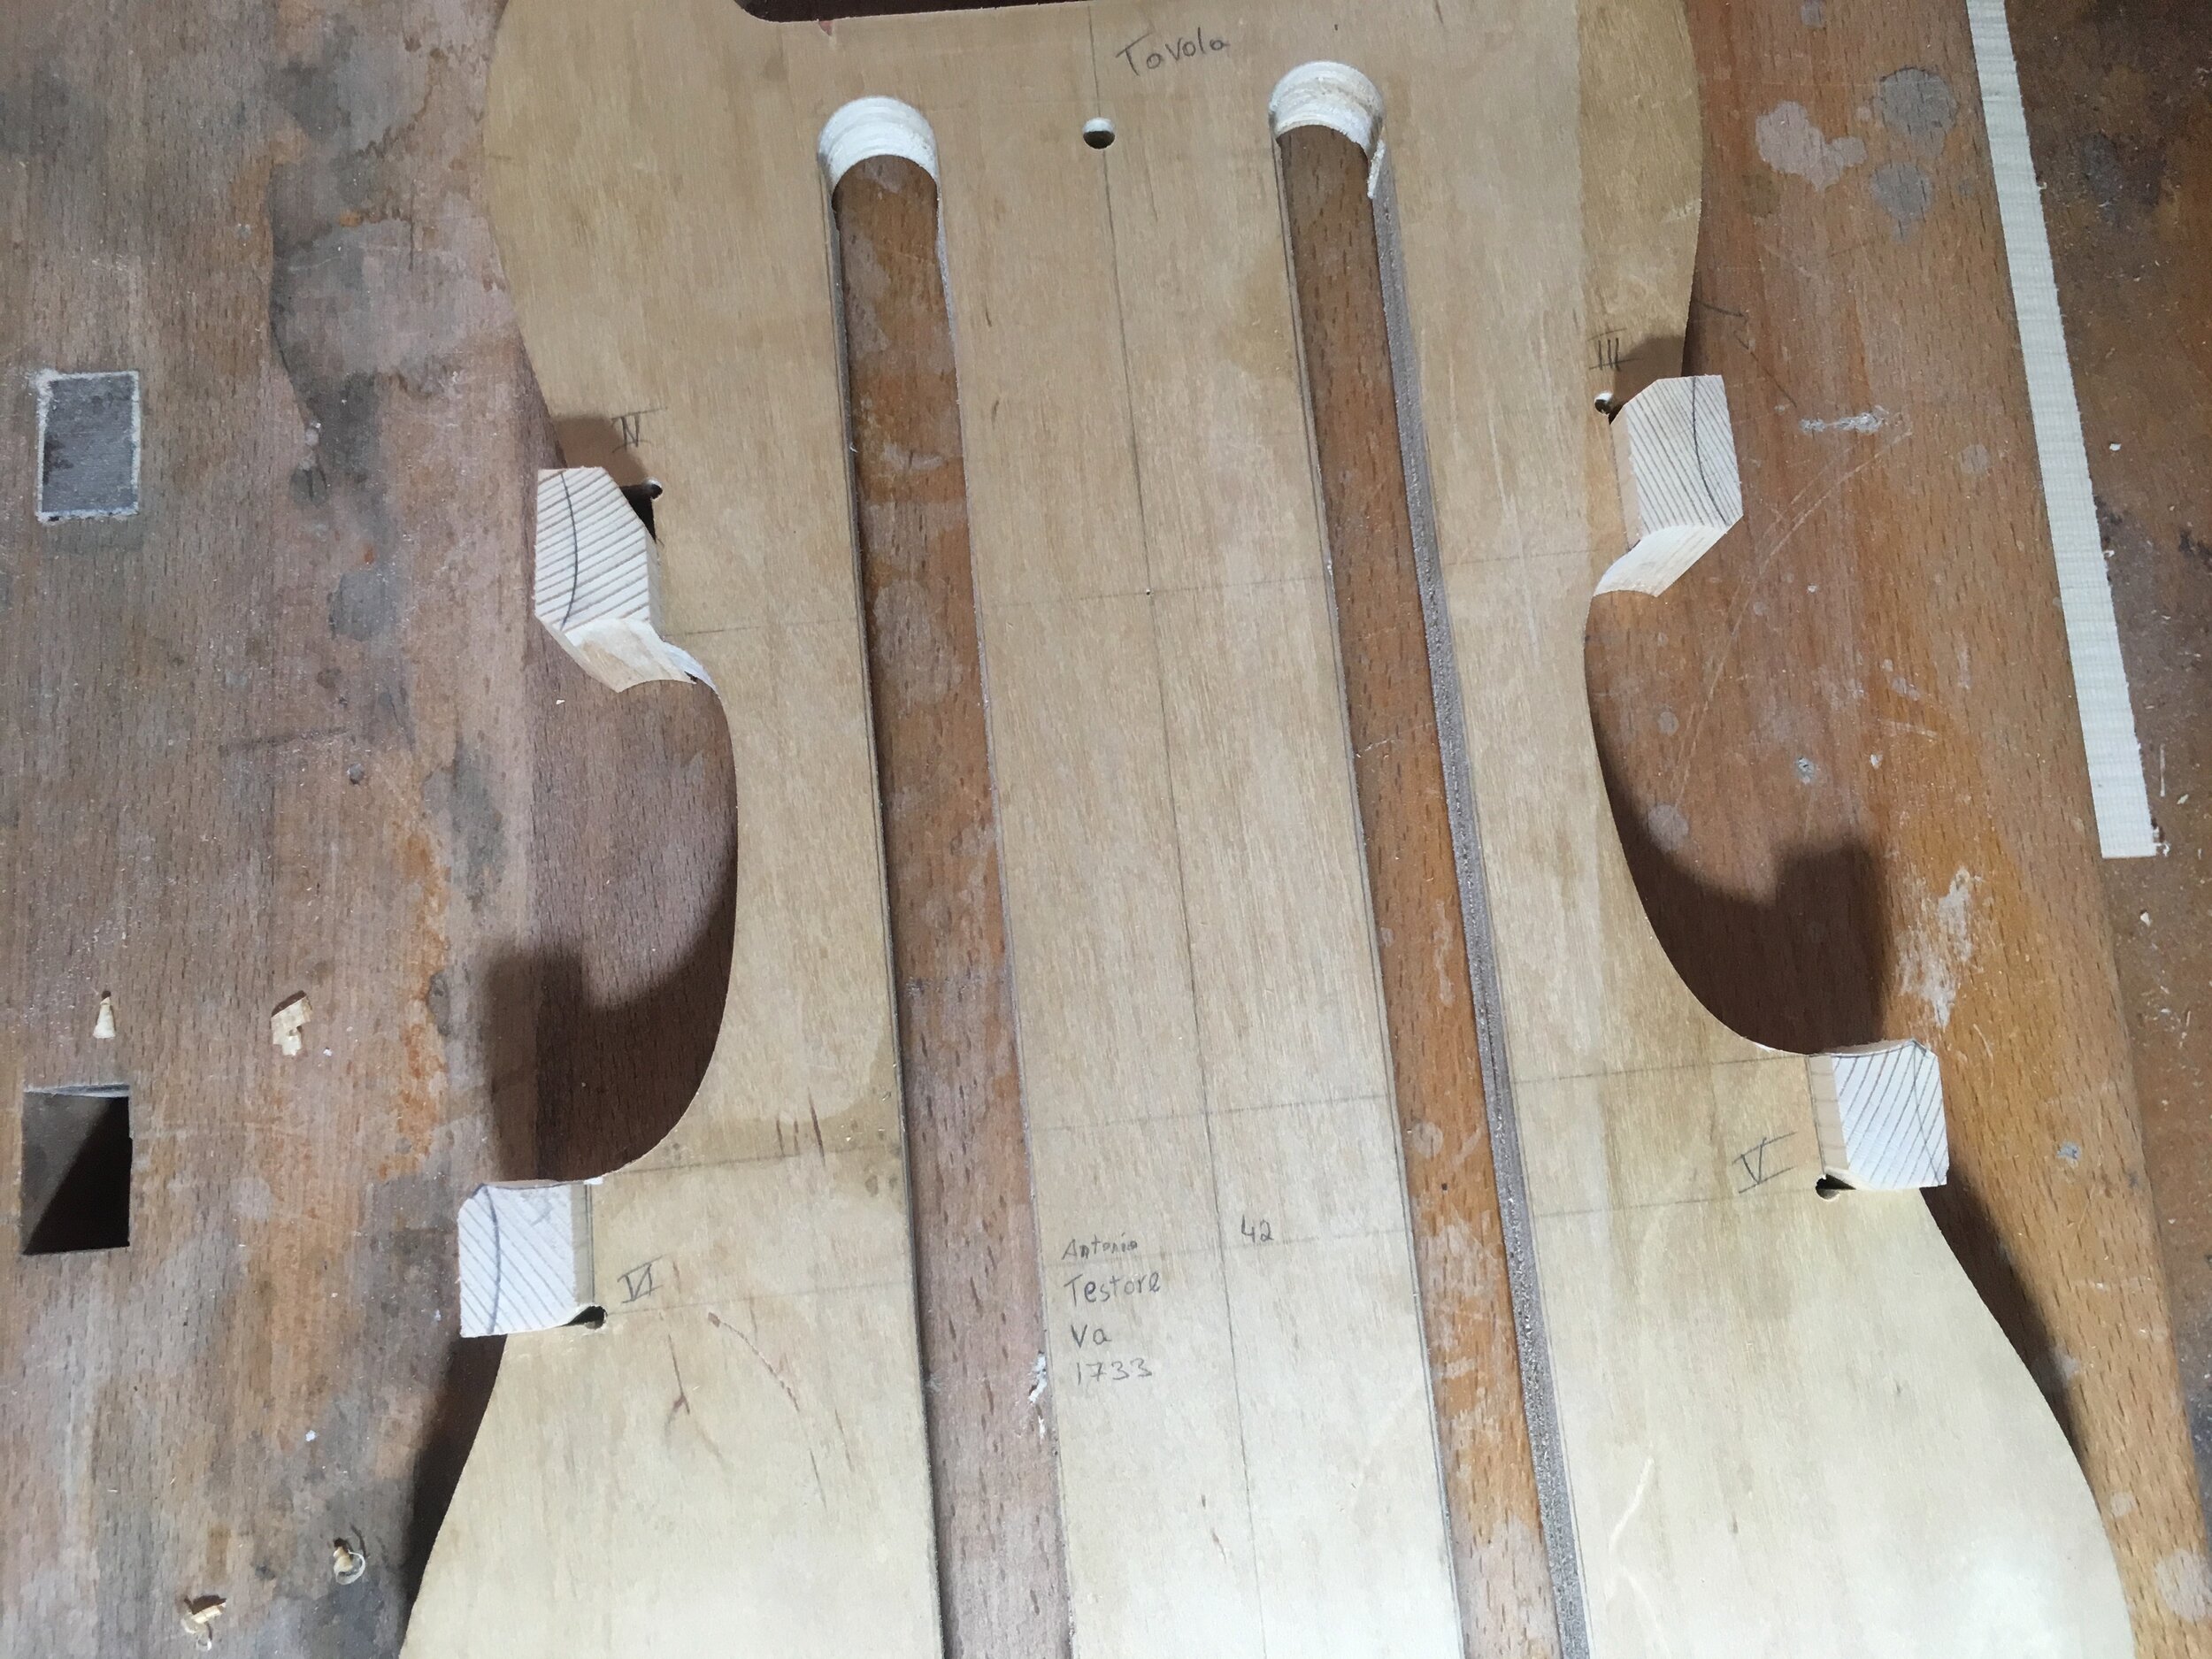
 Shaping the blocks before glueing the c bouts
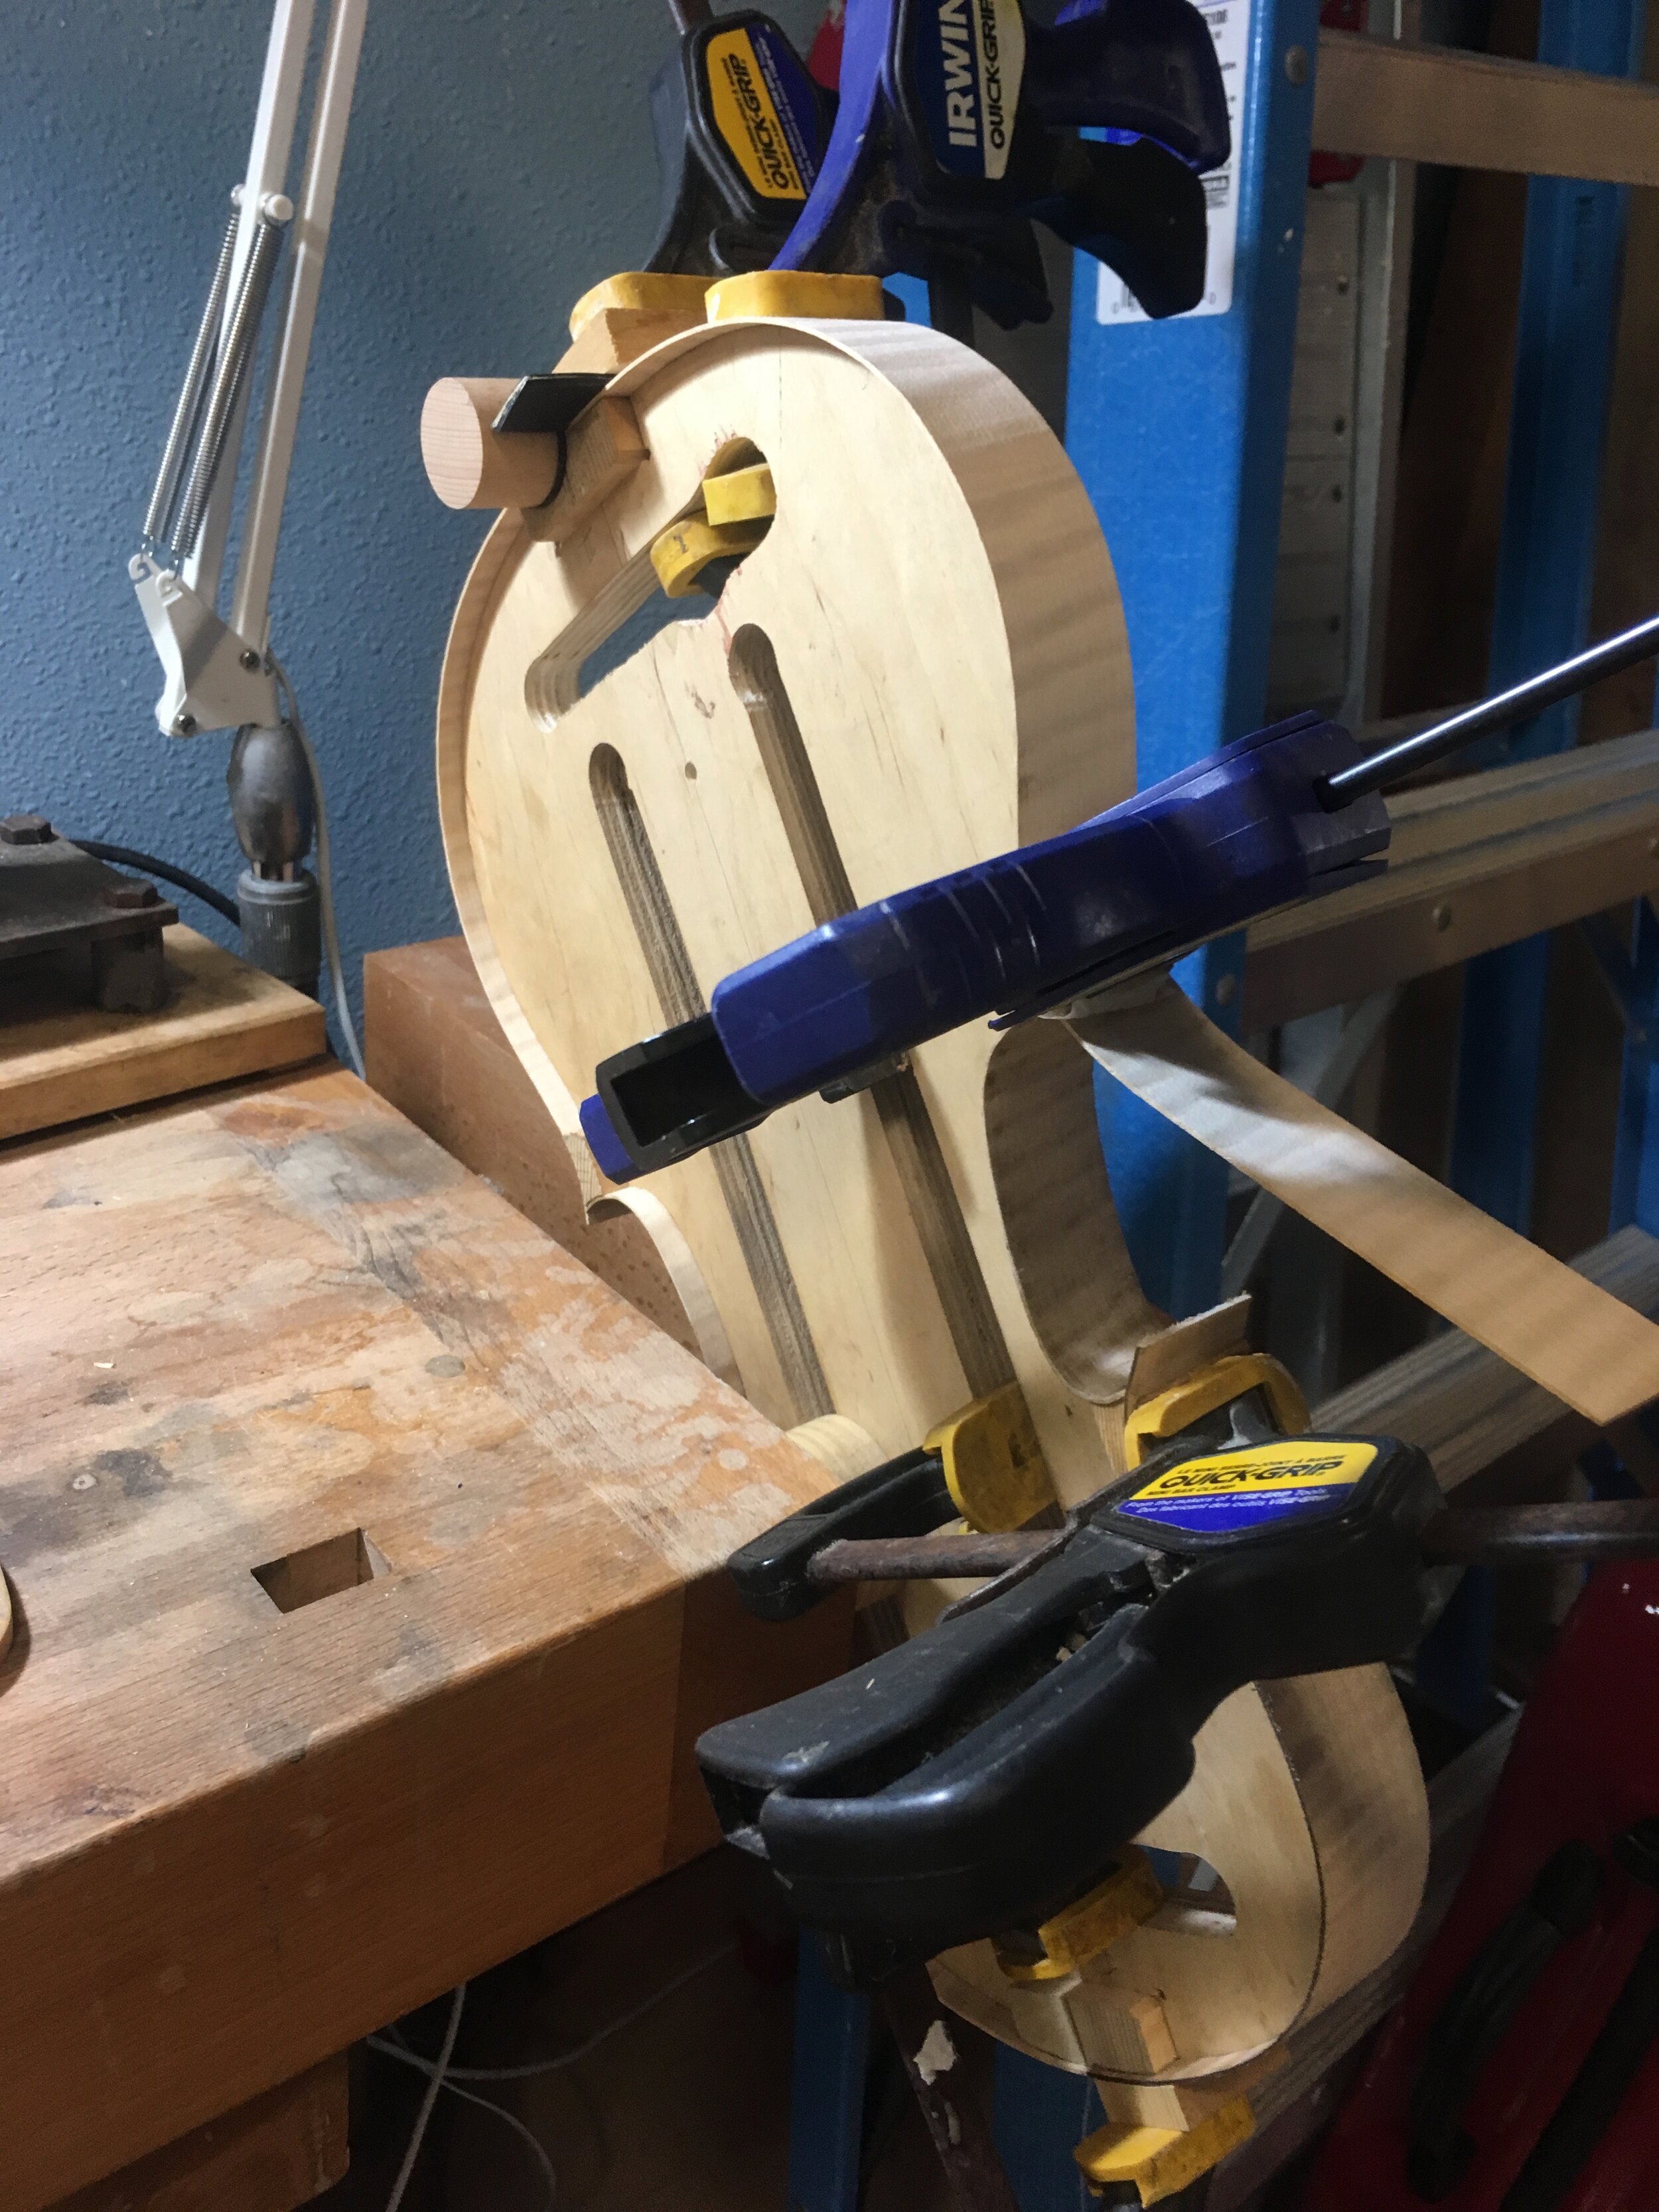
 Glueing the upper and lower bout
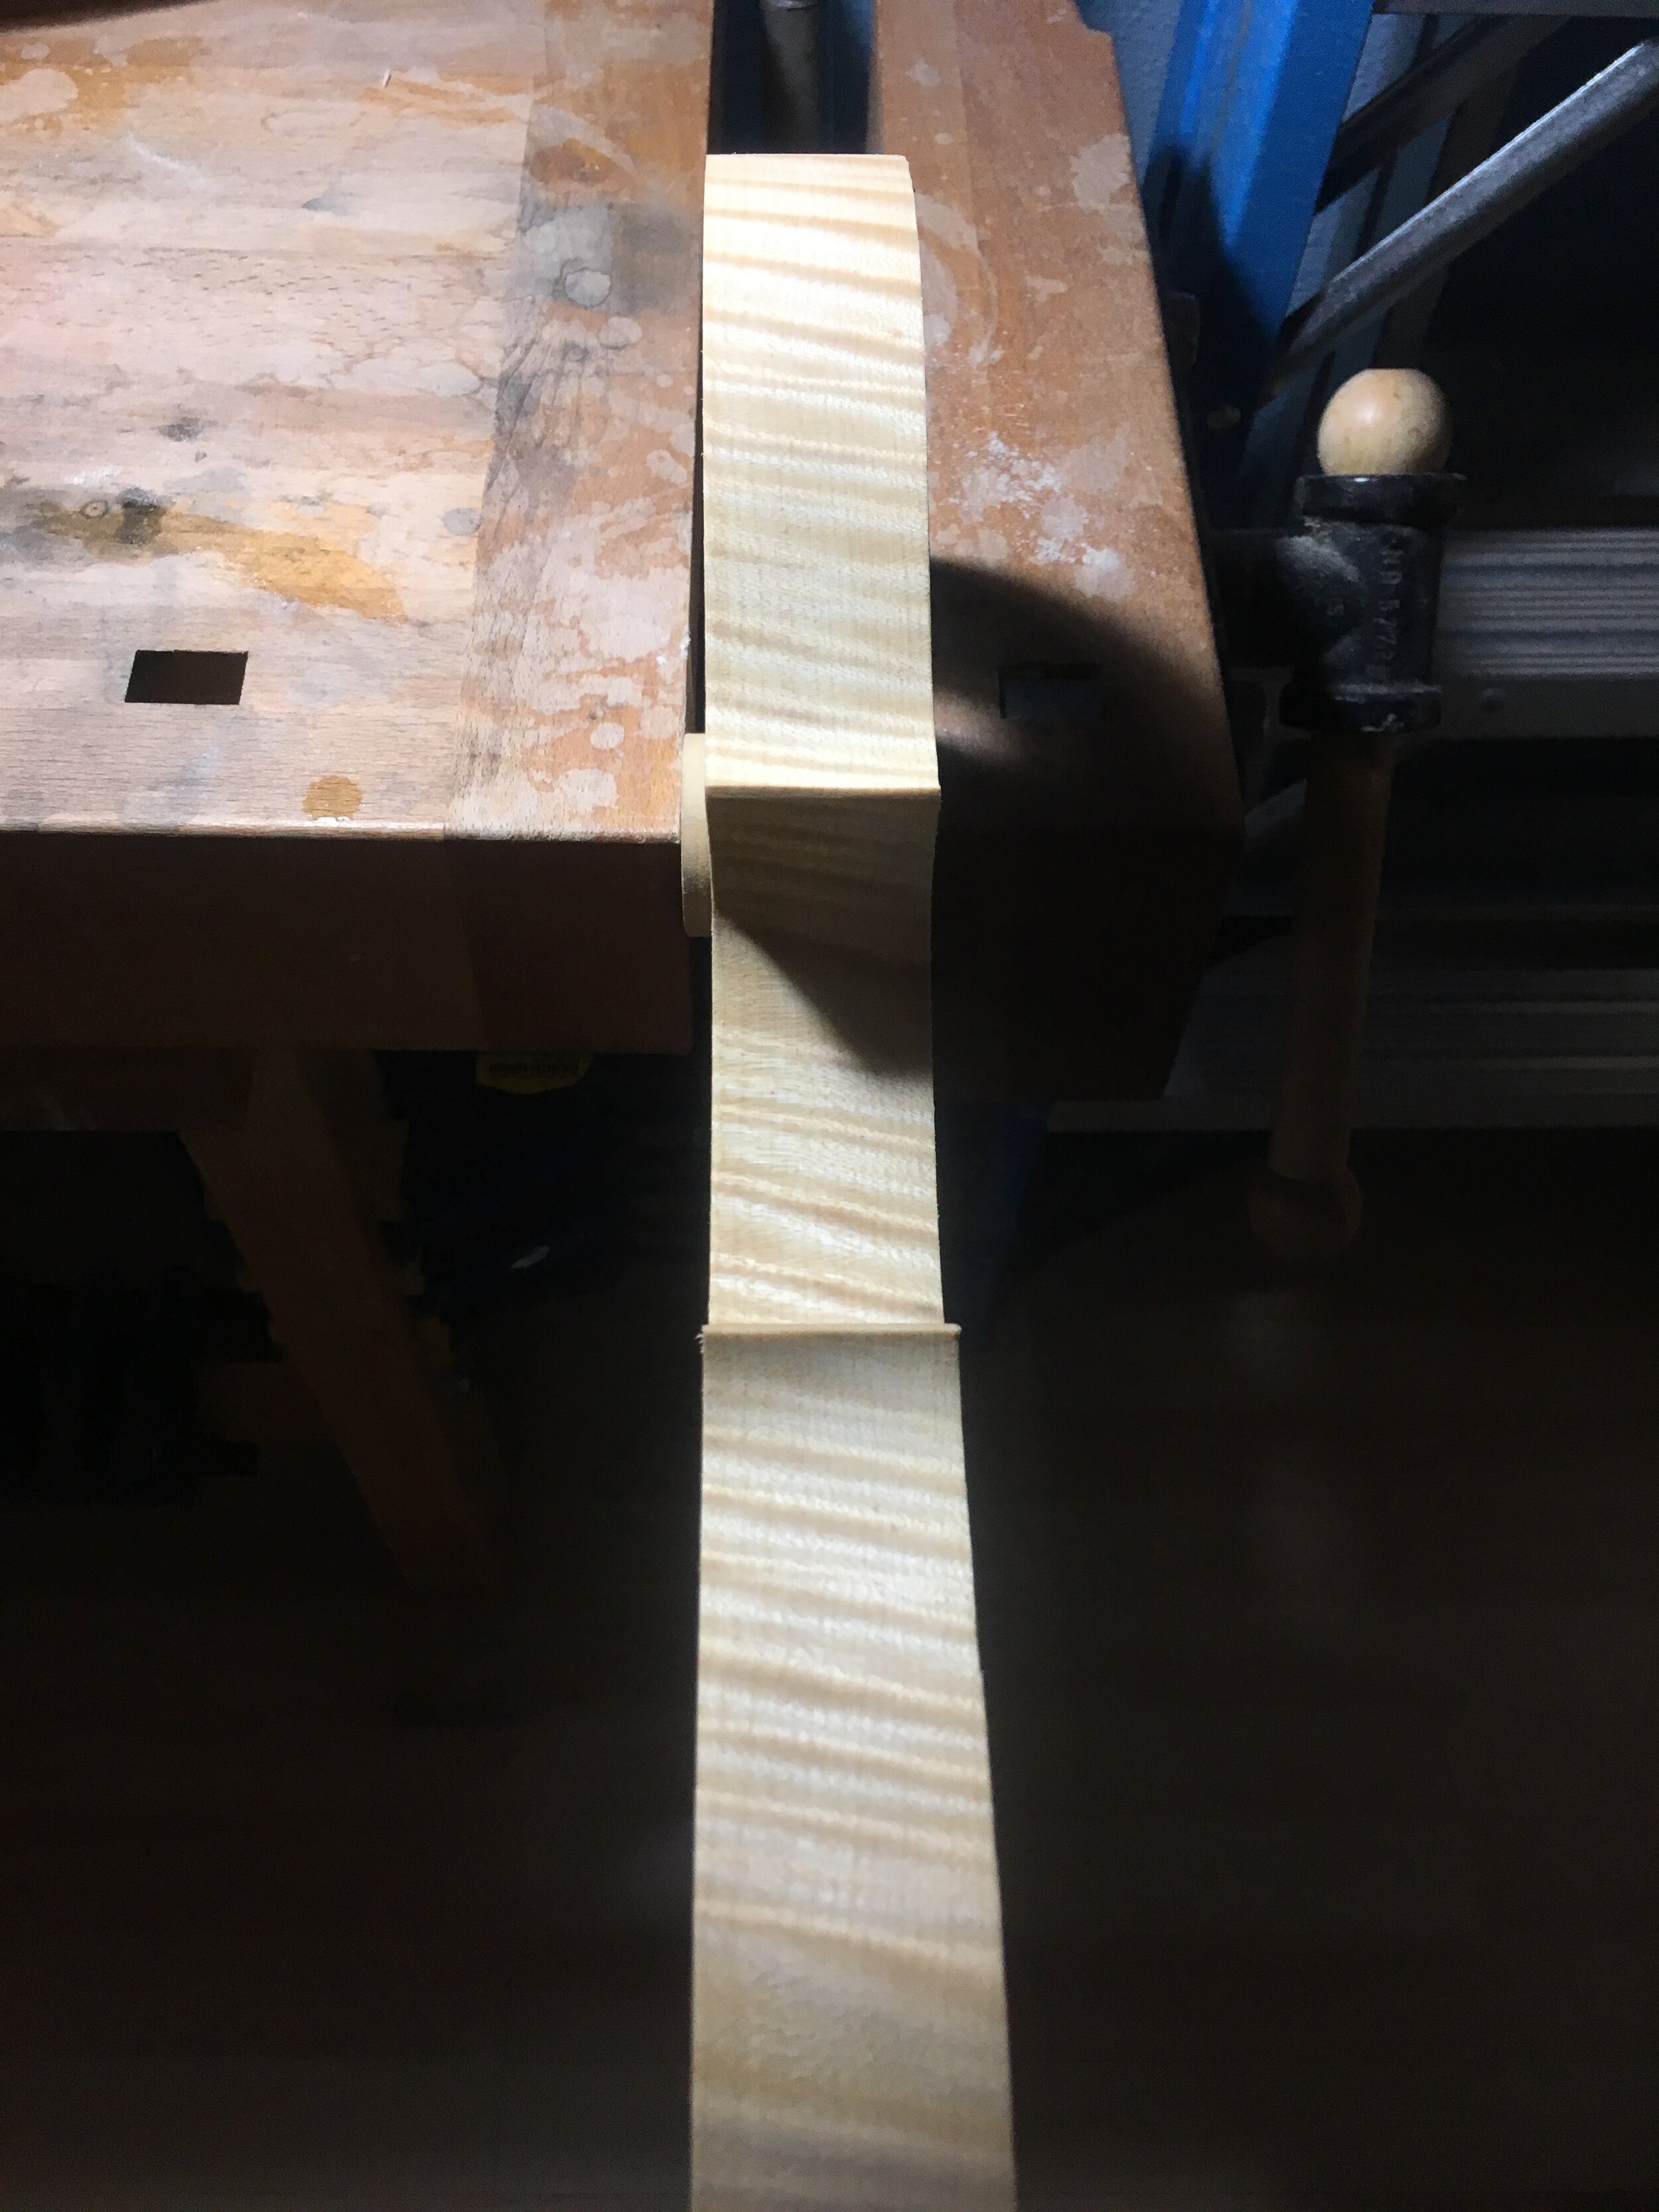
 Cleaning the ribs
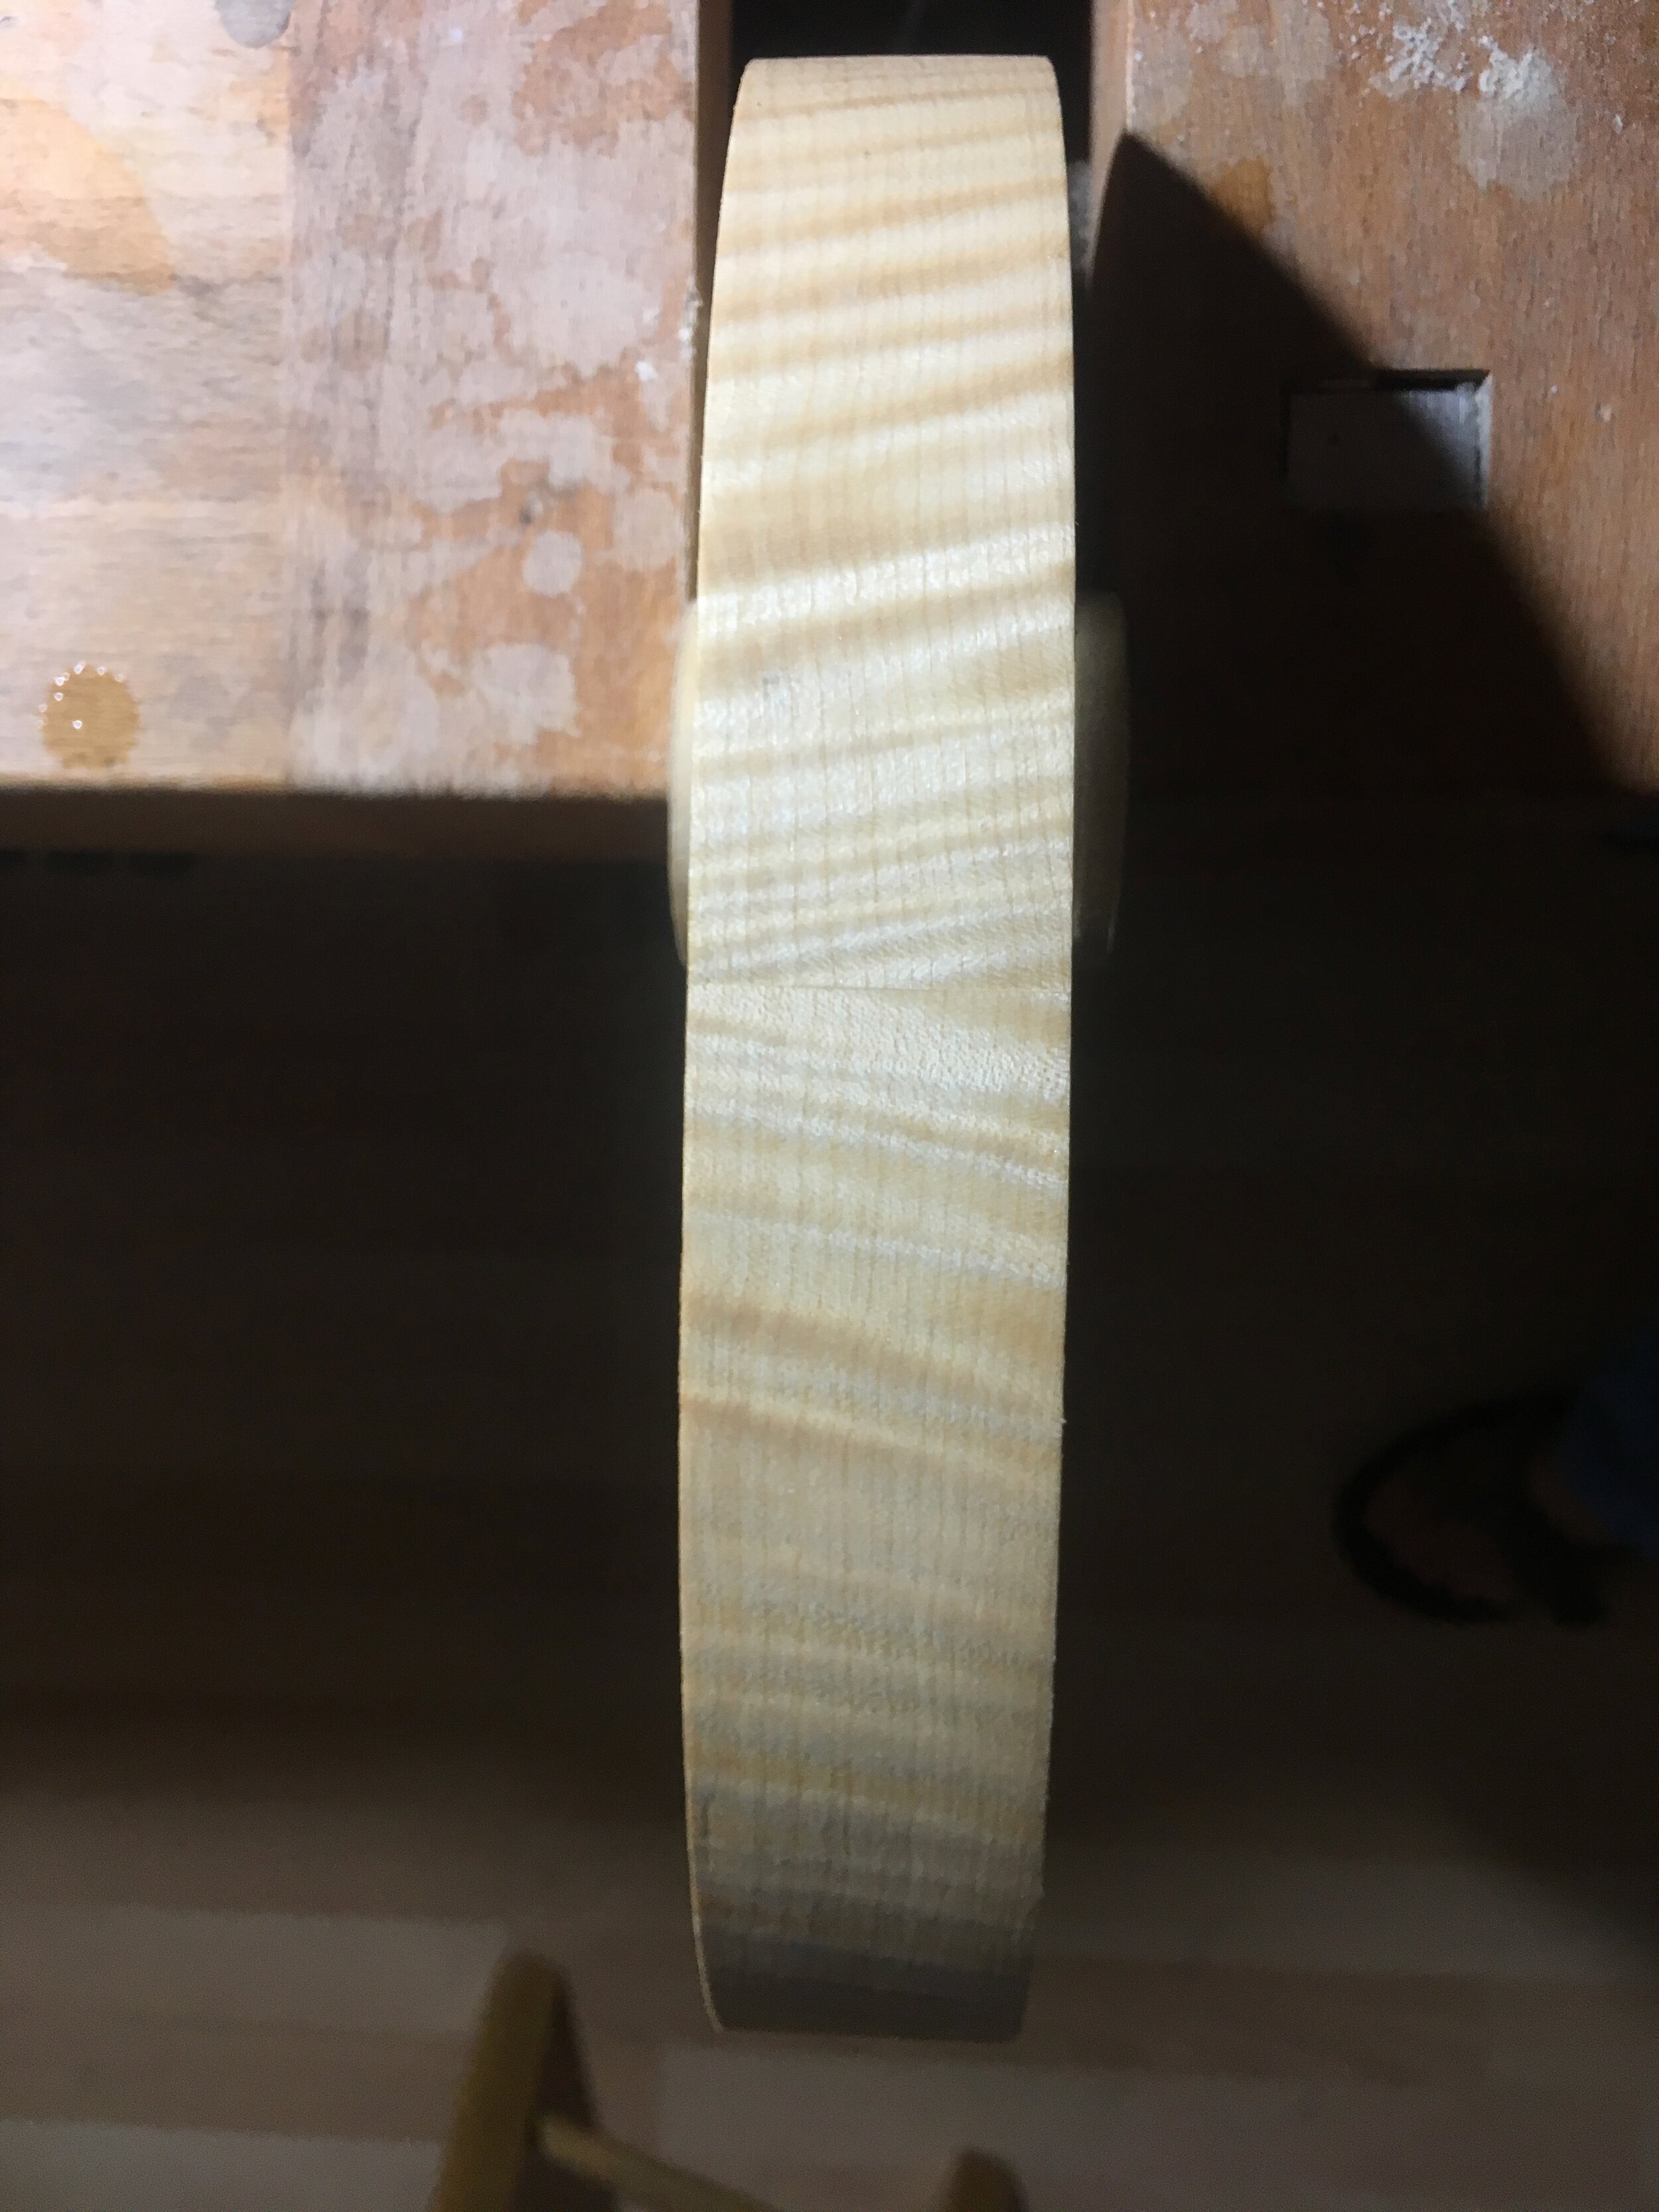
 Center joint on the ribs
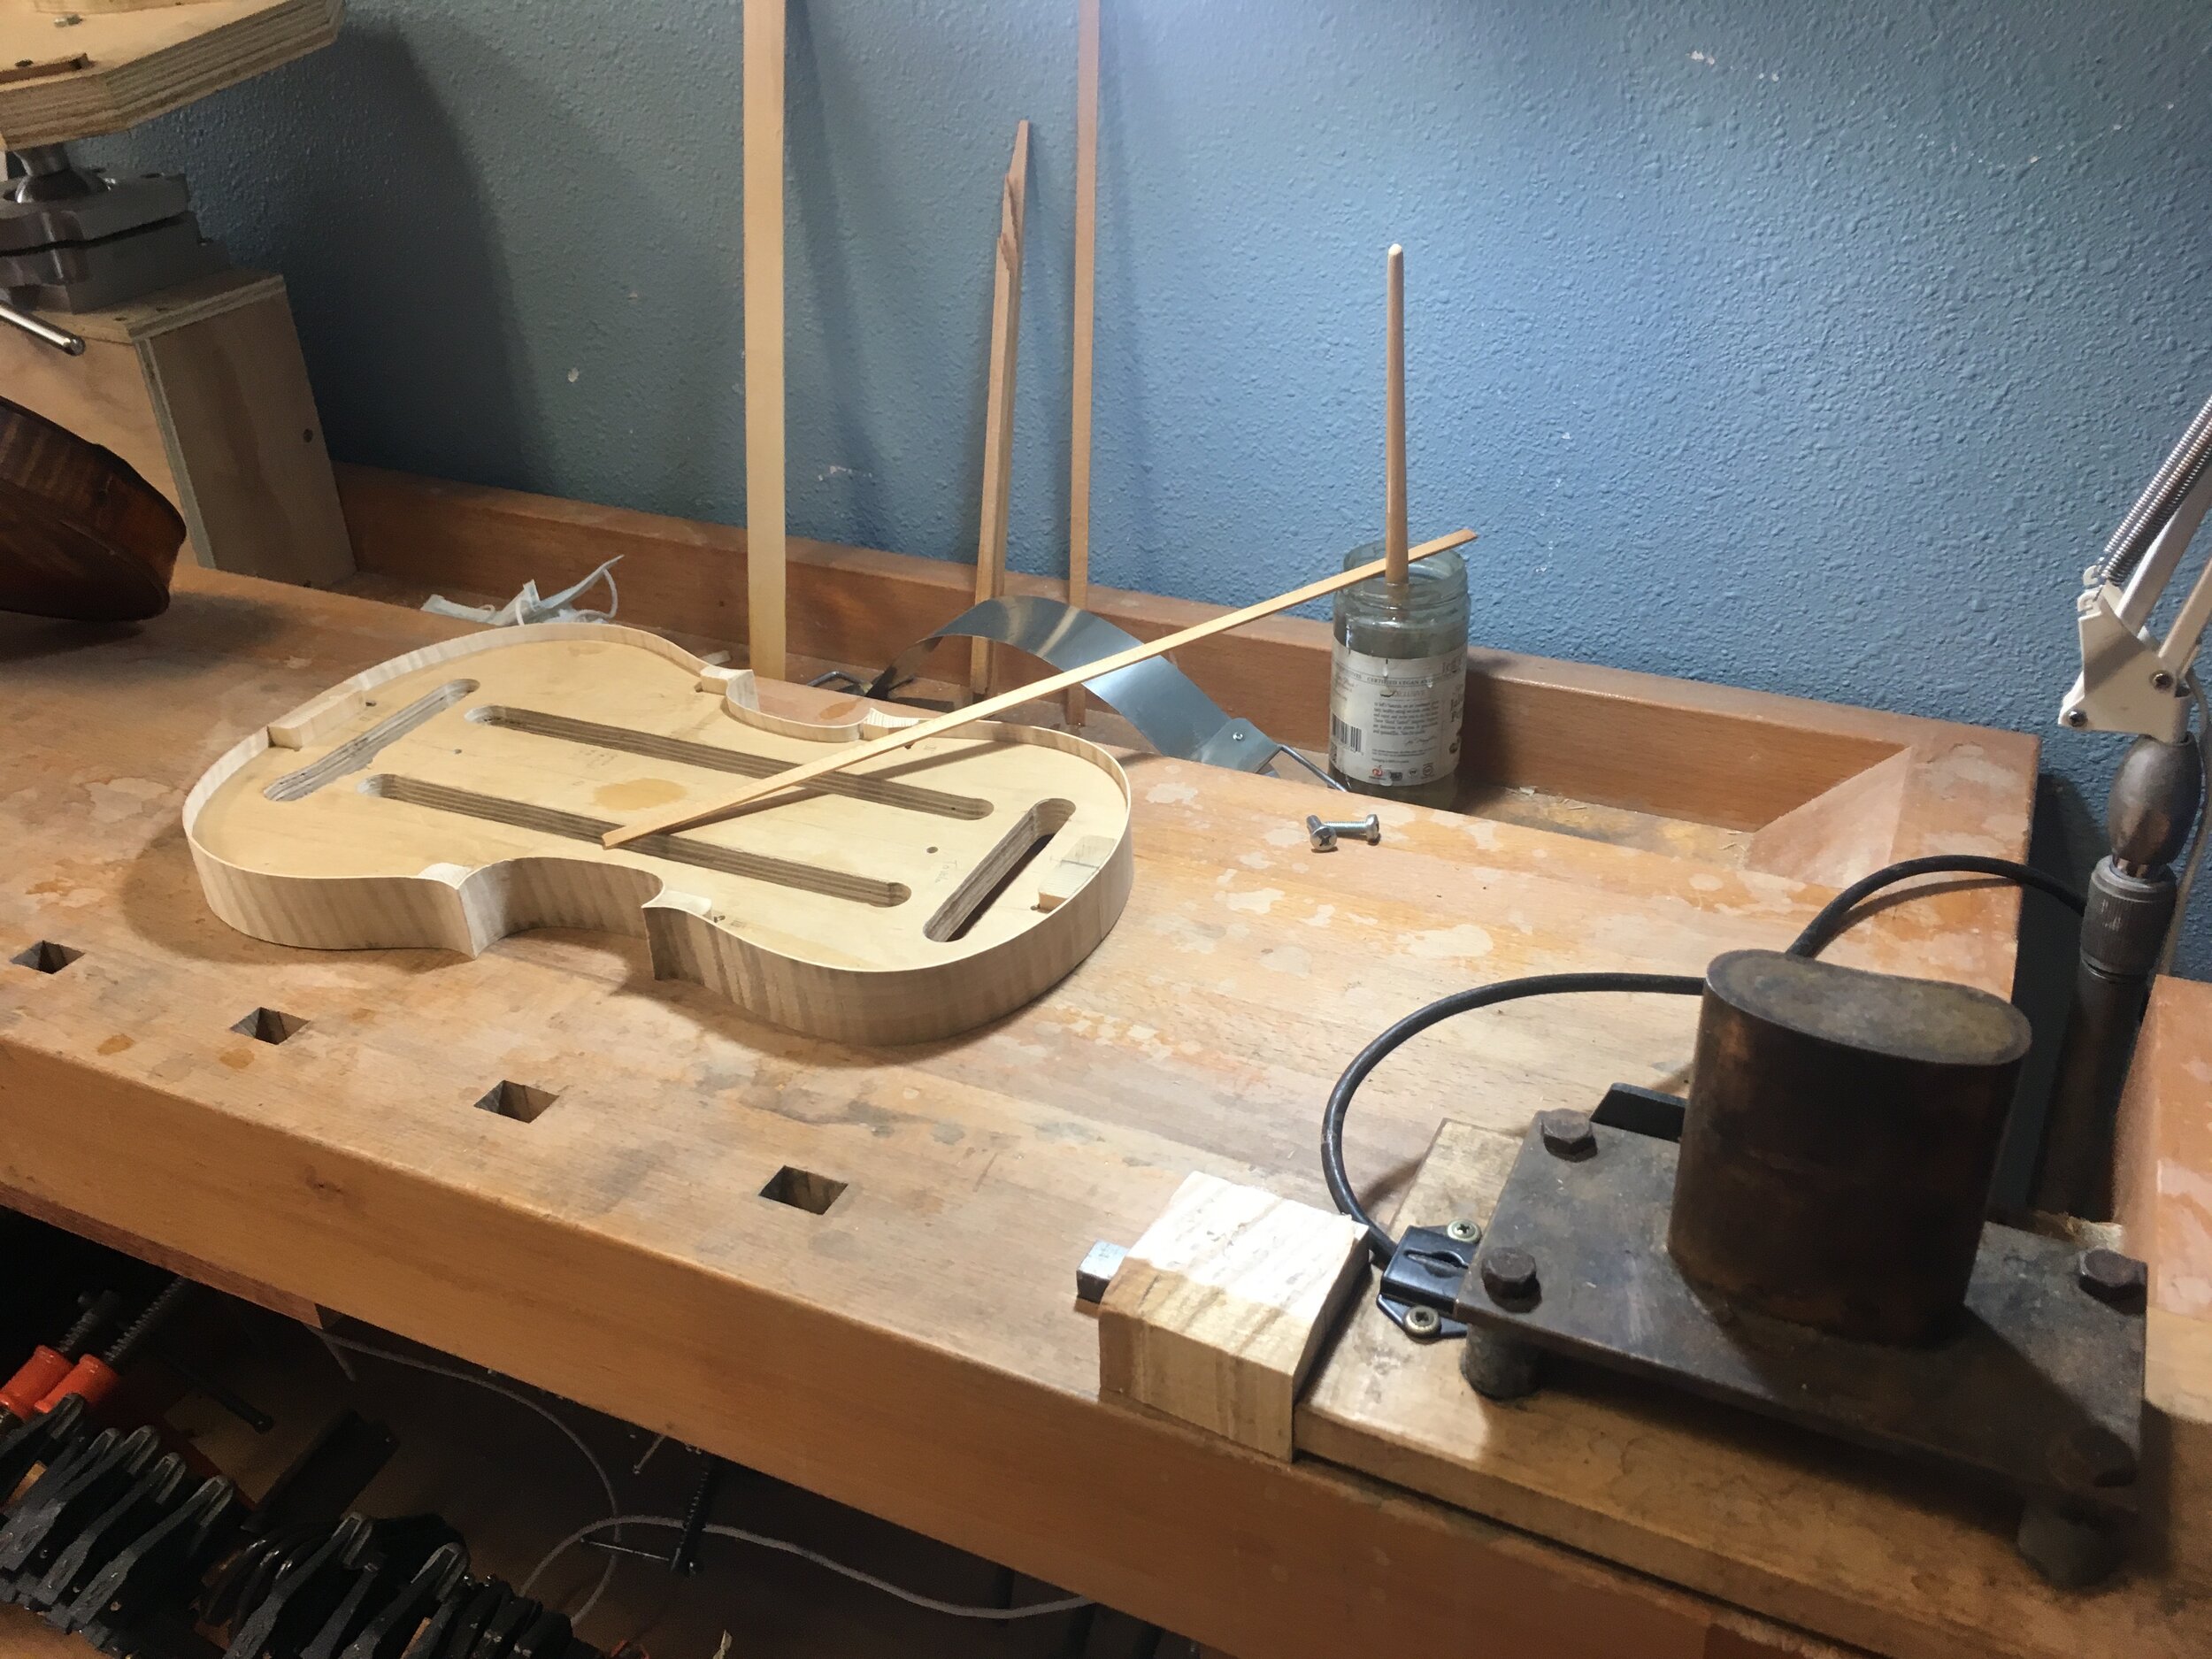
 Hot bending iron, bending the linings
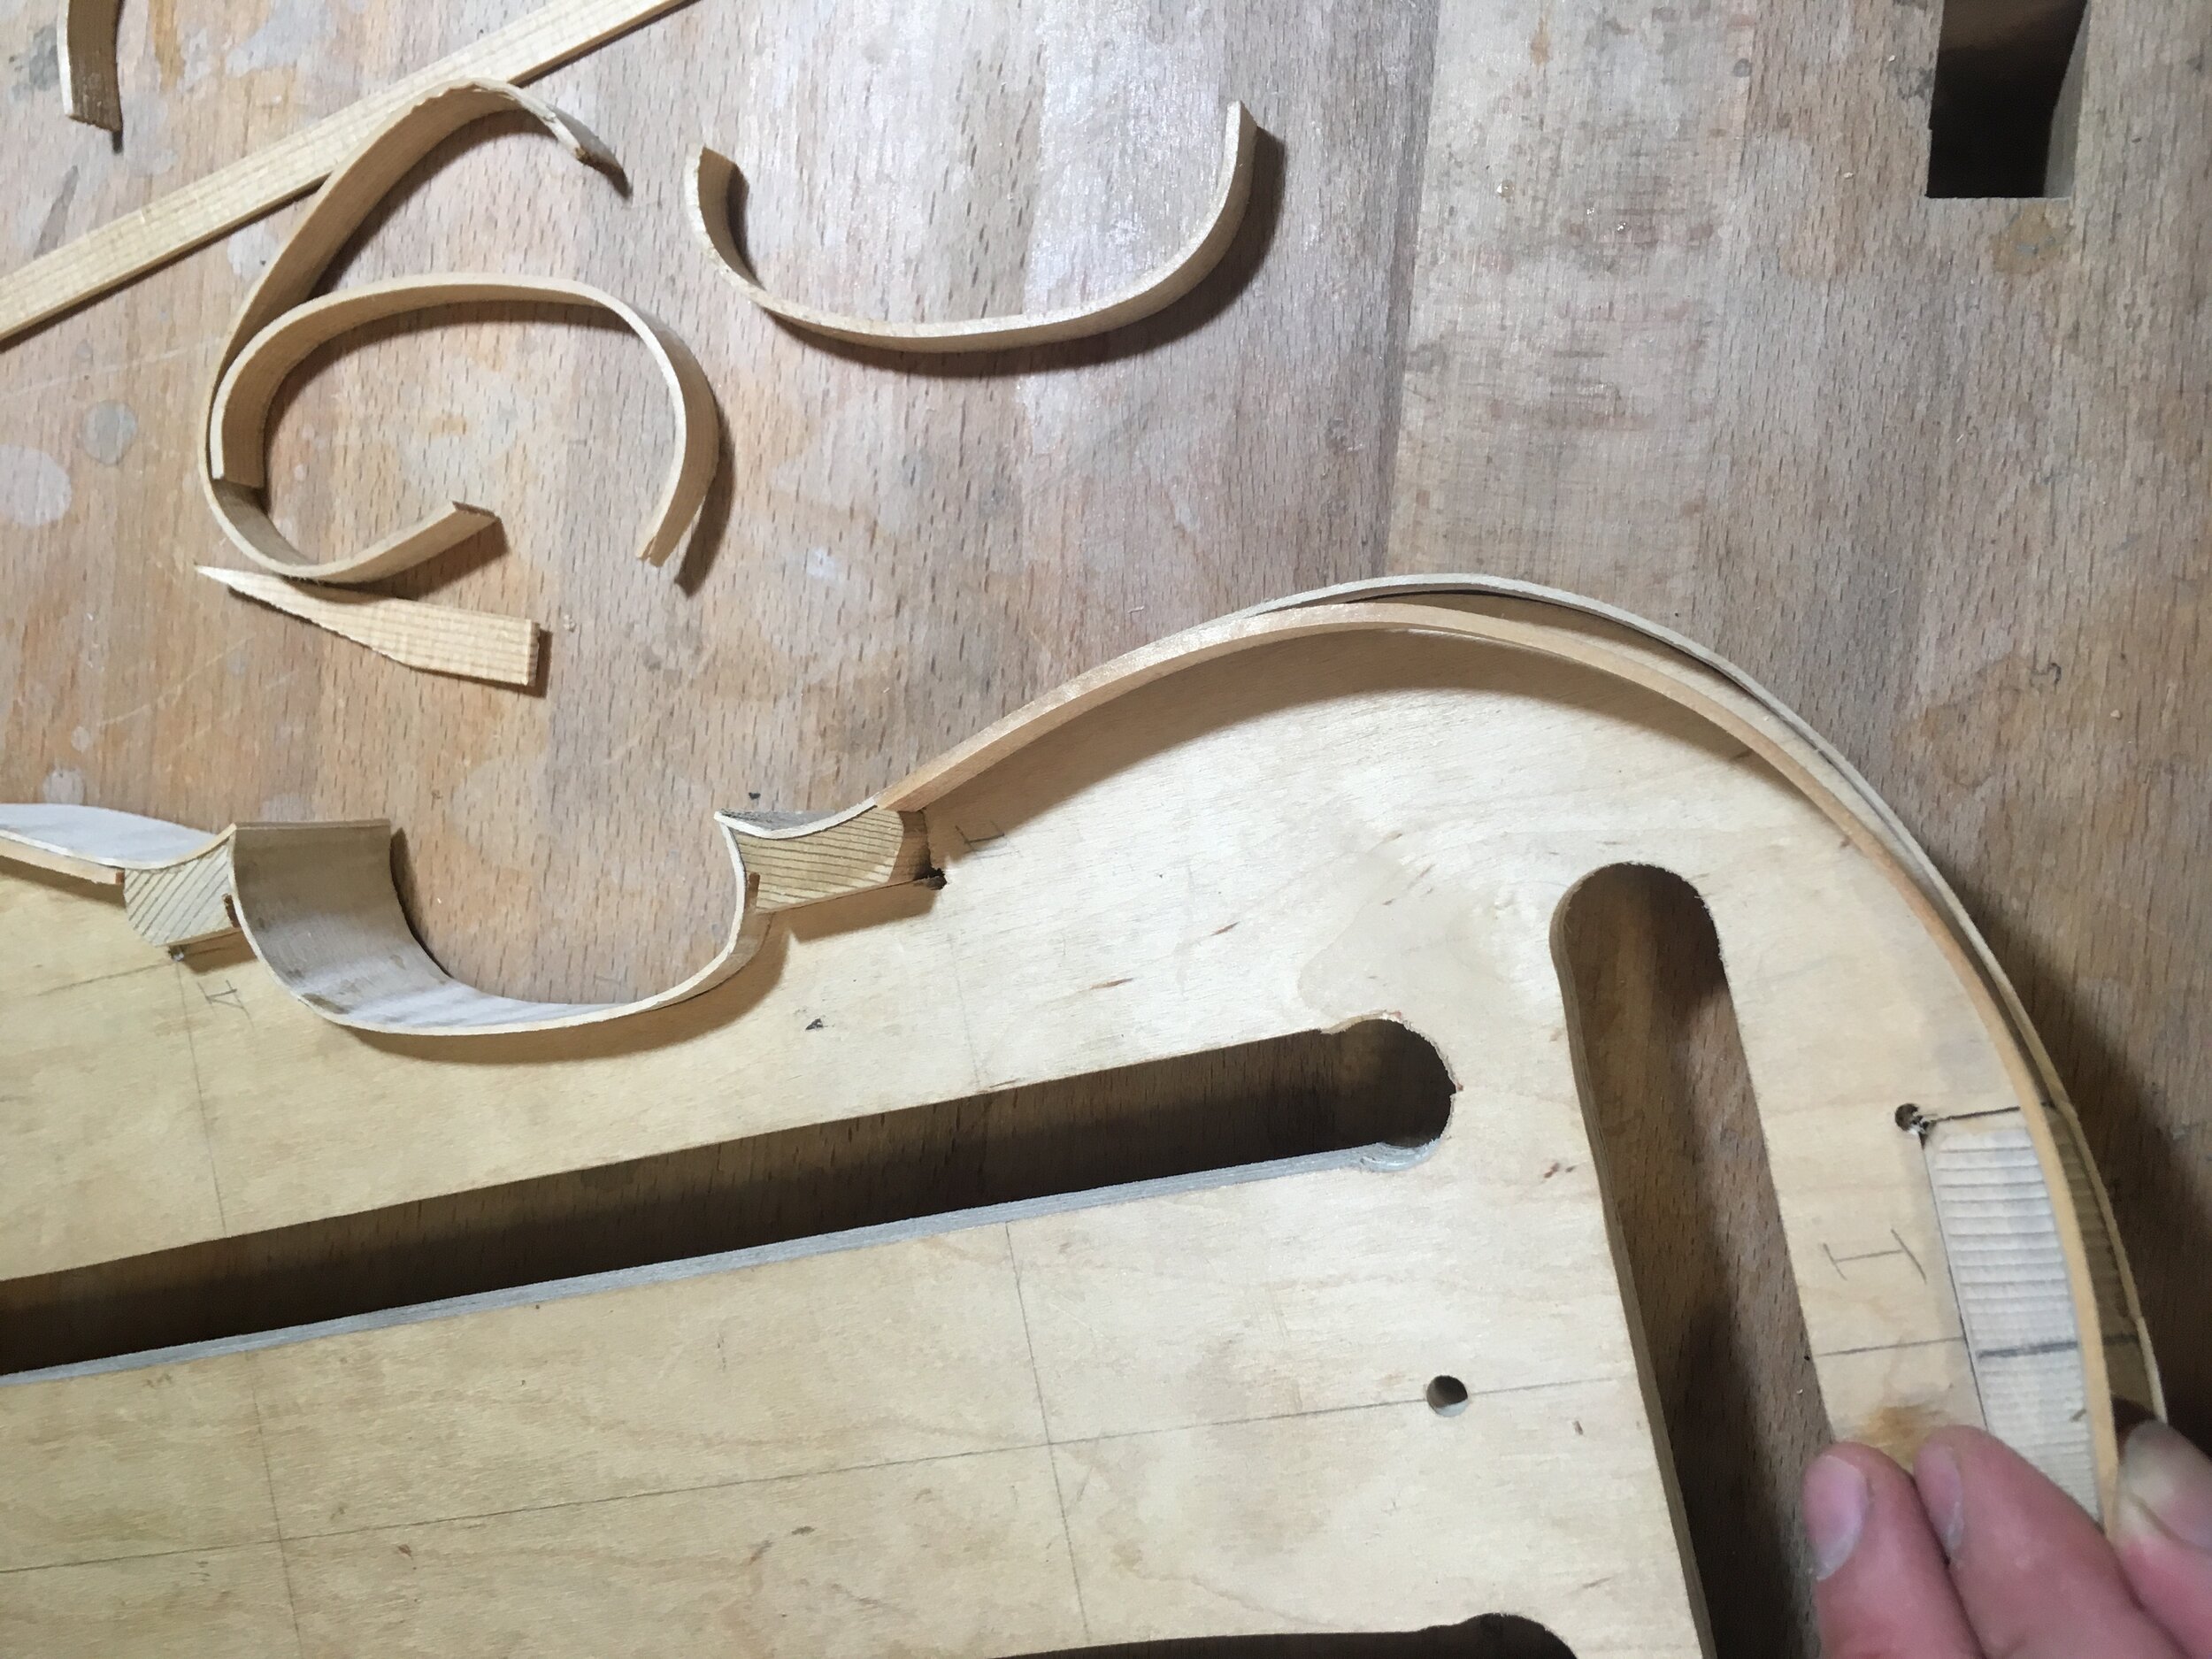
 Linings almost ready to be glued
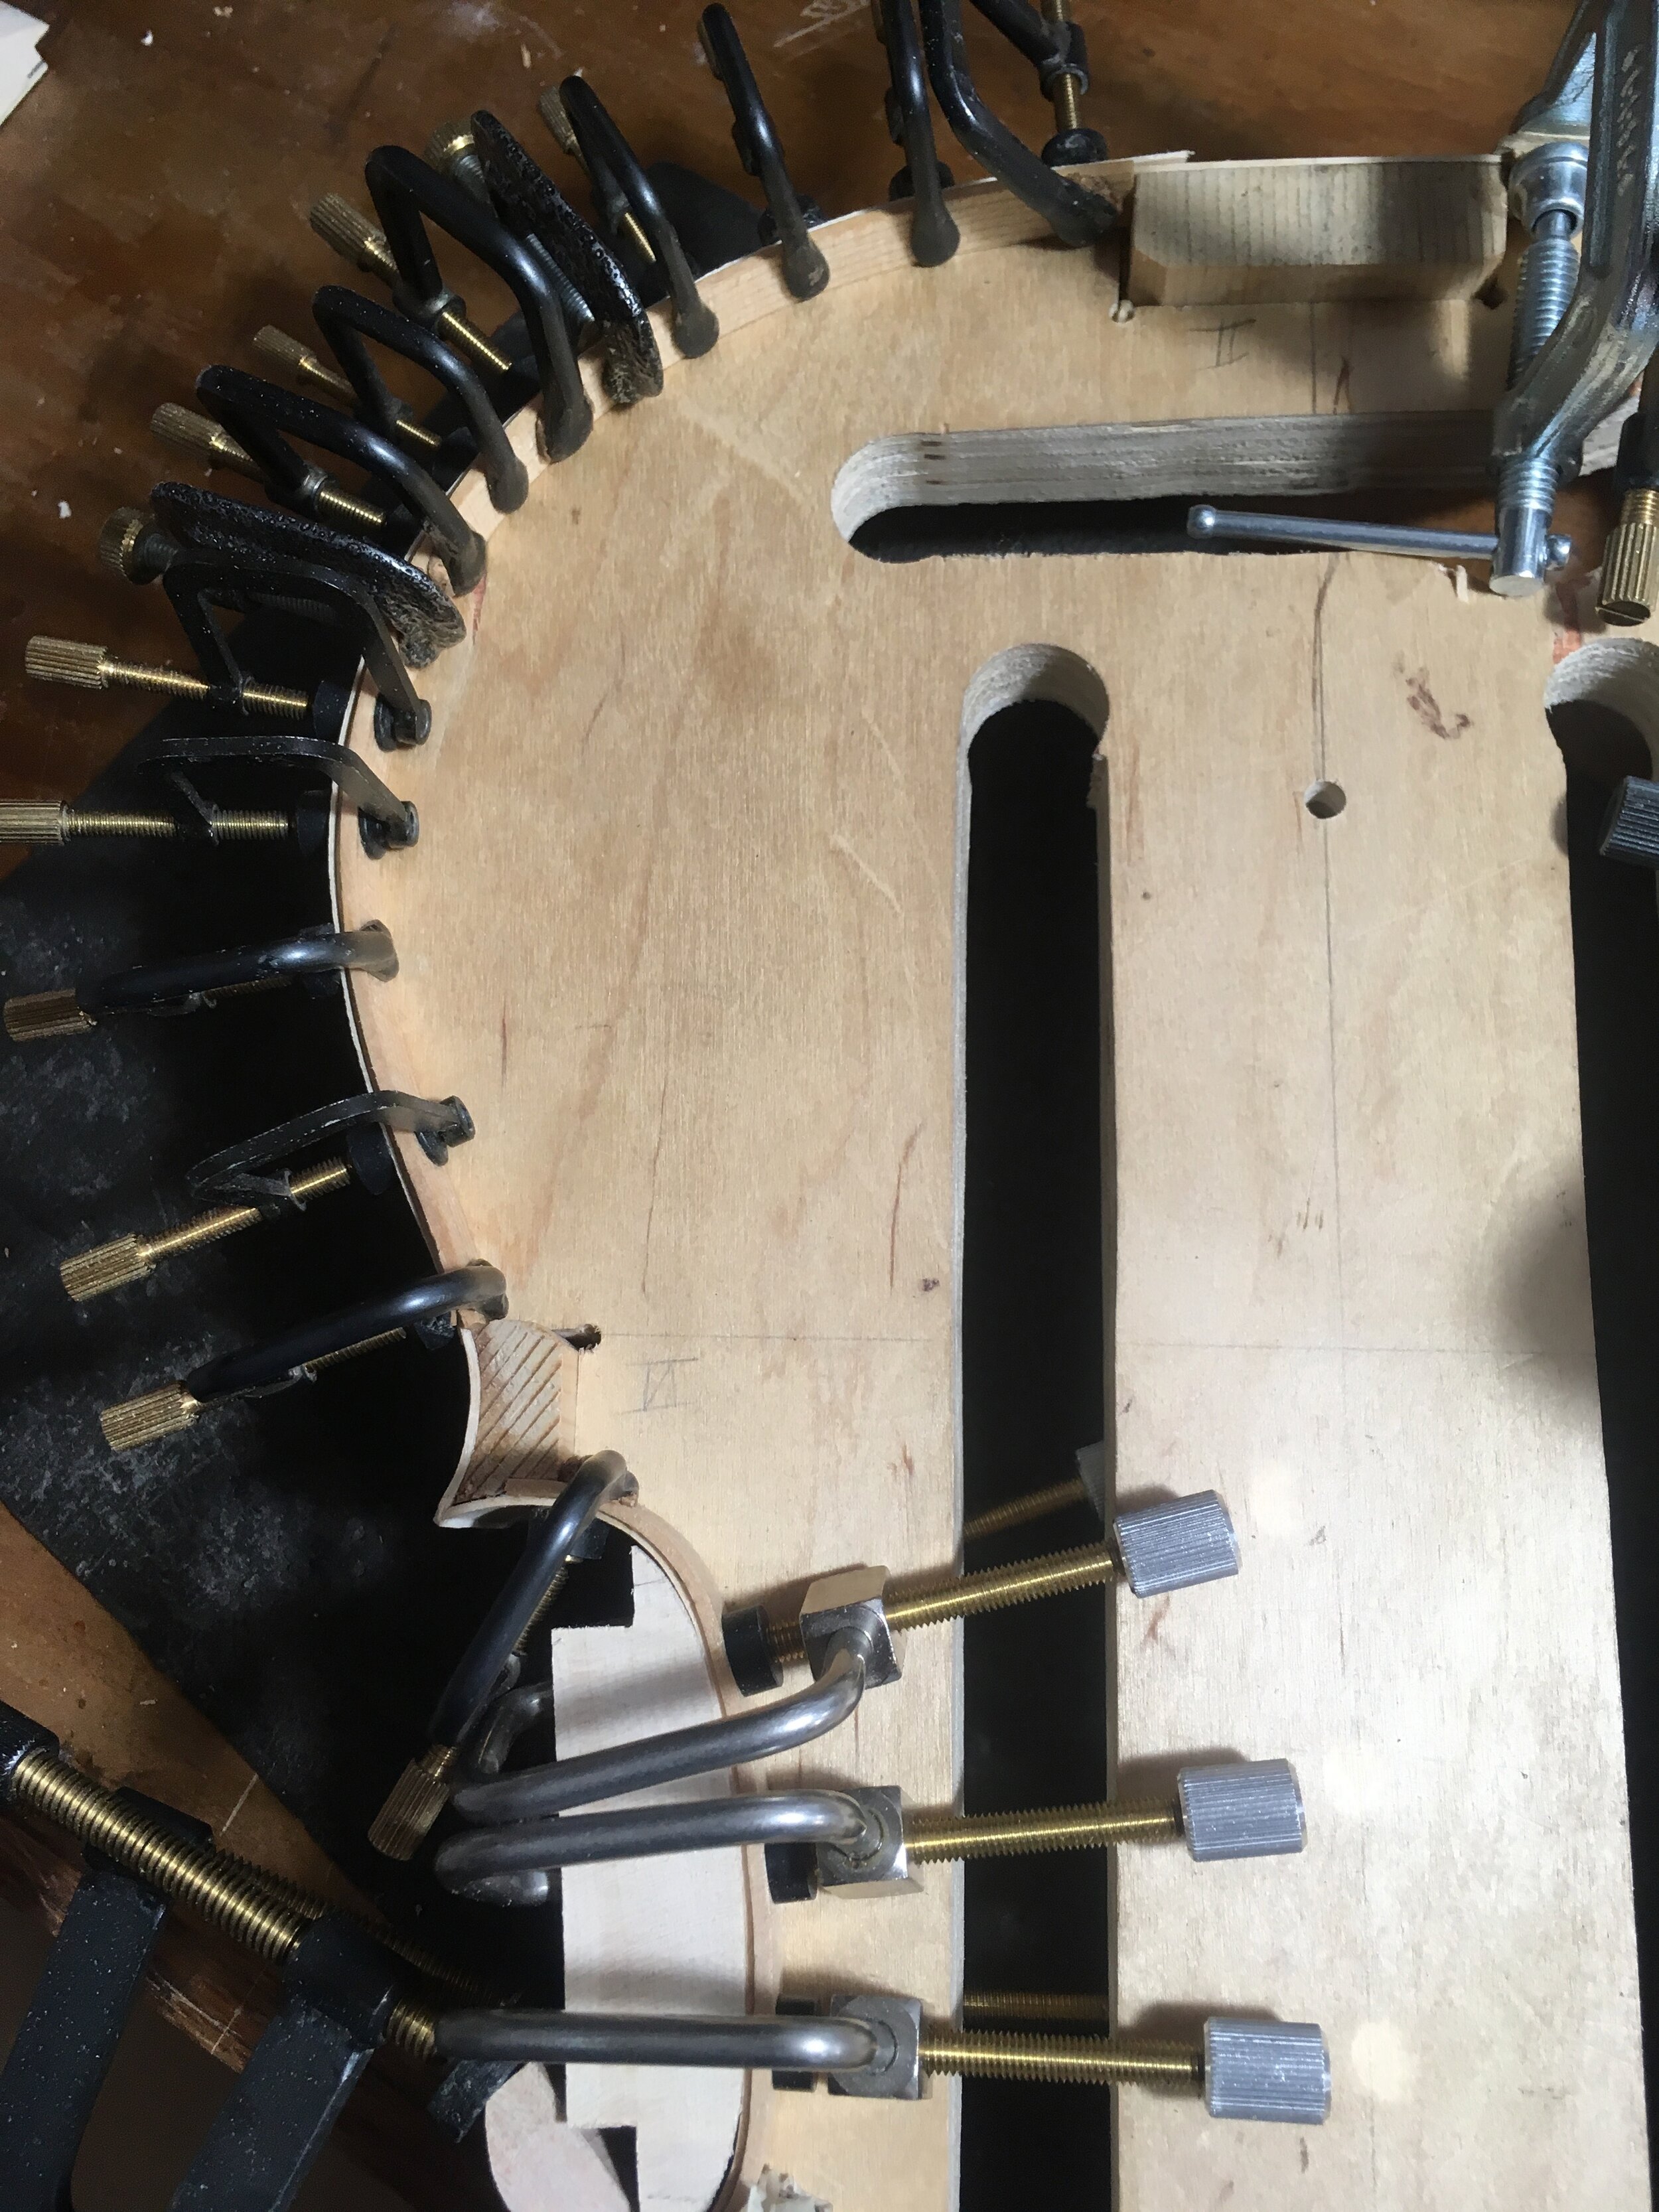
 Glueing the linings
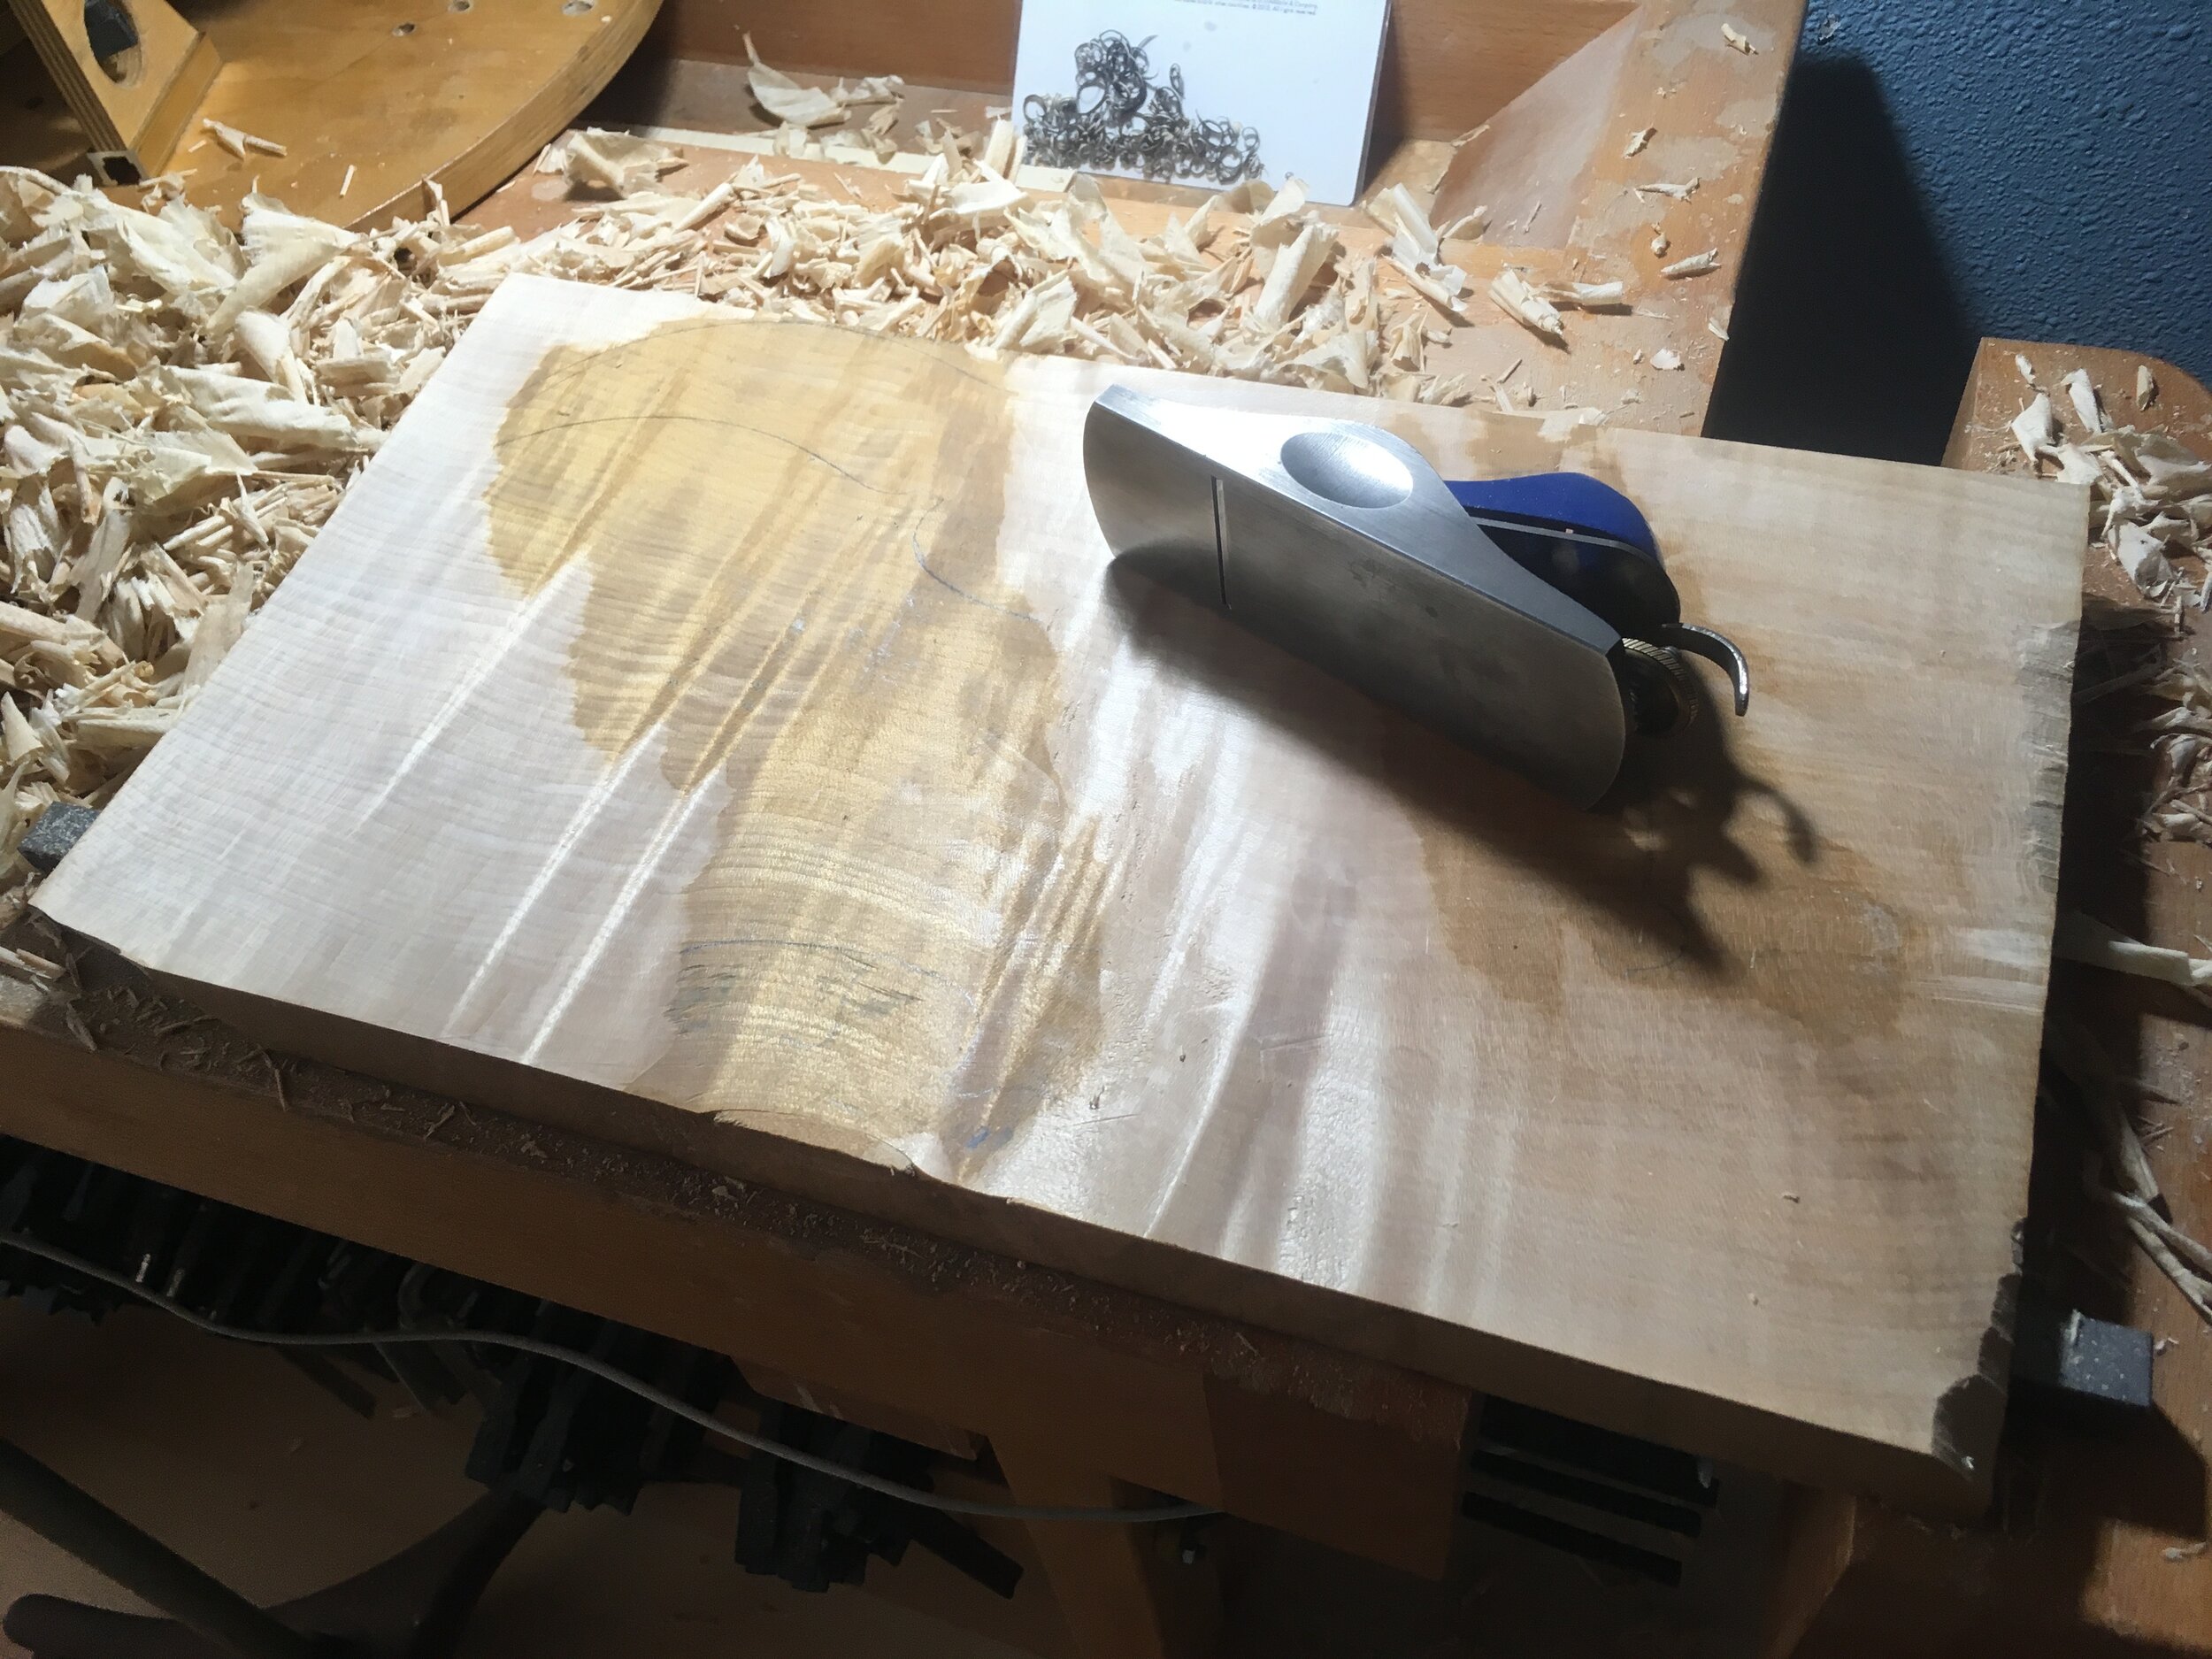
 Planing the back flat
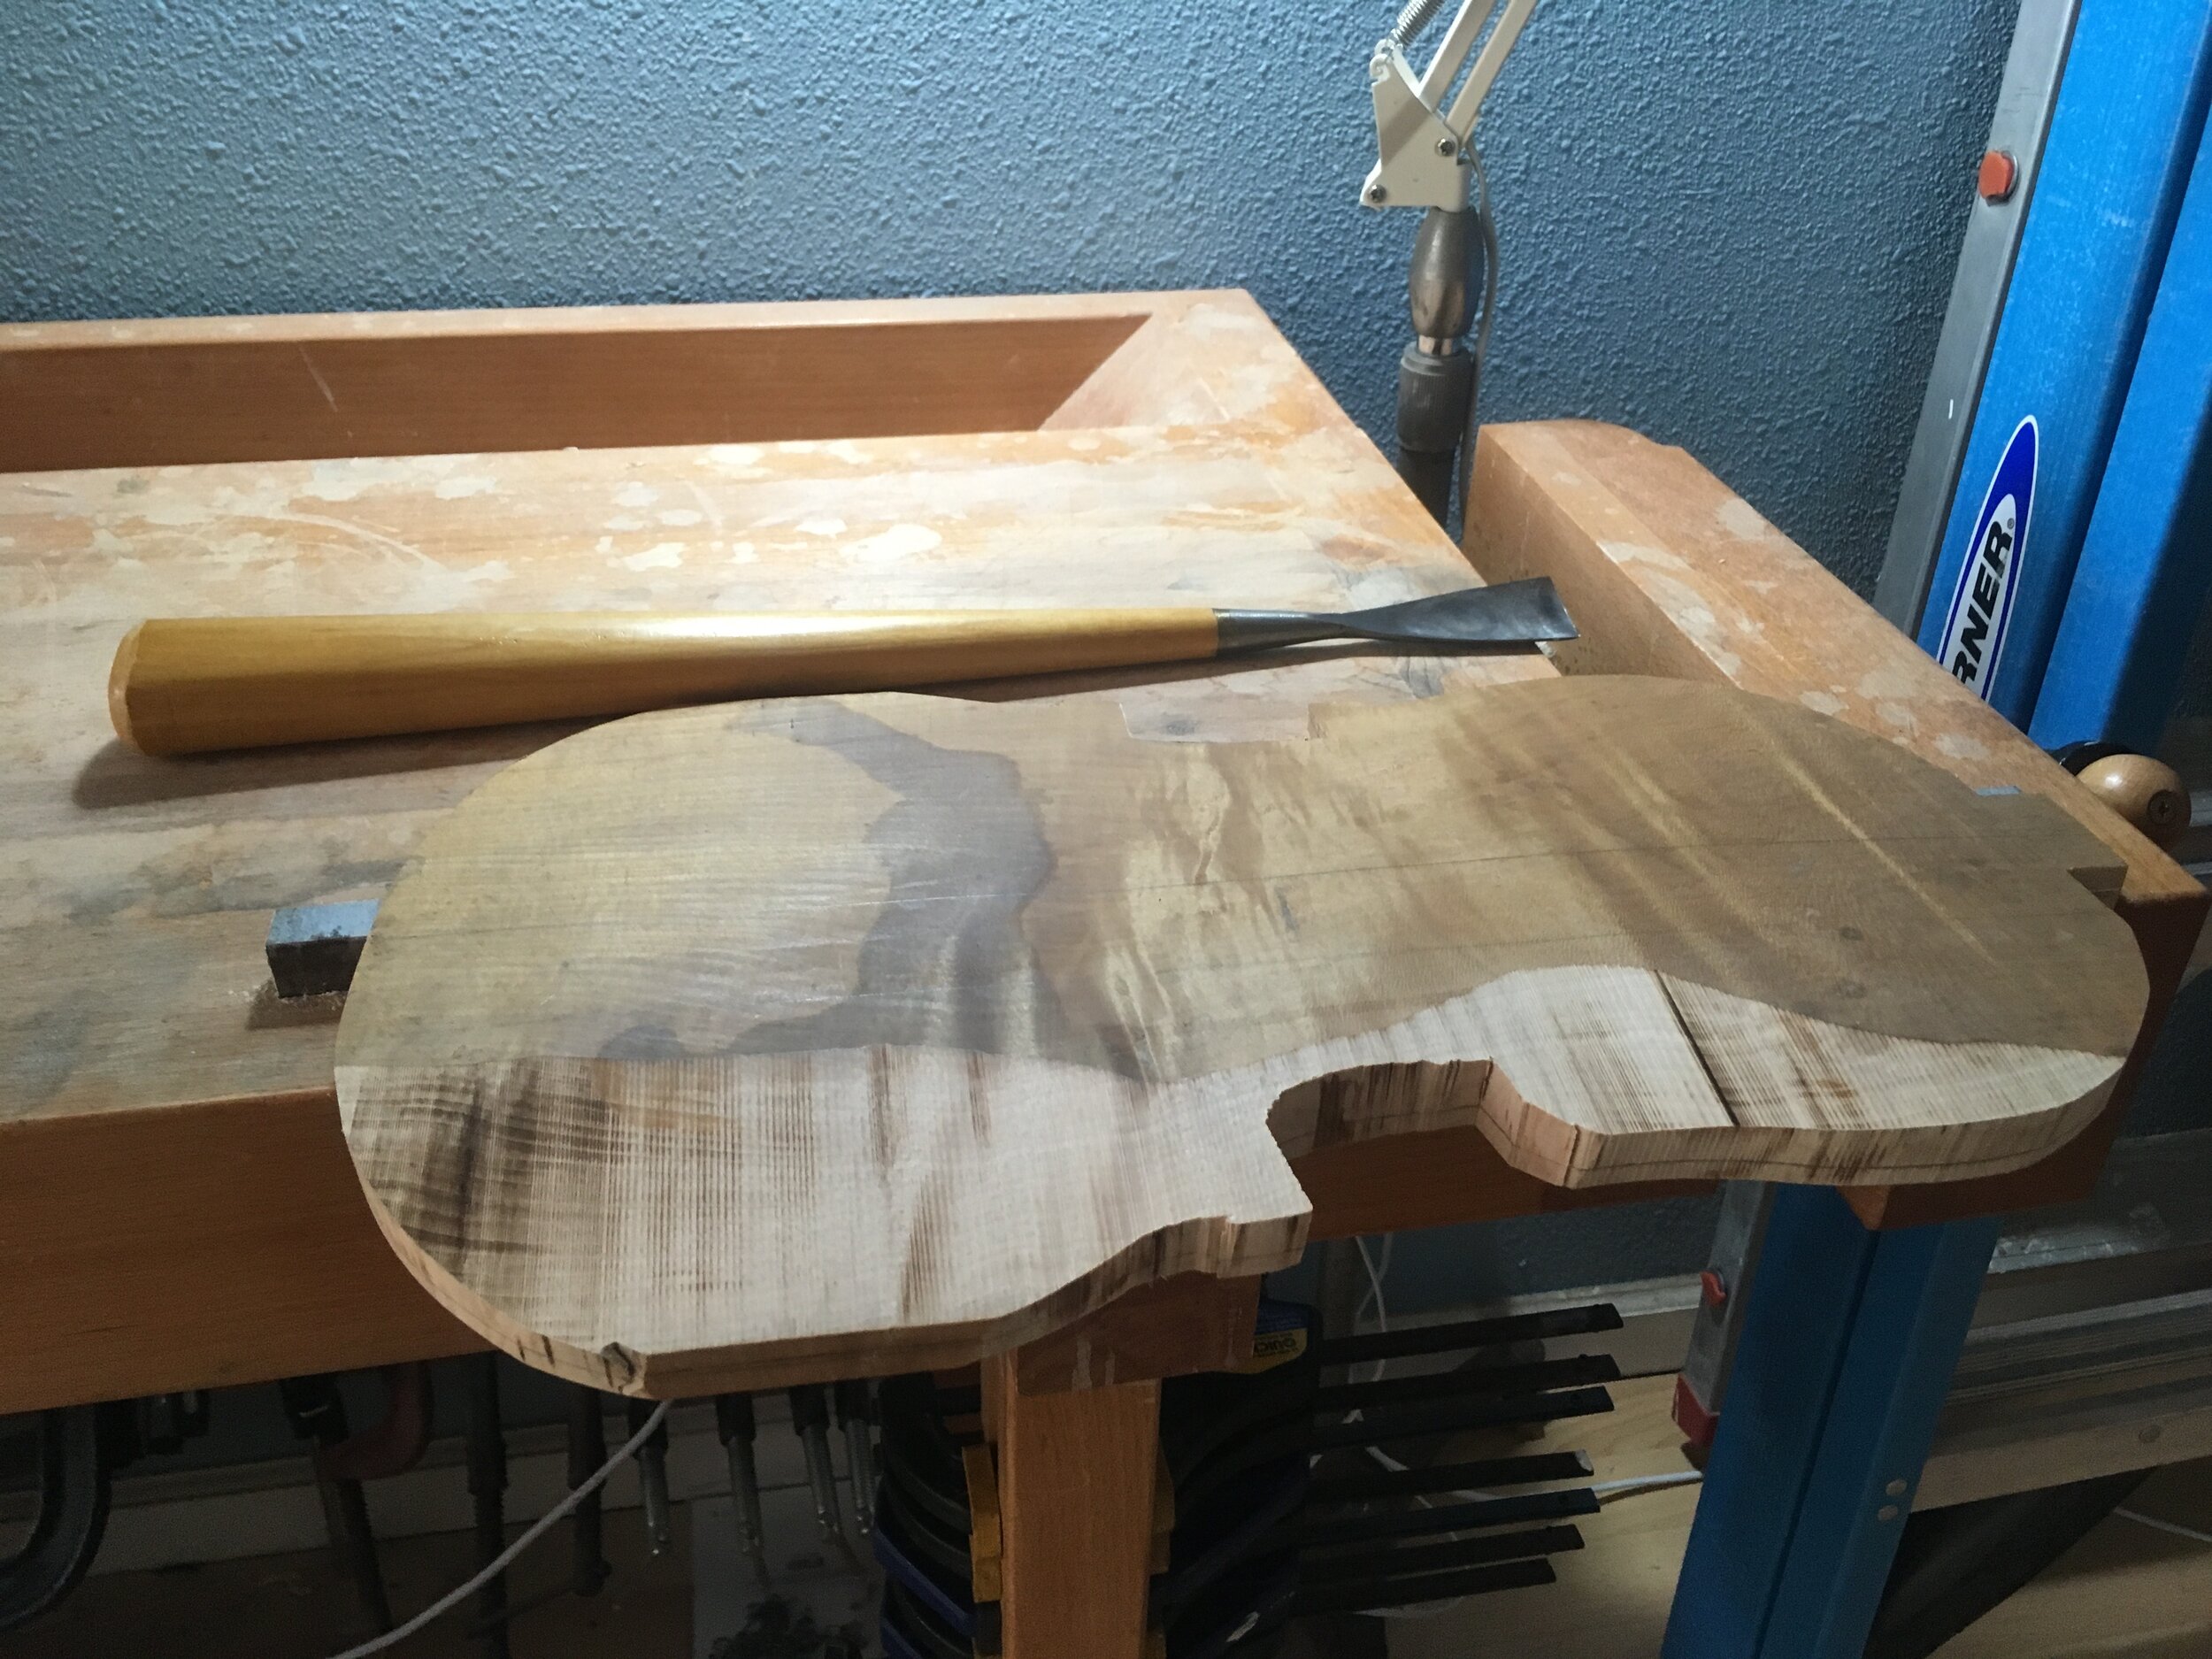
 After a ruff cut, in the vice before picture
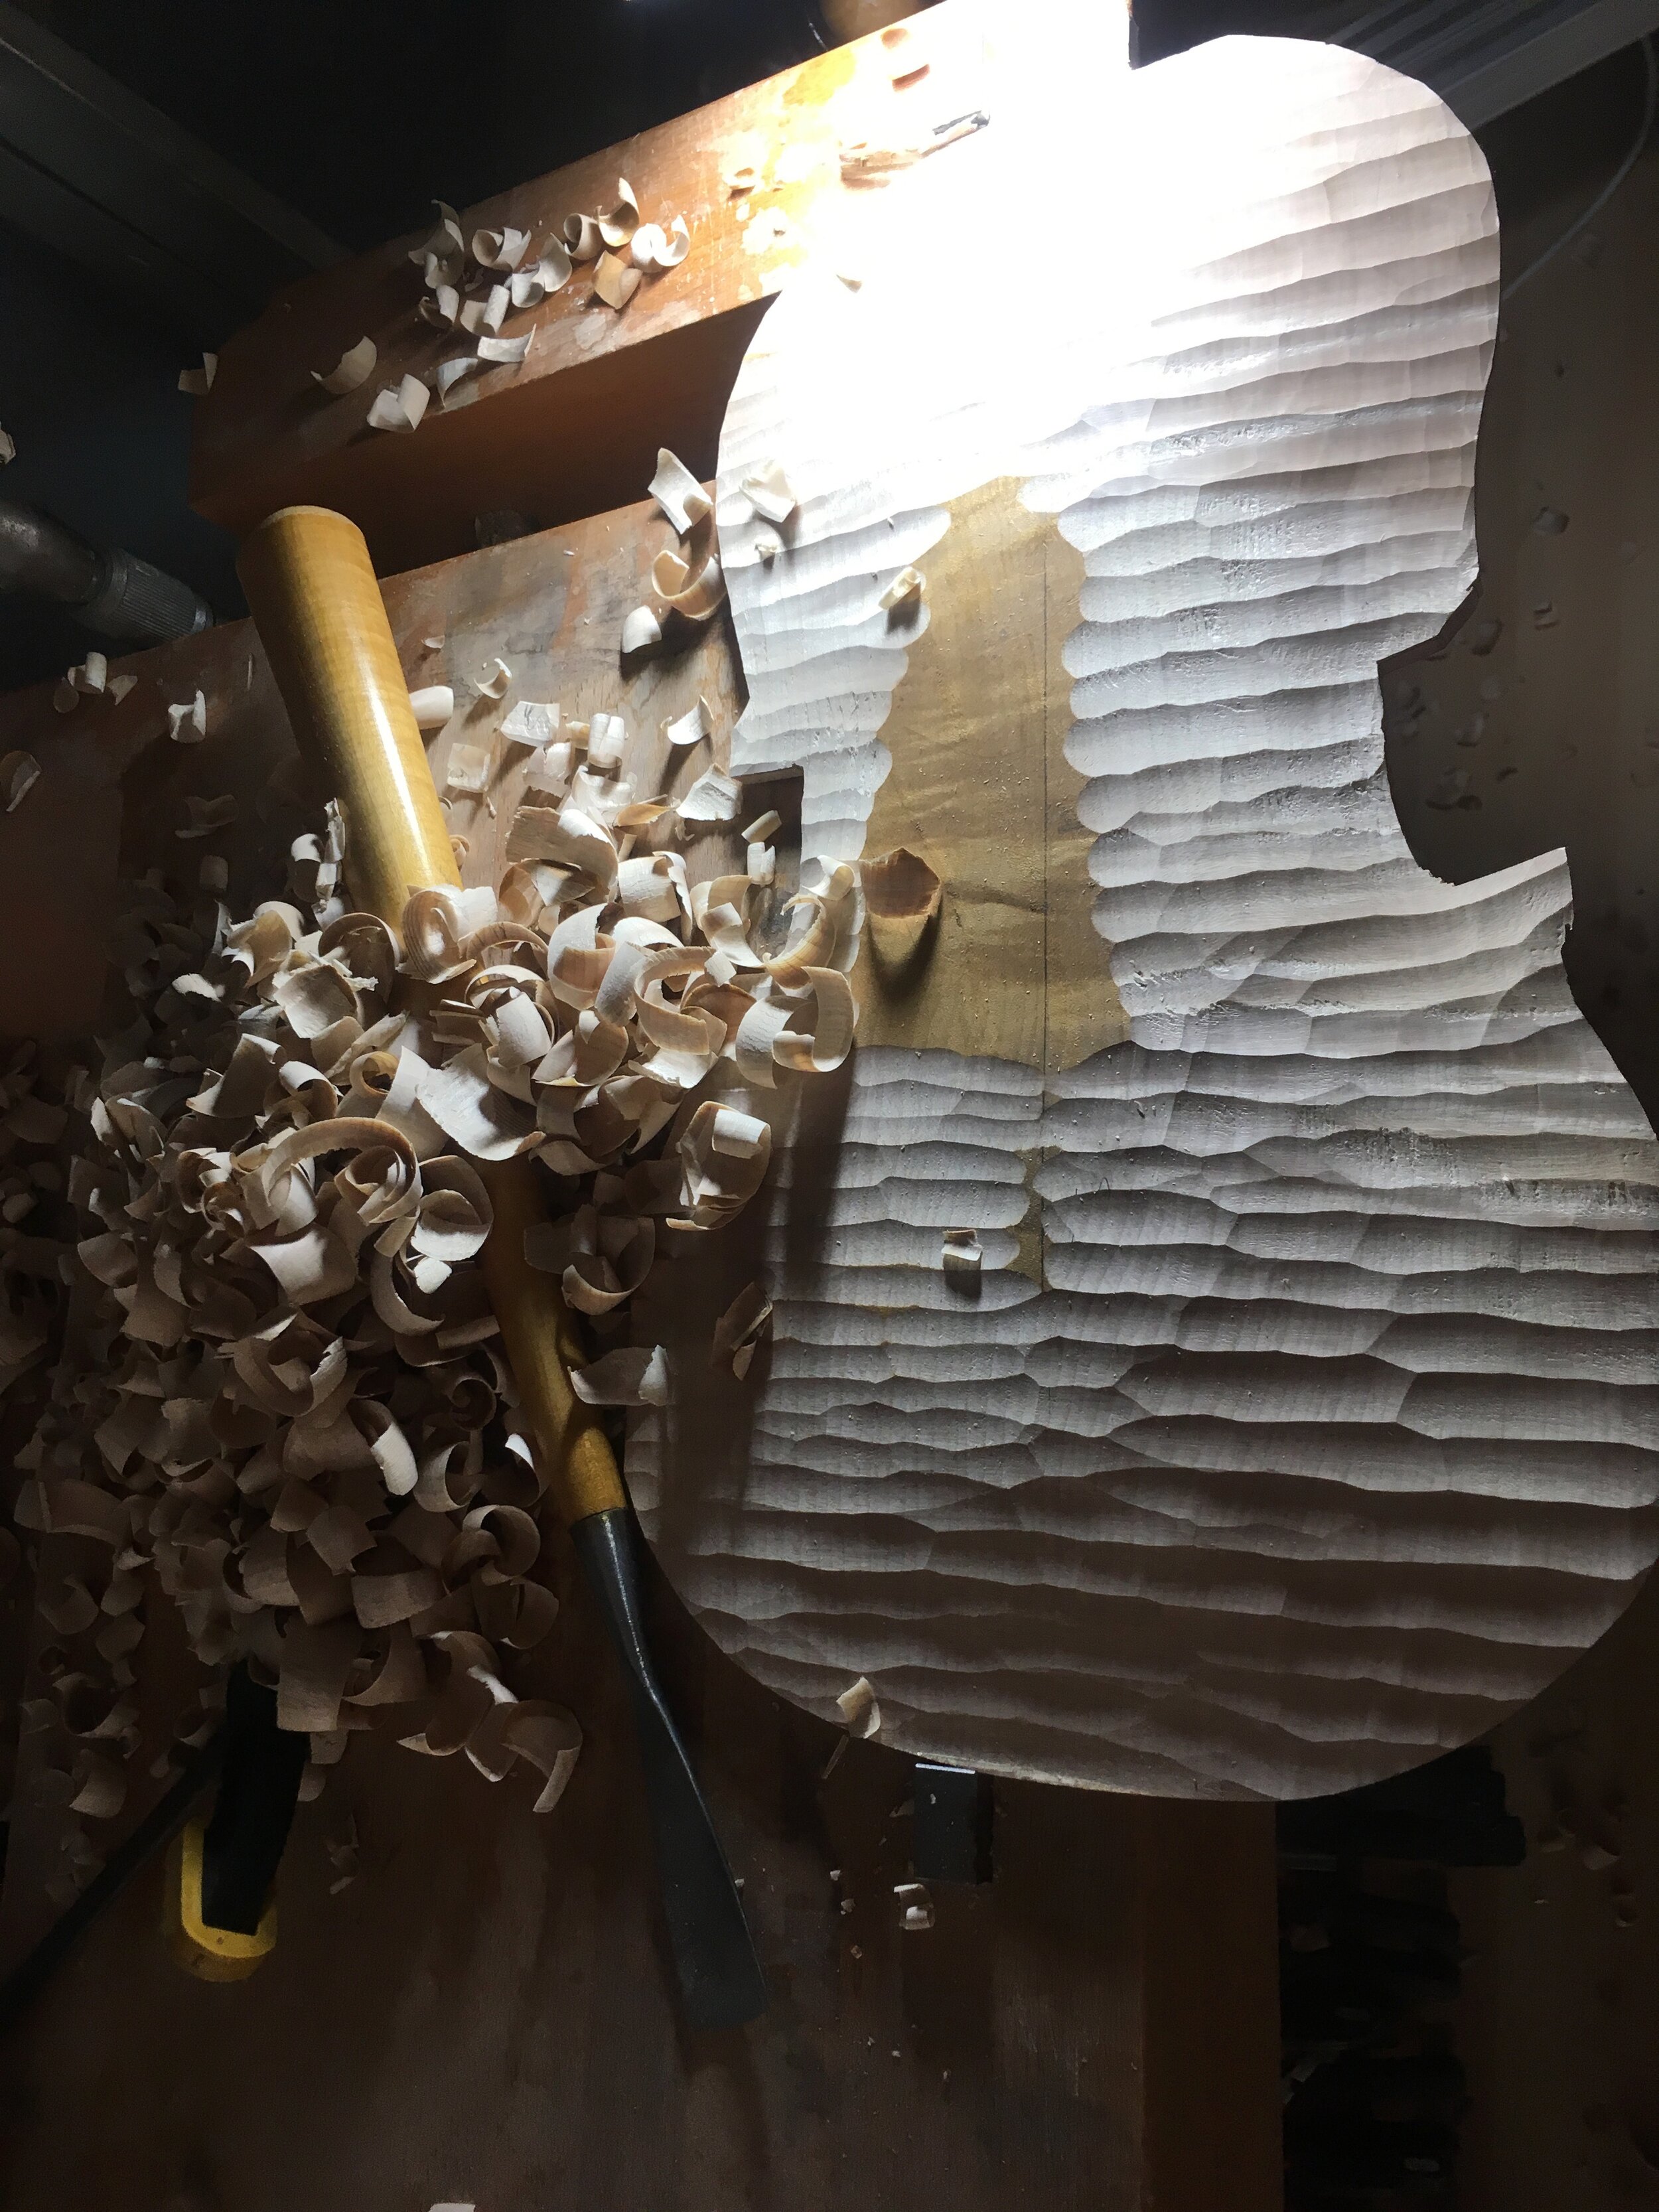
 Gauging the back, using the light
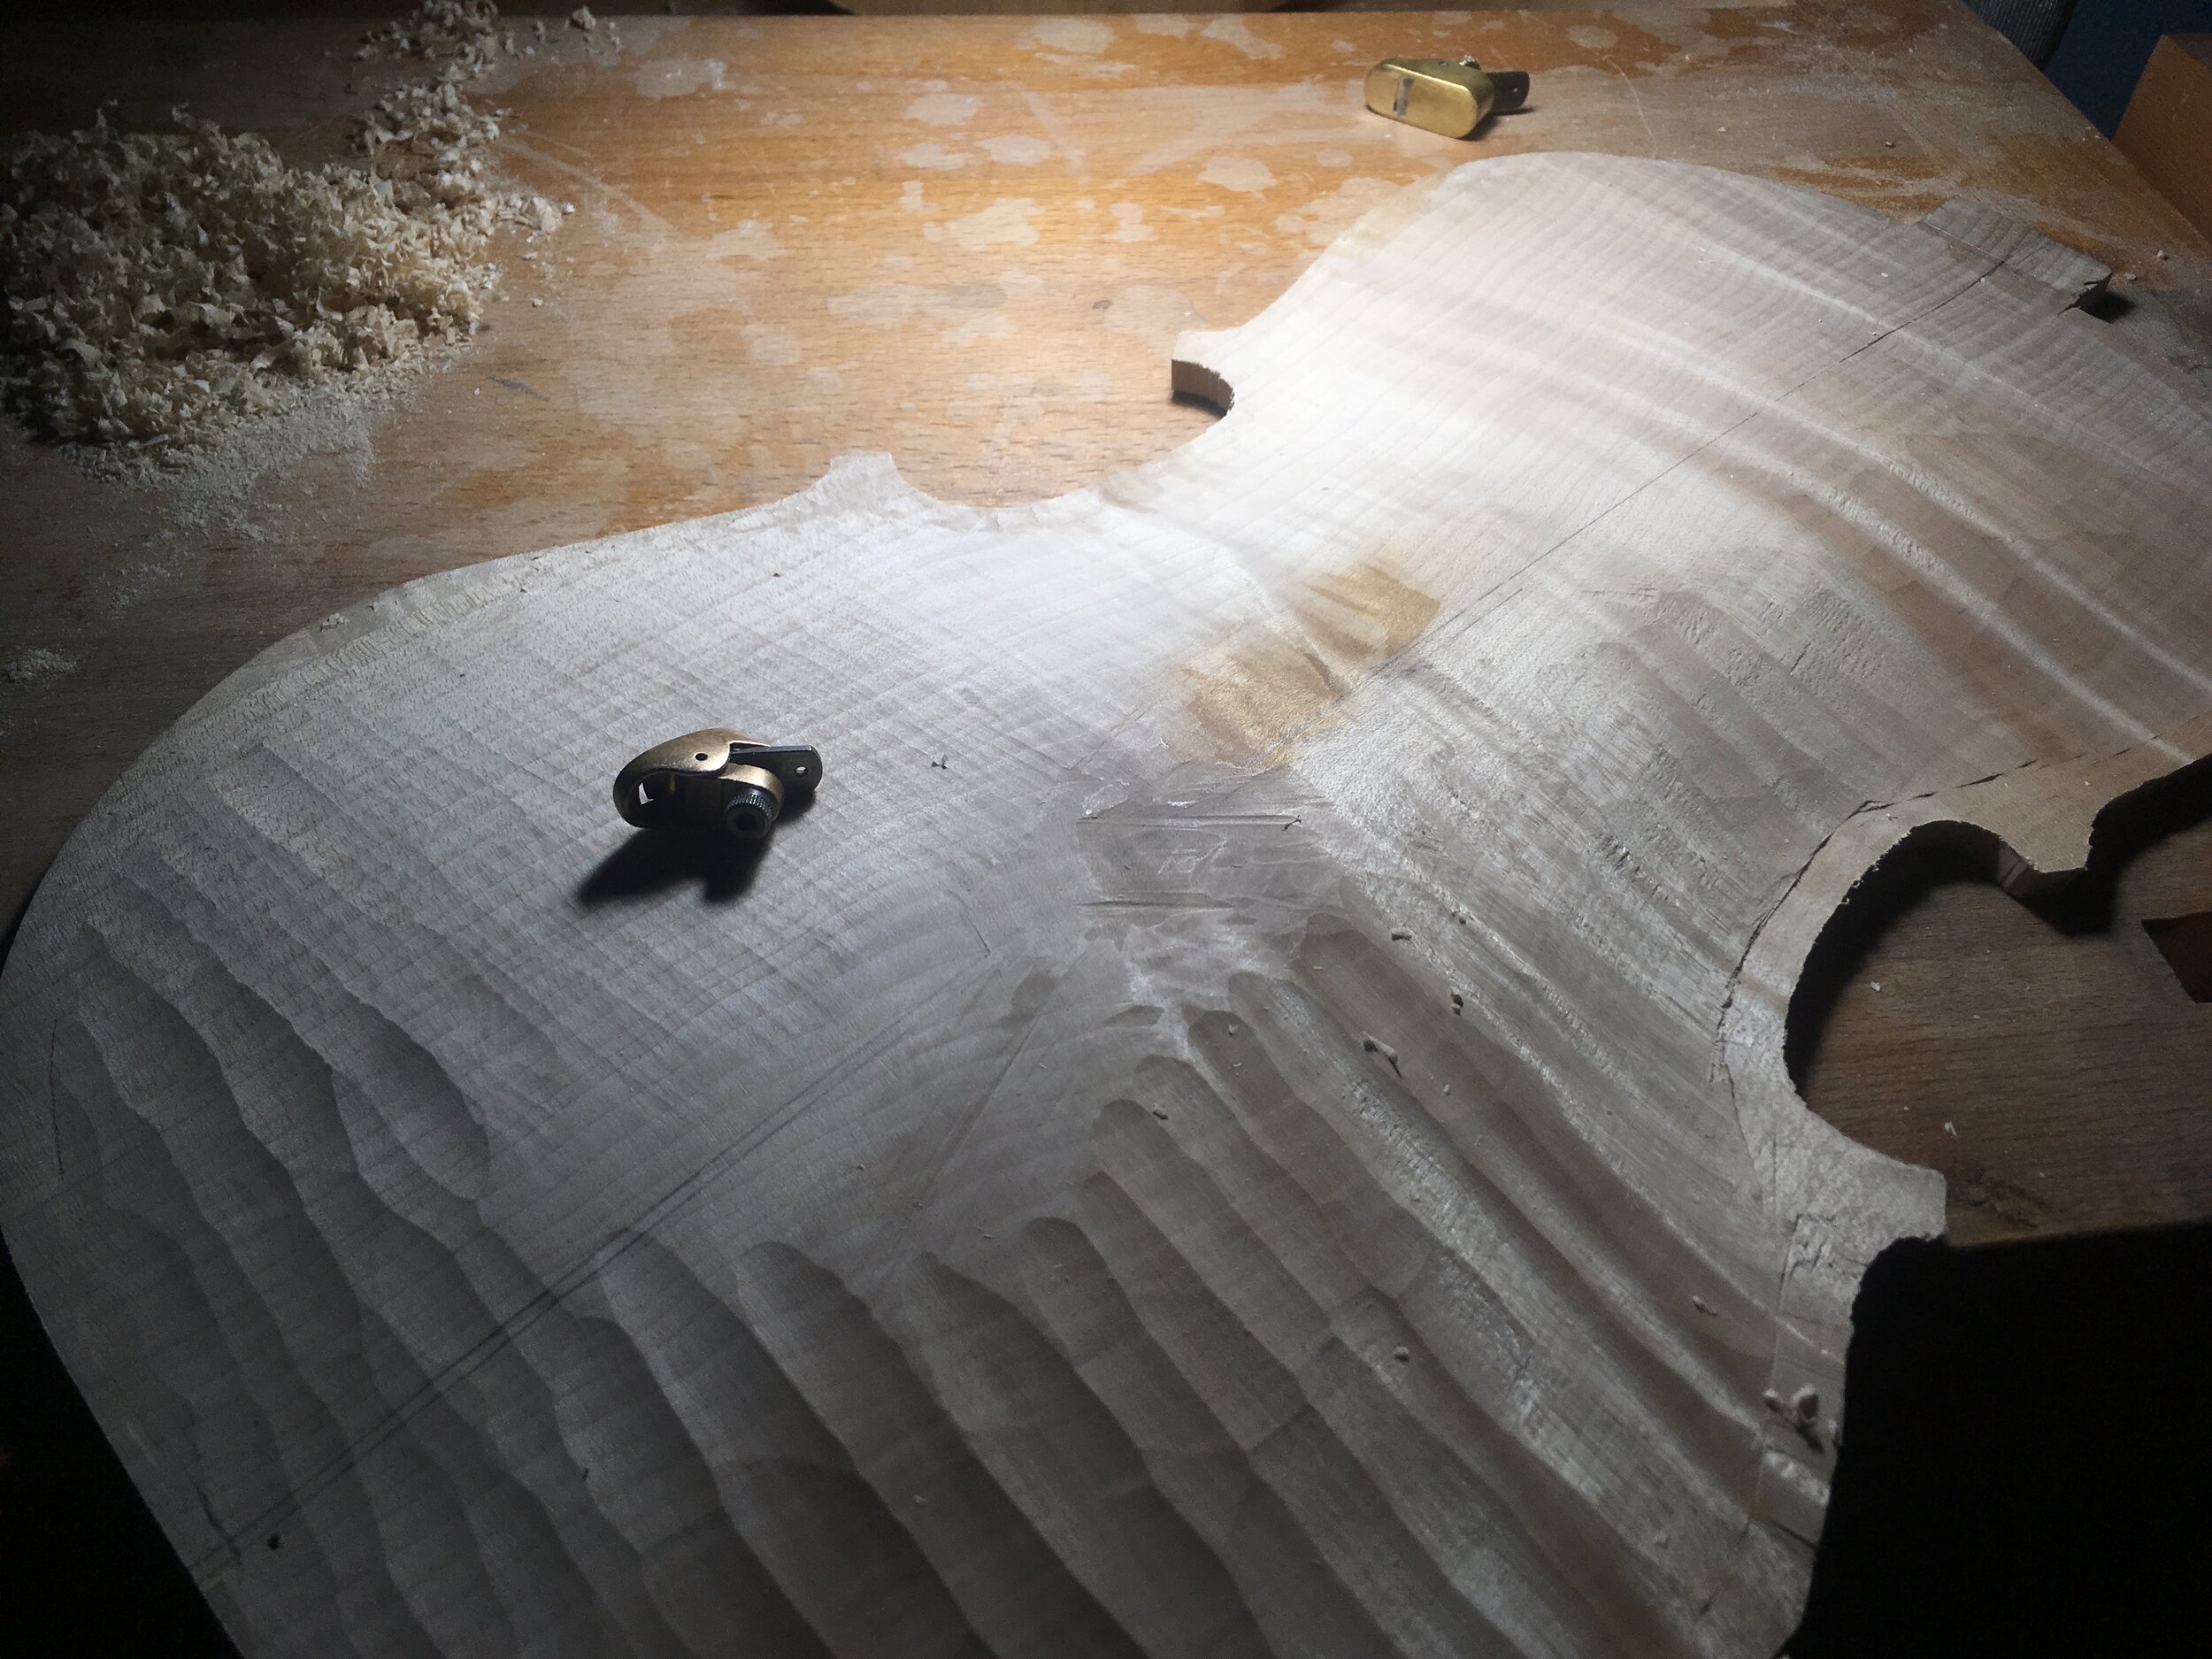
 Shaping the back with a fingerplane
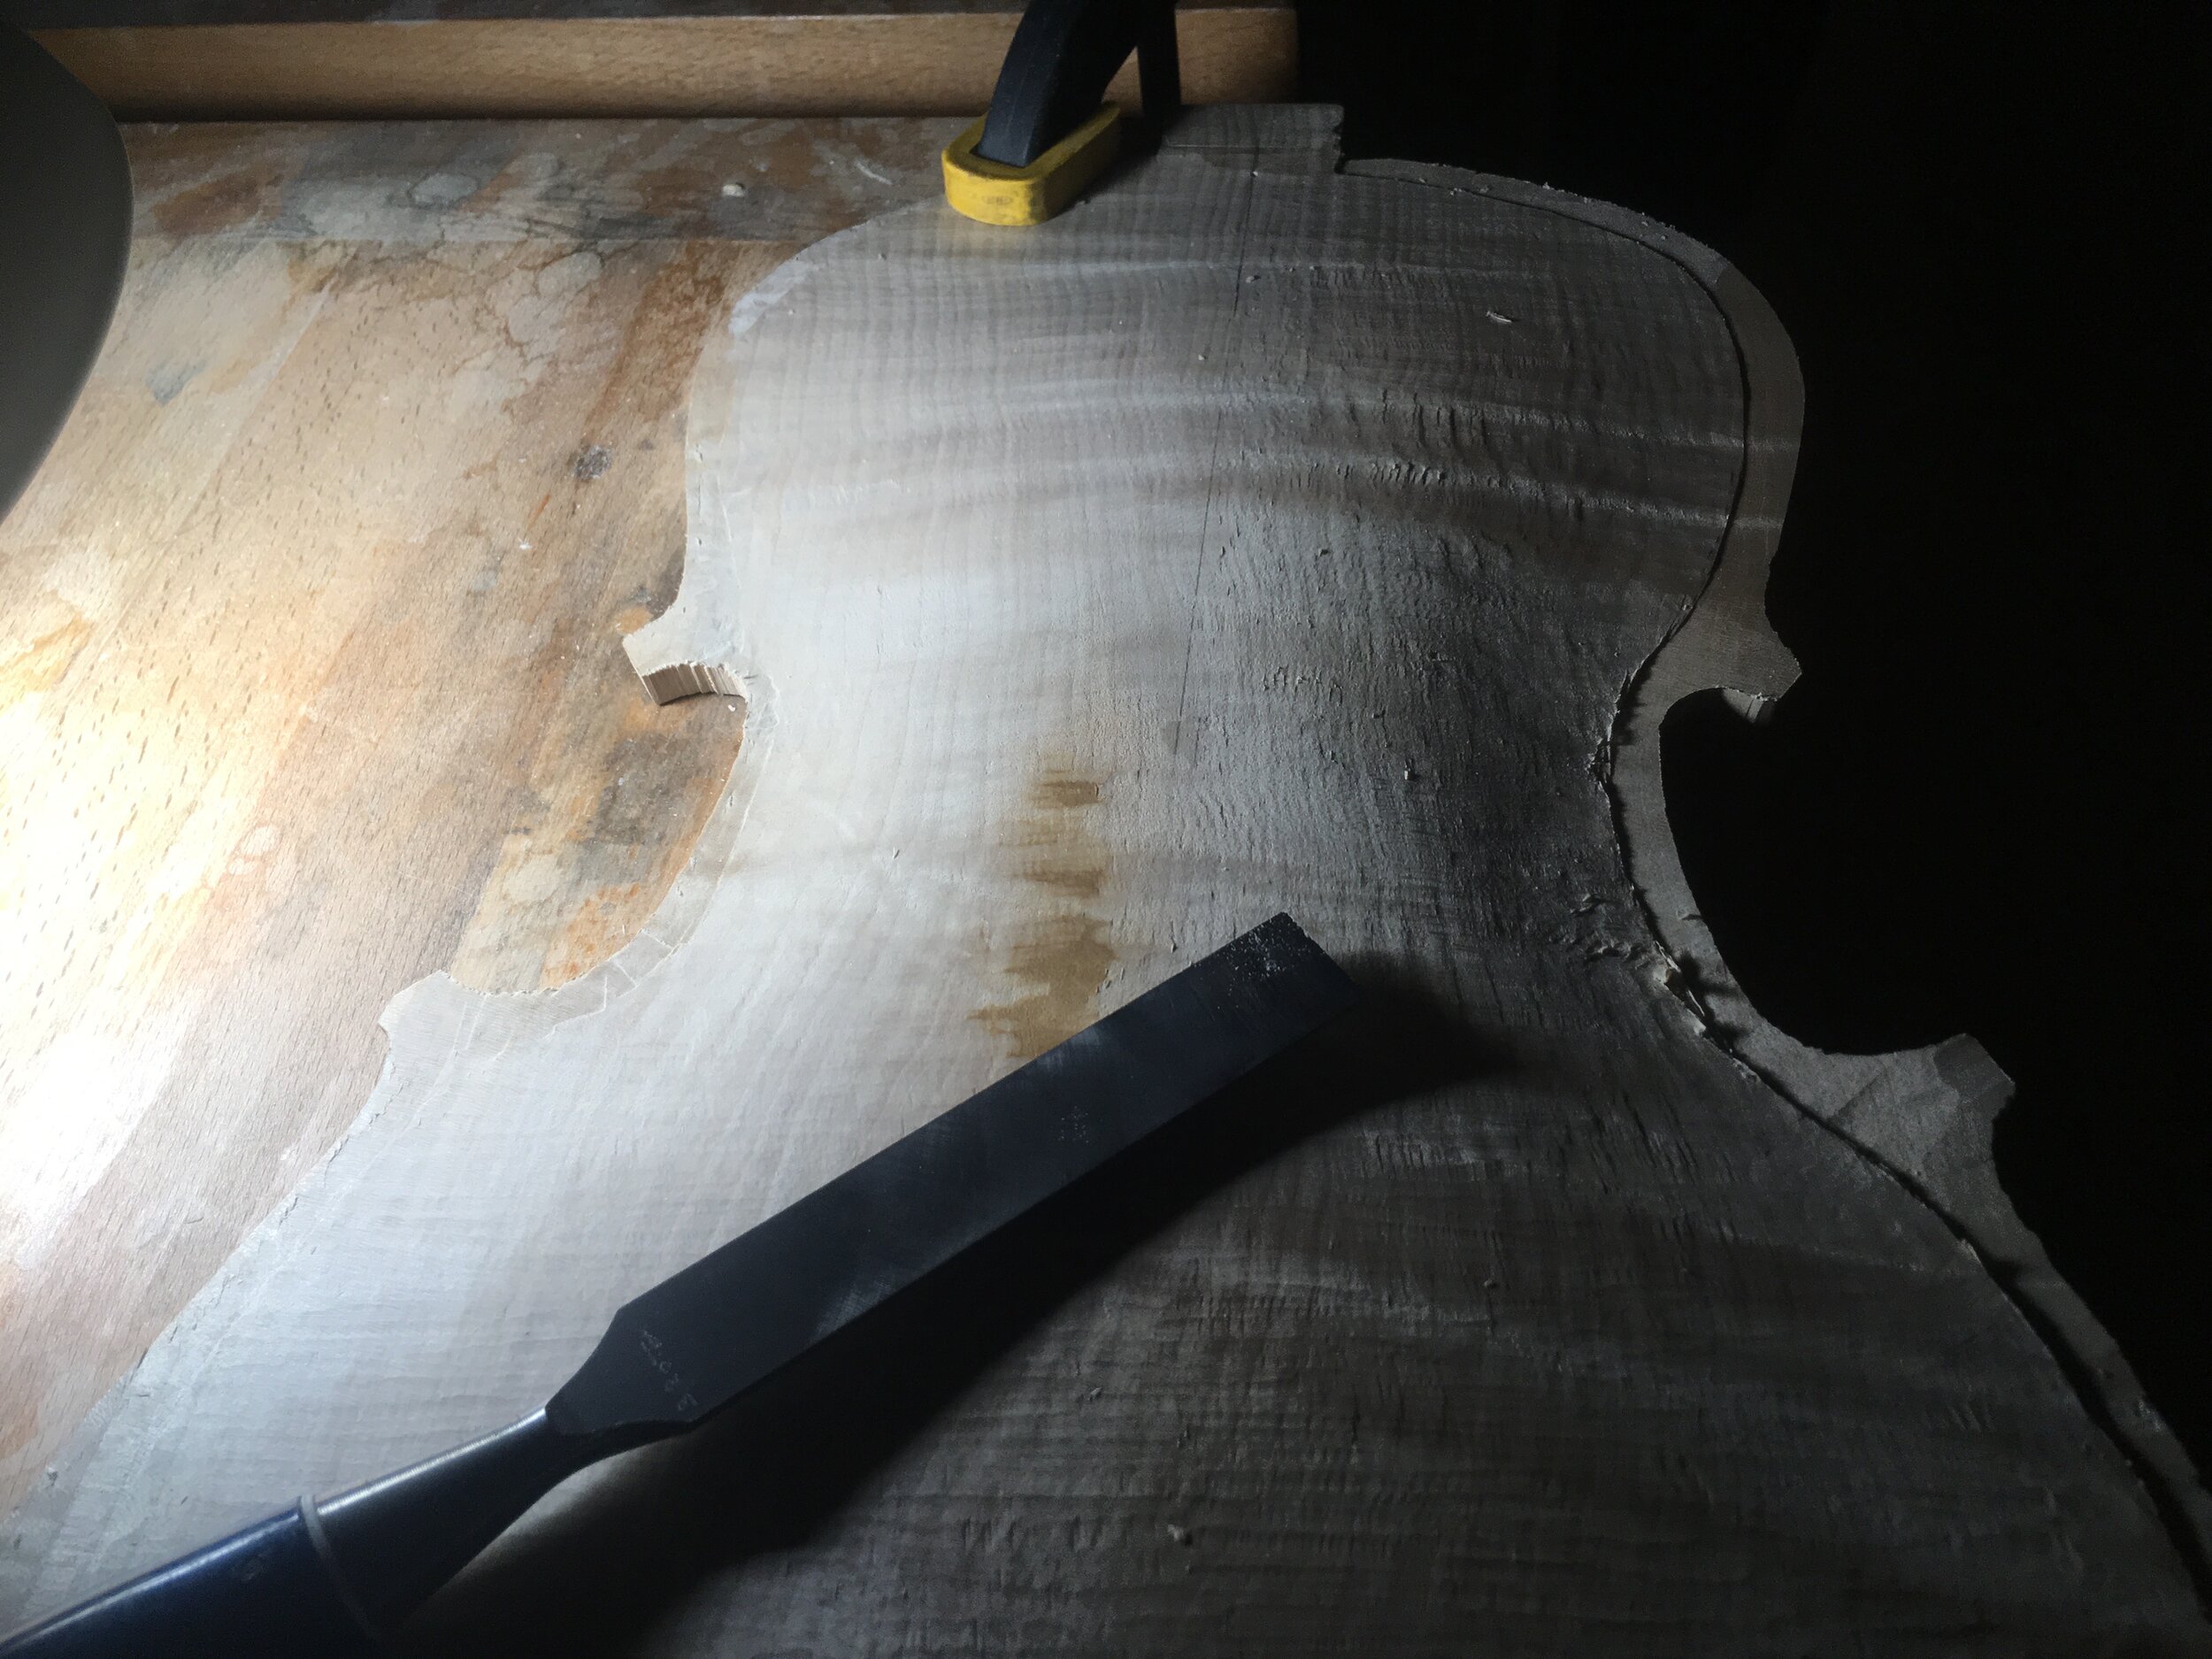
 Chisel the contour flat
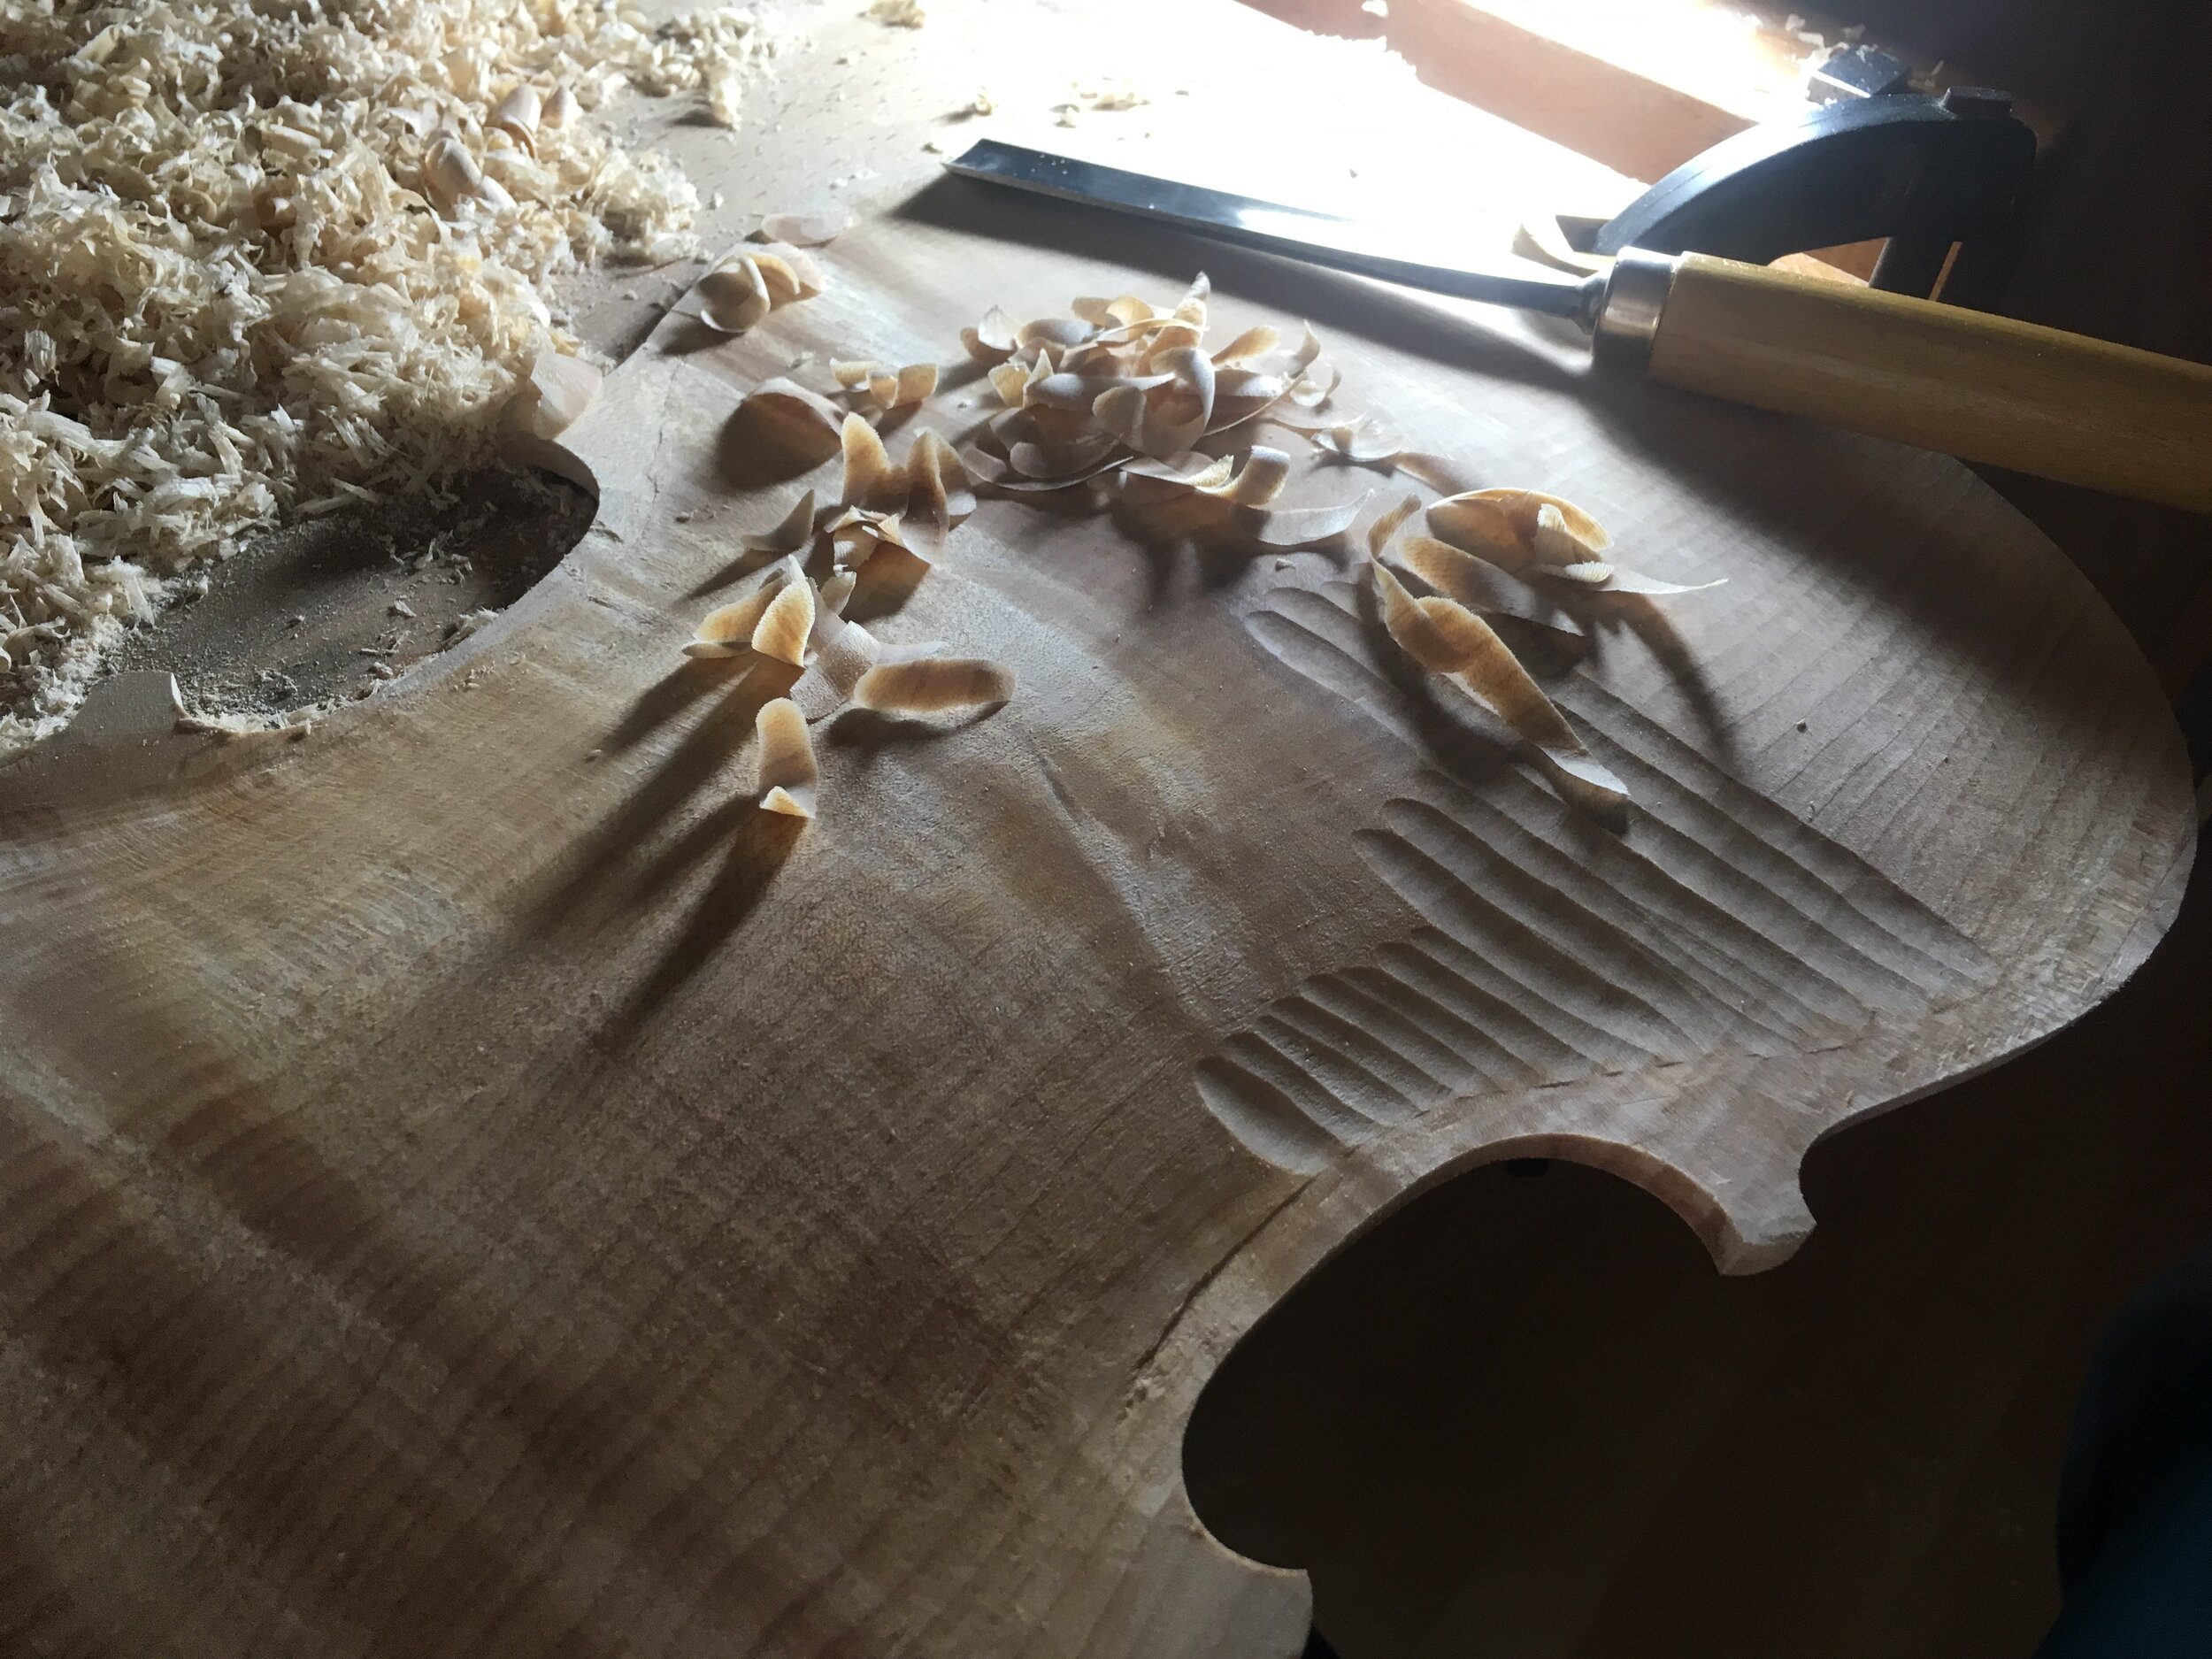
 Gauging the remains
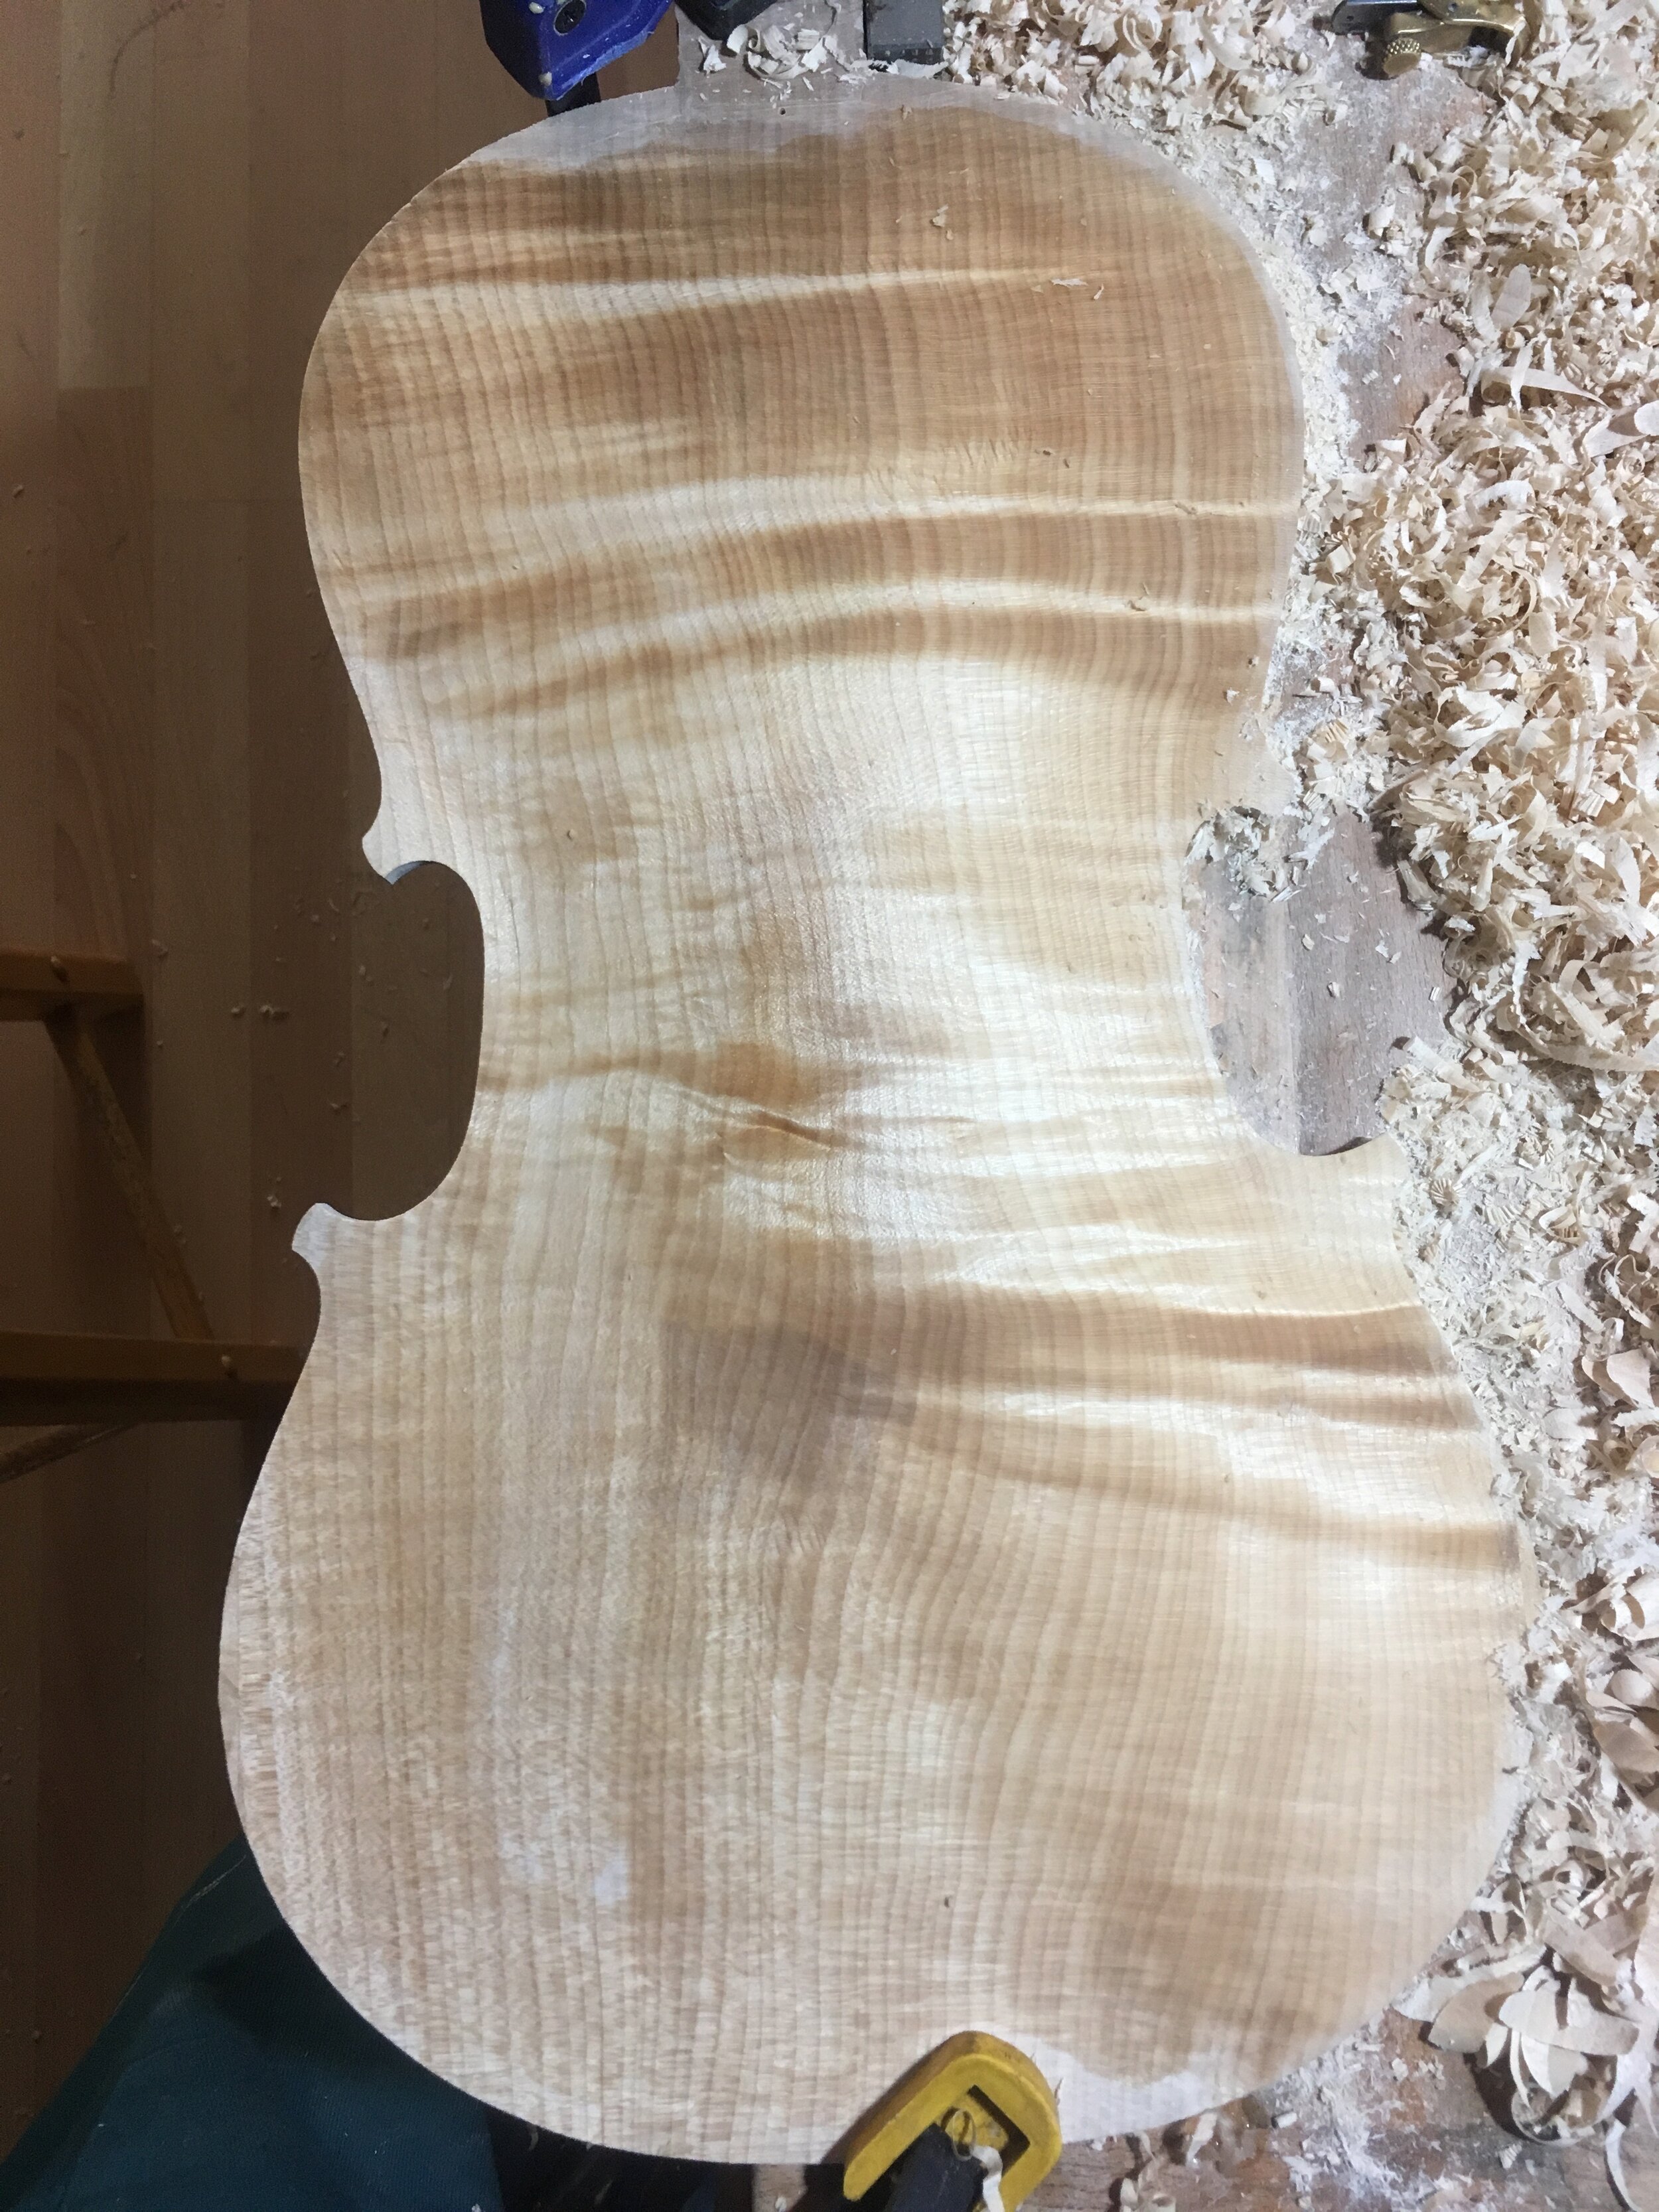
 Before fluting
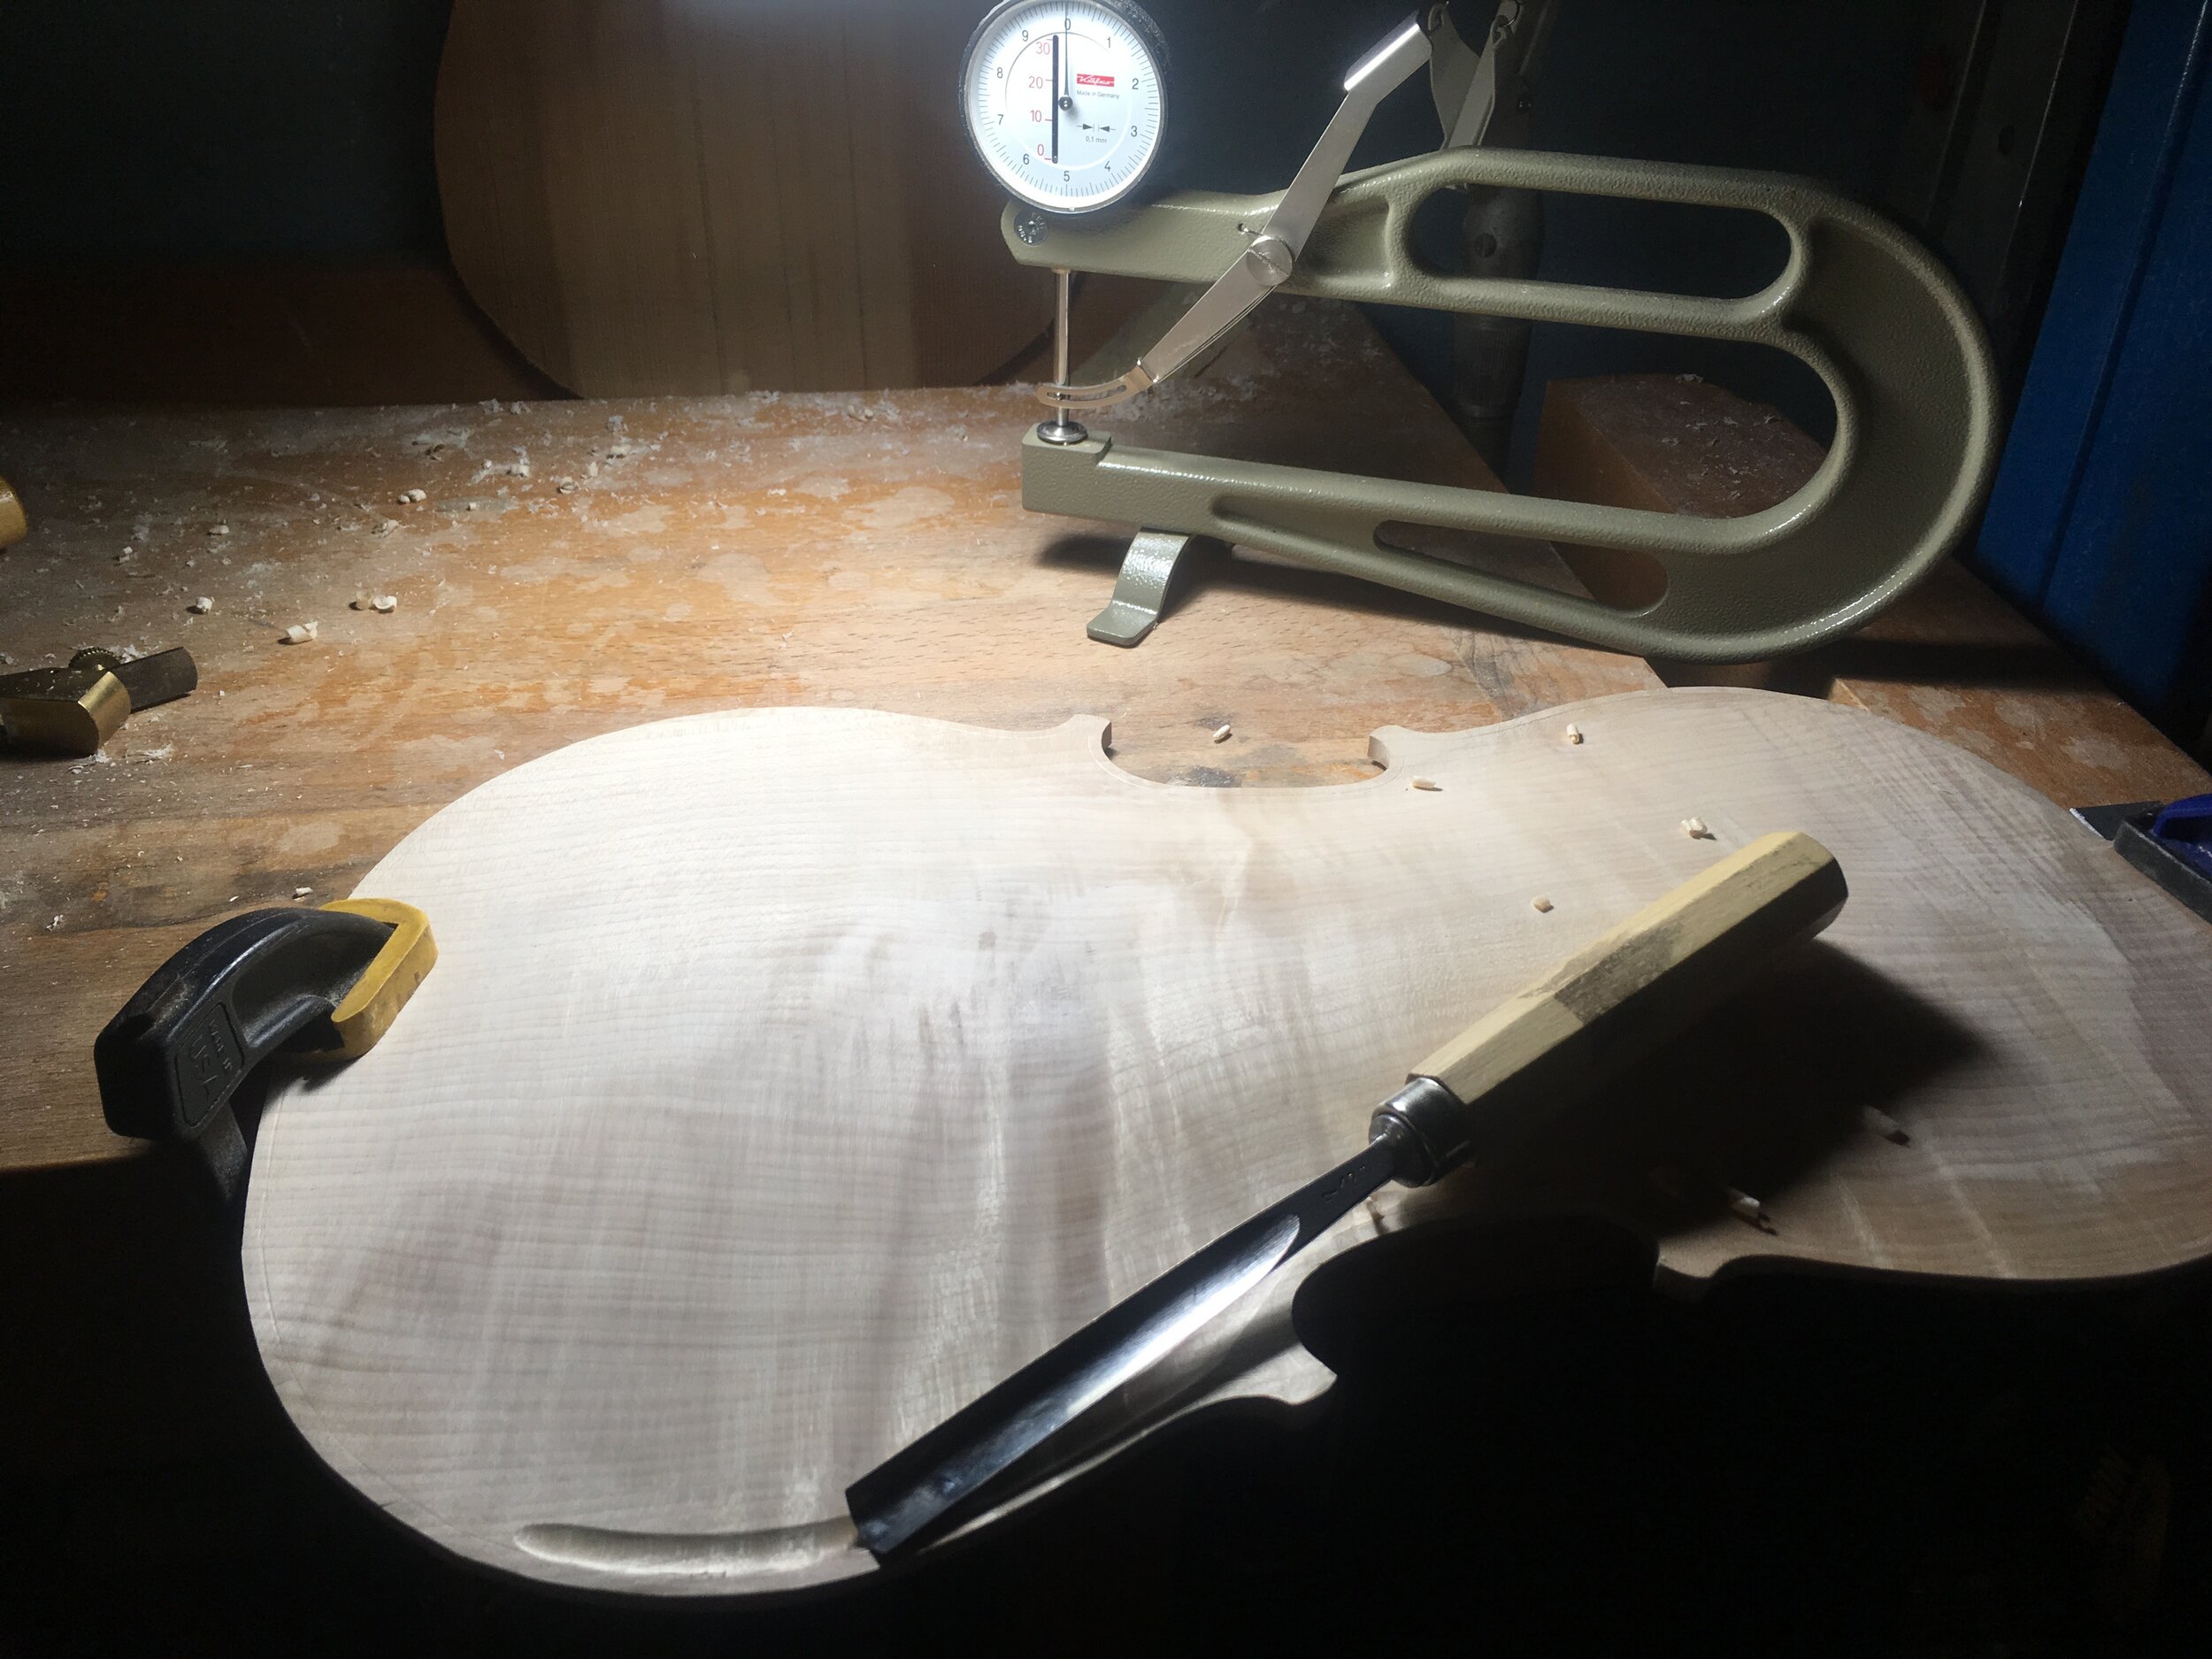
 Gauging the fluting
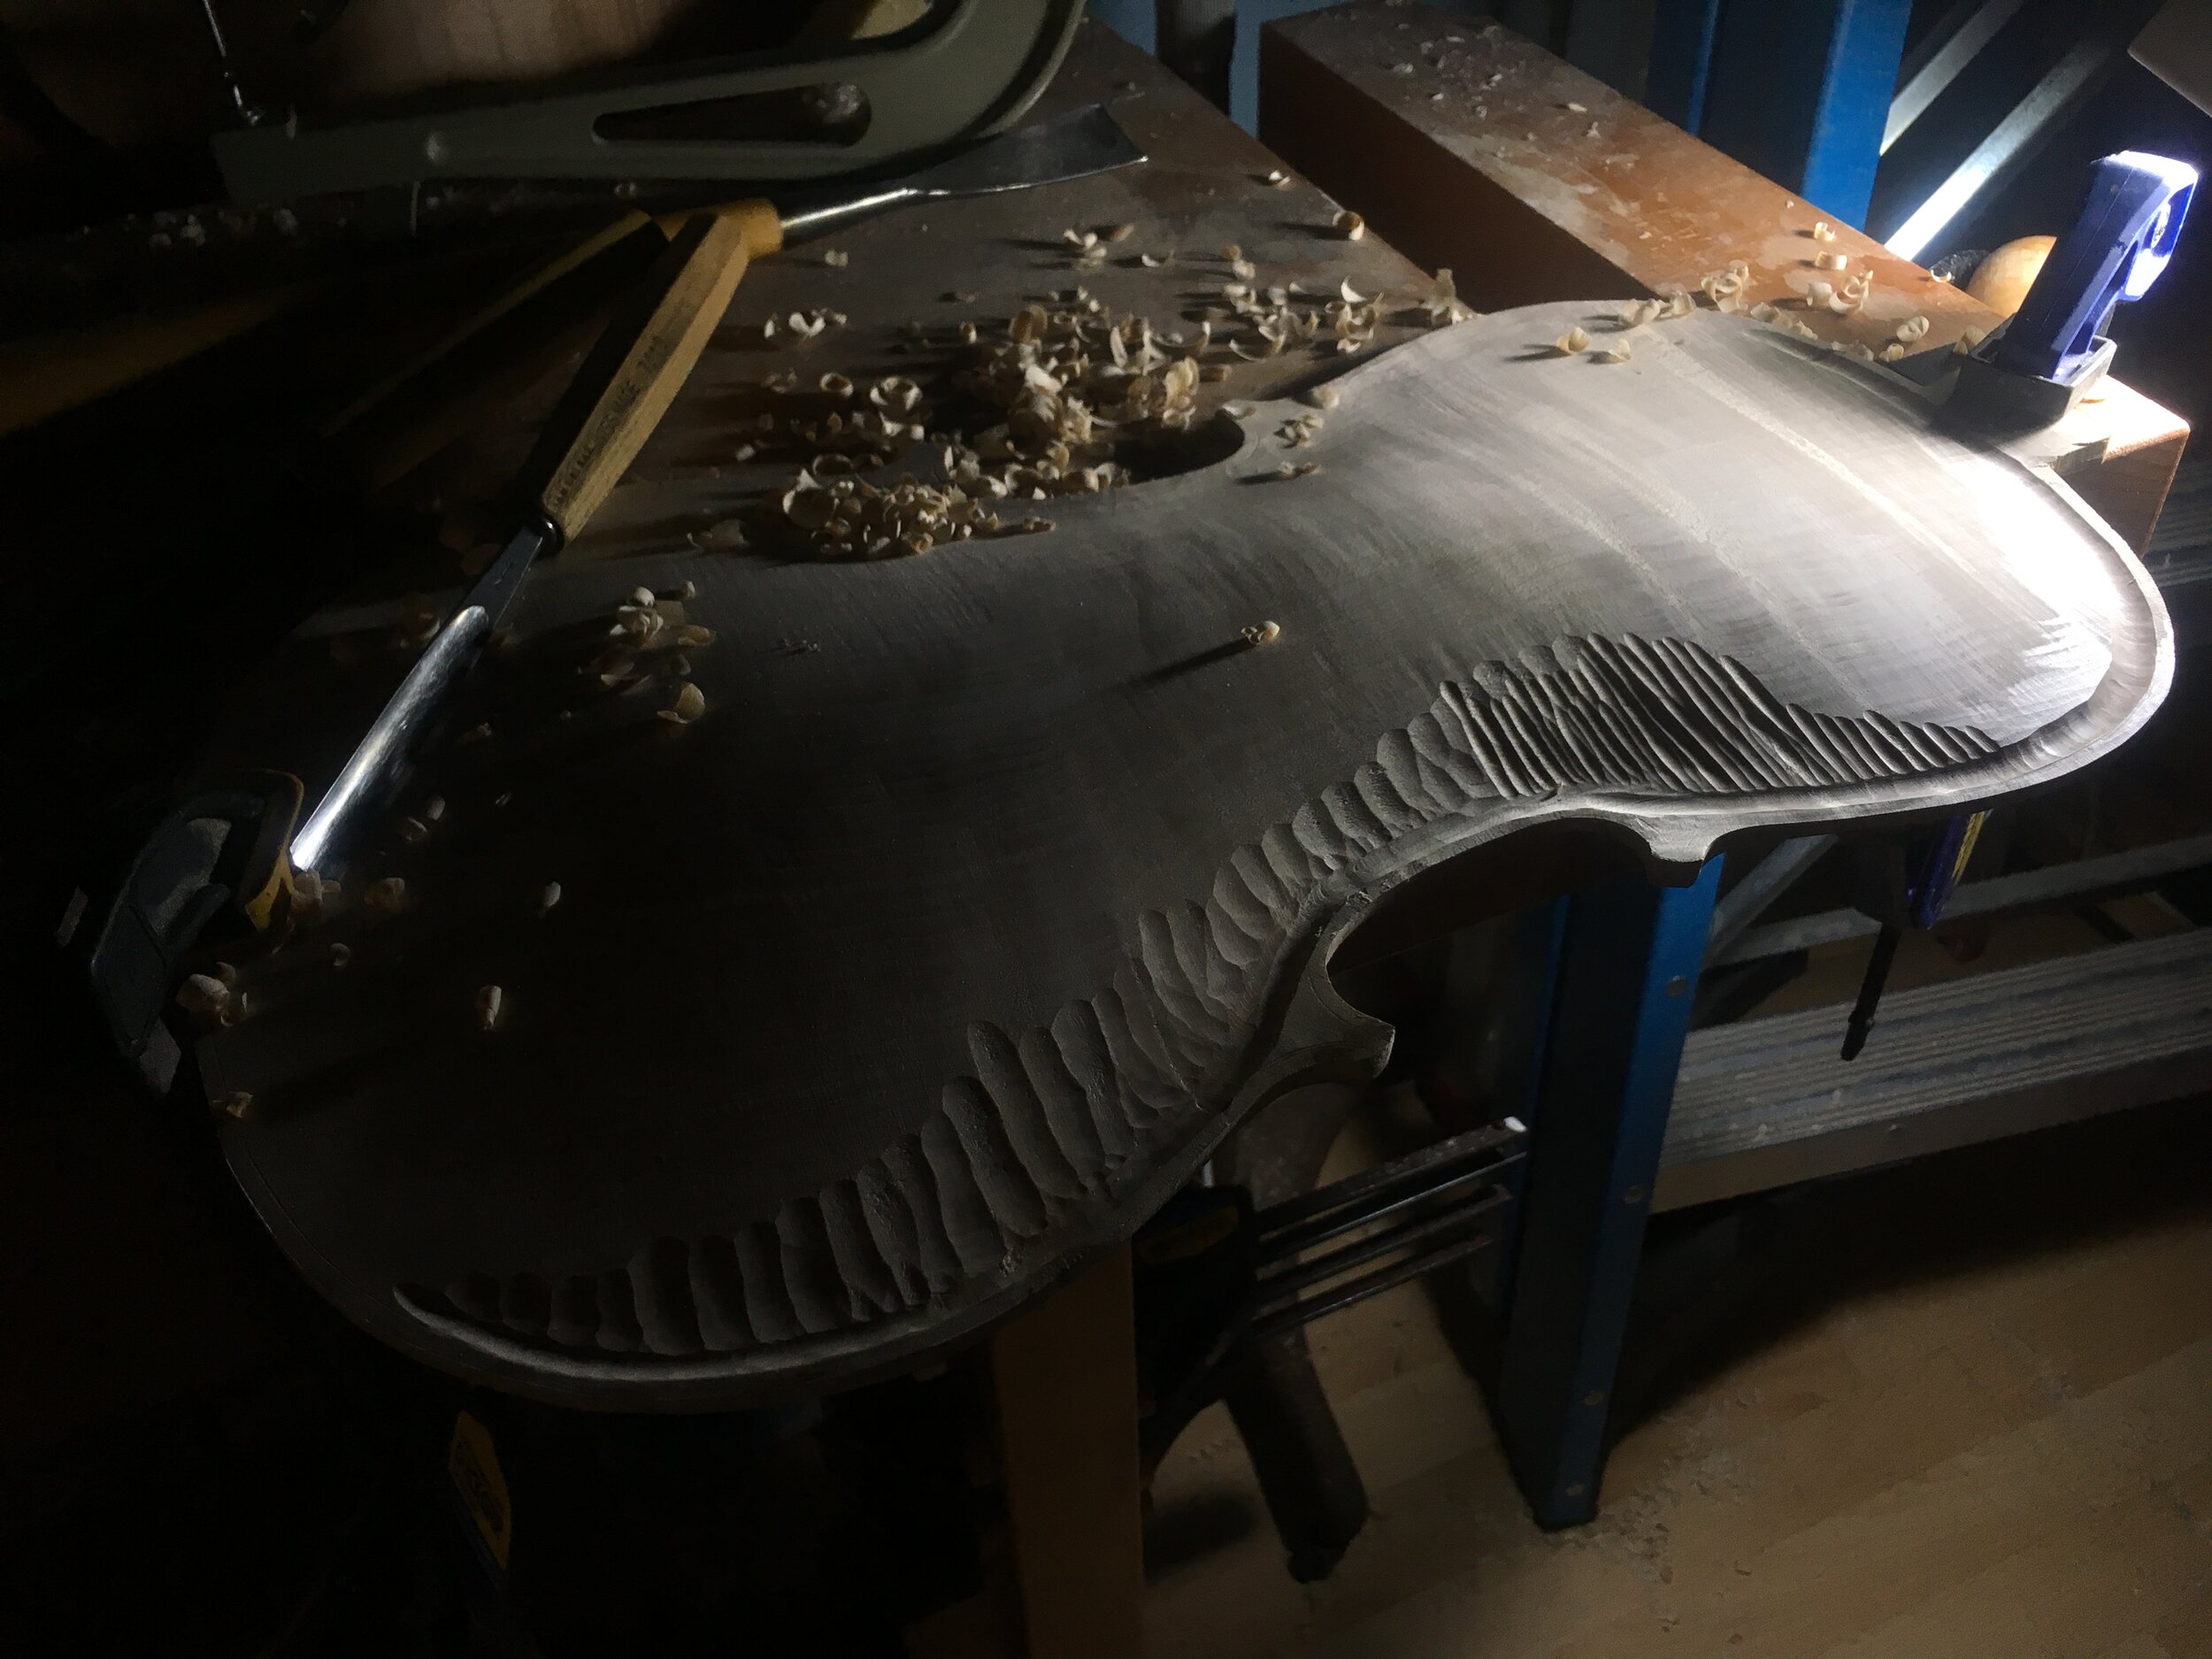
 Gauging the remains
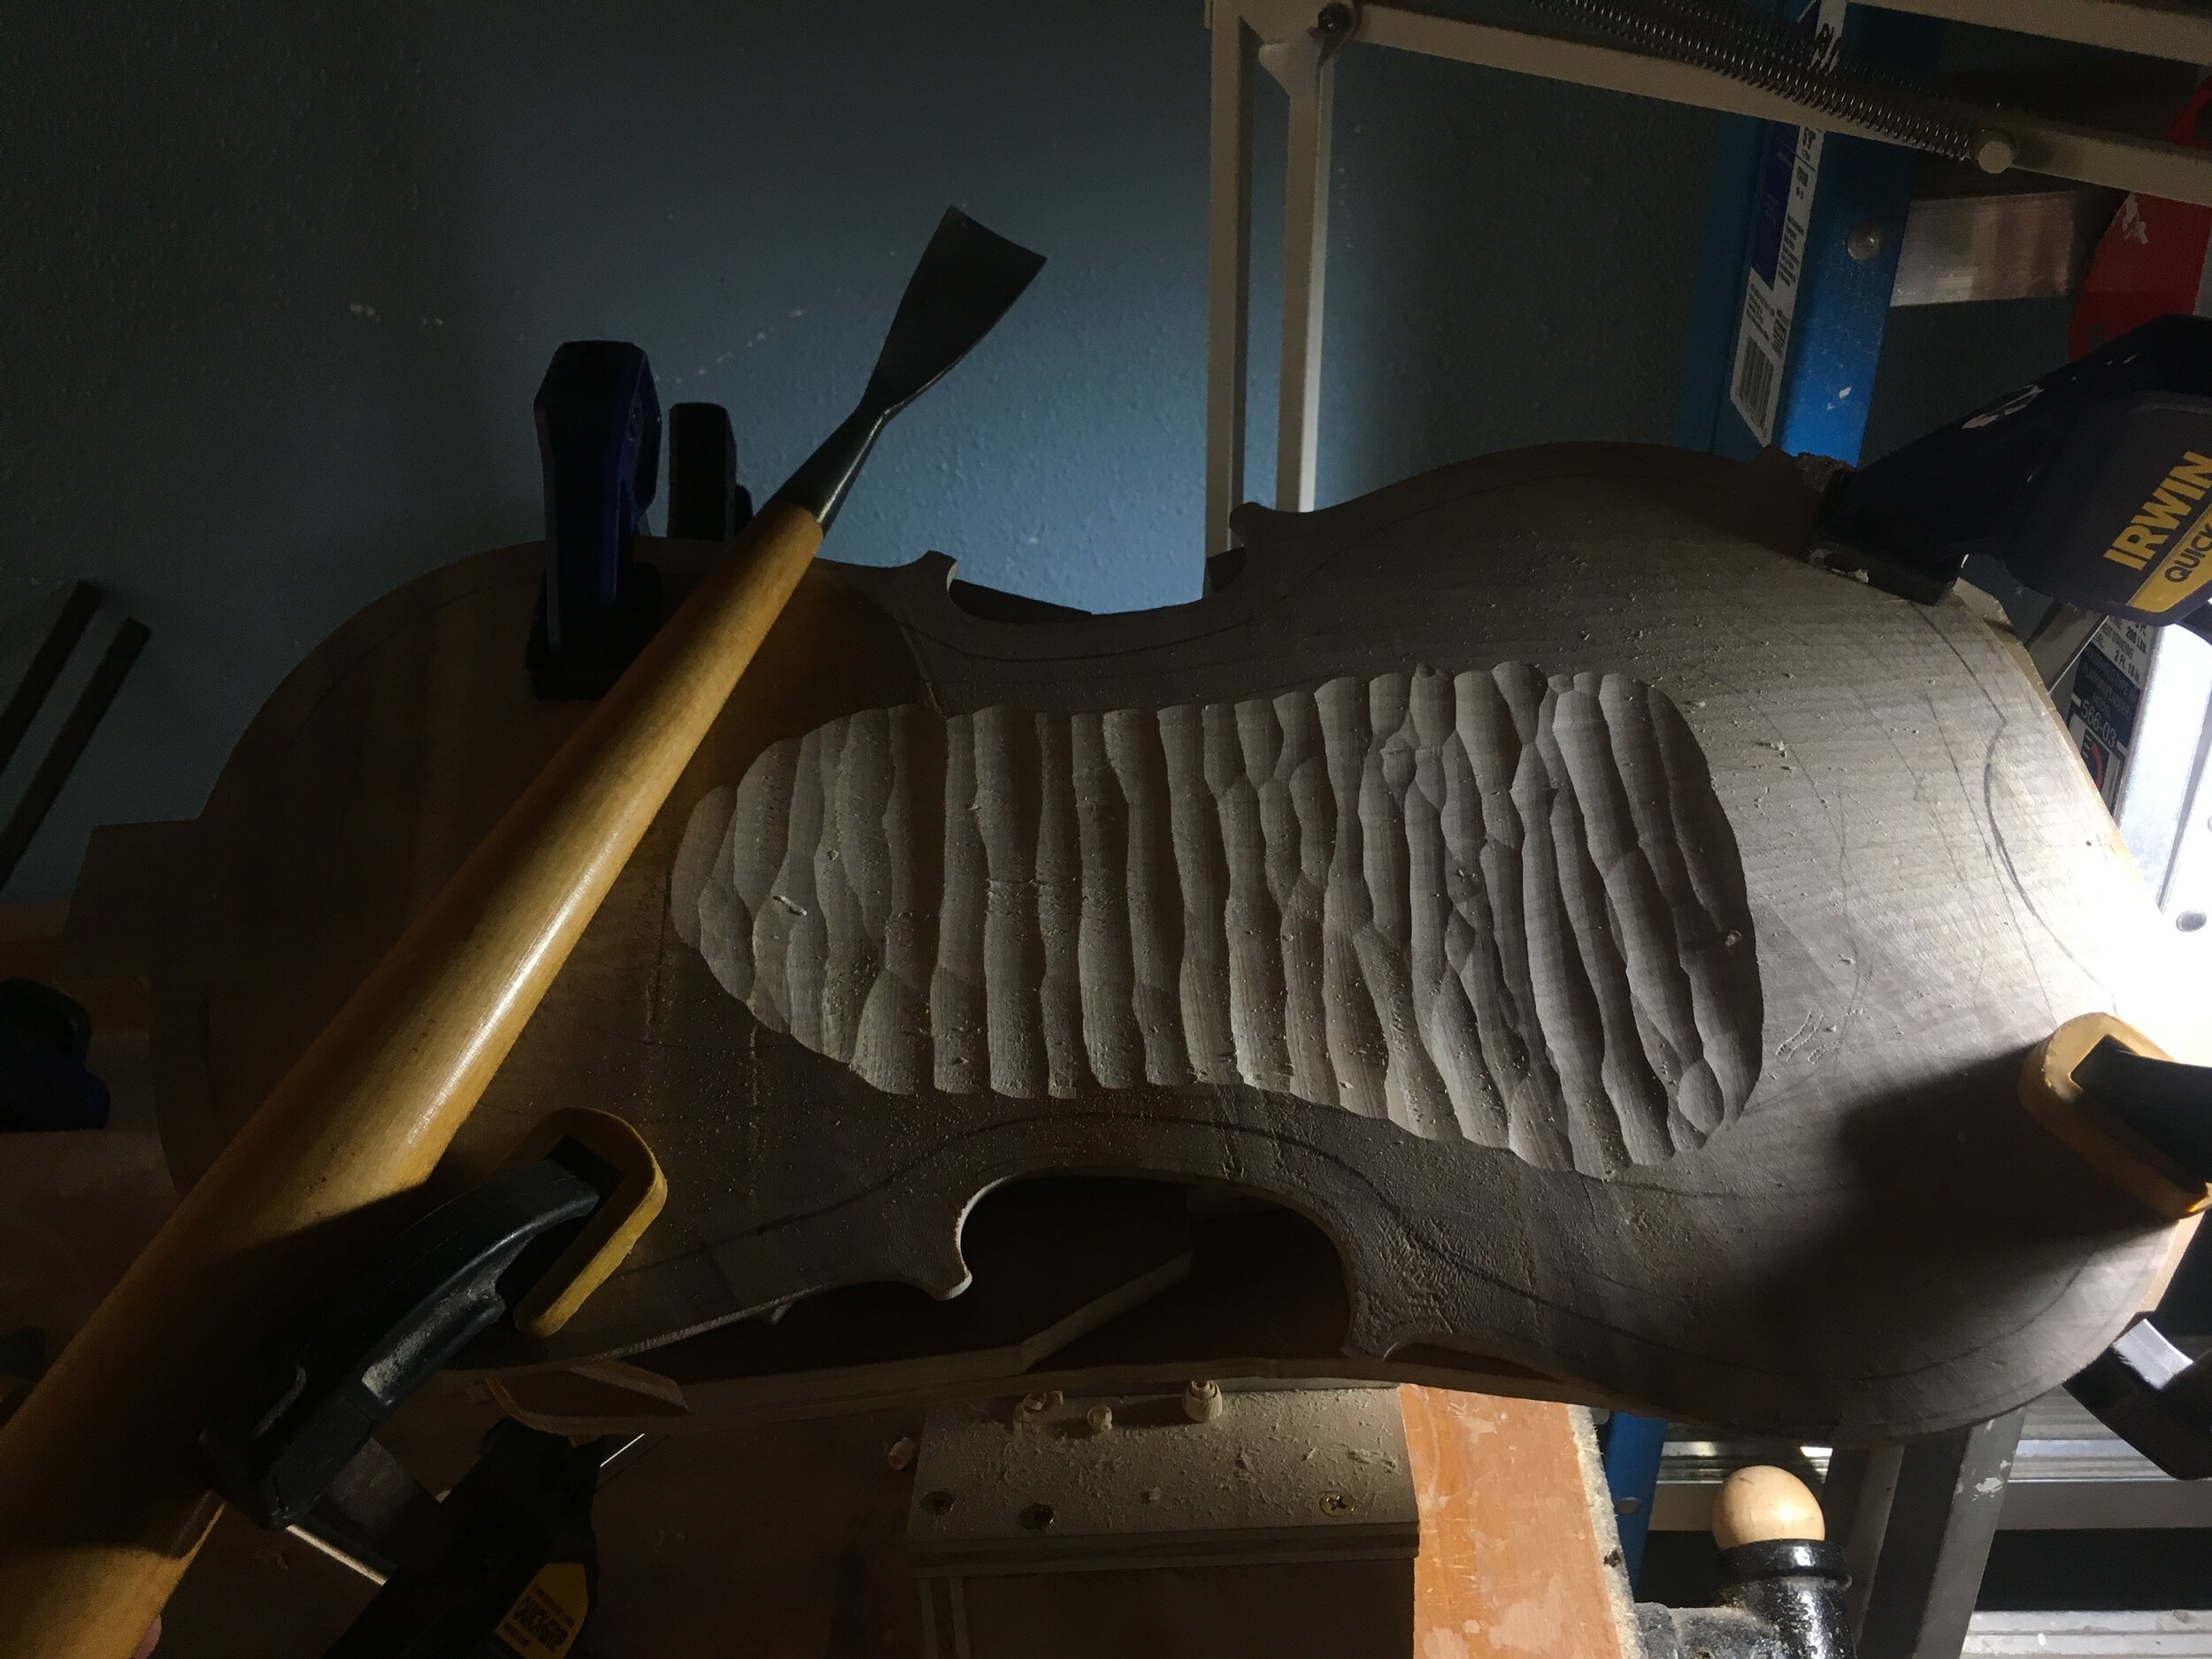
 Gauging the inside
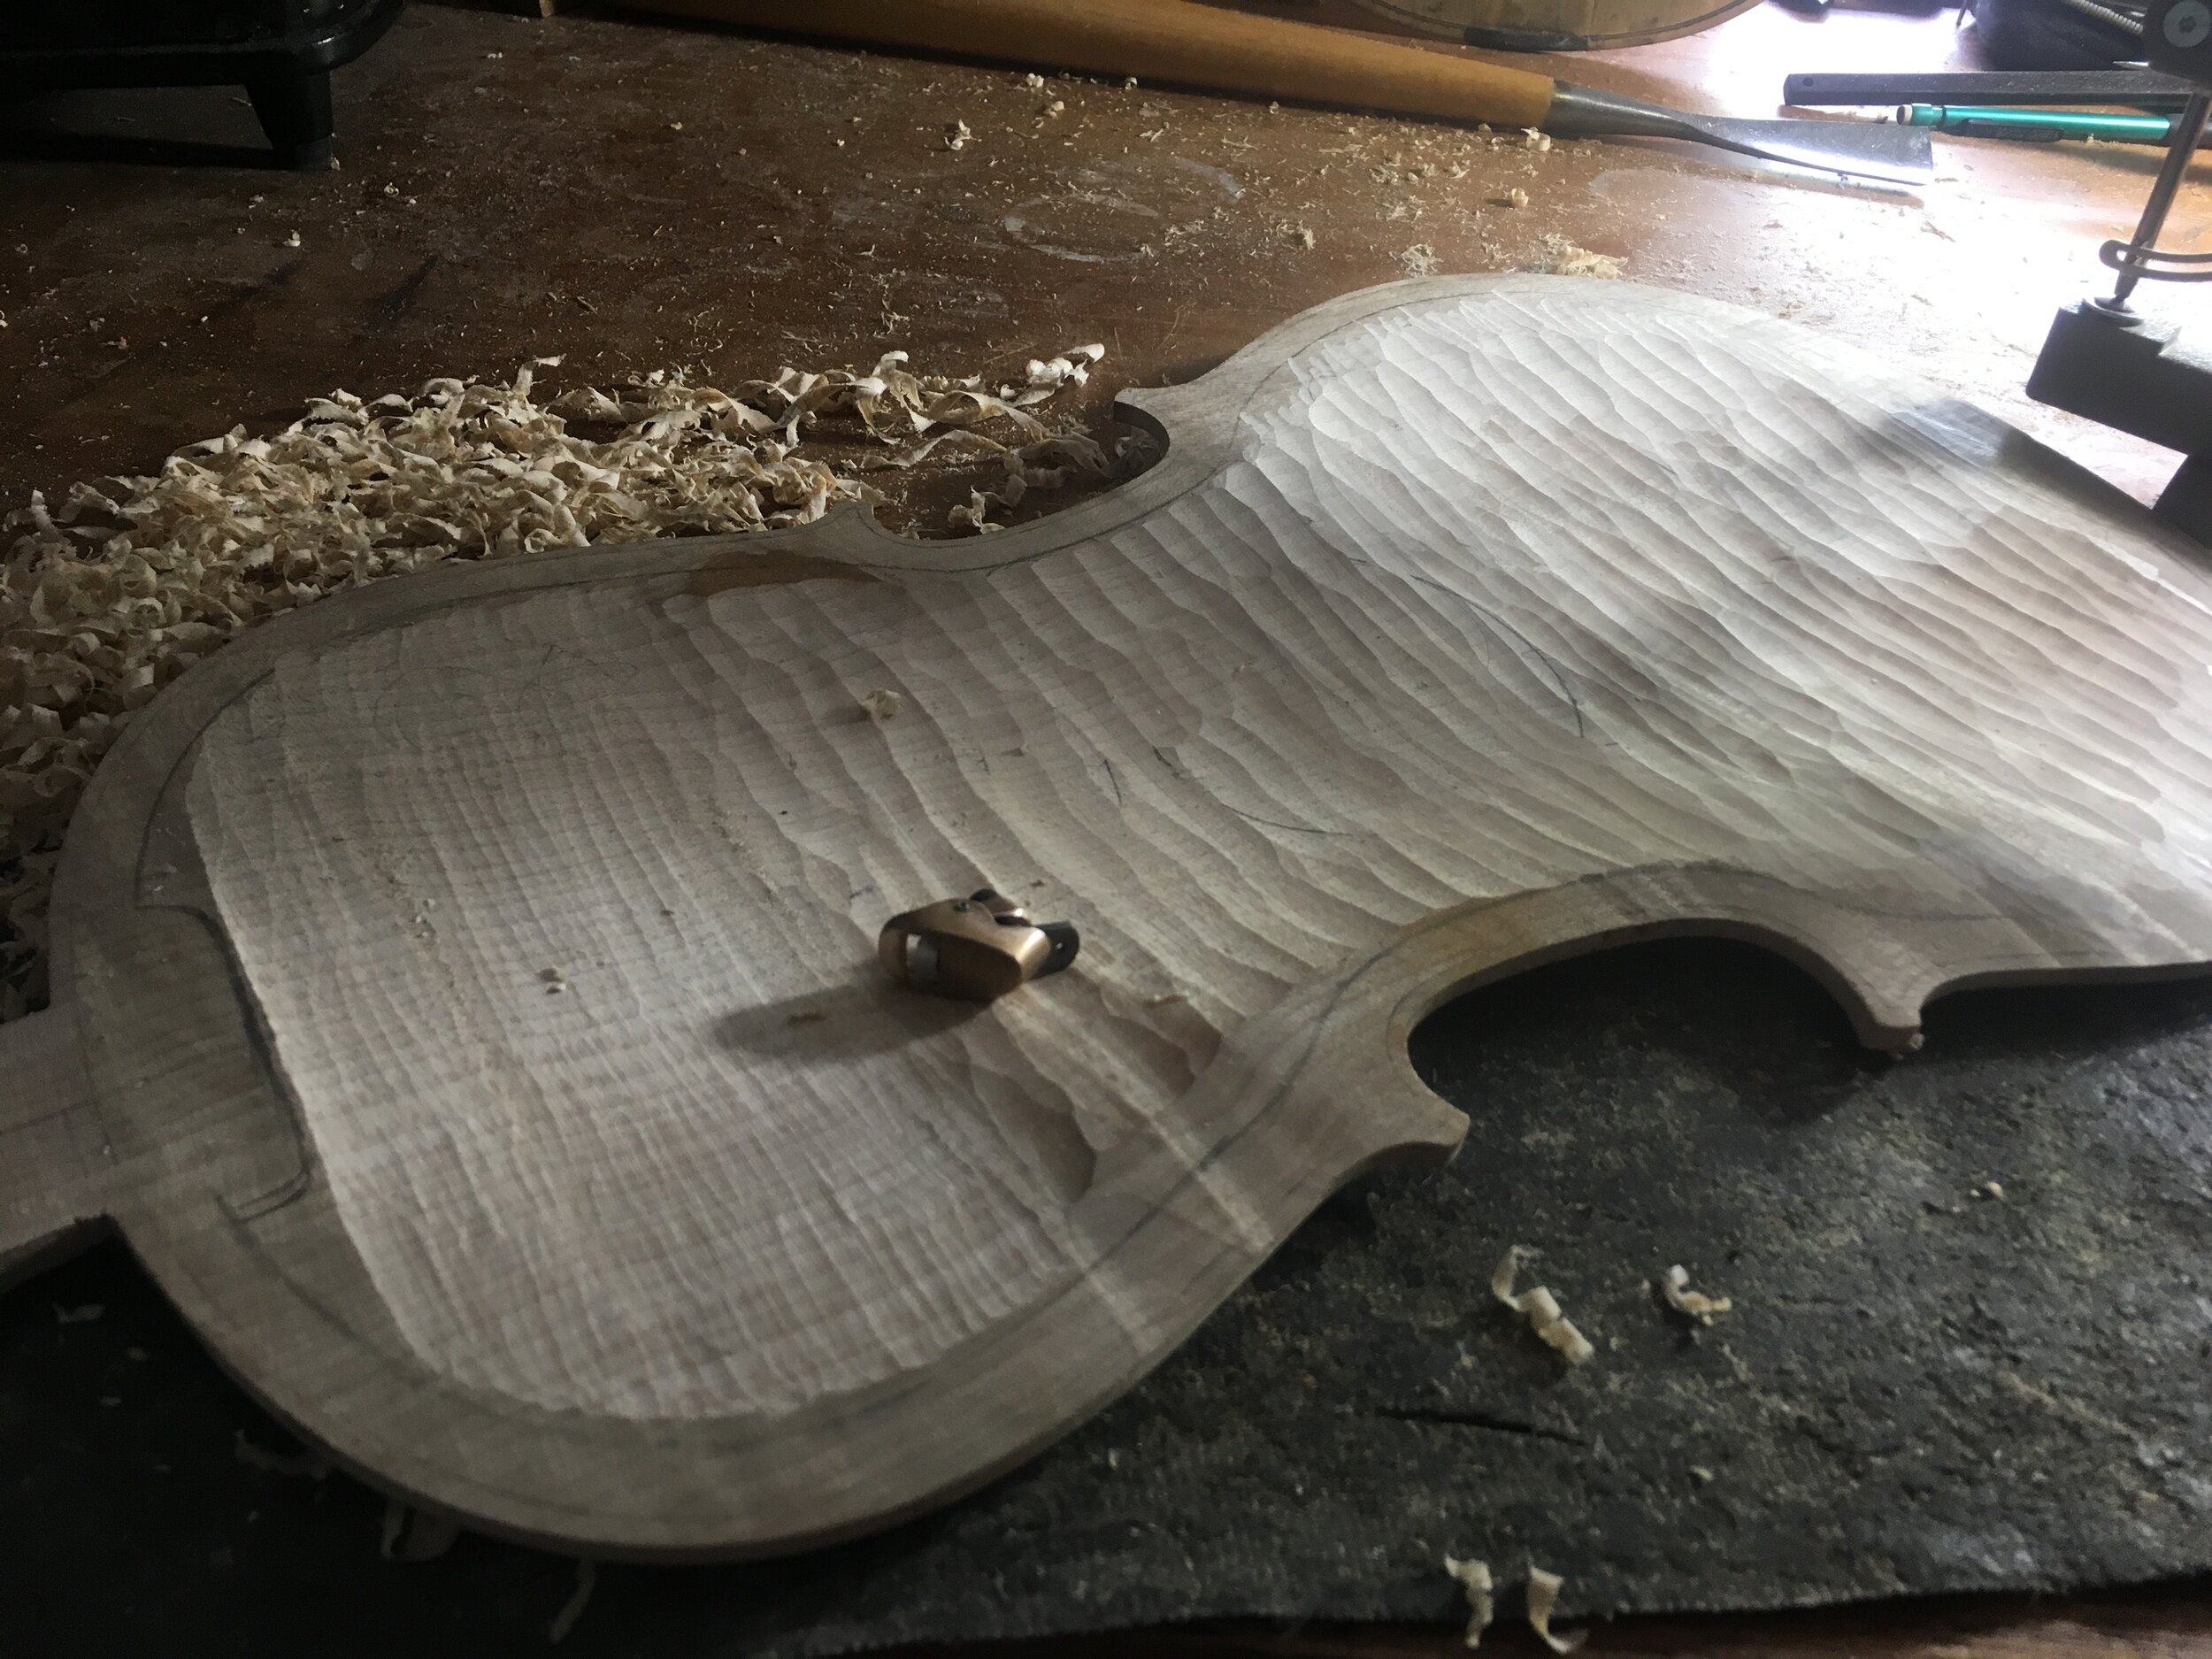
 Finishing the measurements with the finger plane
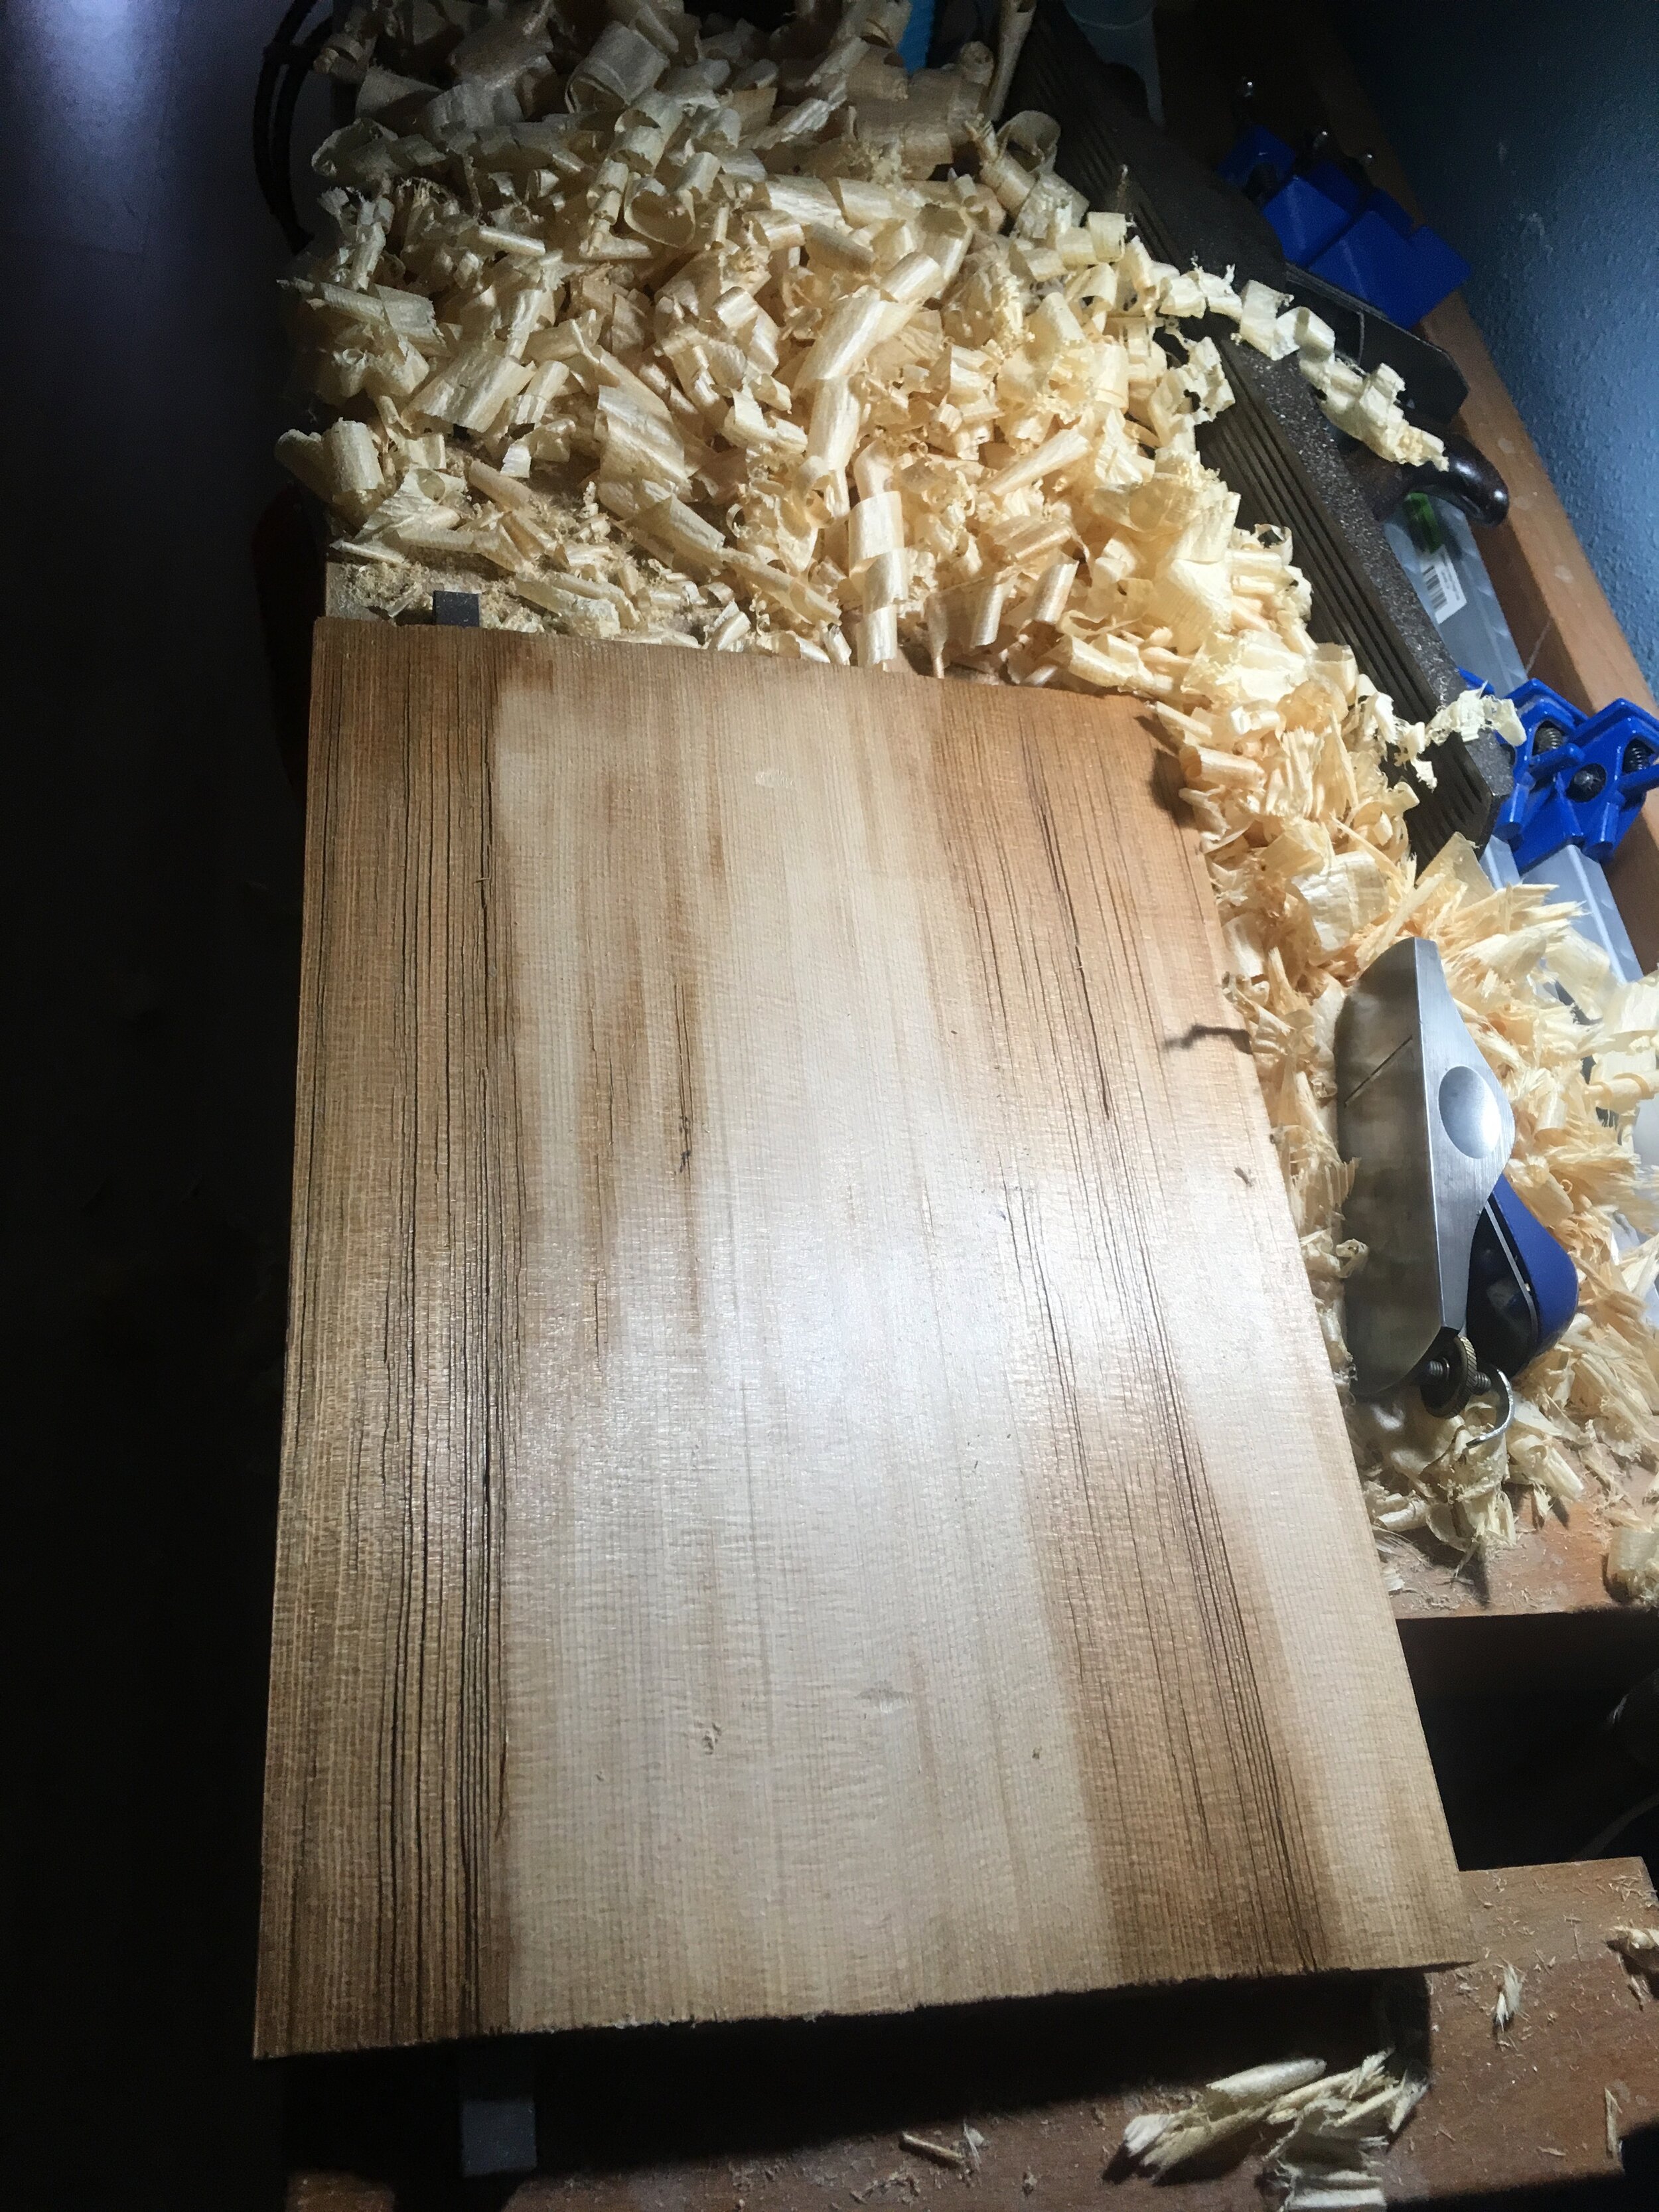
 Split wood spruce top - book-matched and planned
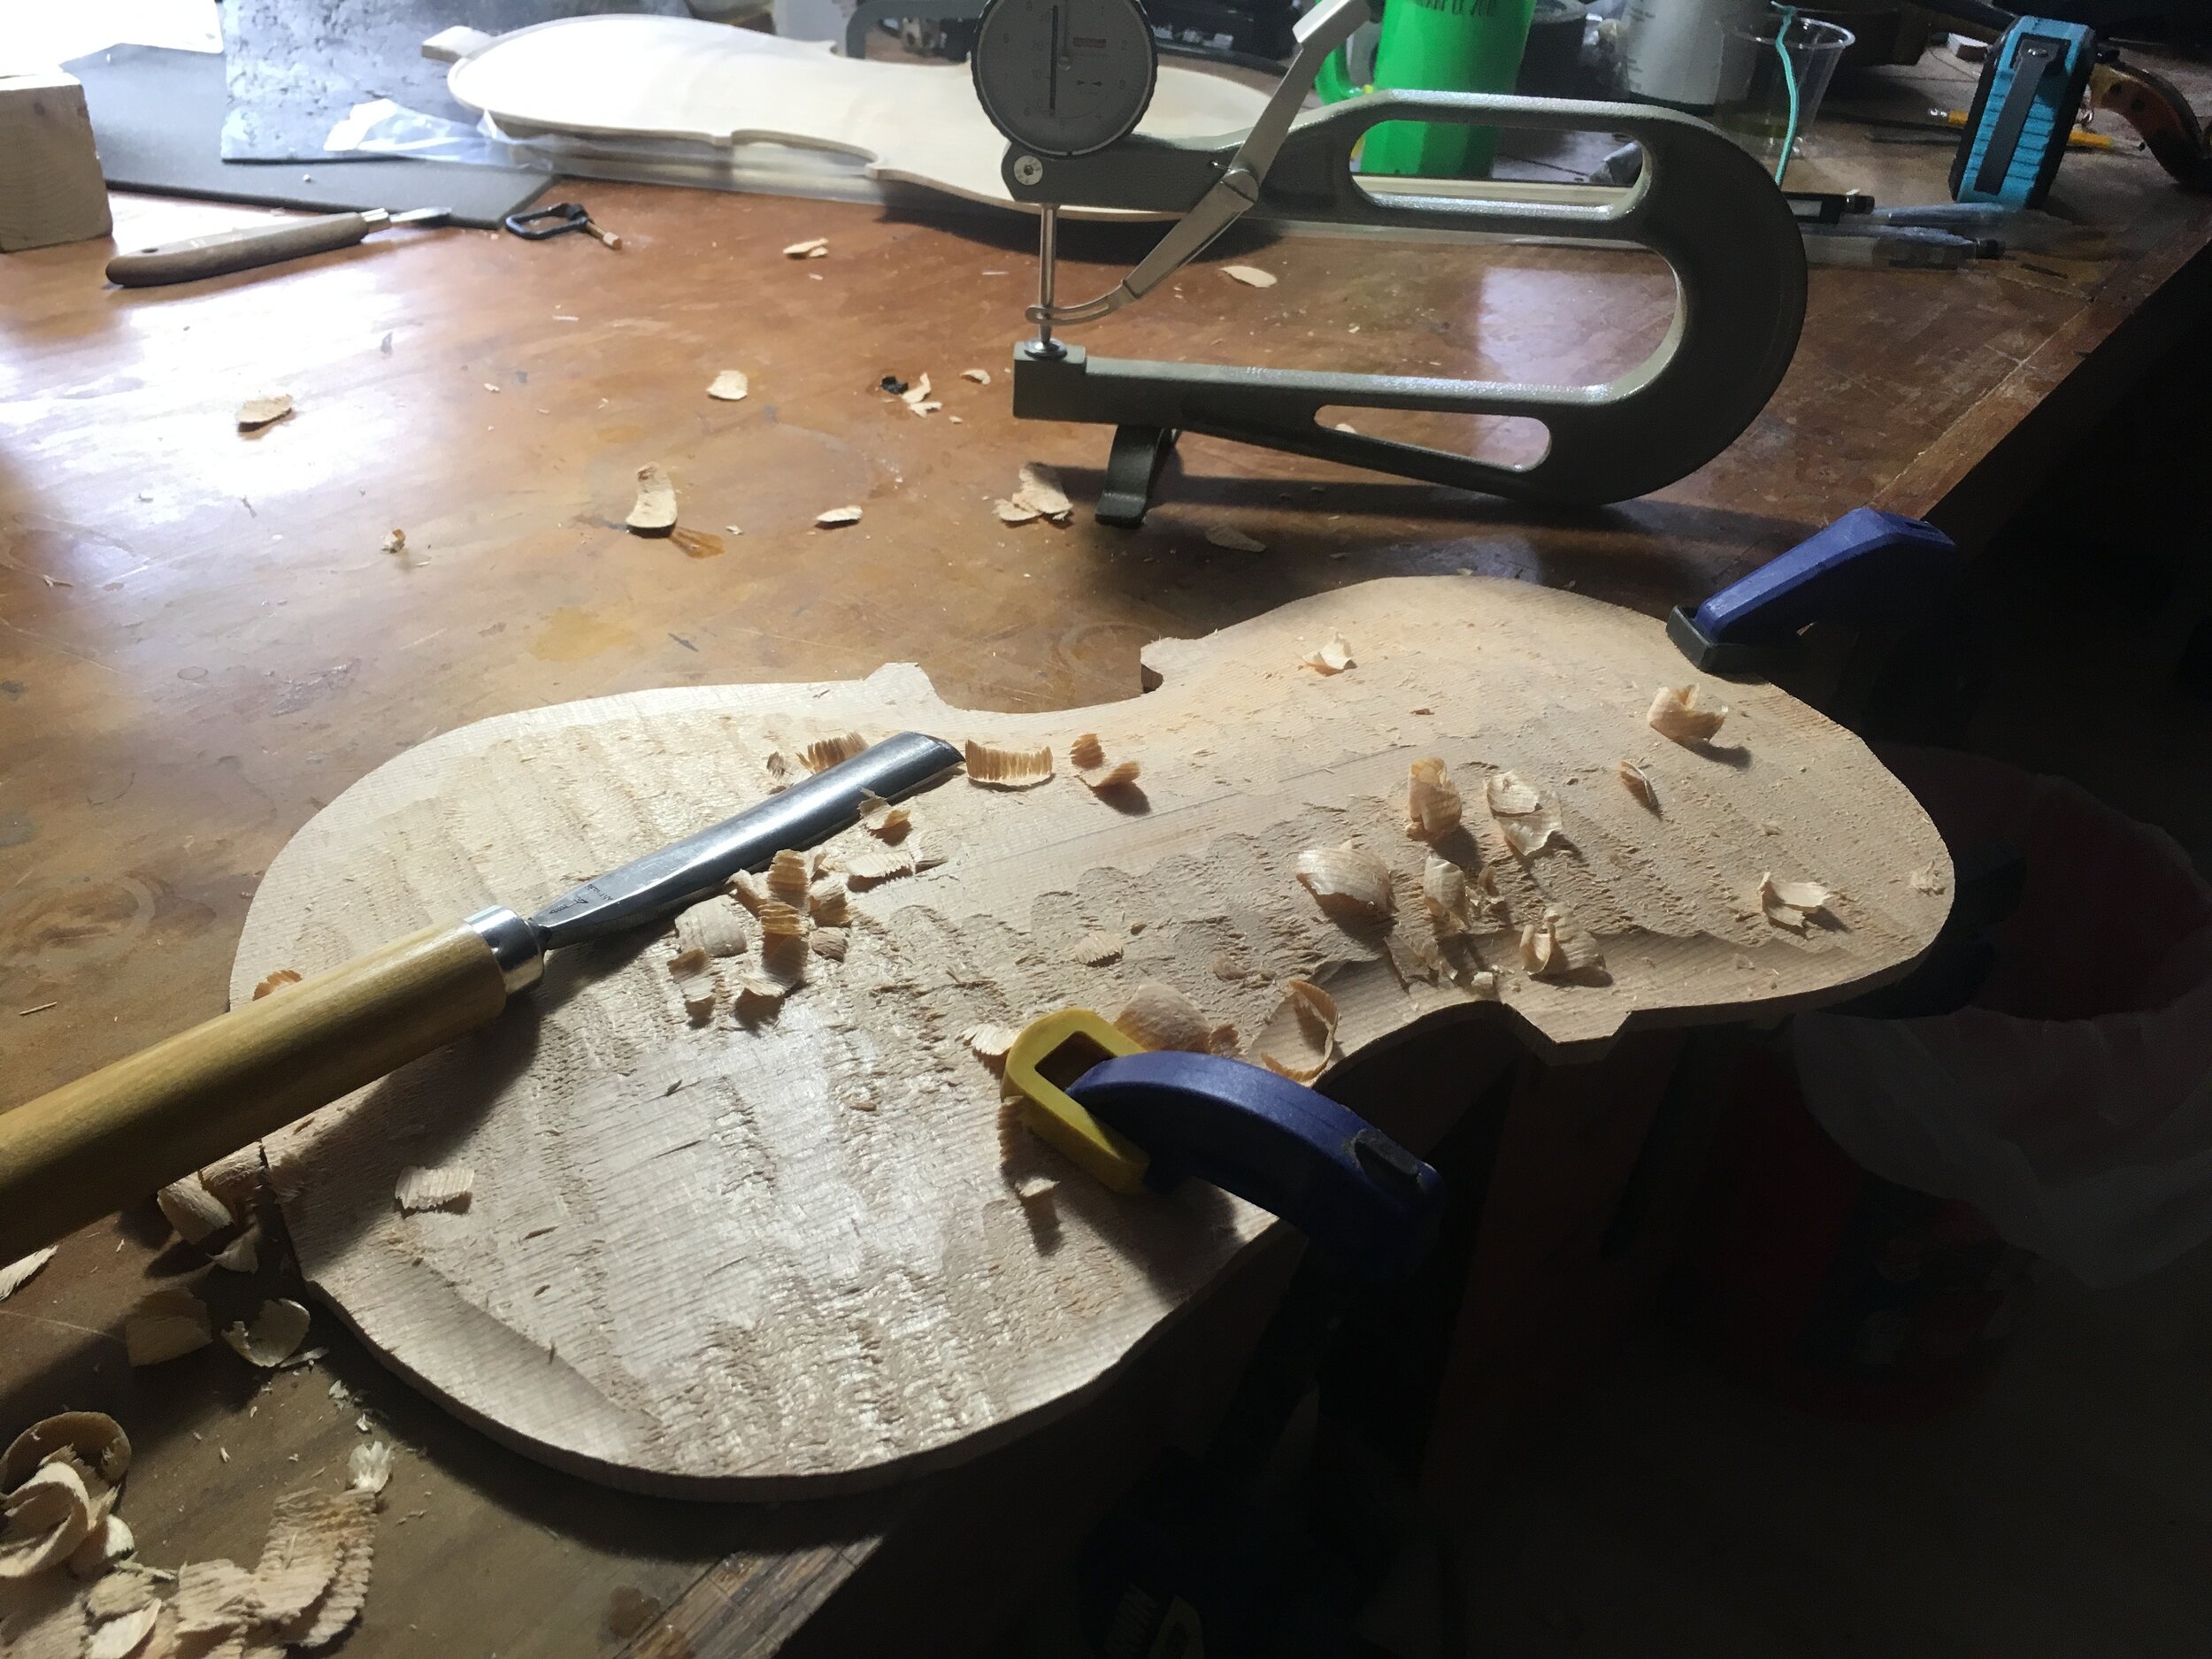
 Gauging the shape of the arcing - top
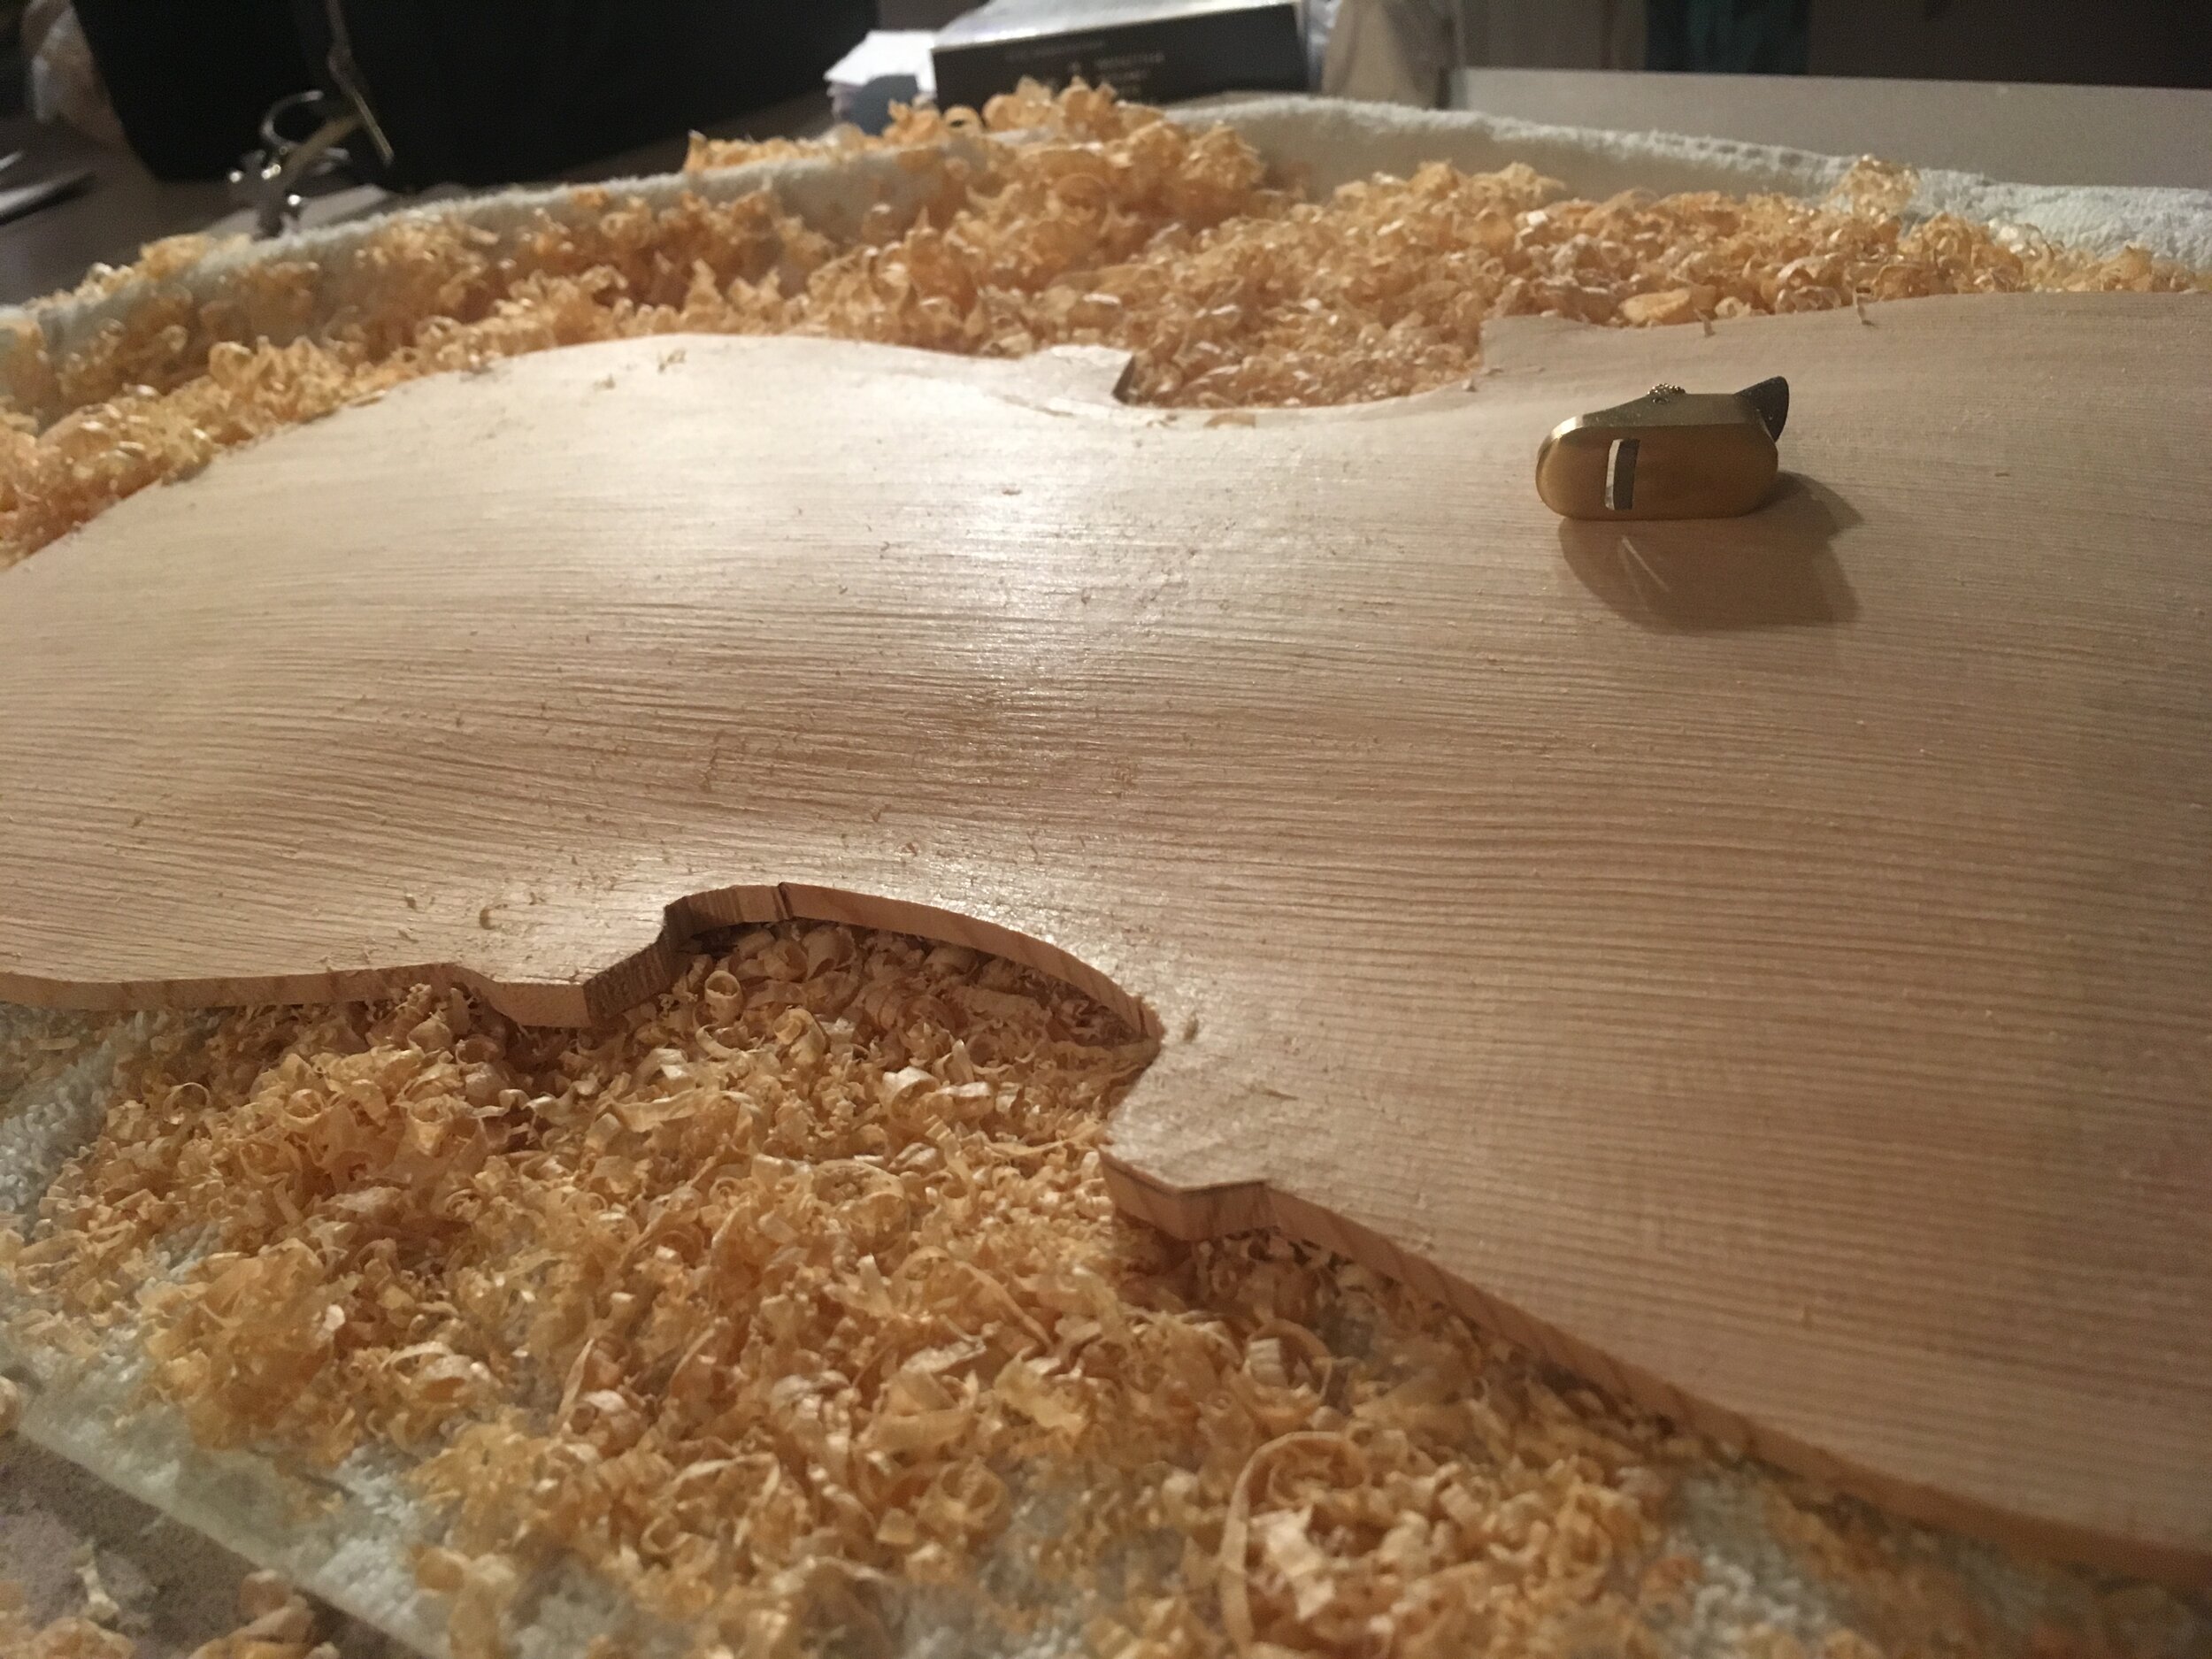
 shaping the top using a finger plane
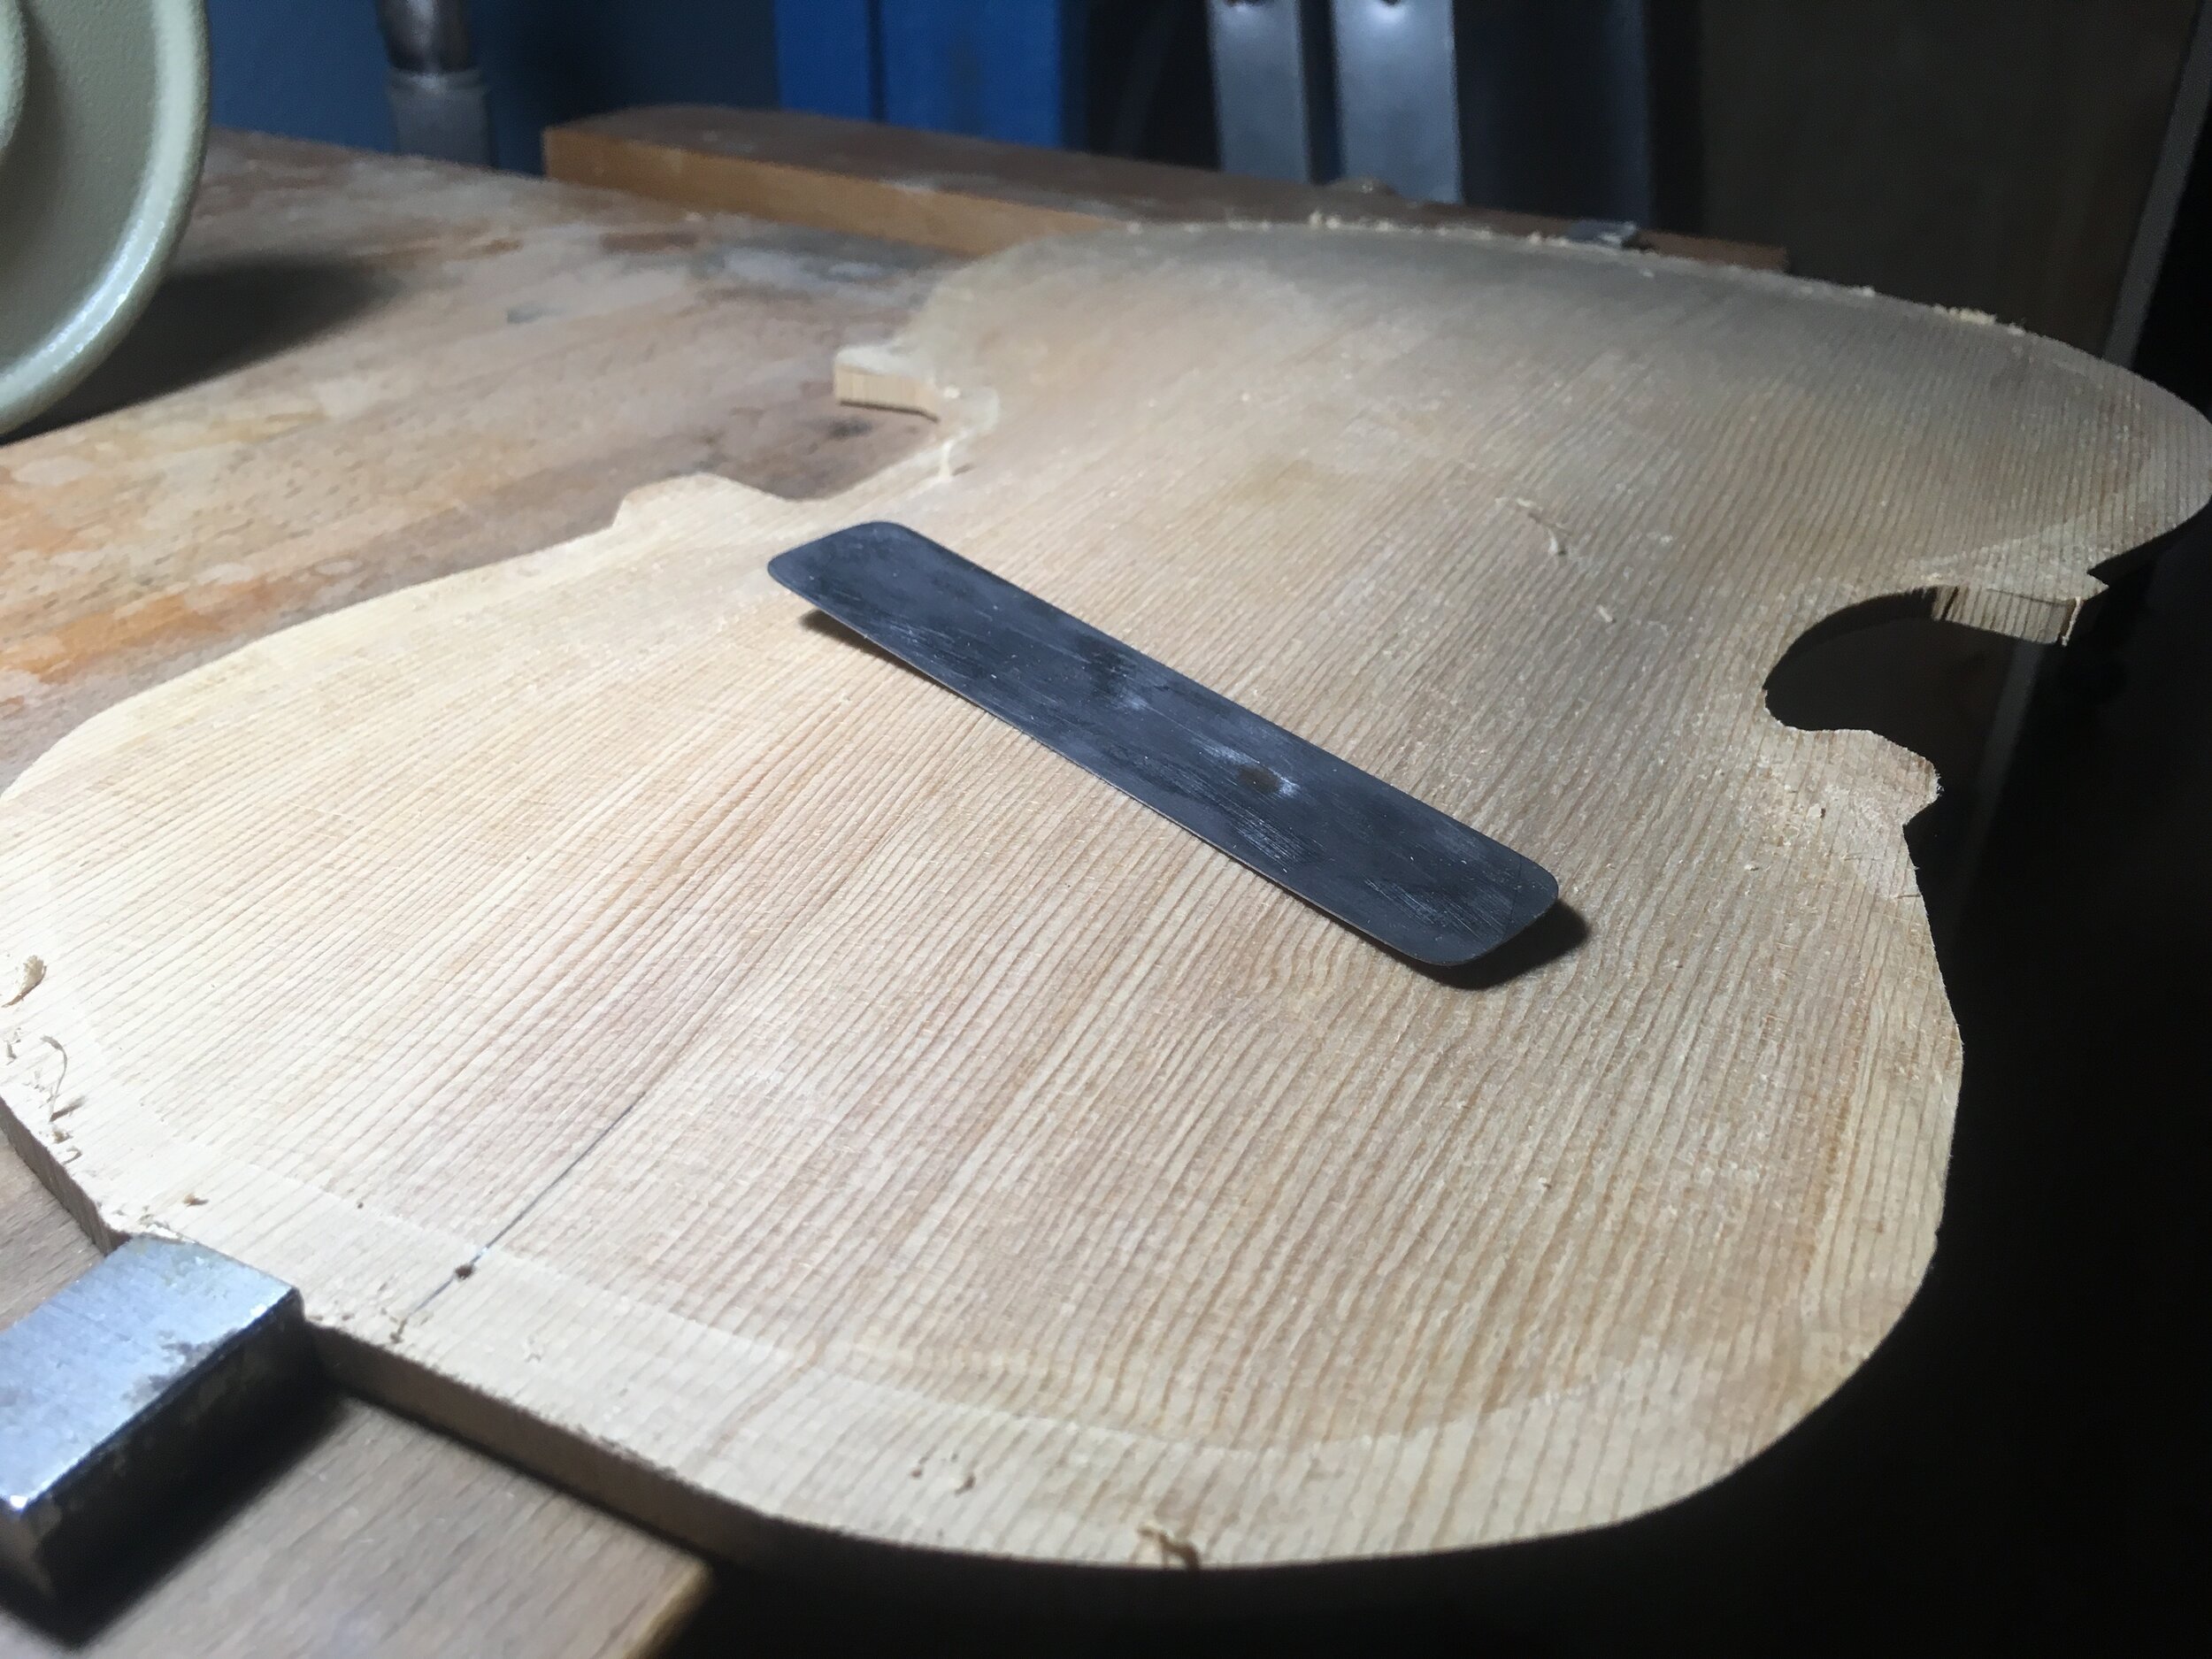
 Scraping the top, finishing
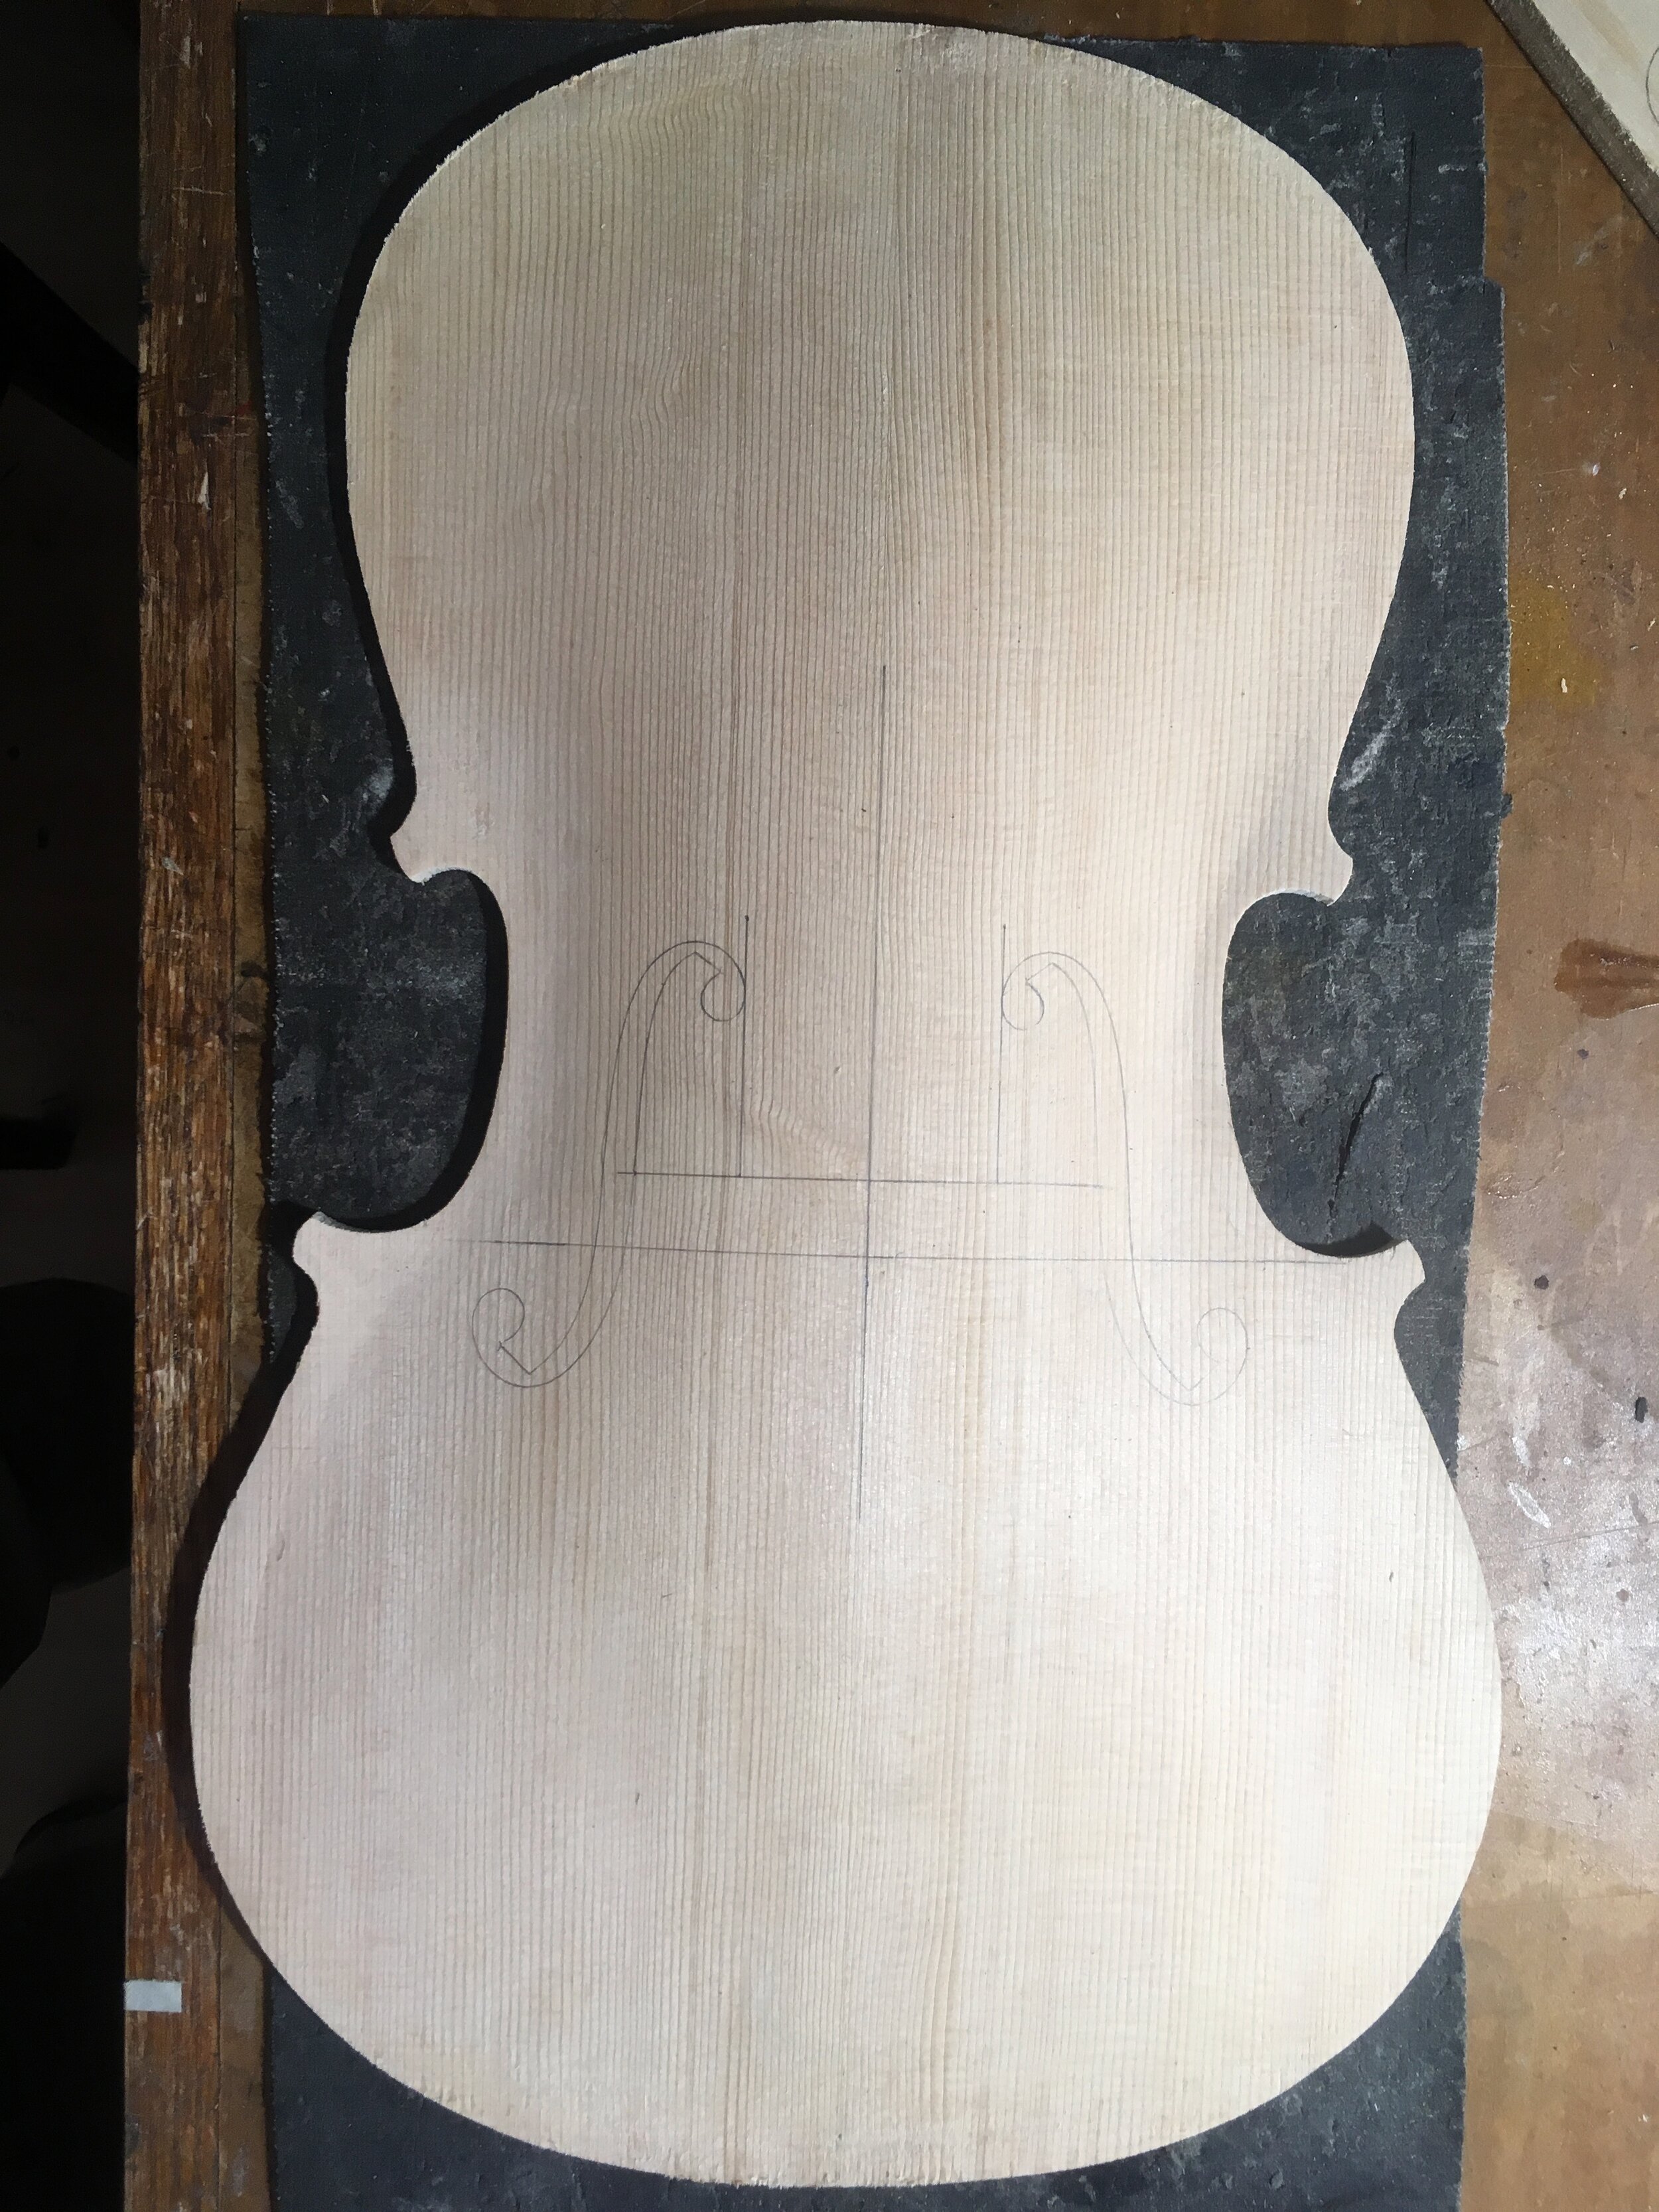
 Design of the f holes
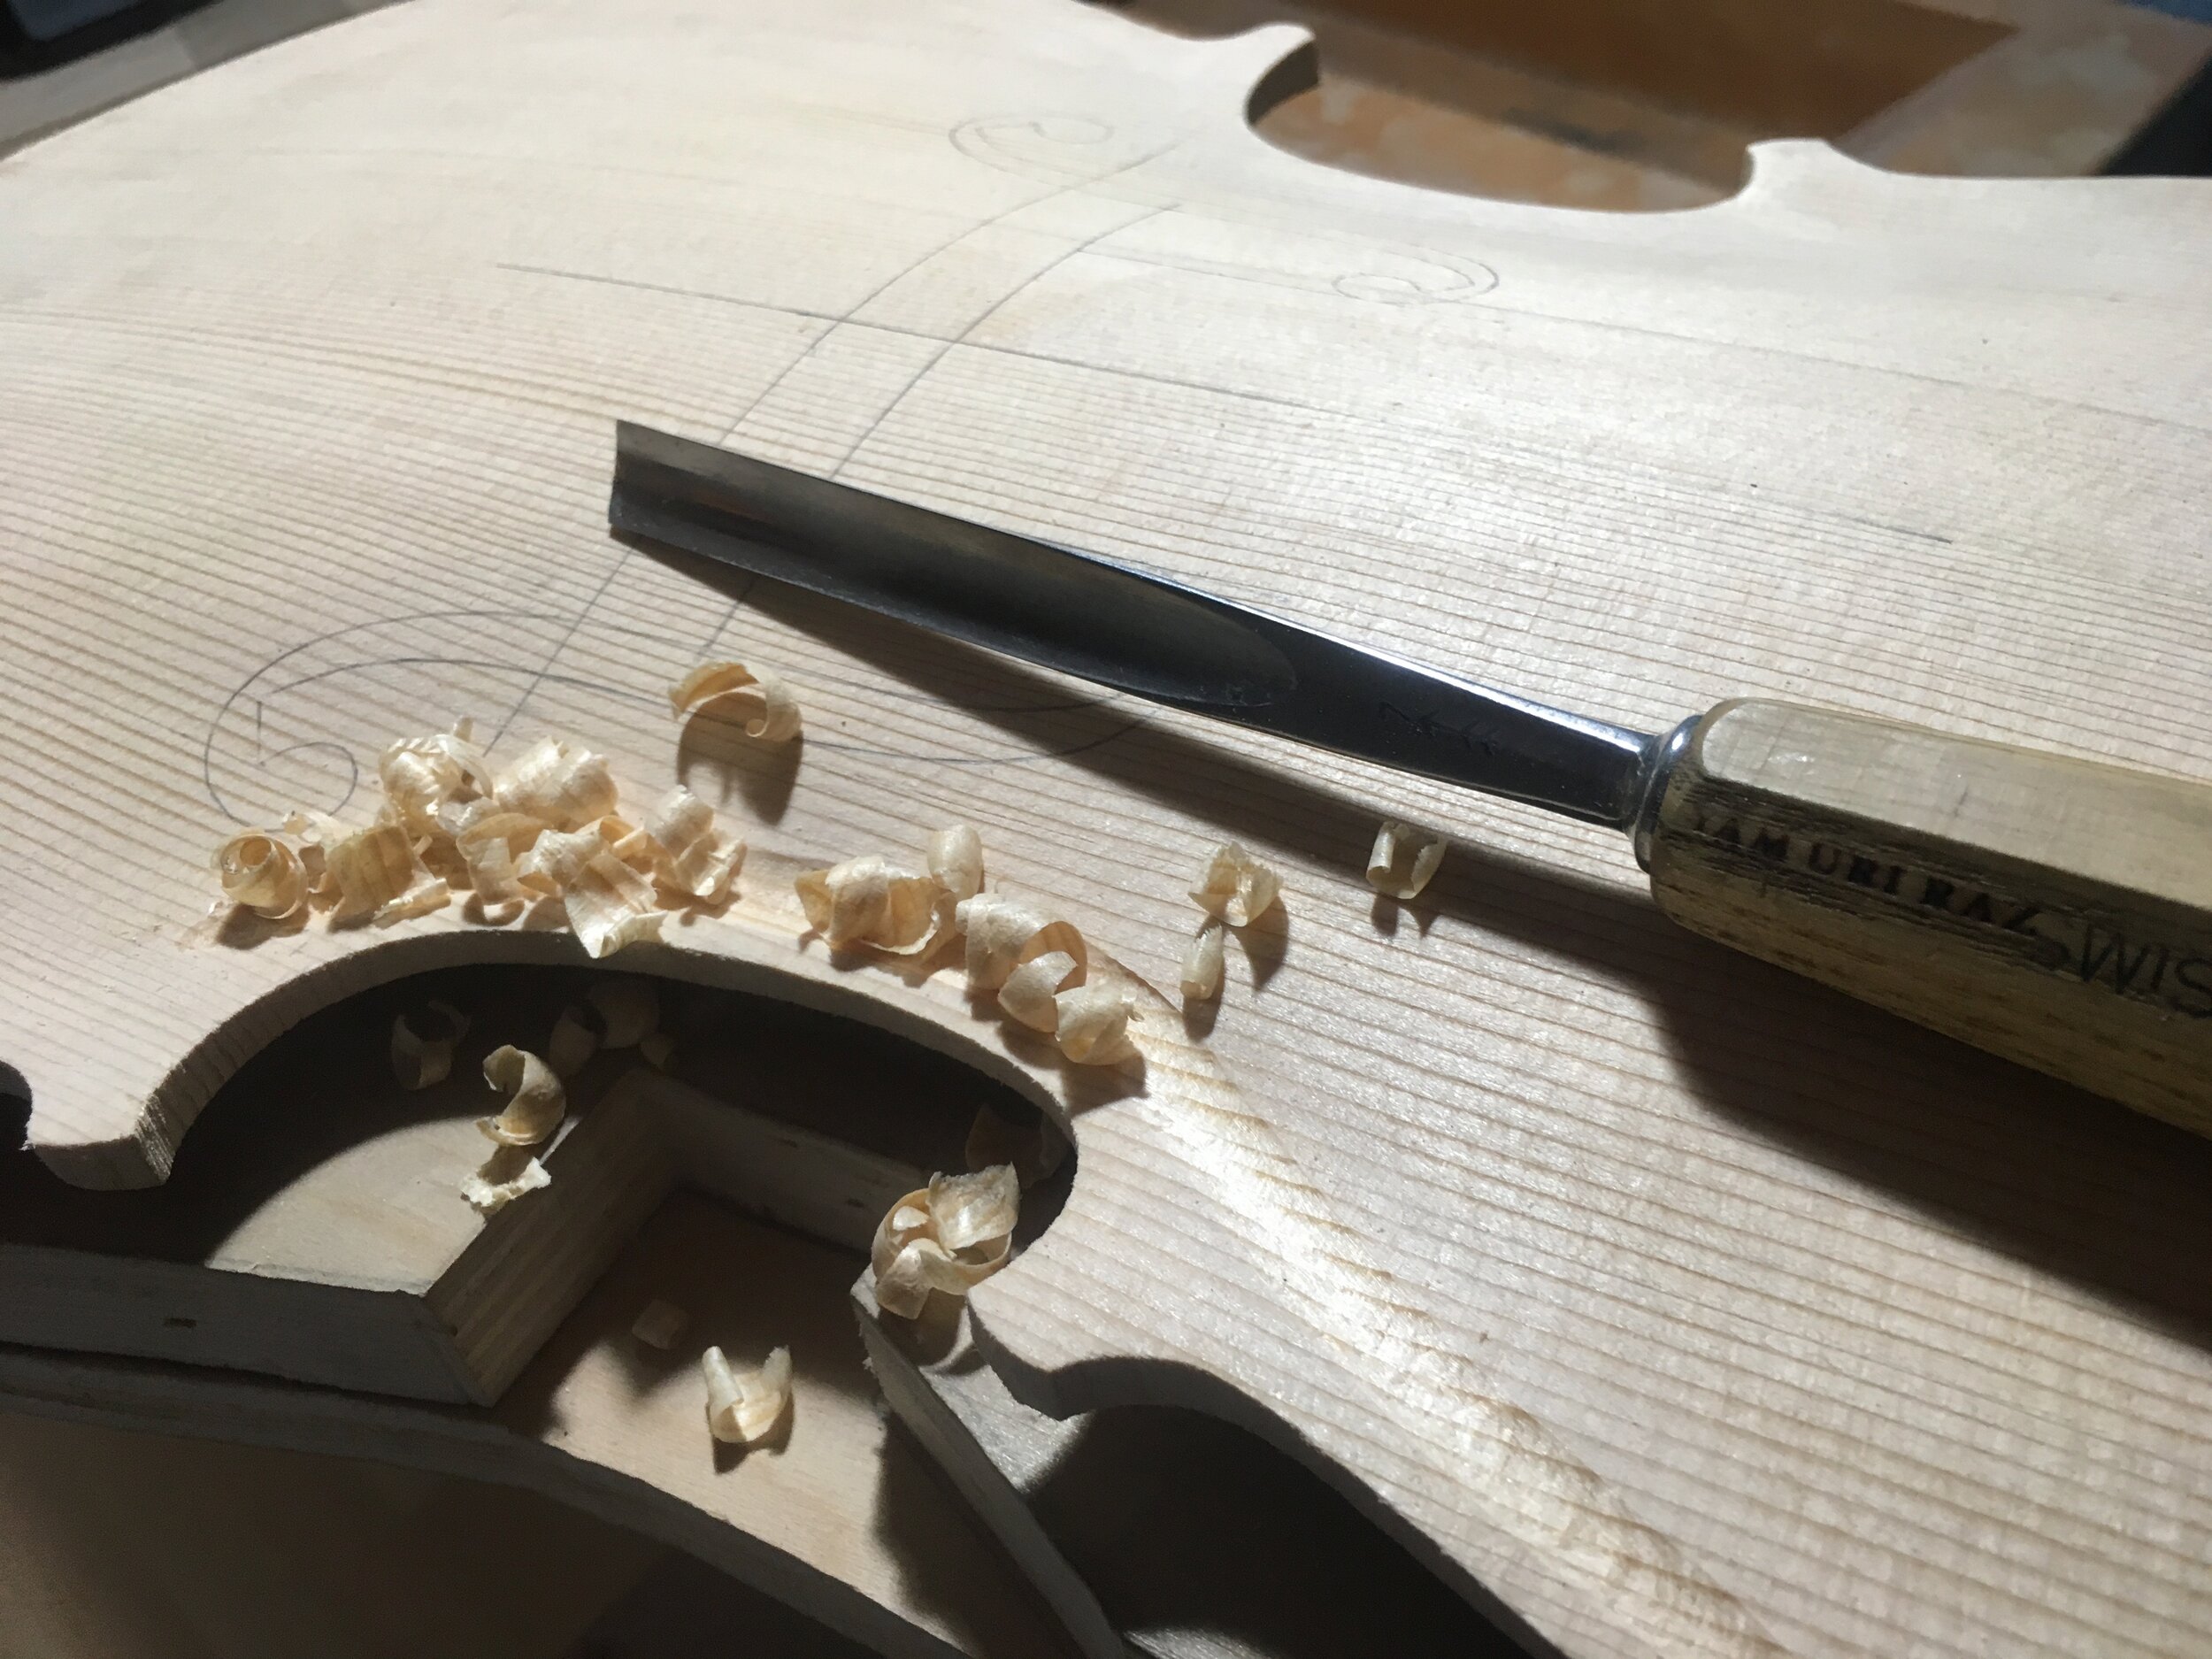
 Gauging the fluting
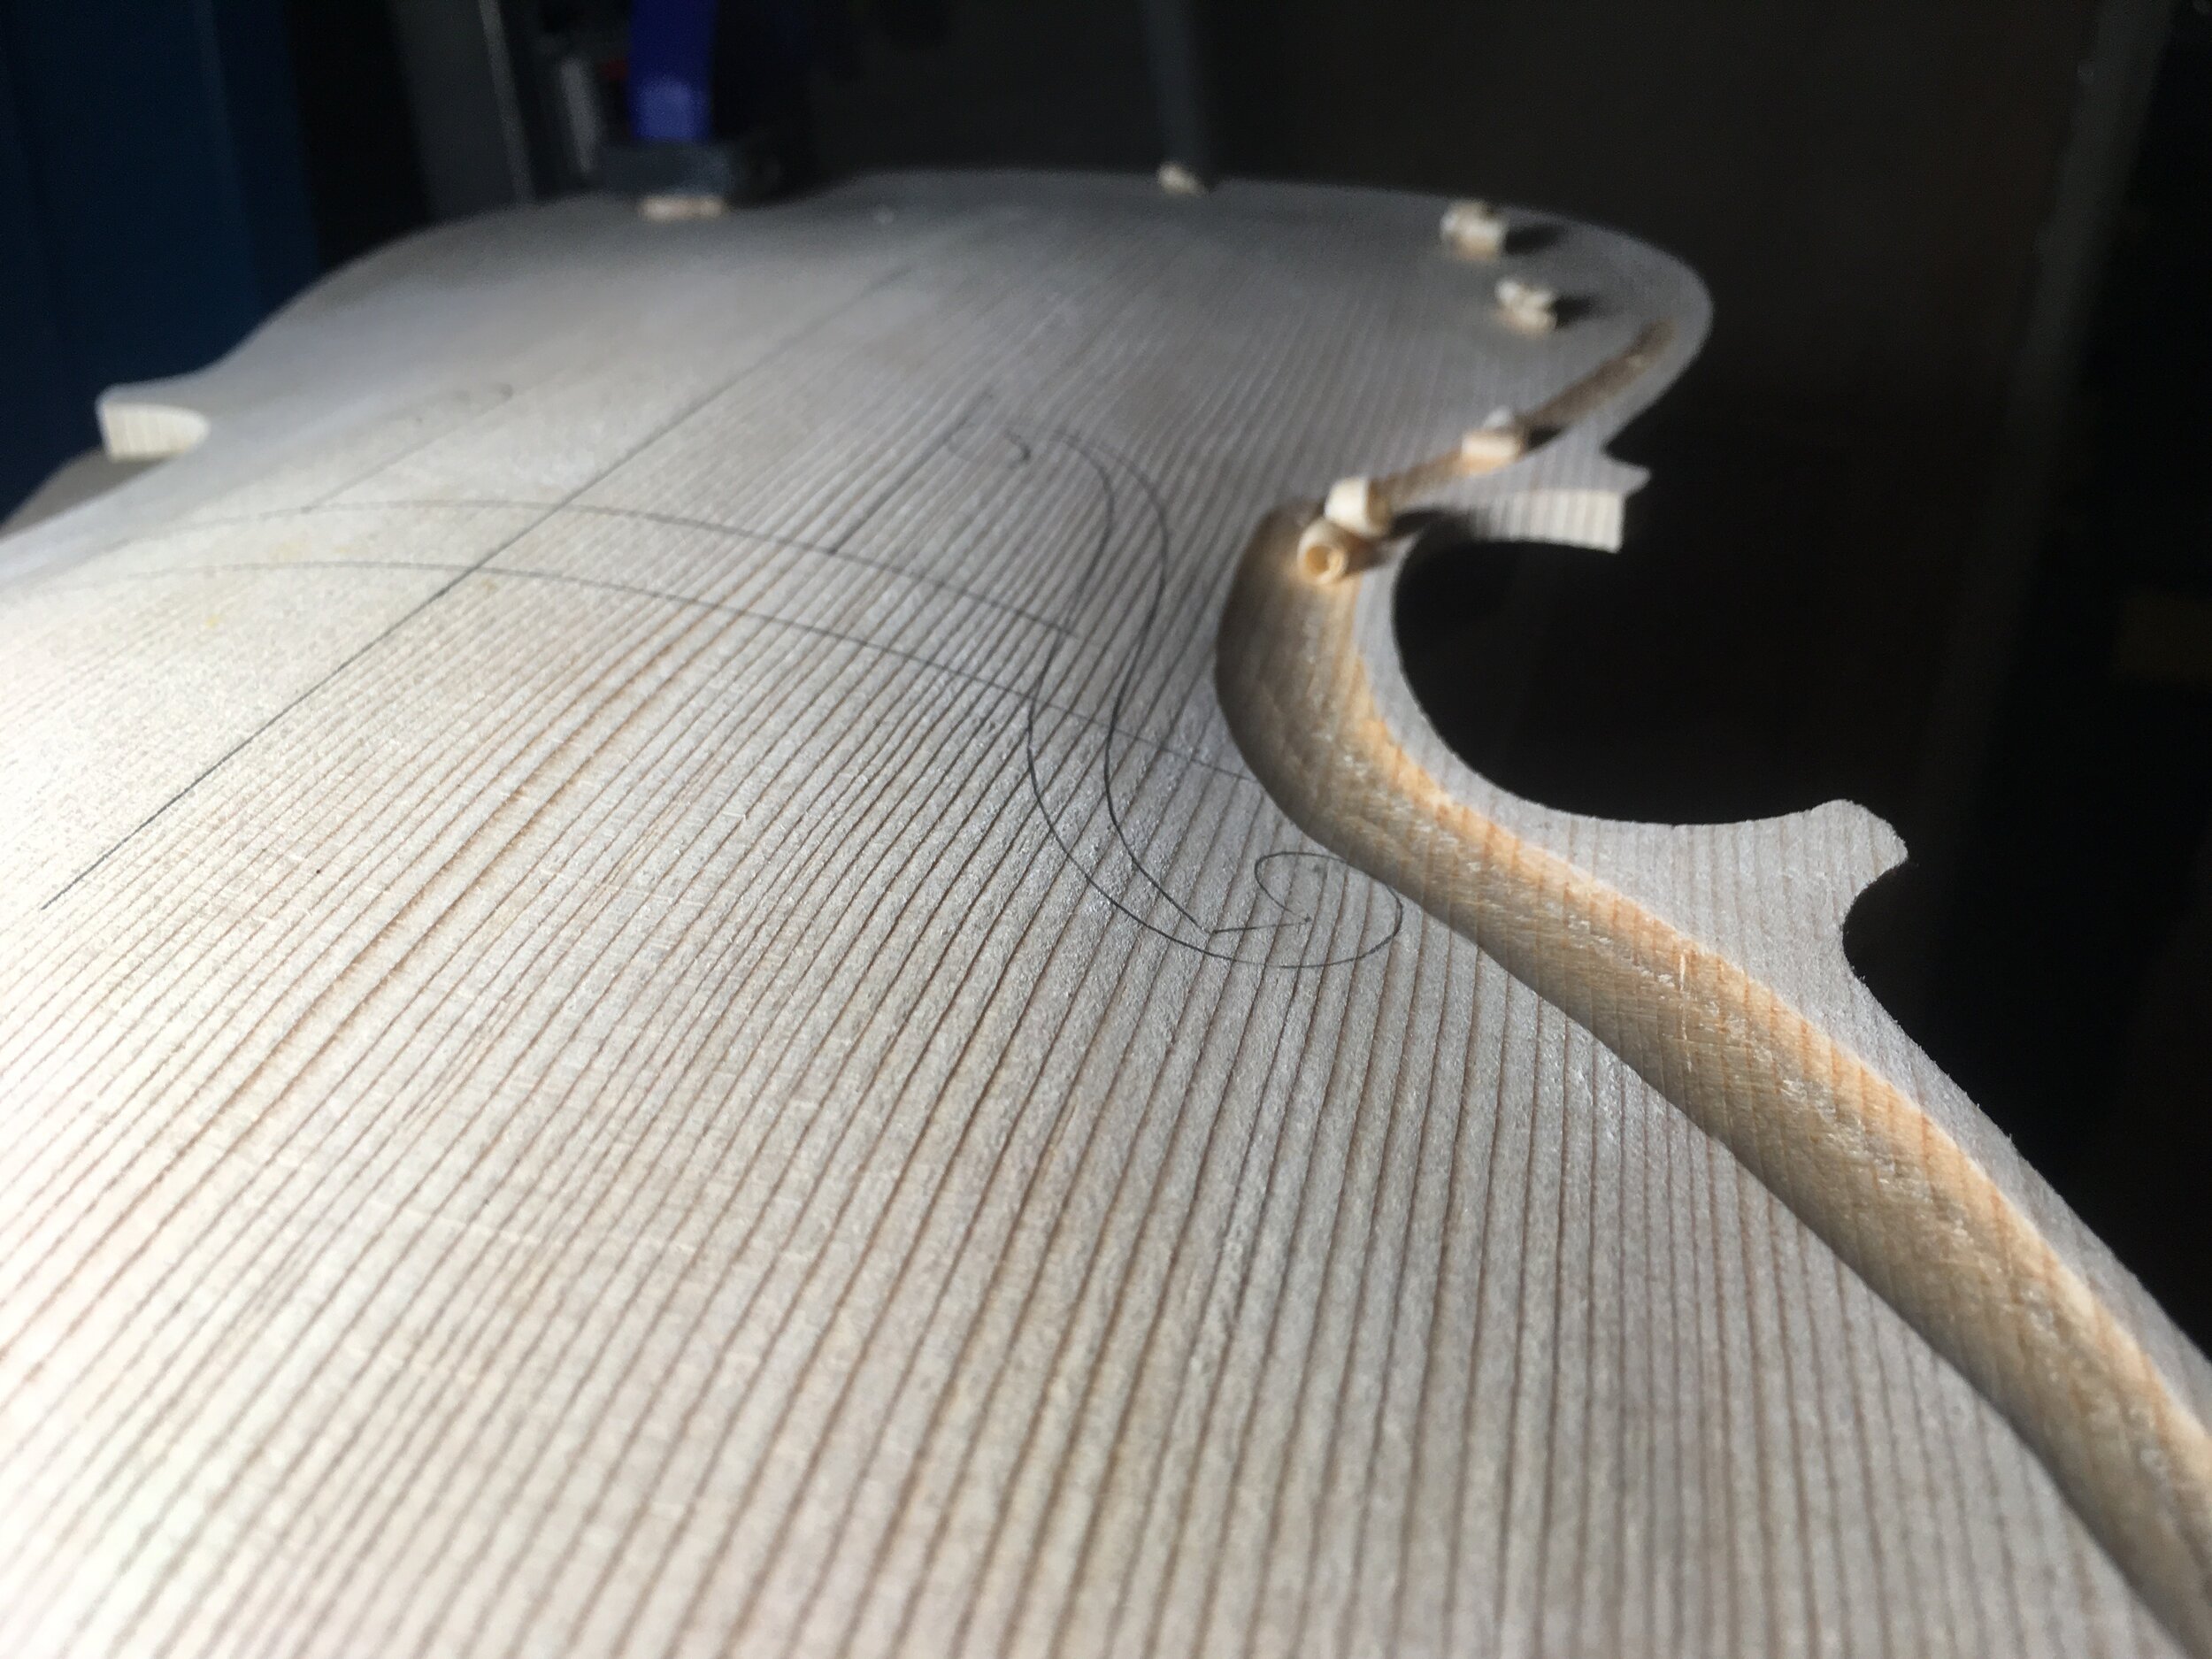
 lowering the fluting channel
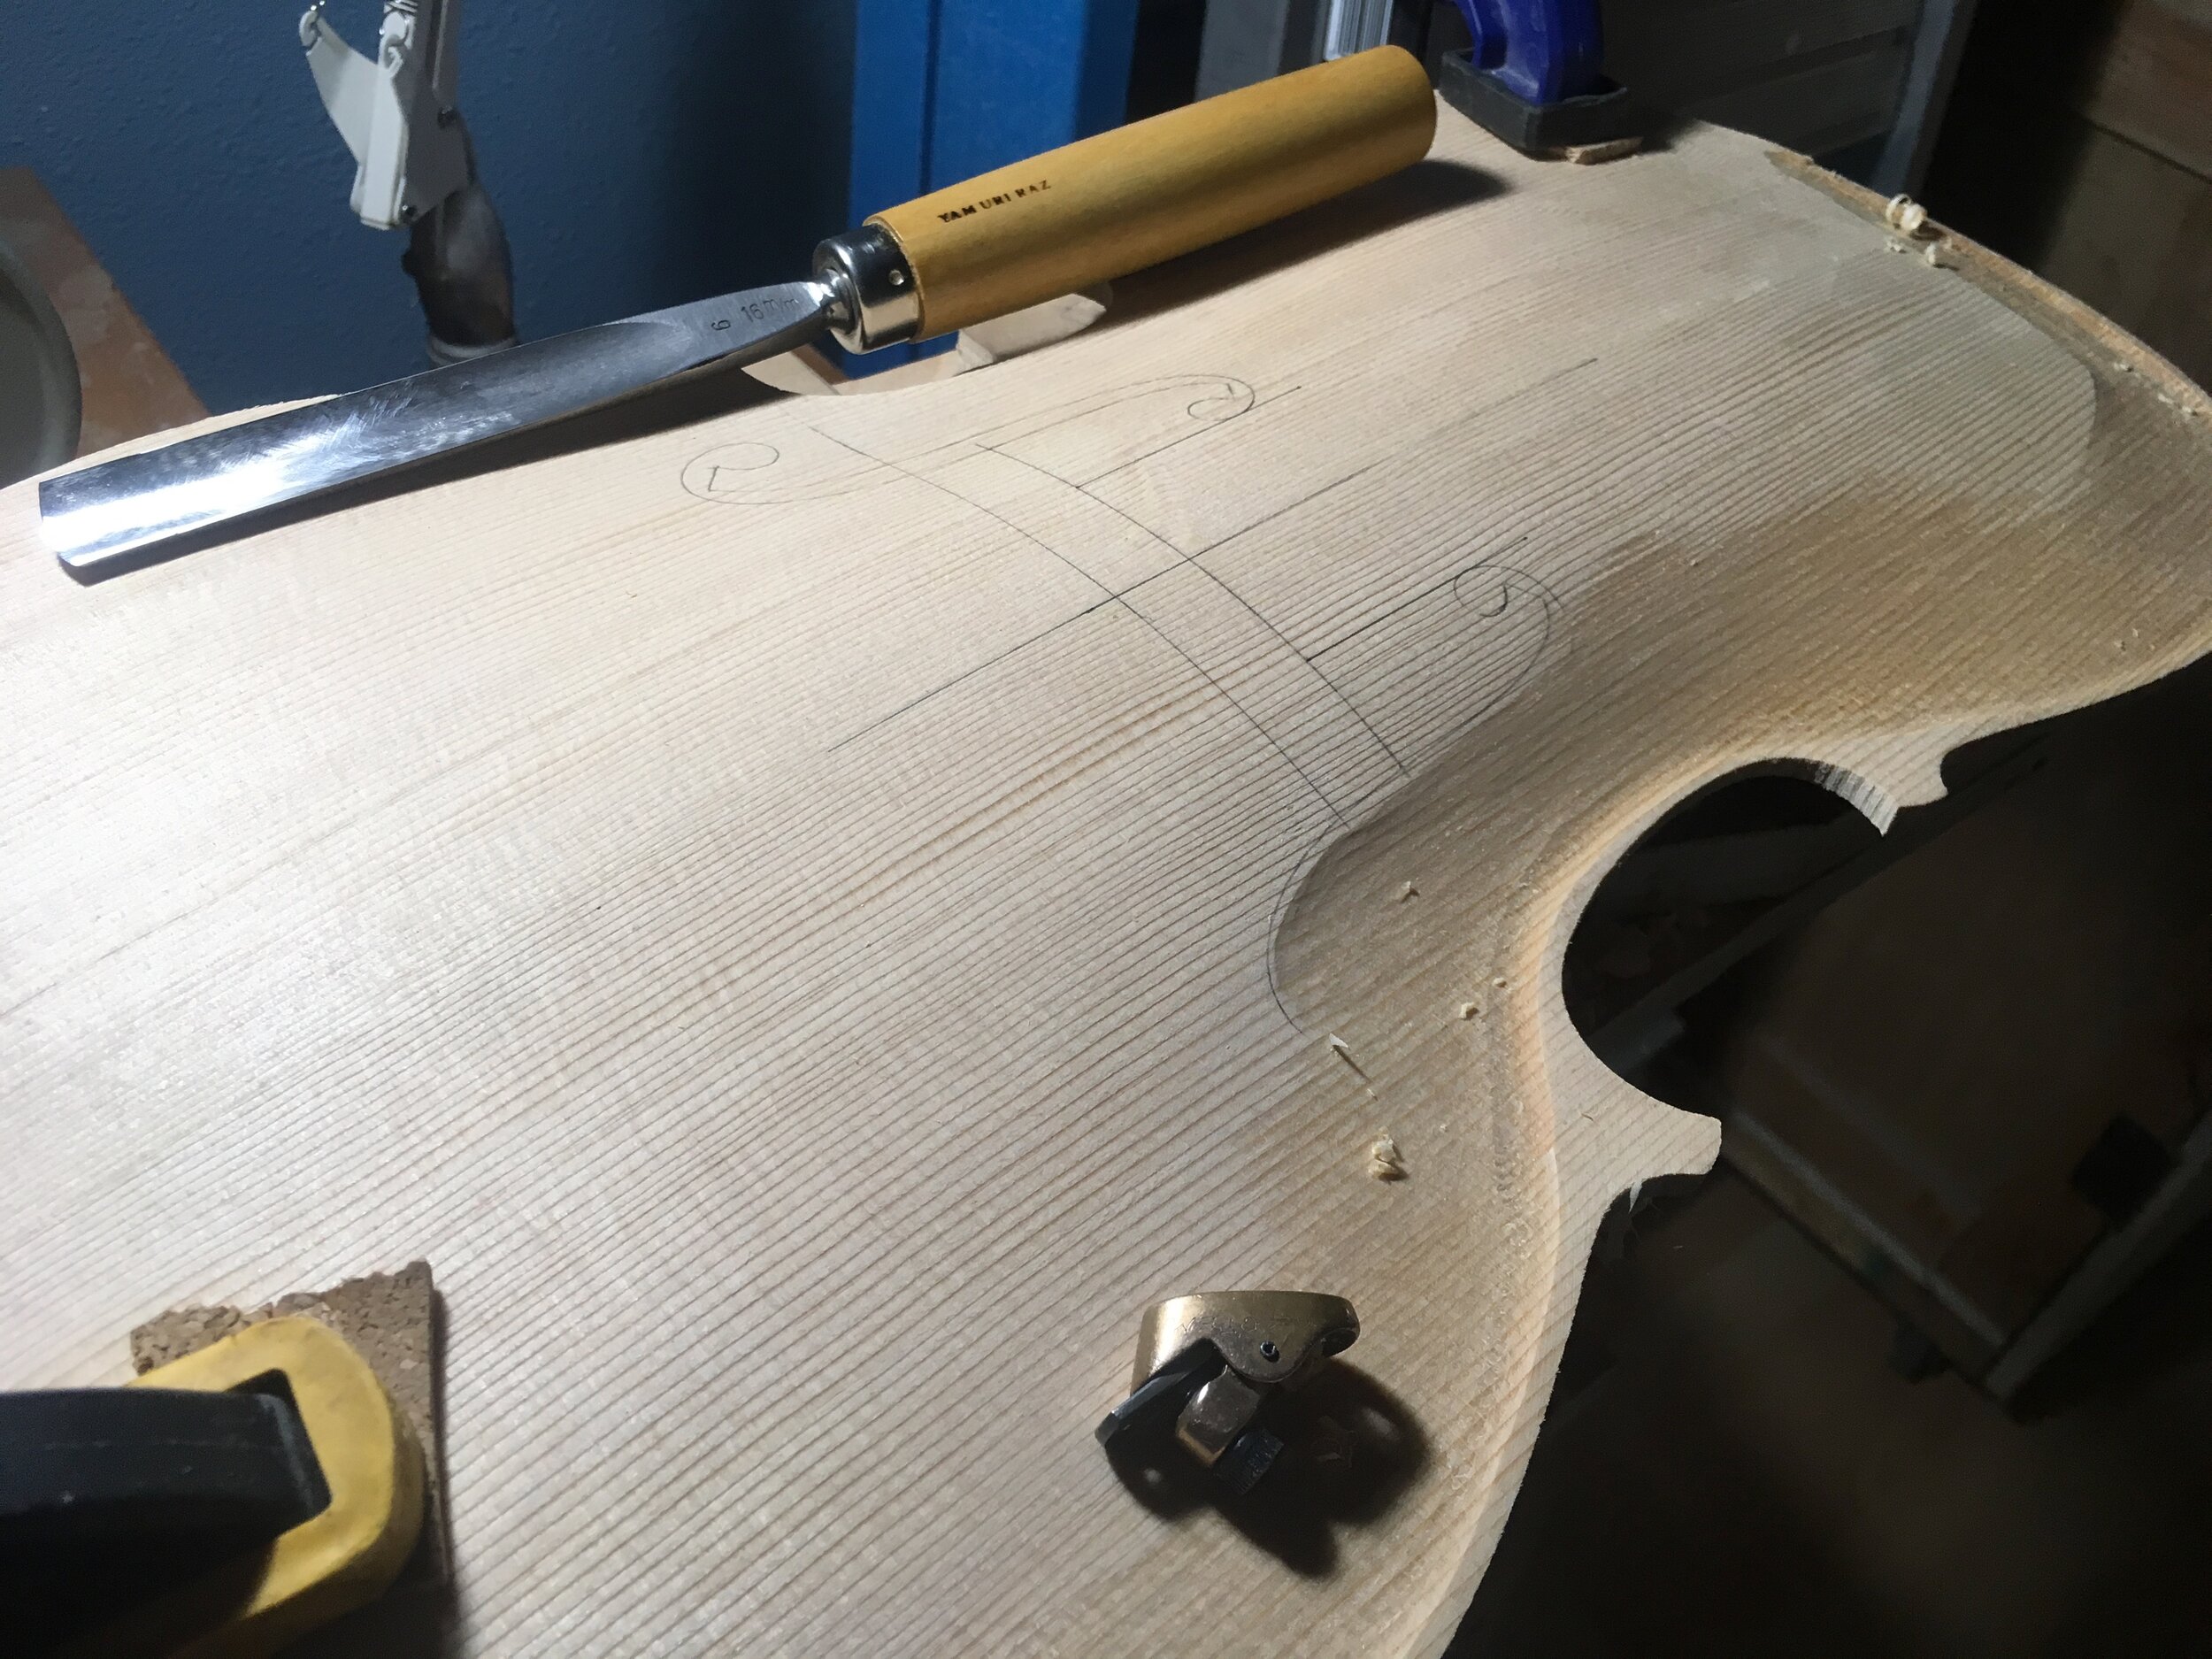
 Shaping with a finger plane the f resonant area for maximum resonance
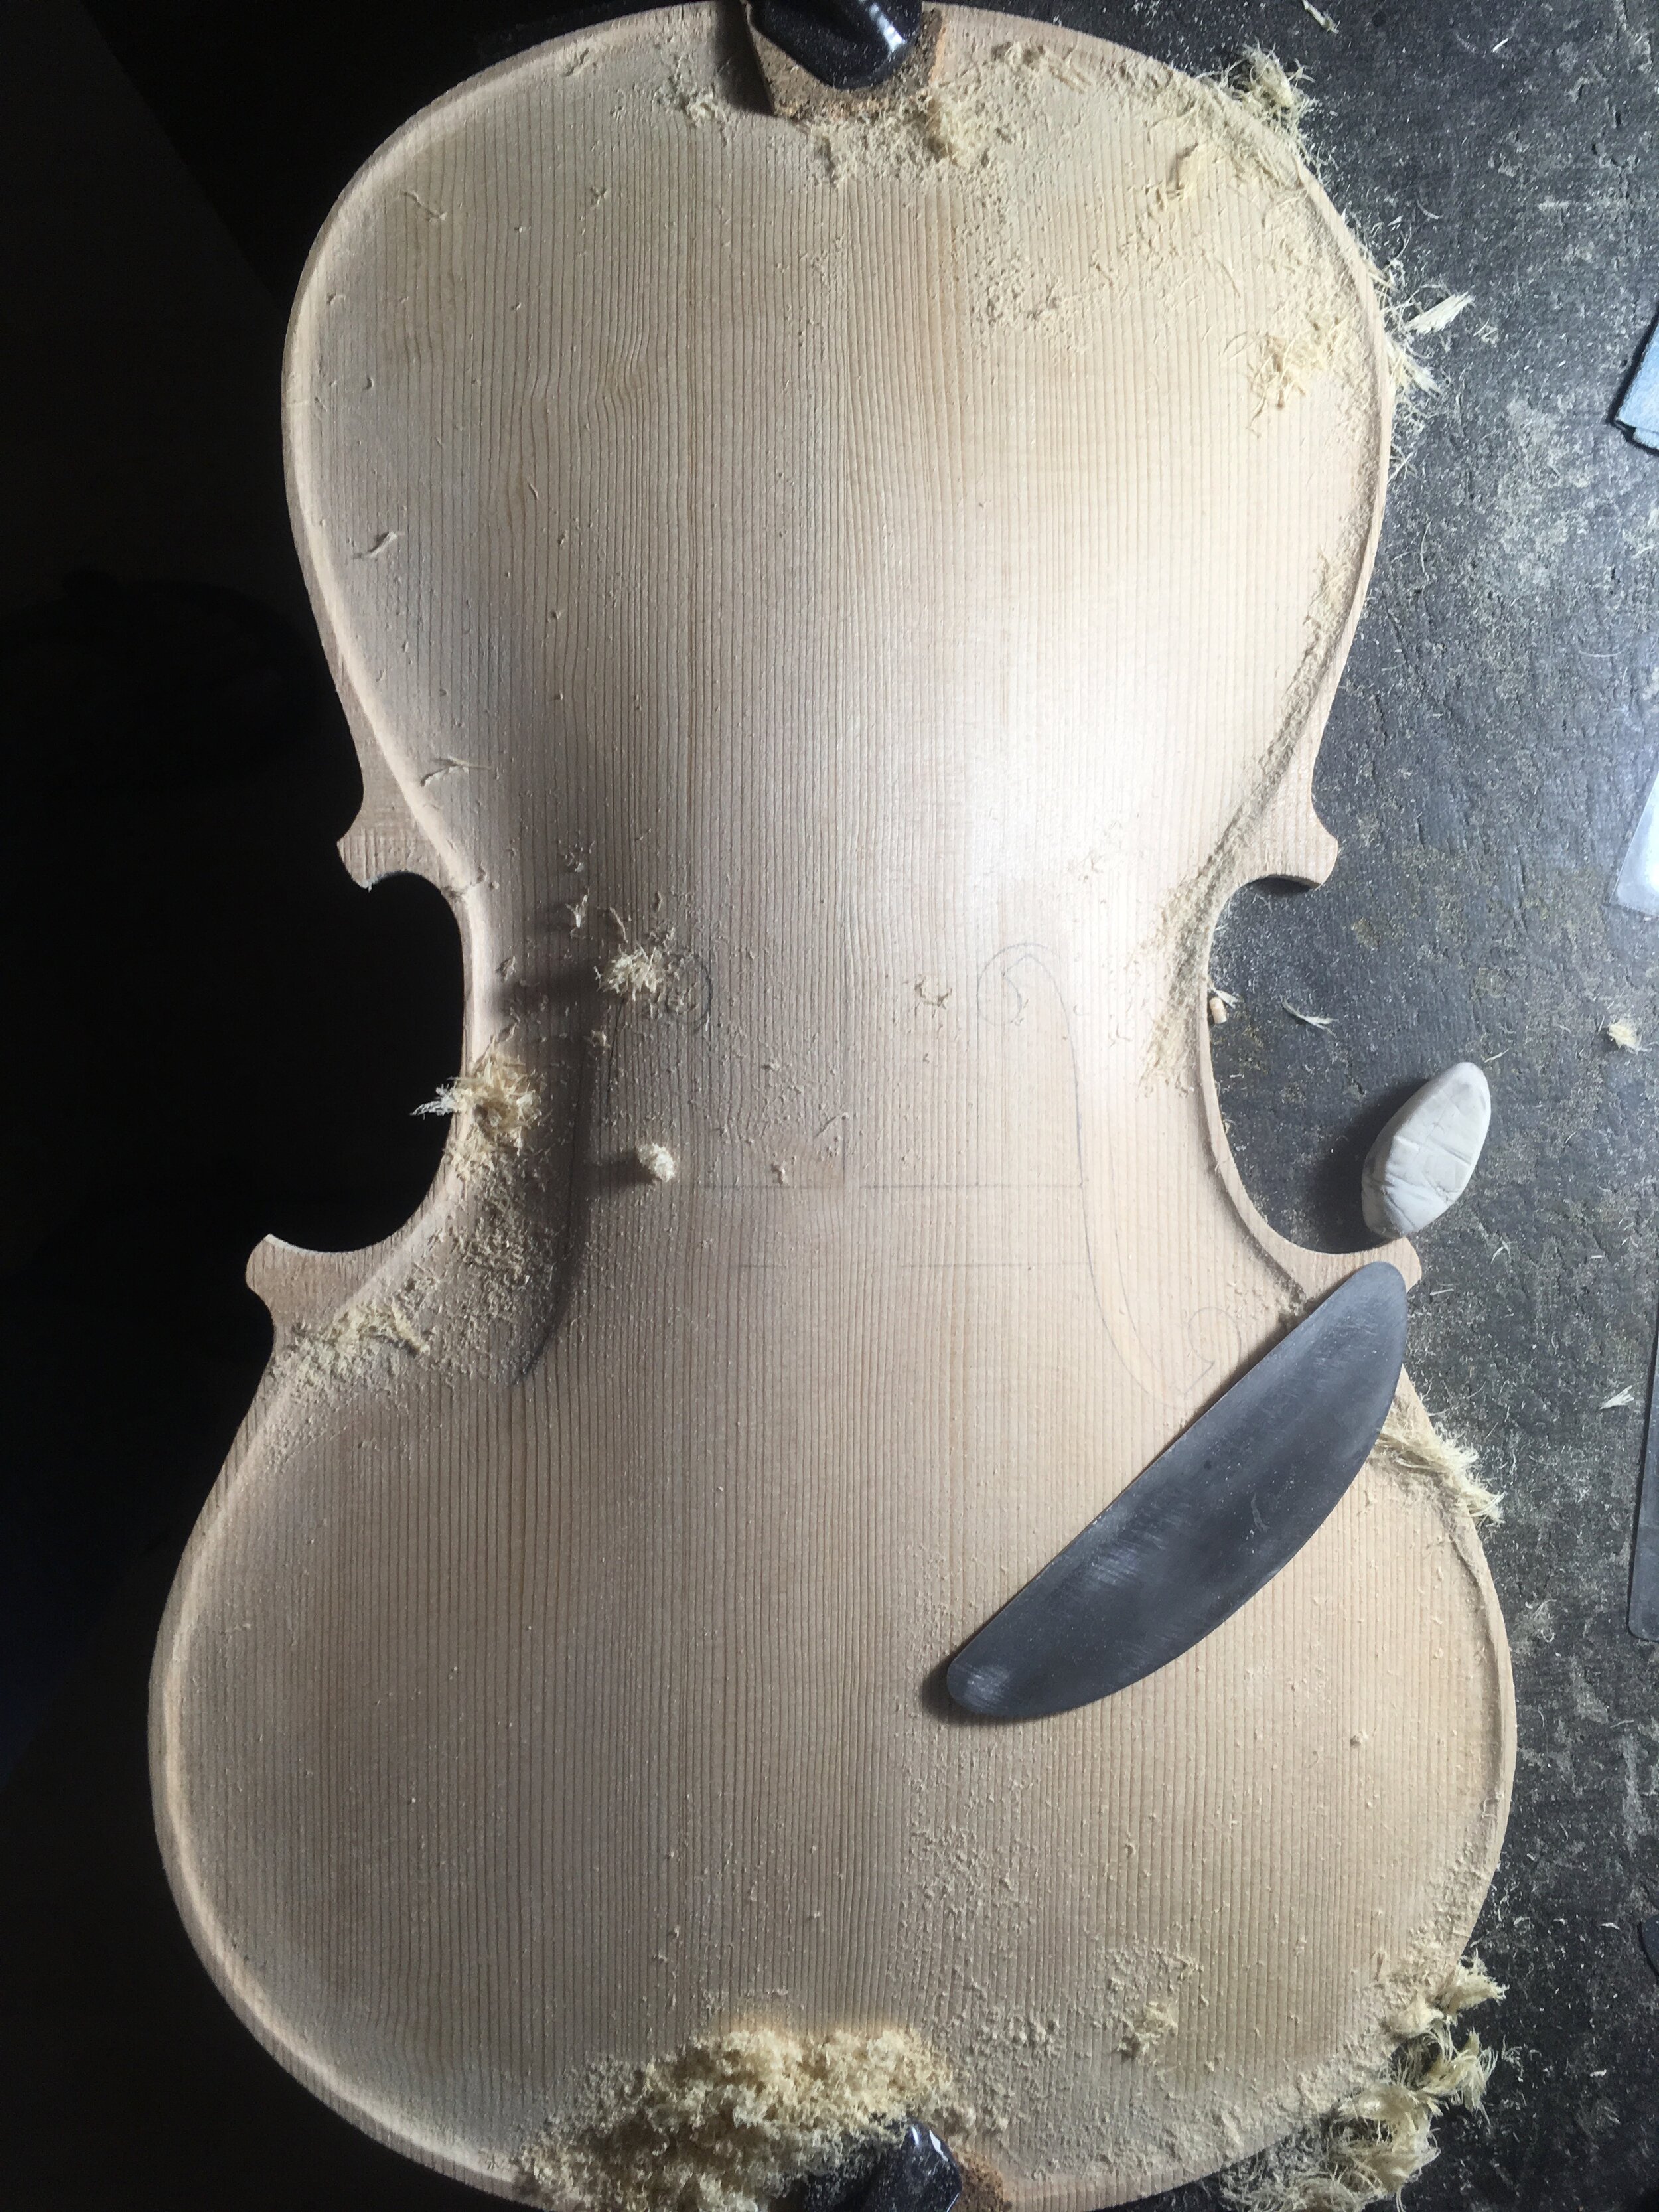
 Scraping
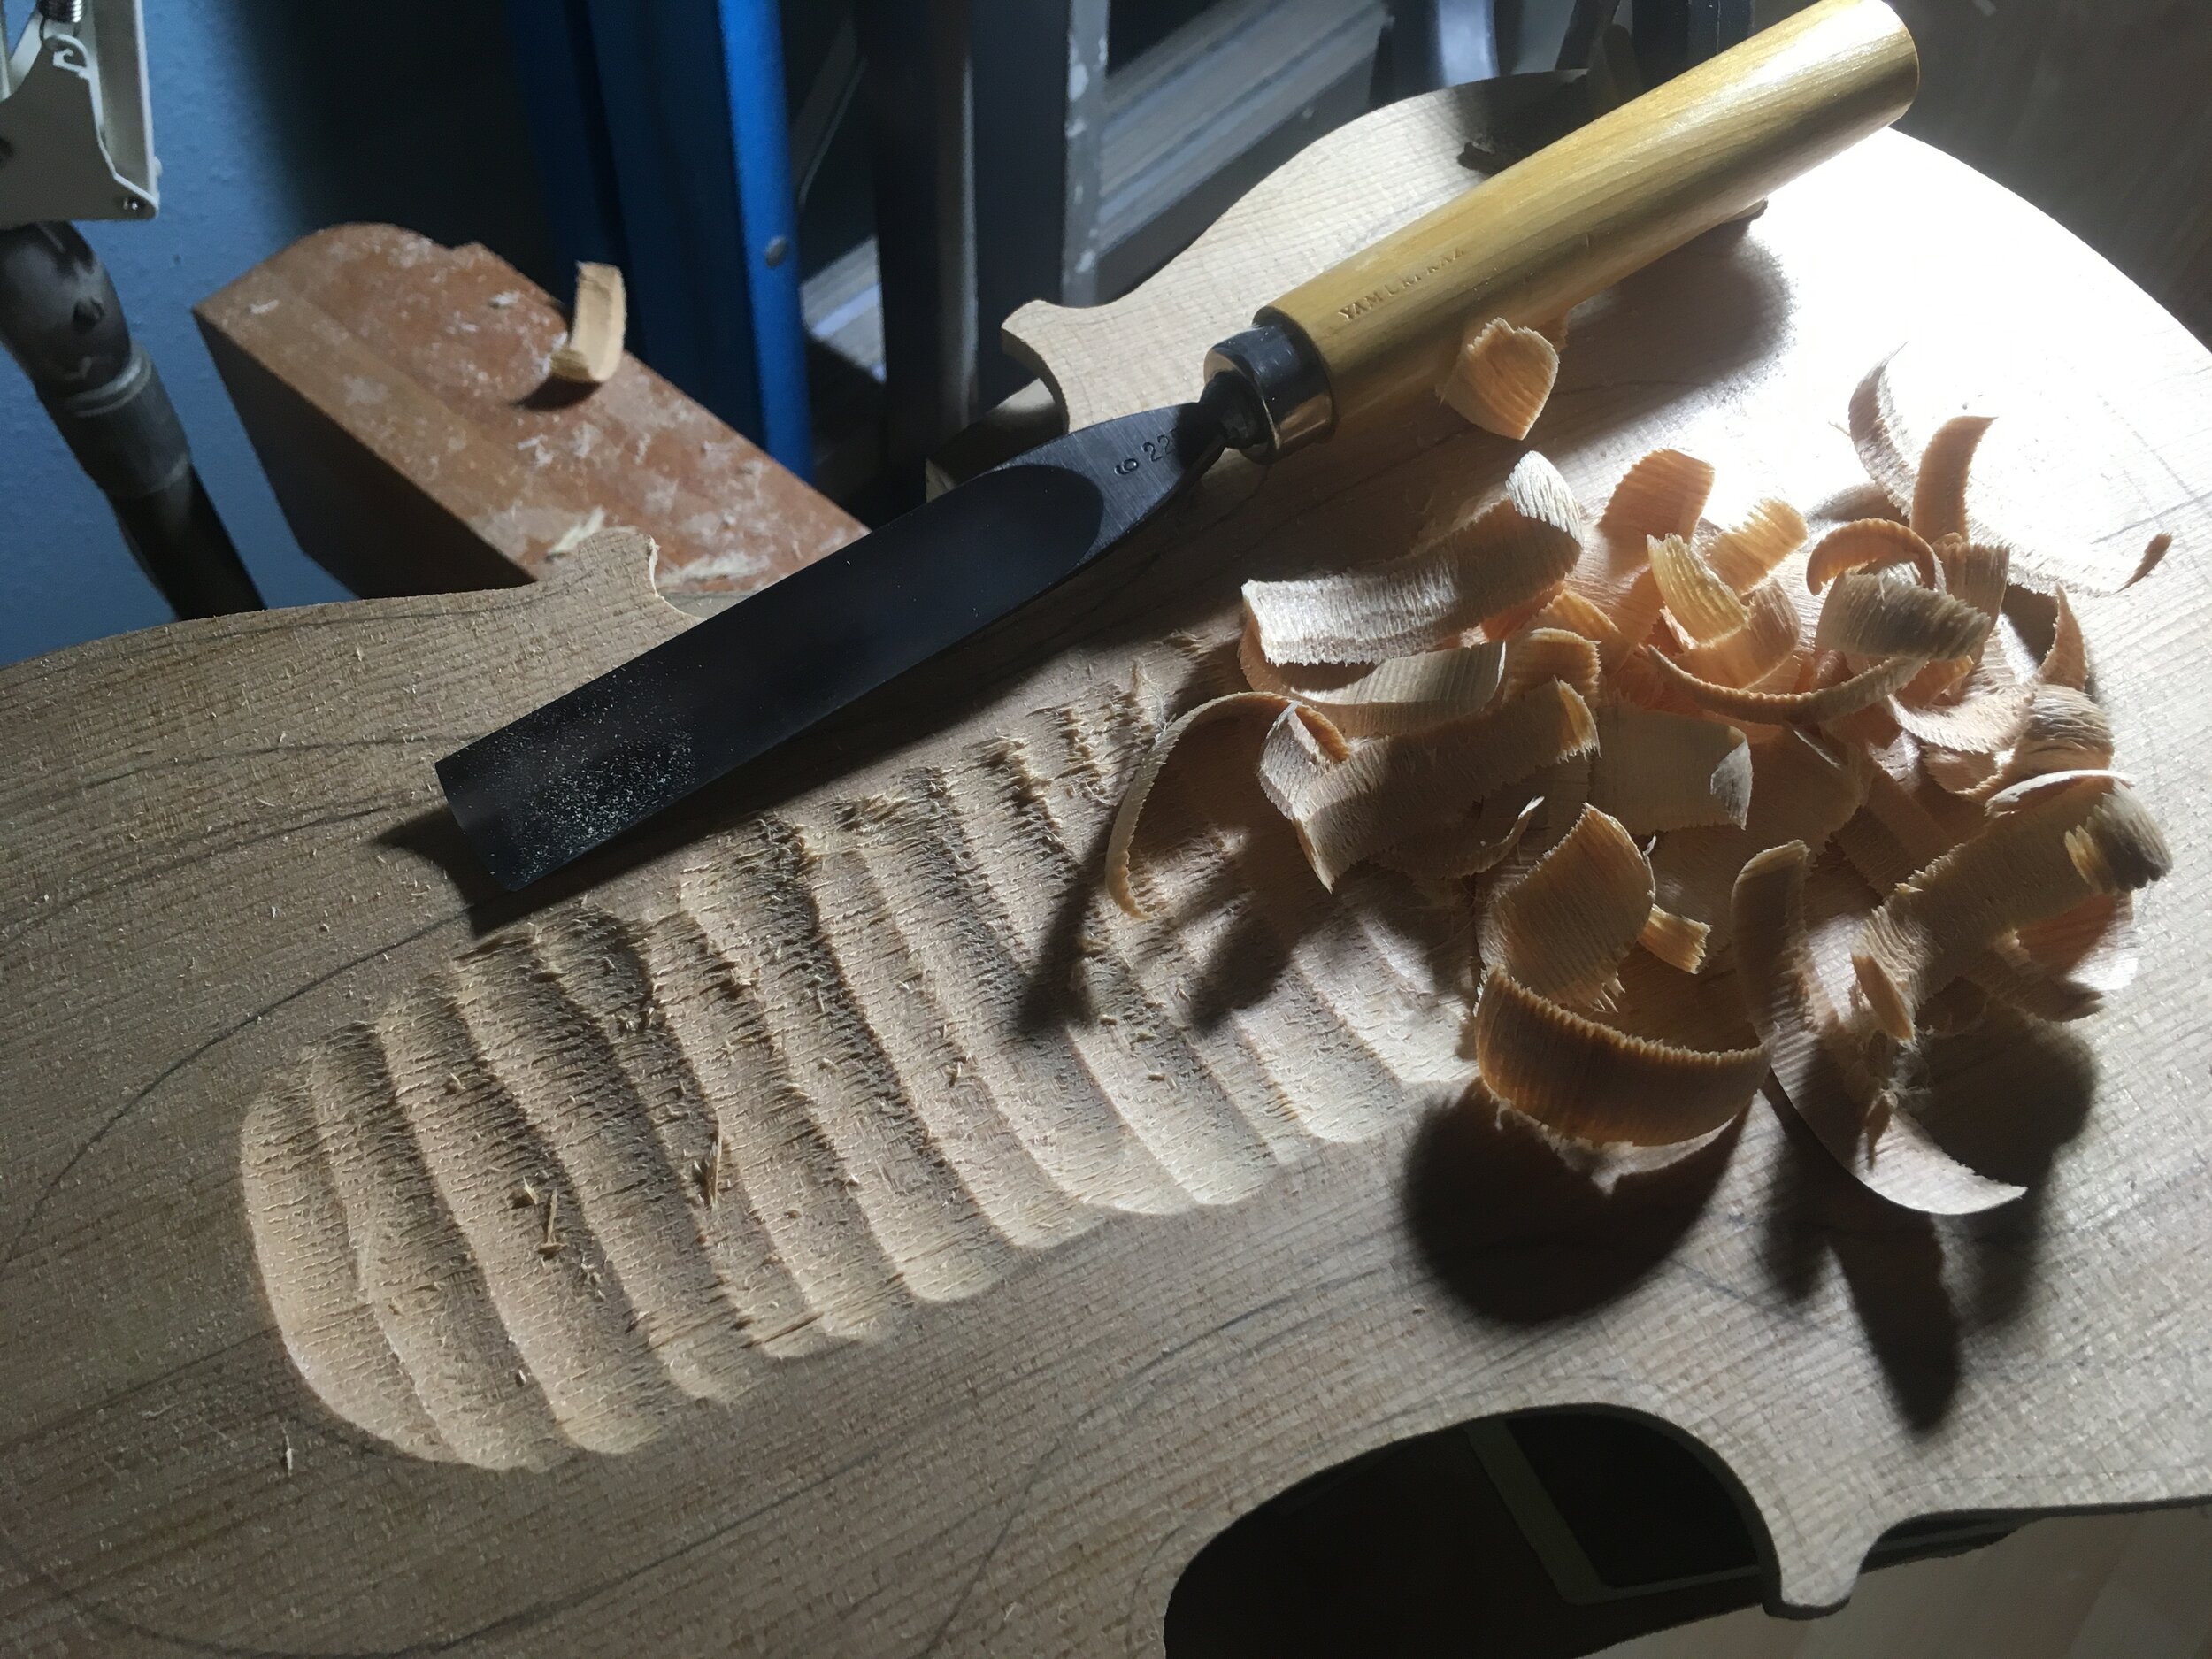
 Gauging the inside of the top
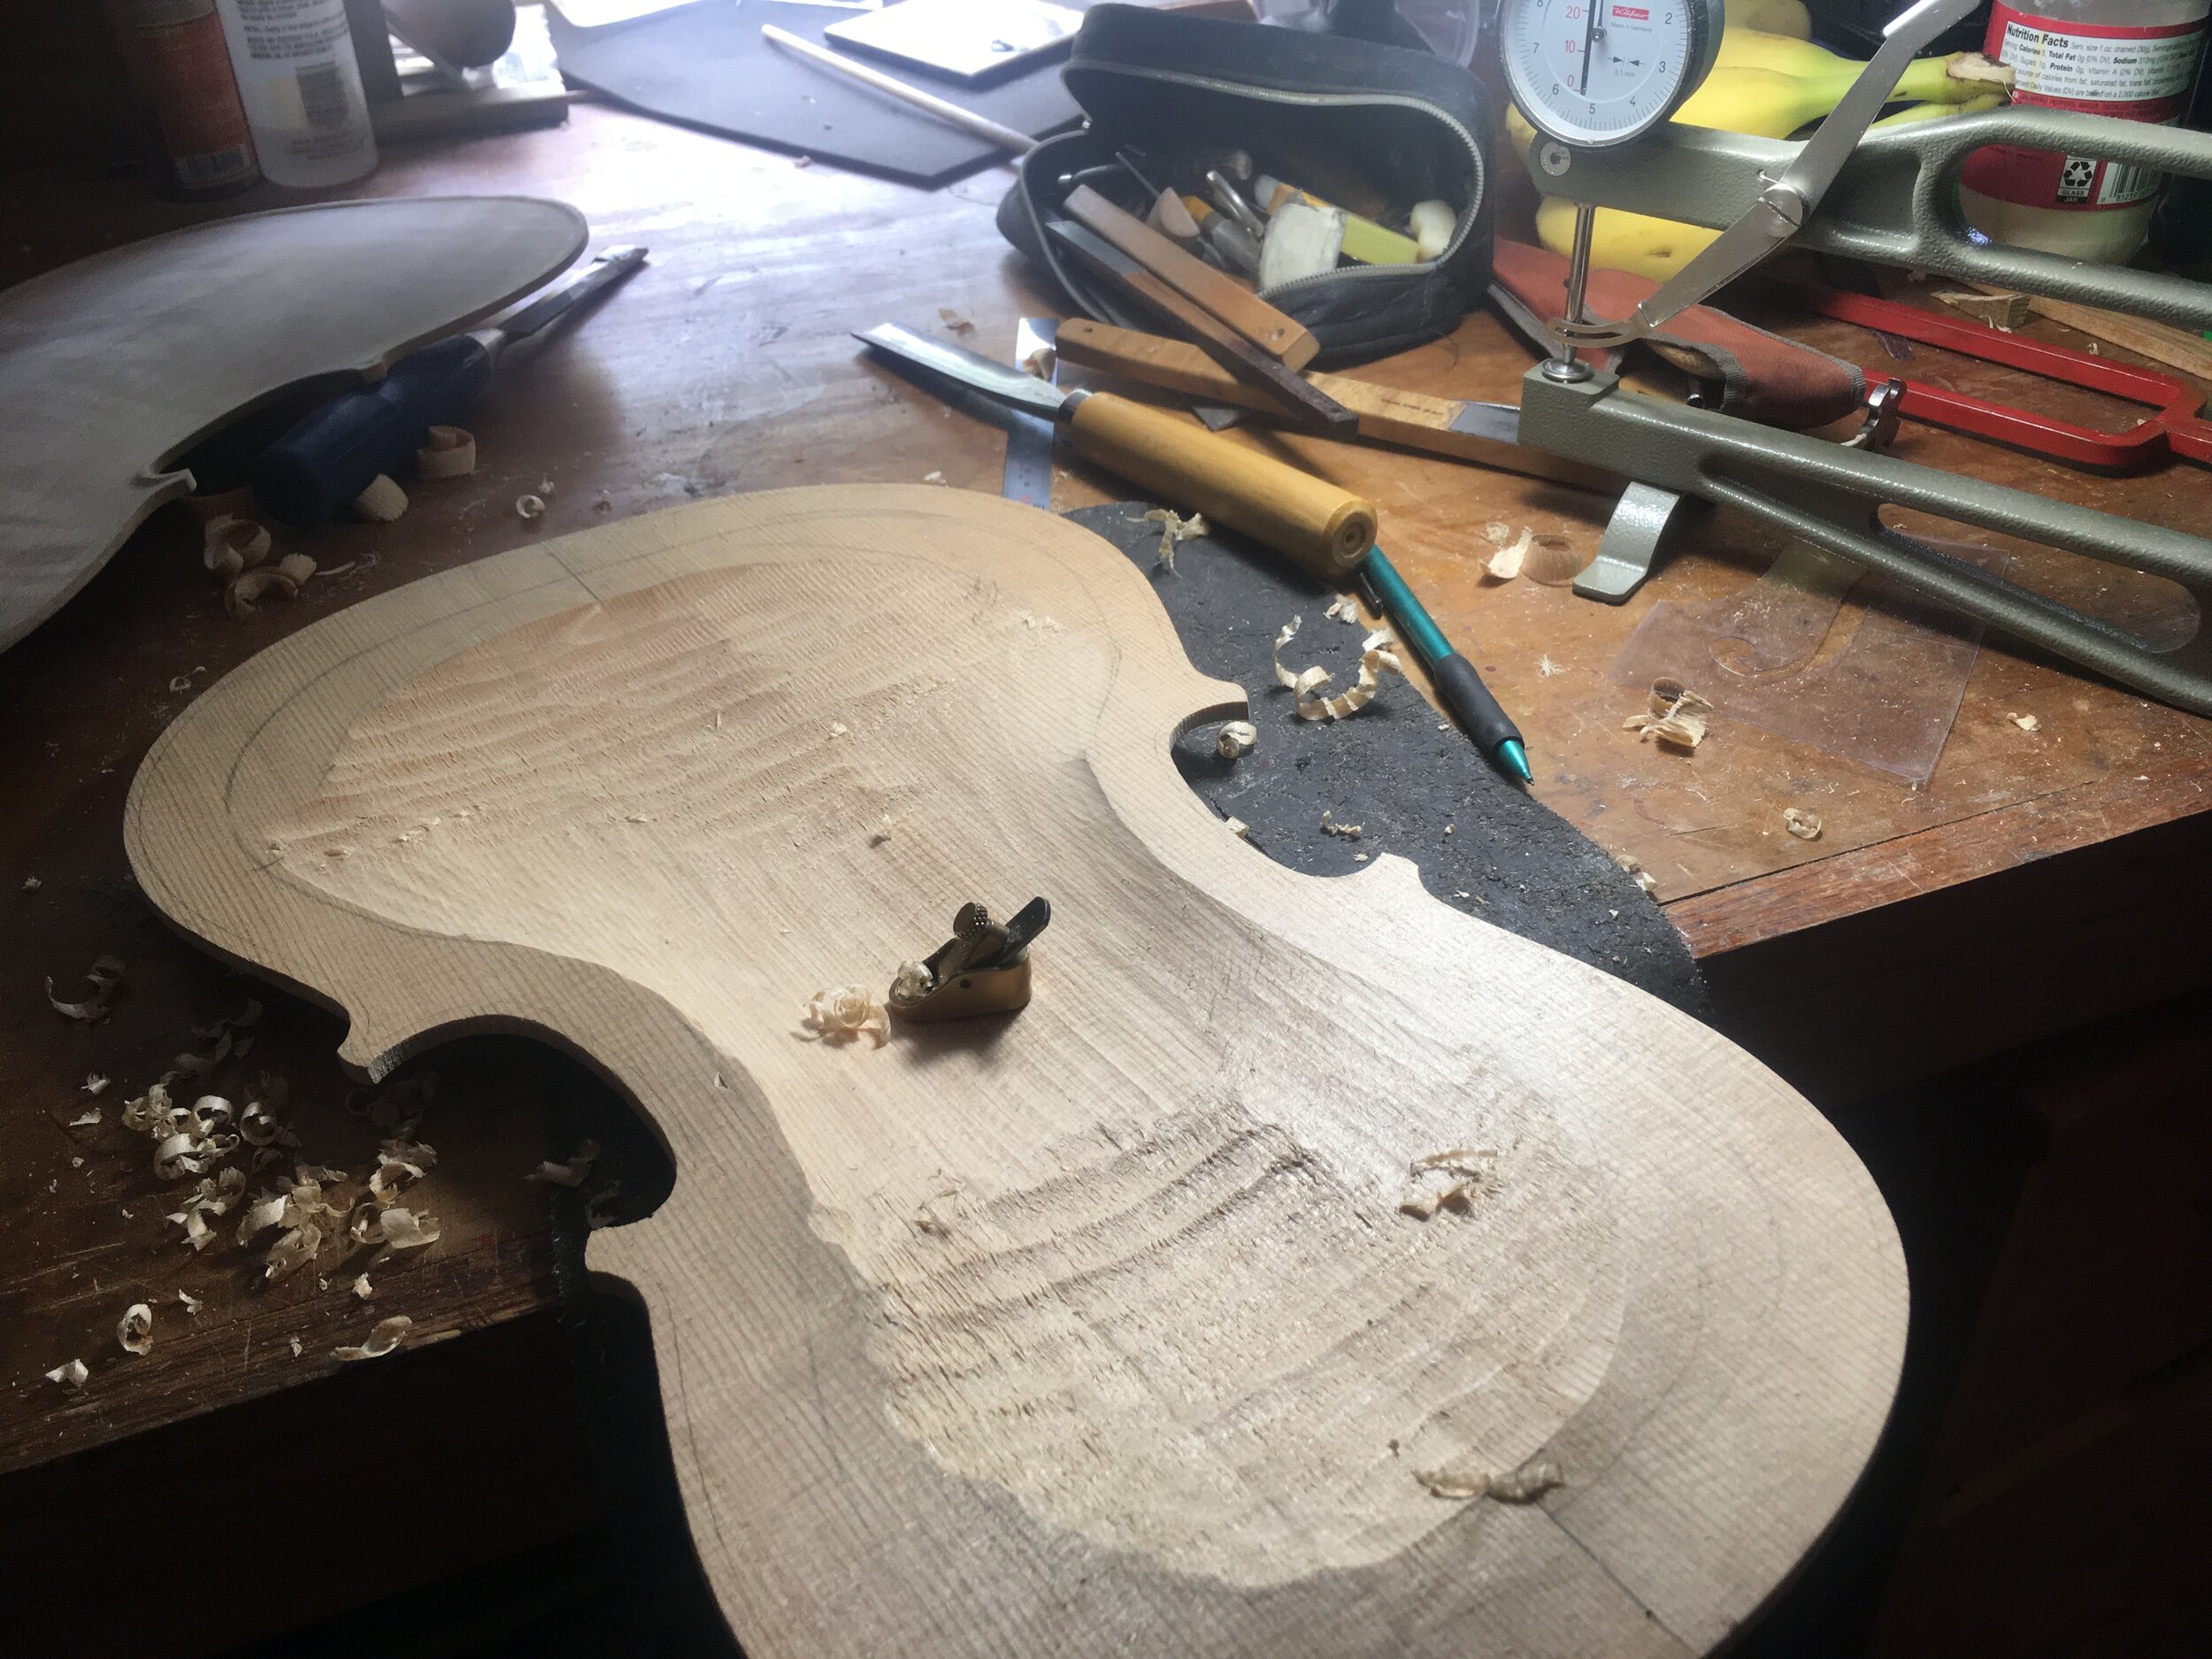
 Finger planing the top
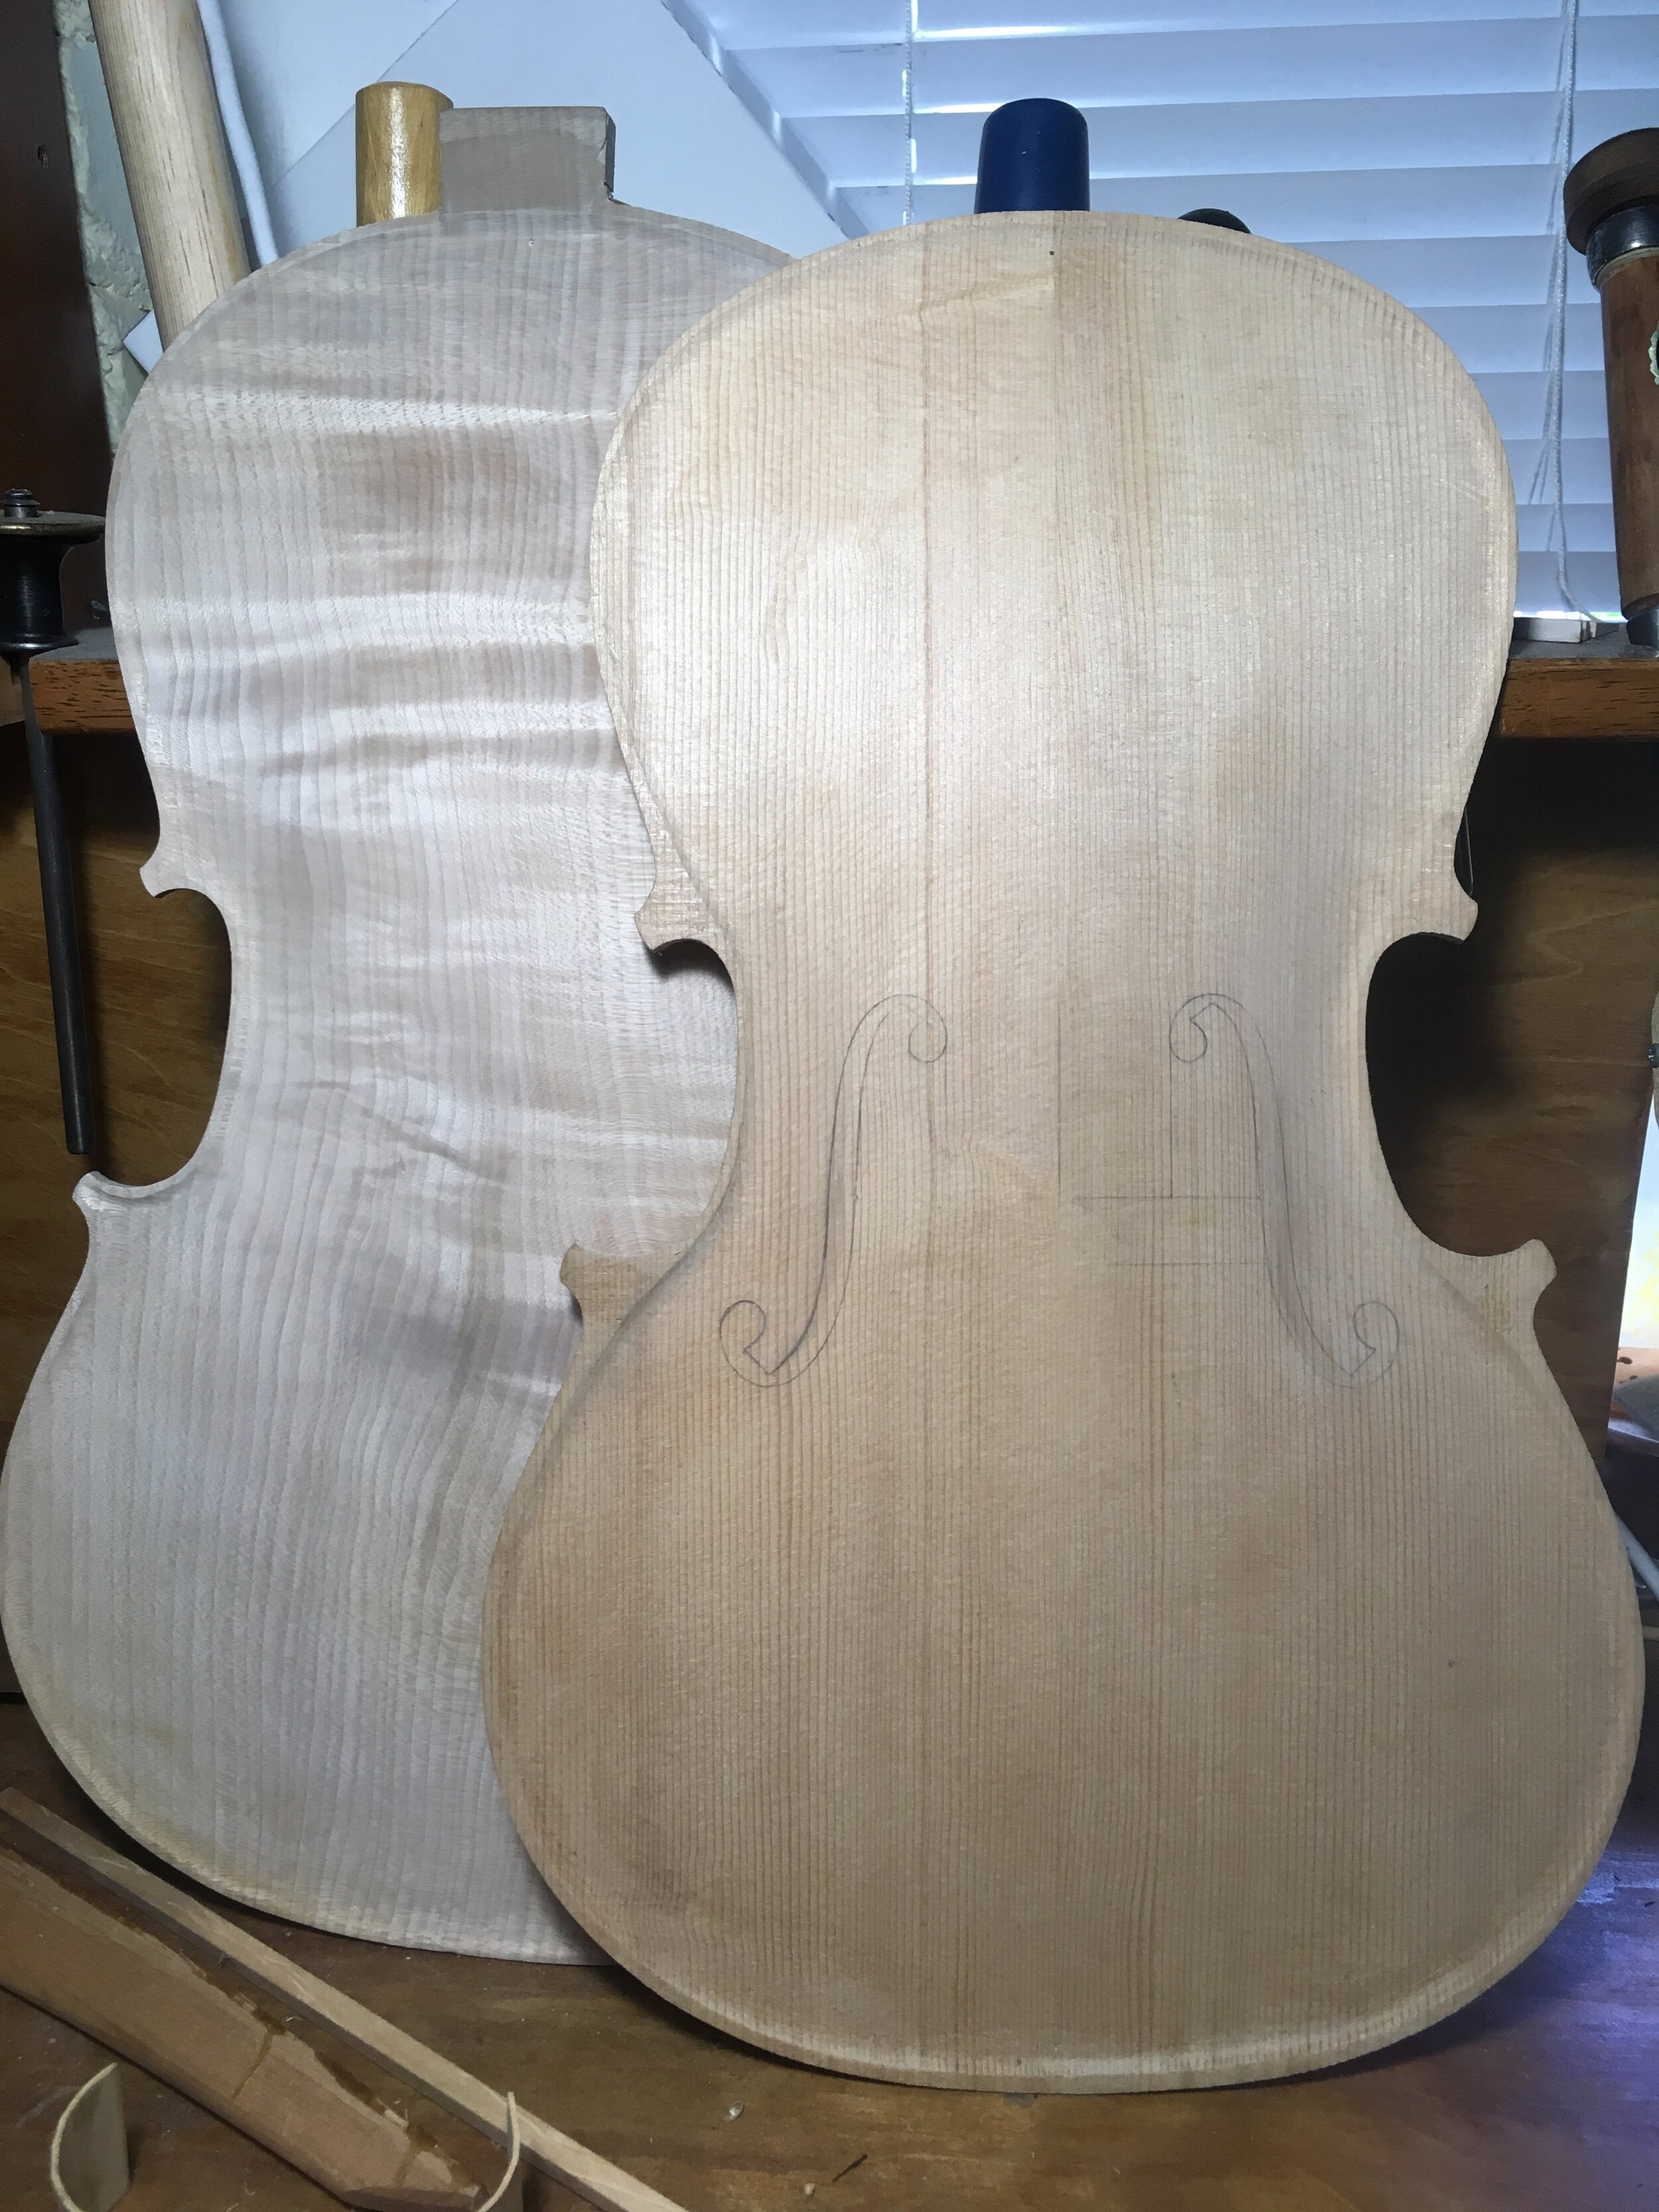
 Back and top side by side
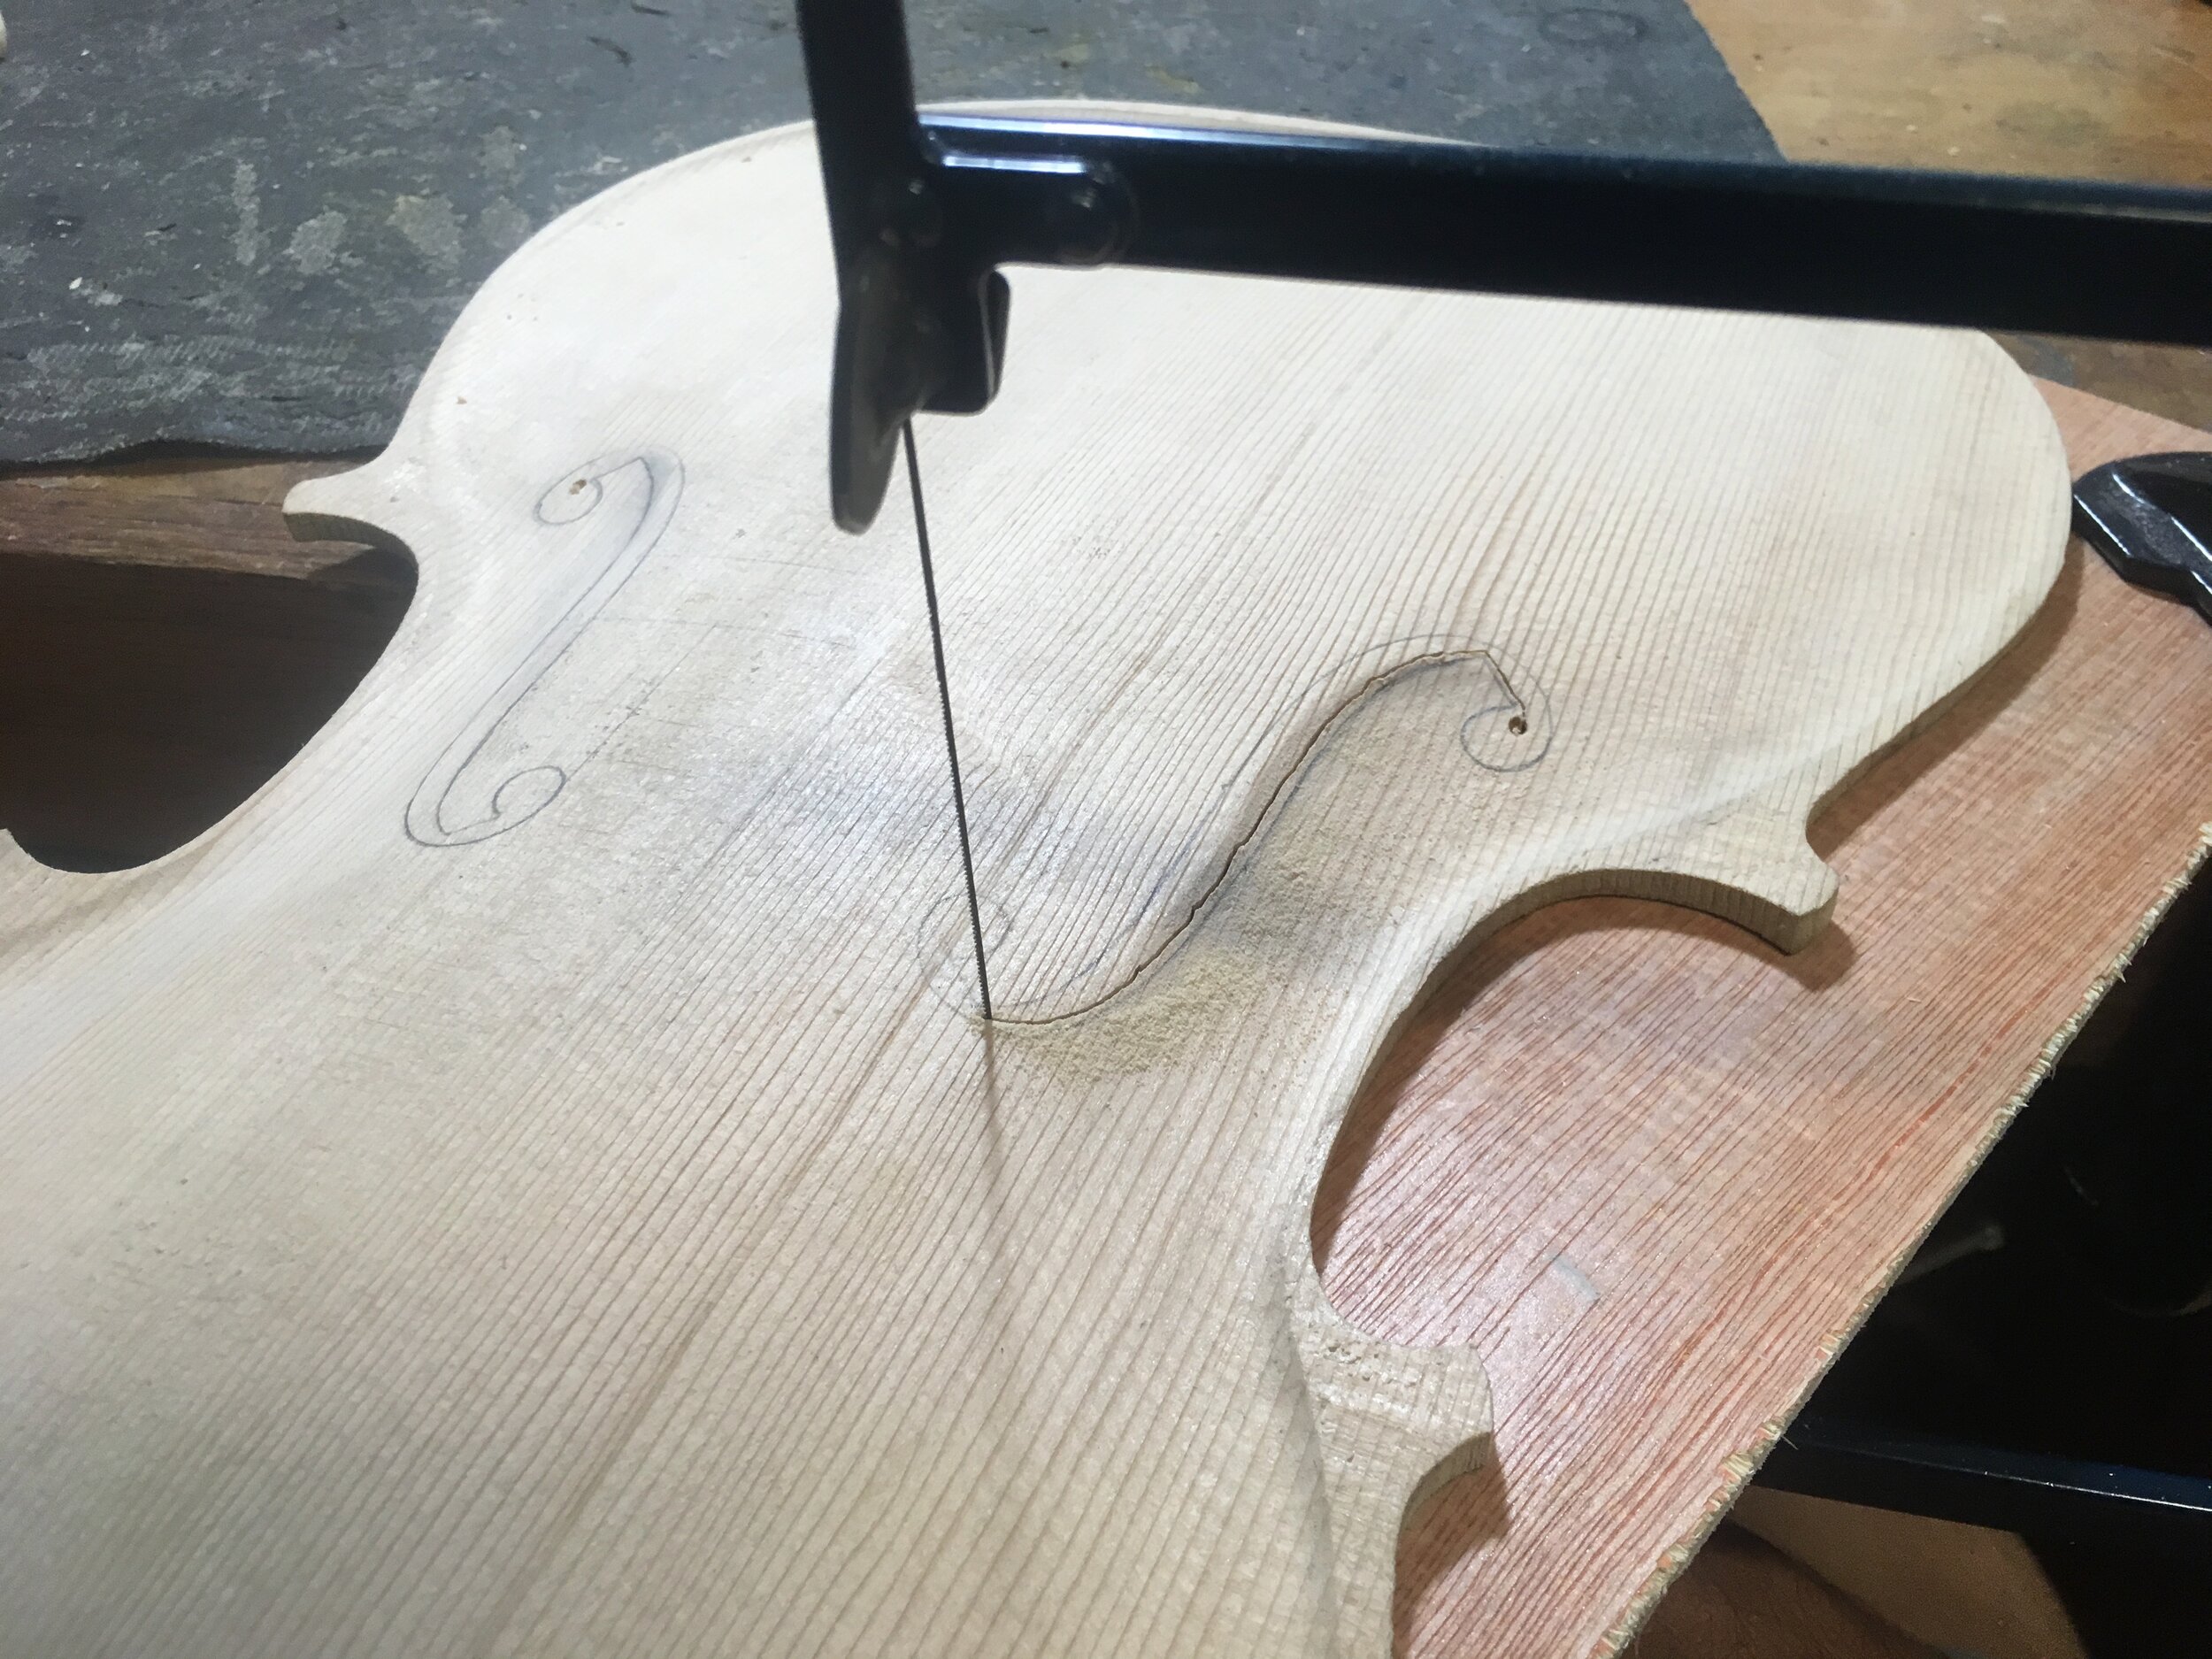
 Cutting of the f holes
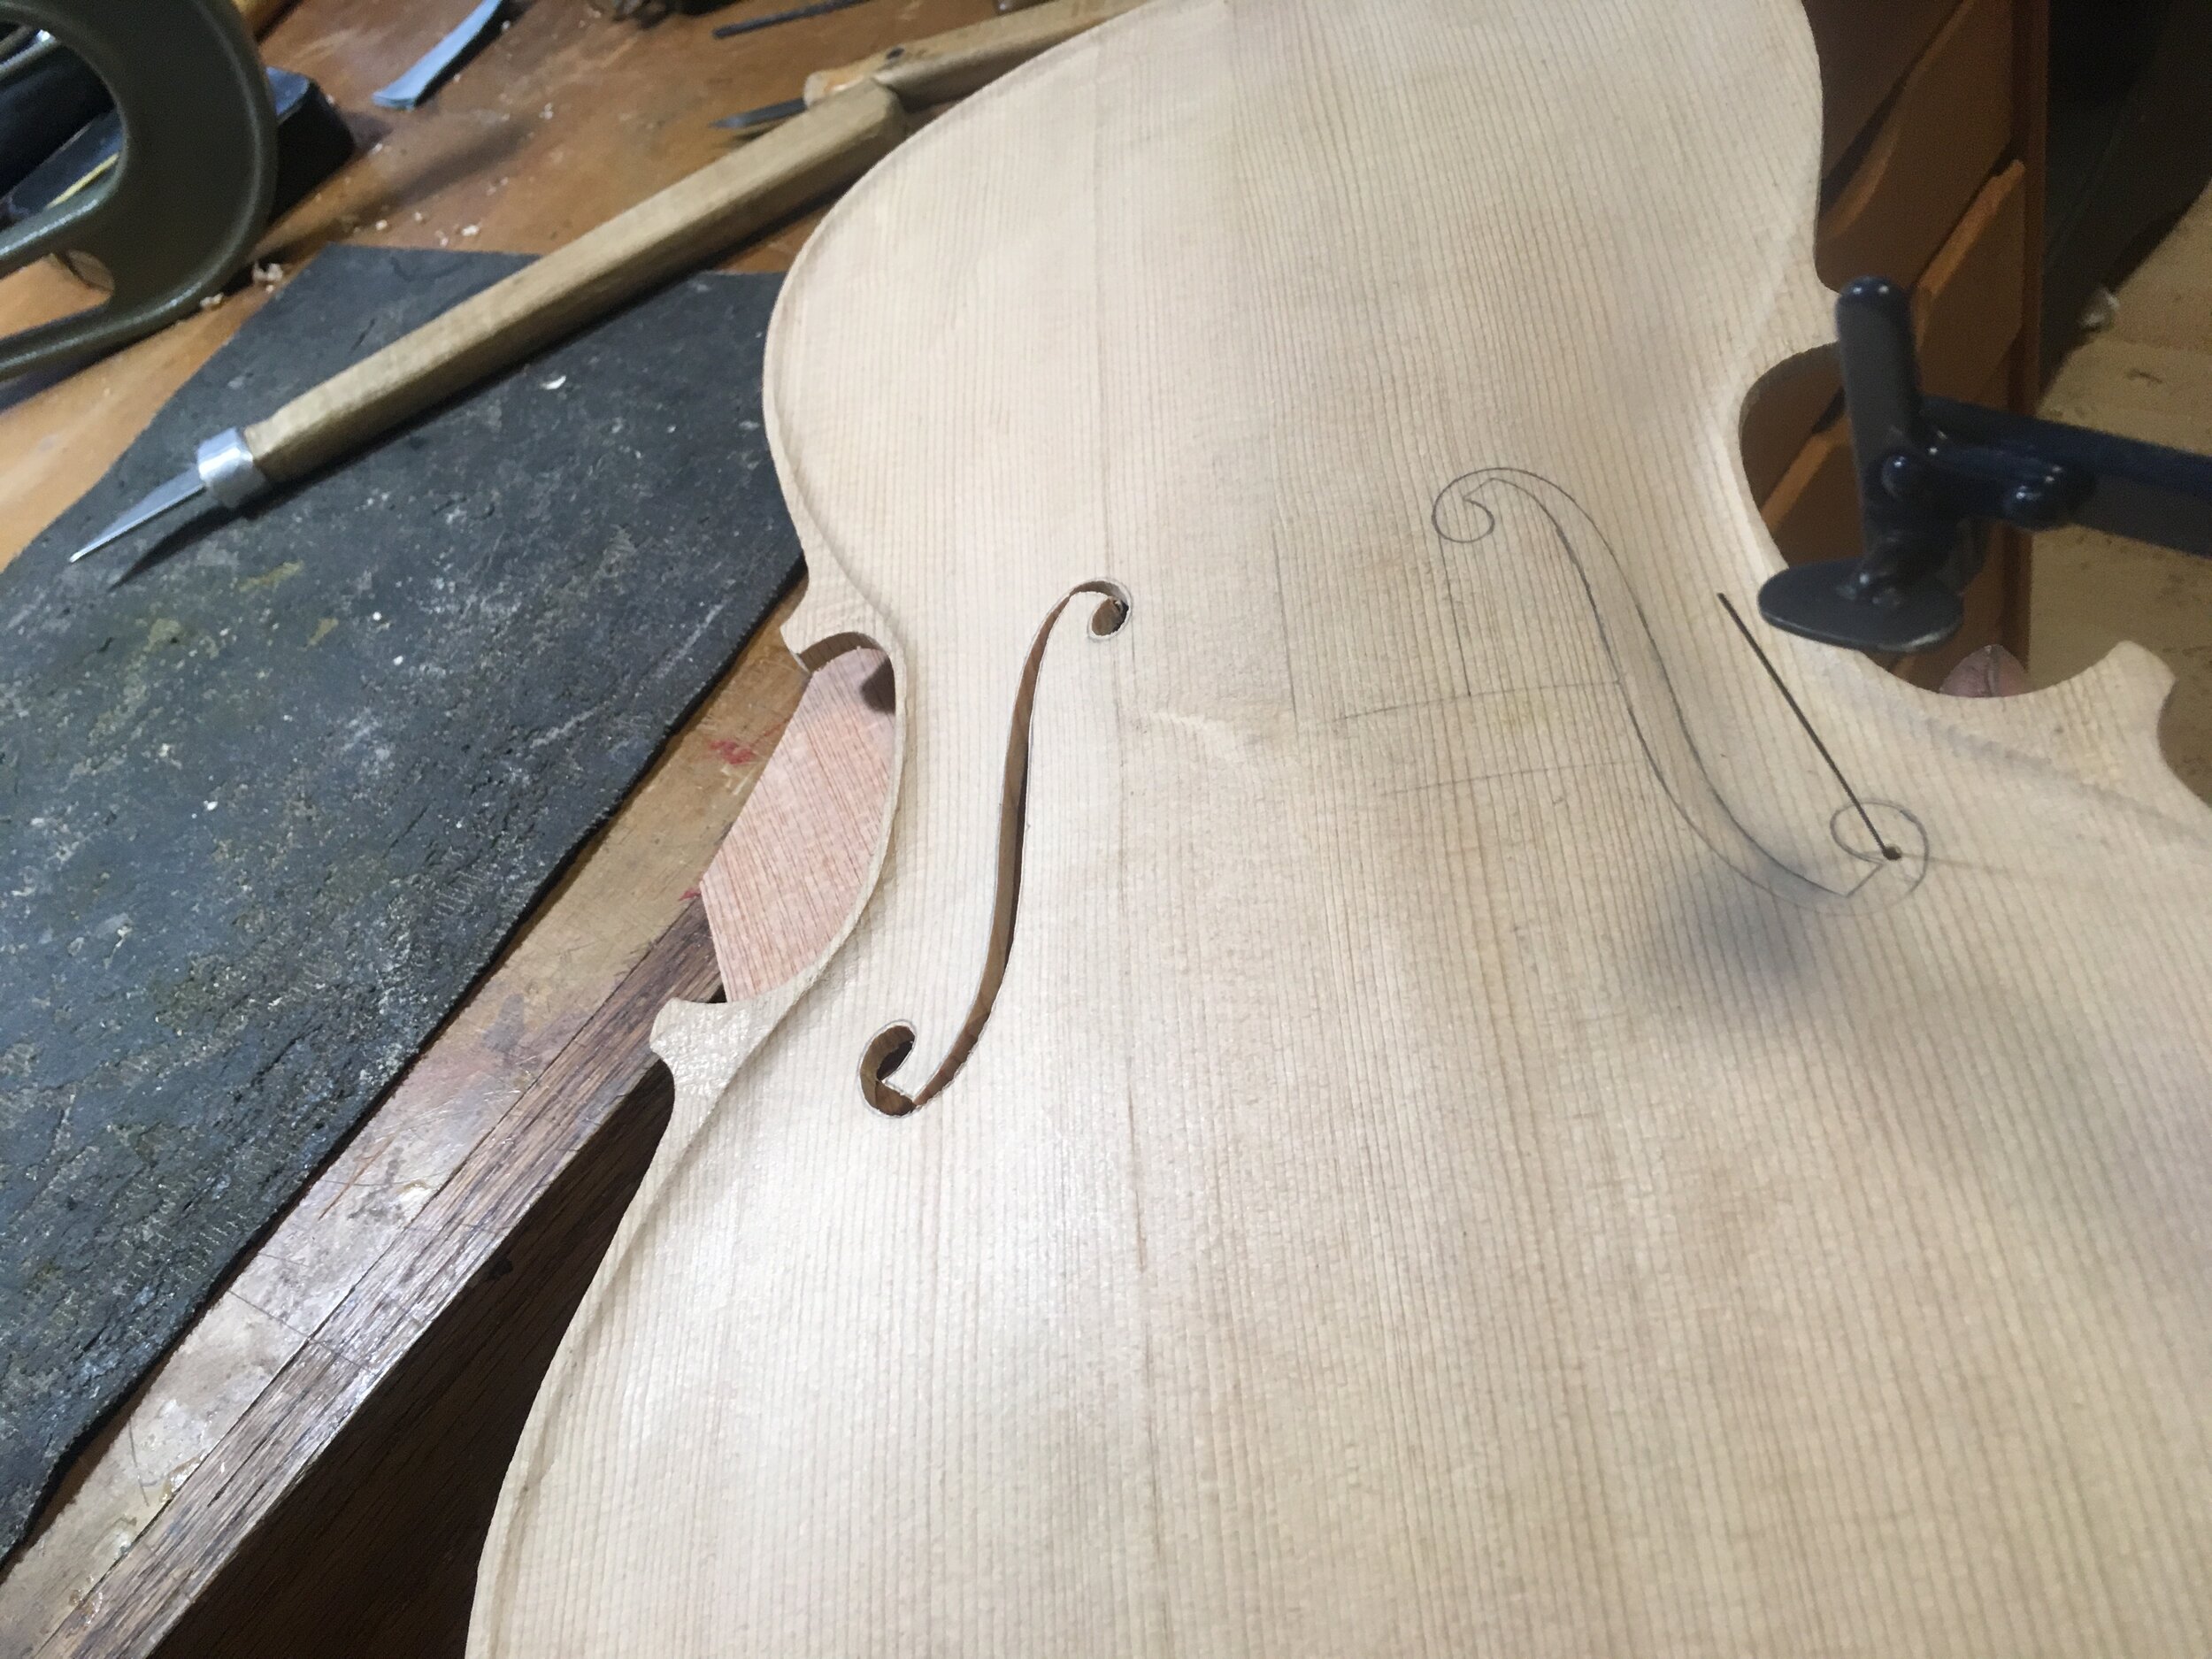
 One down, one to go
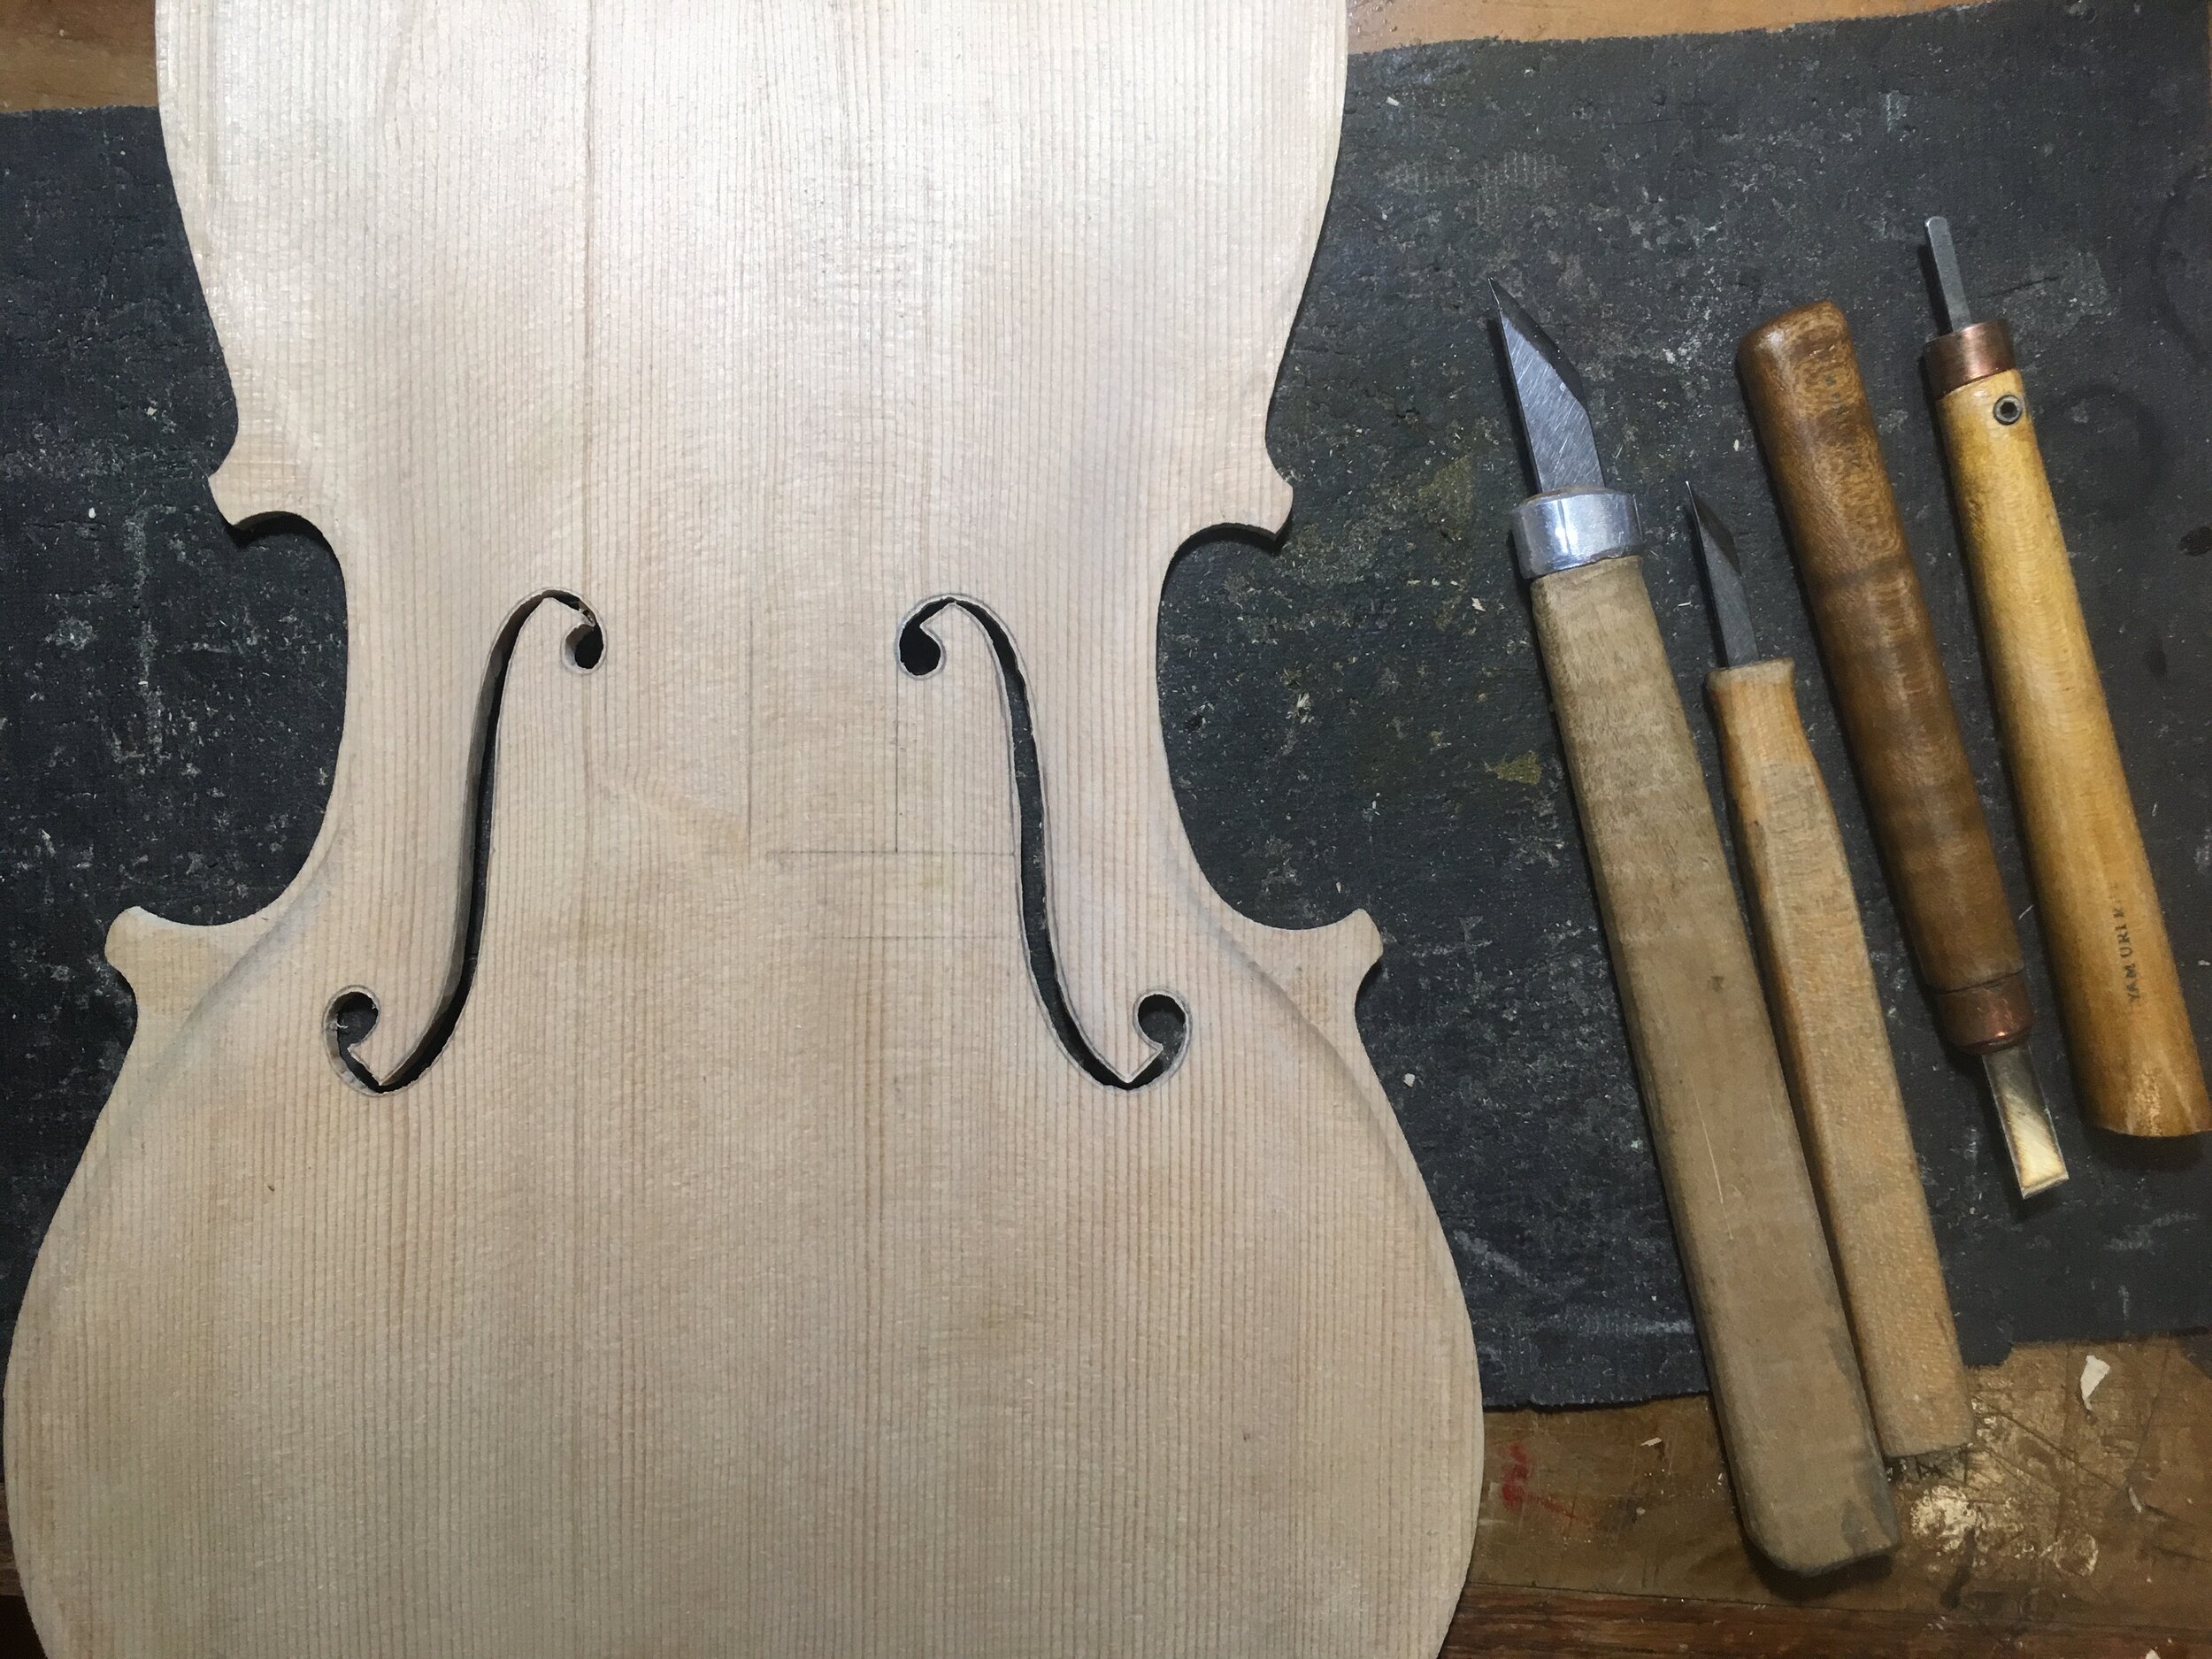
 Shaping the f holes with knives
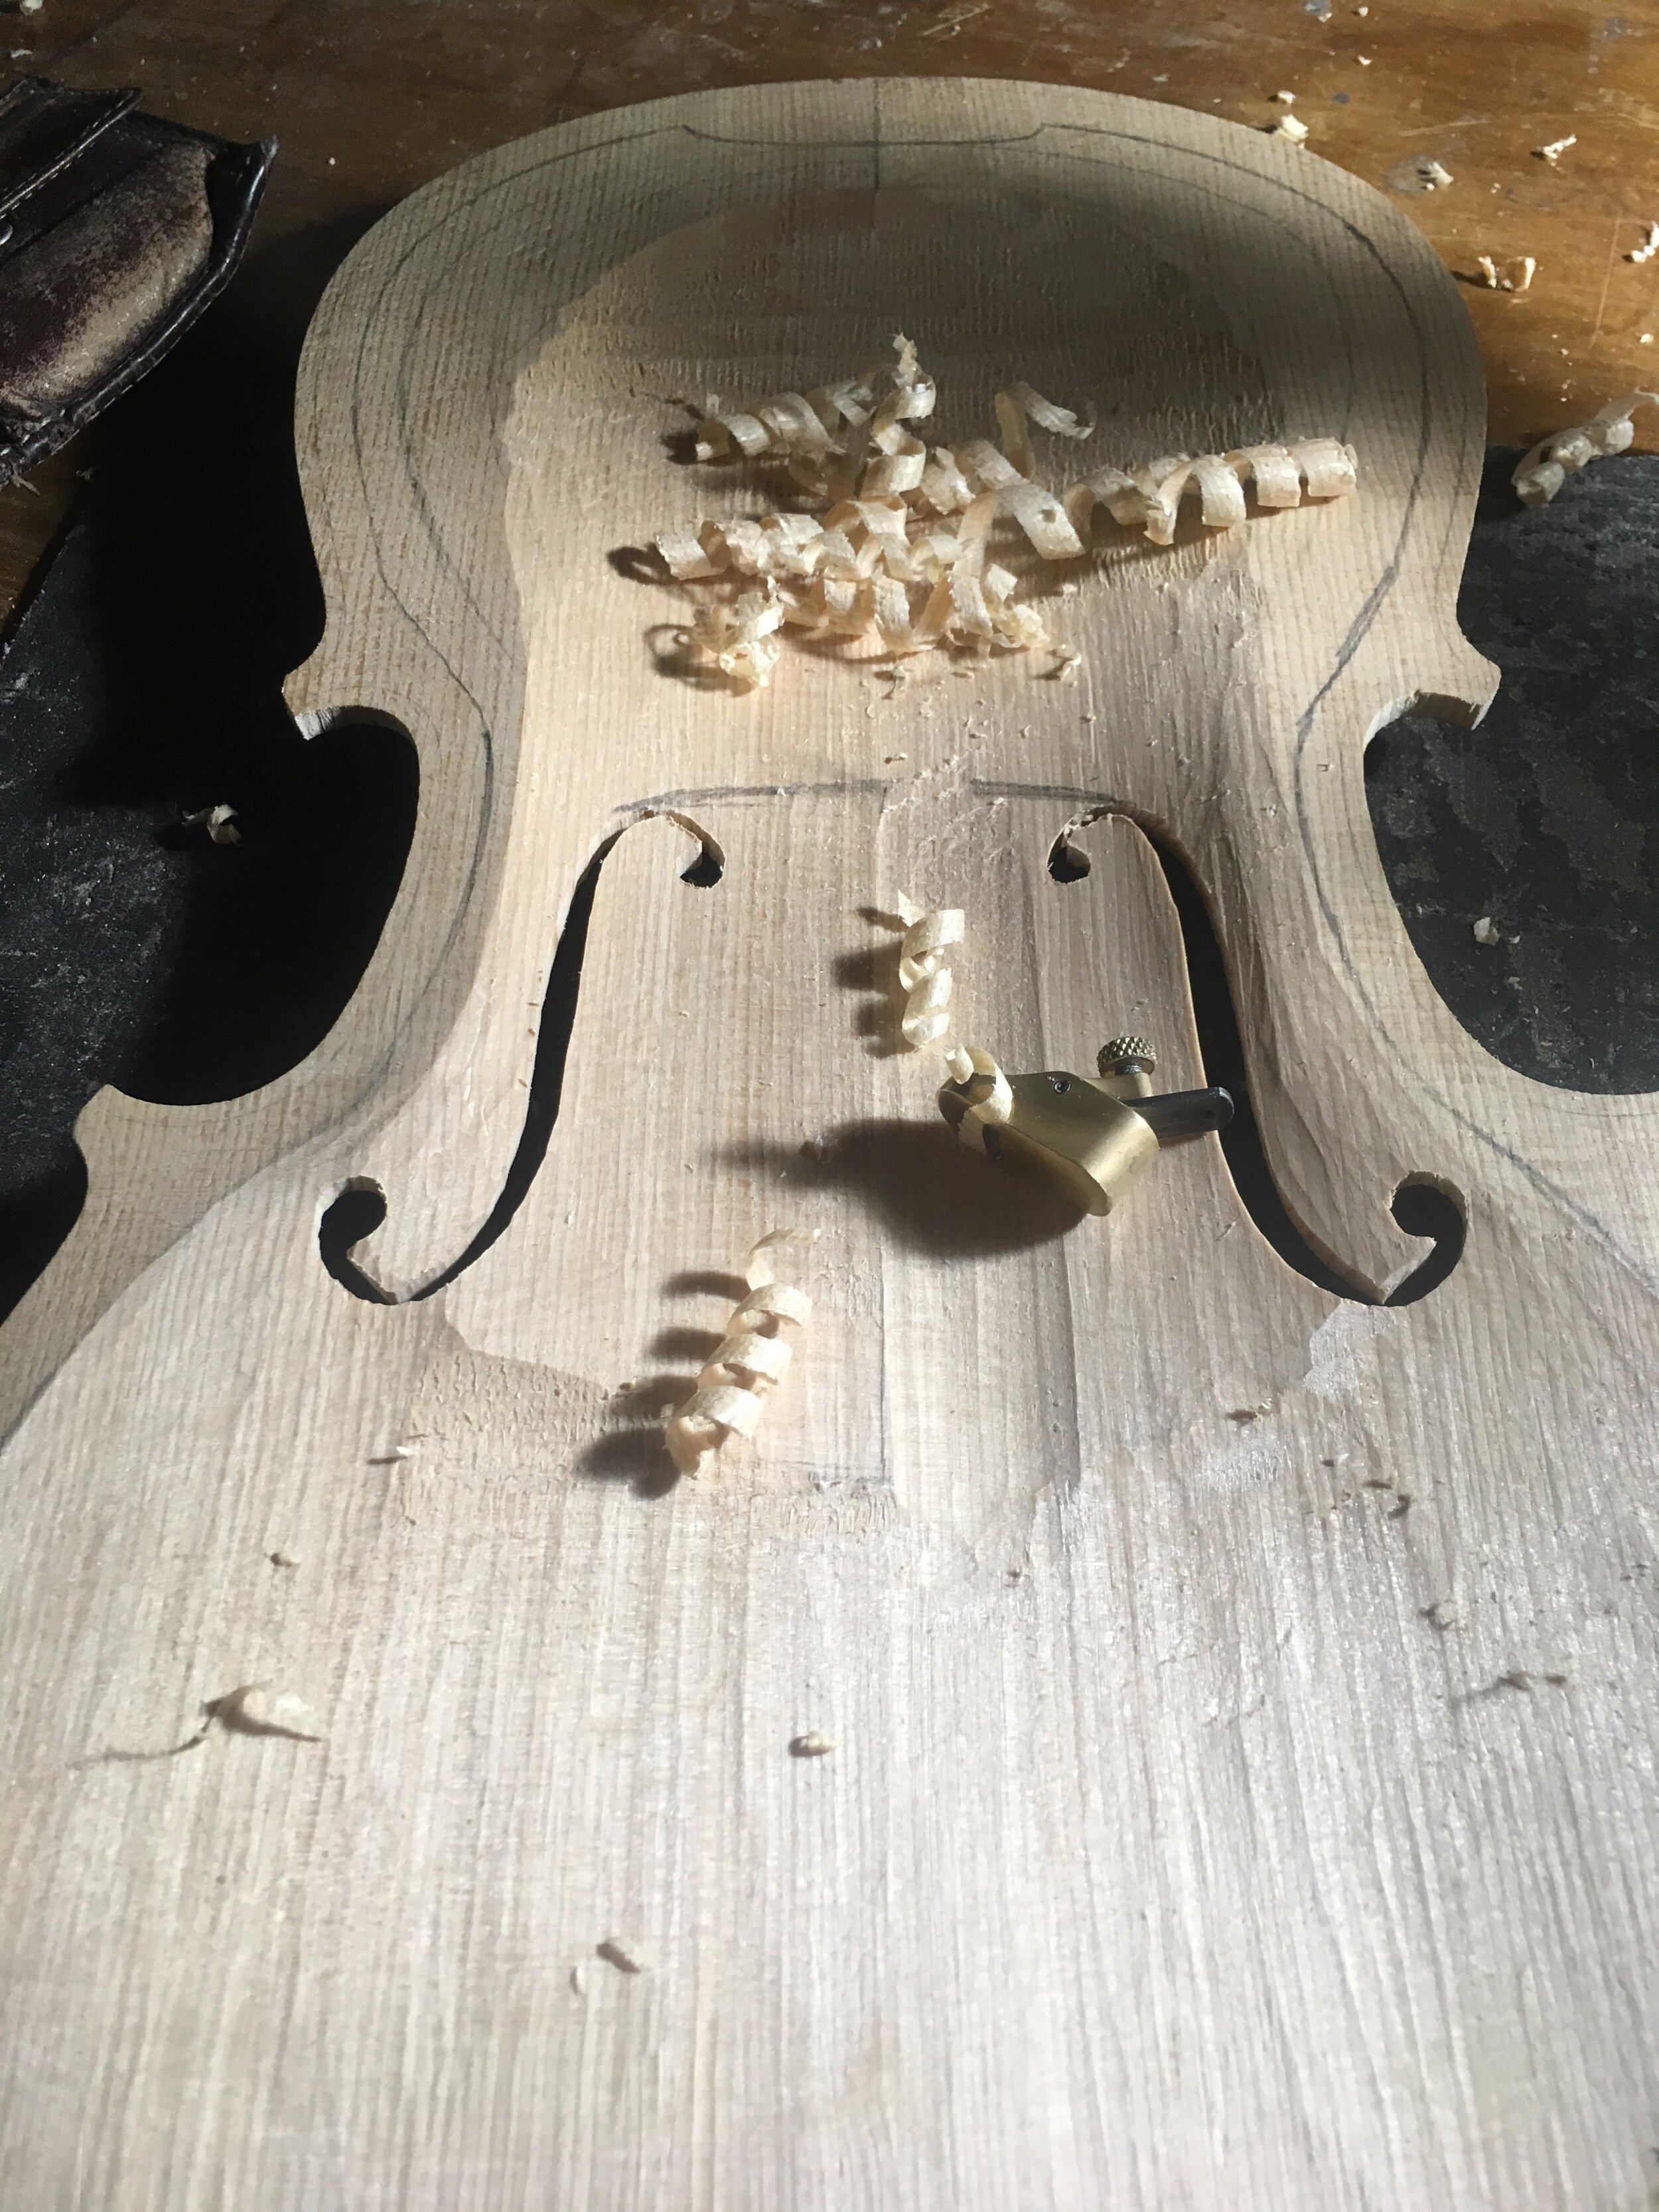
 Finishing the measurements on the top
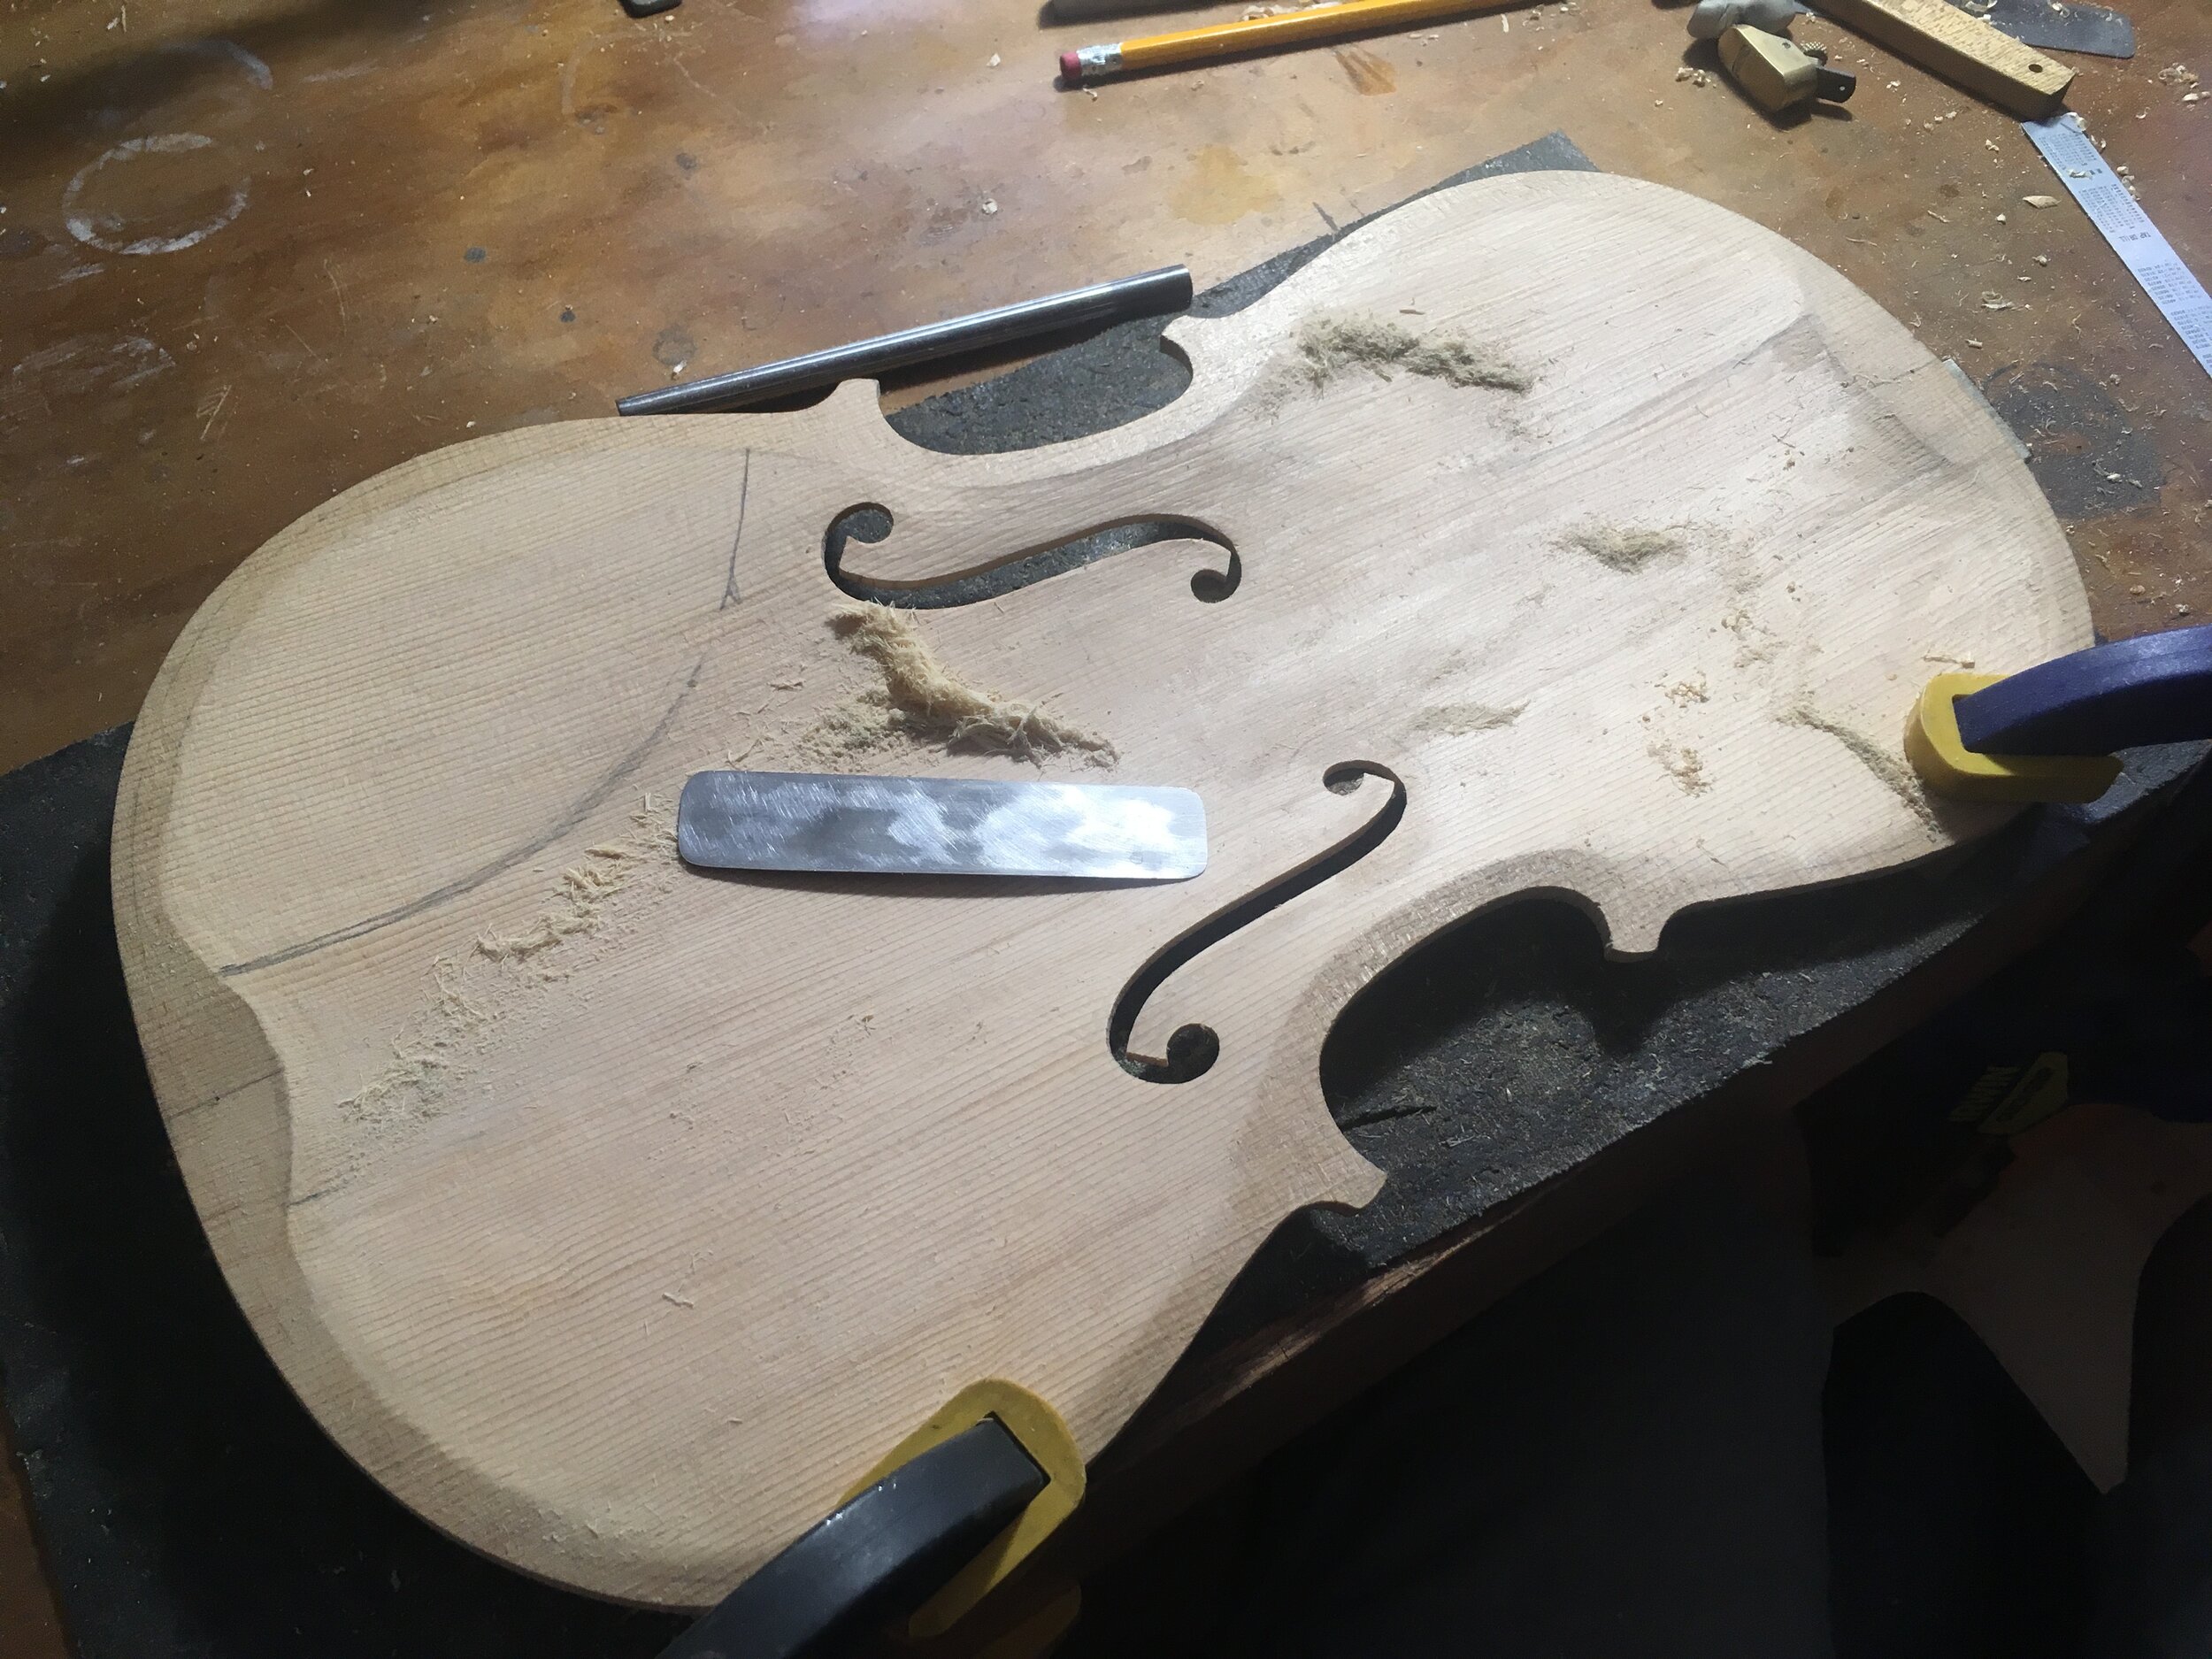
 Scraping the top to final measurements
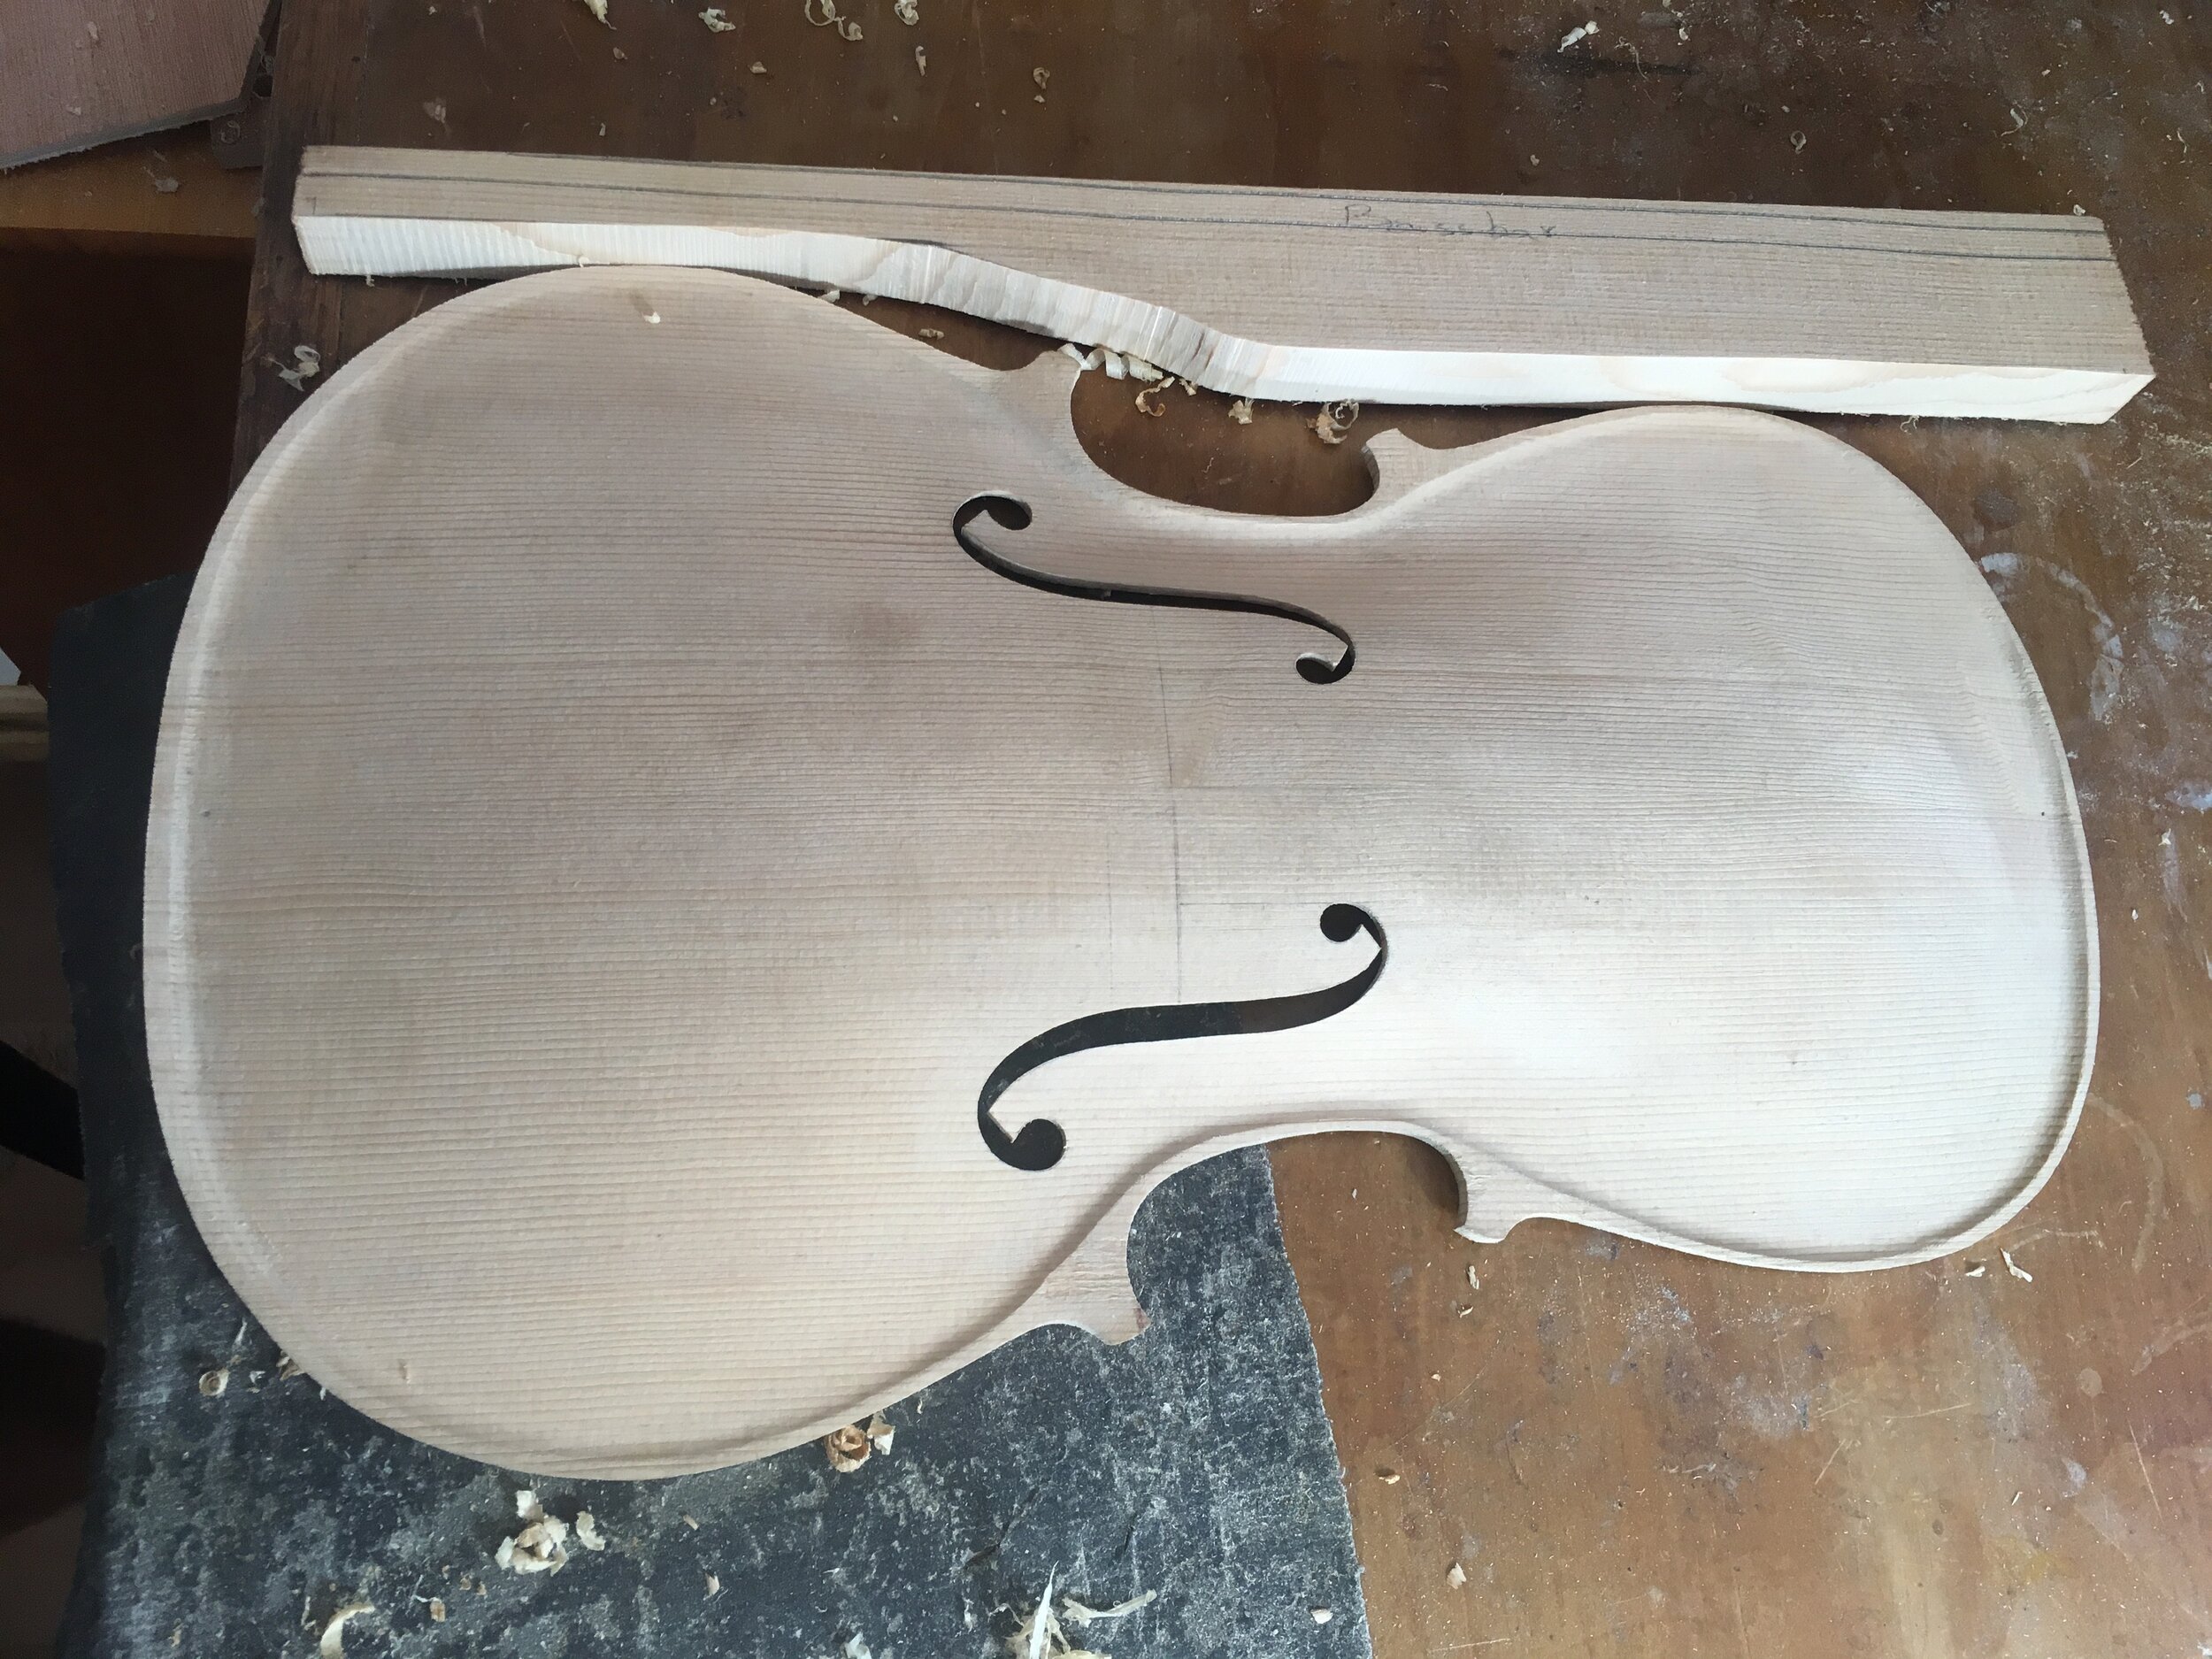
 Bass bar from the remaining of the original top
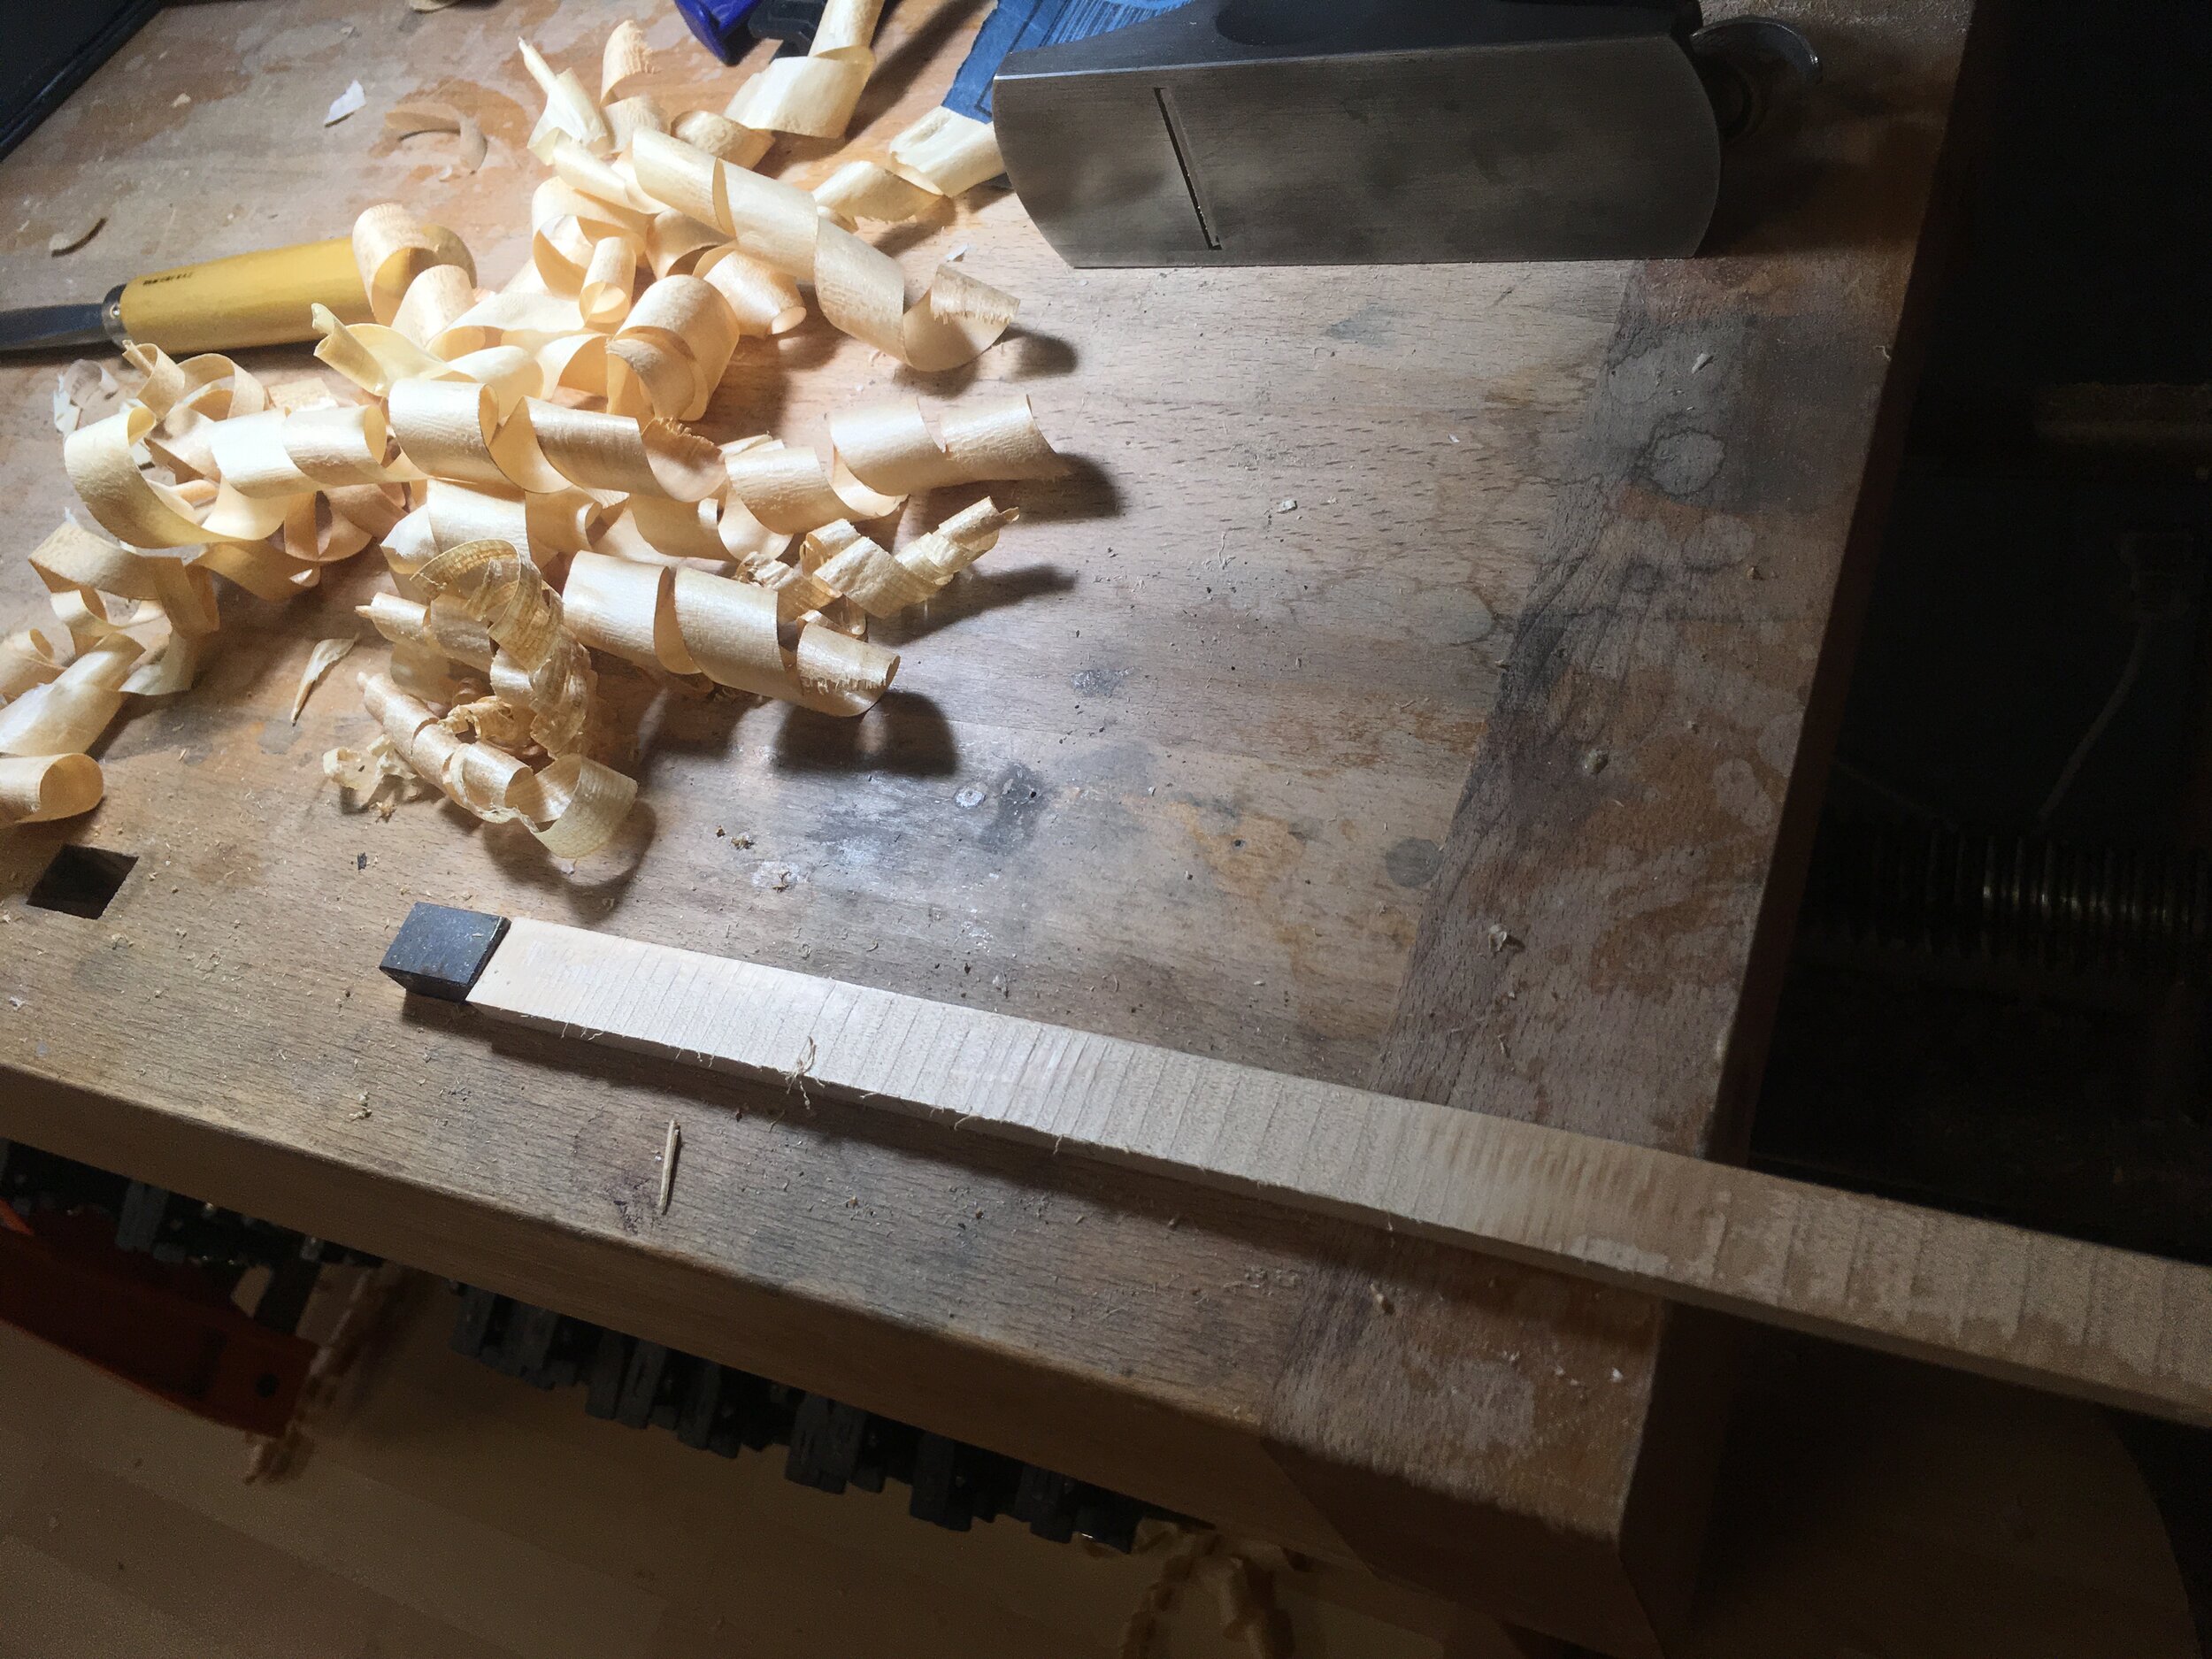
 Planing the bass bar to size
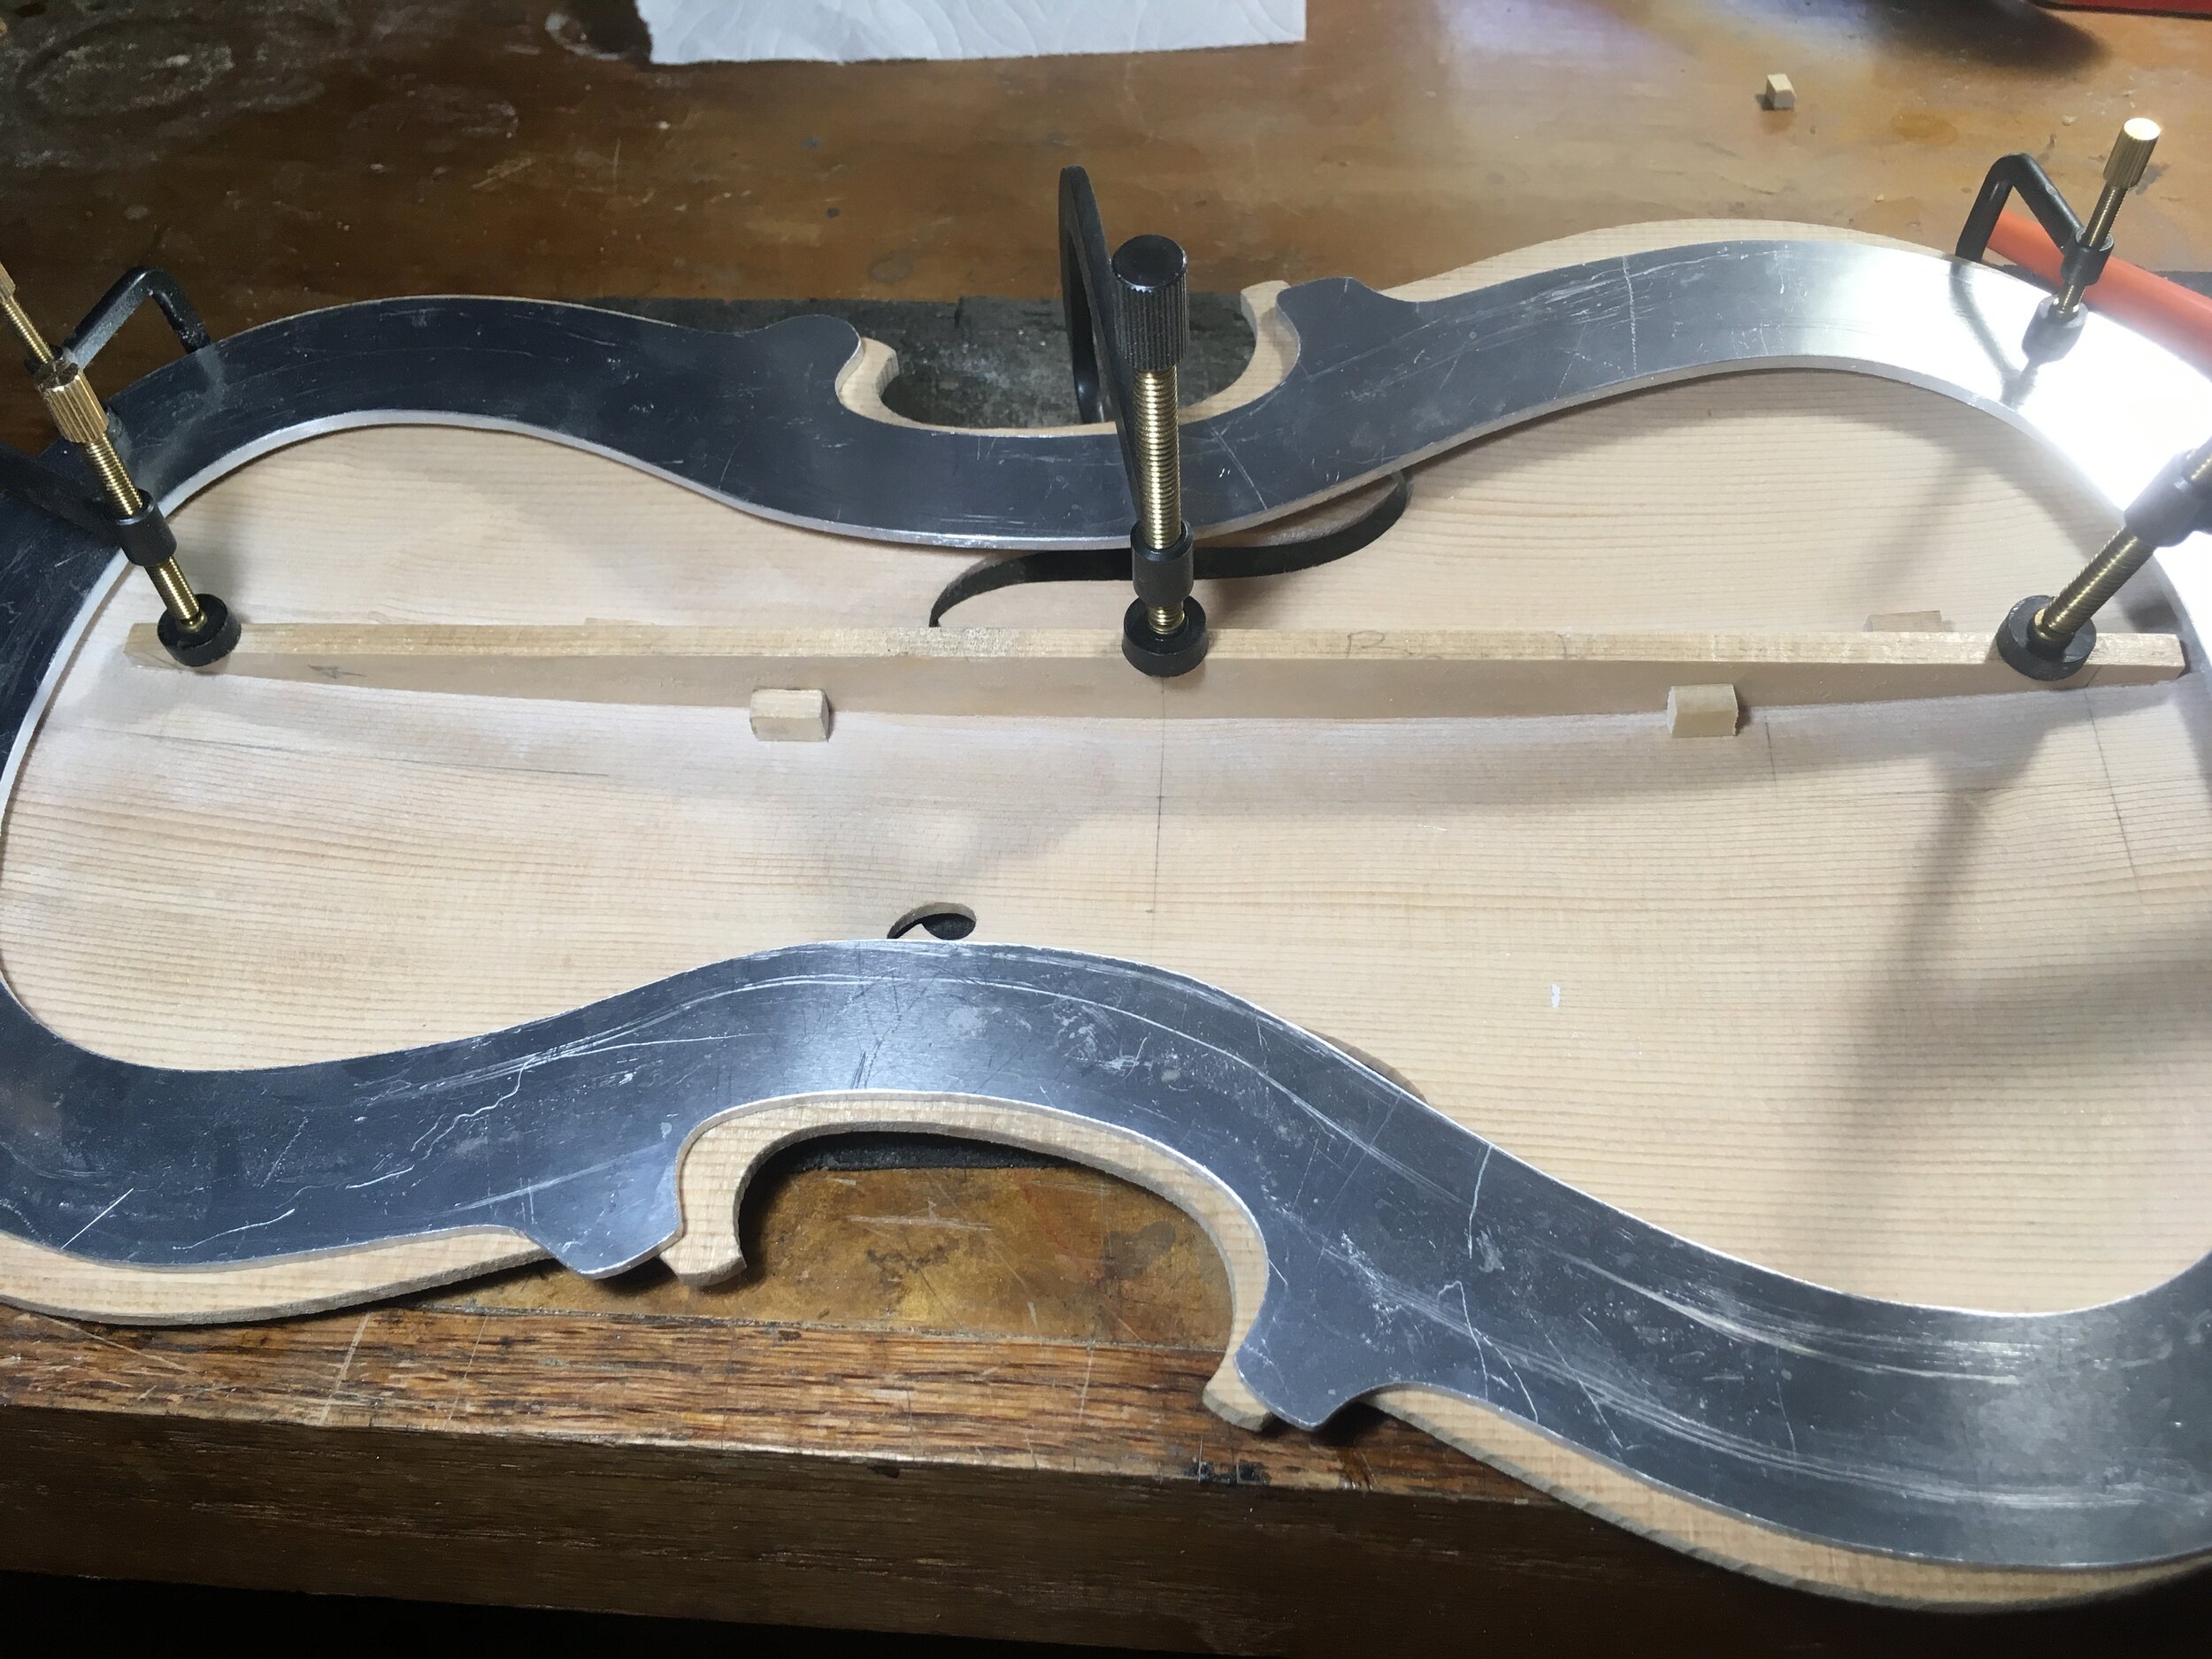
 Bass bar fitted with pressure
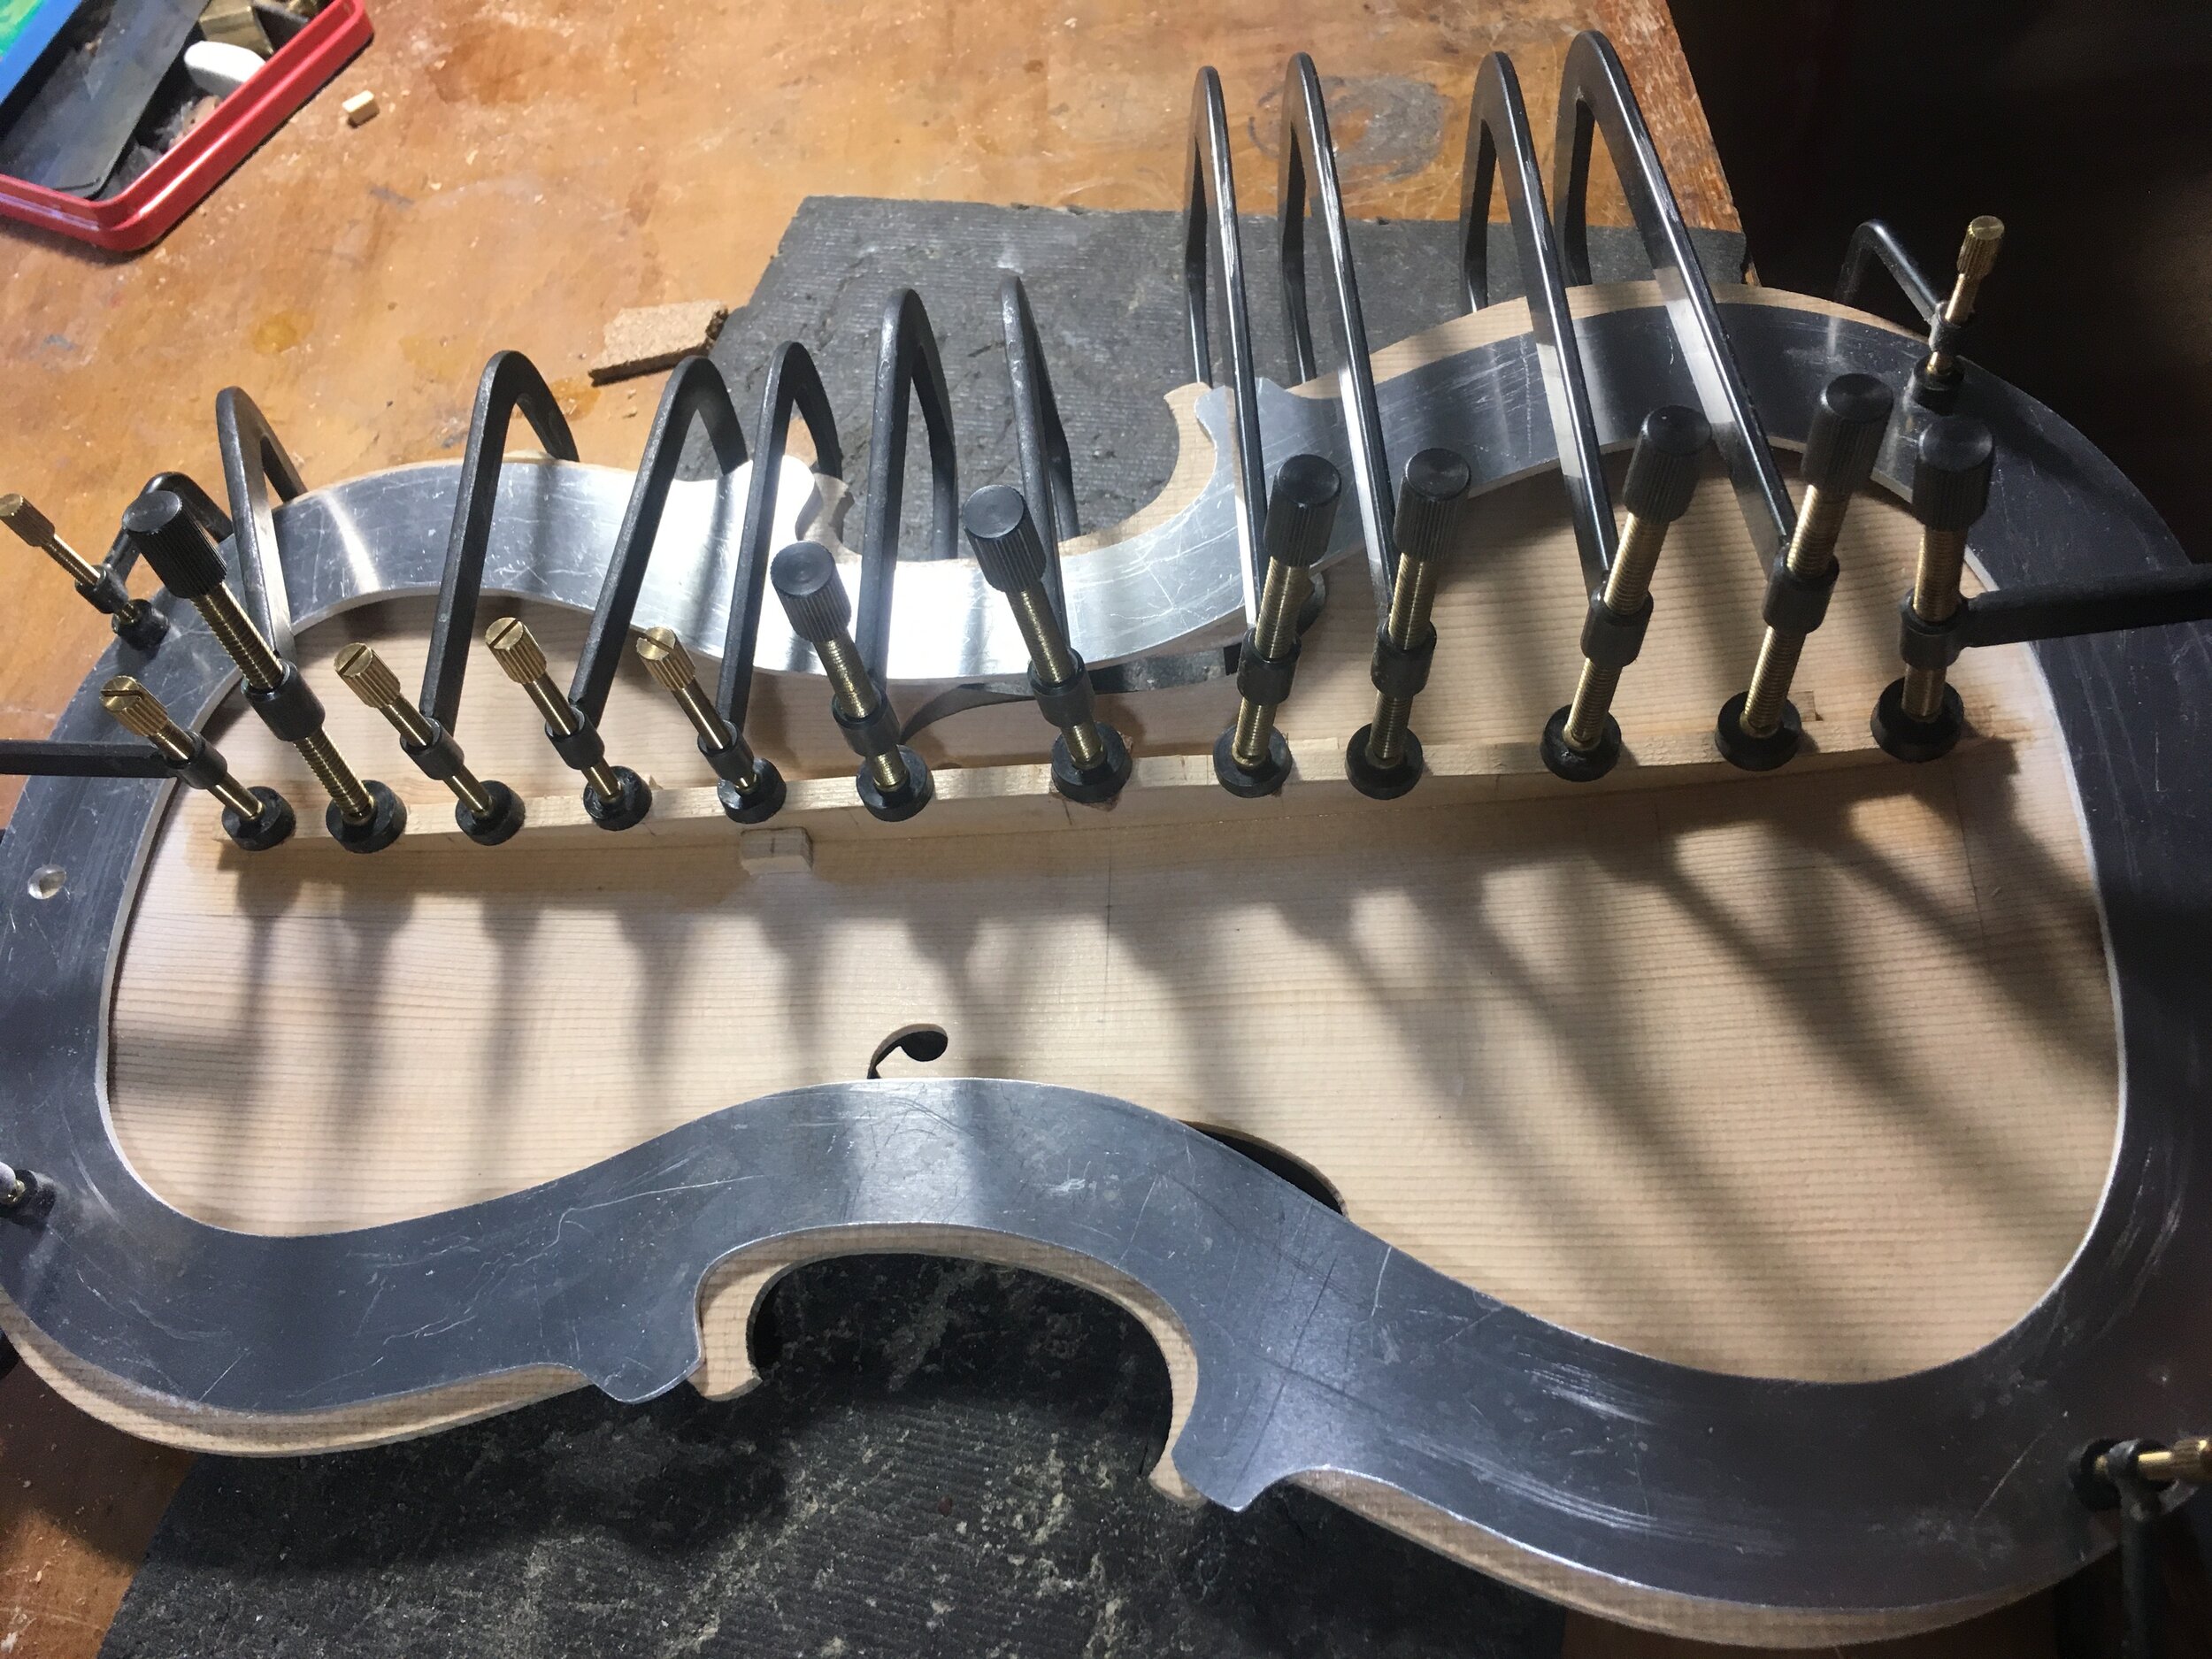
 Bass bar glued in with minimum pressure with many clamps
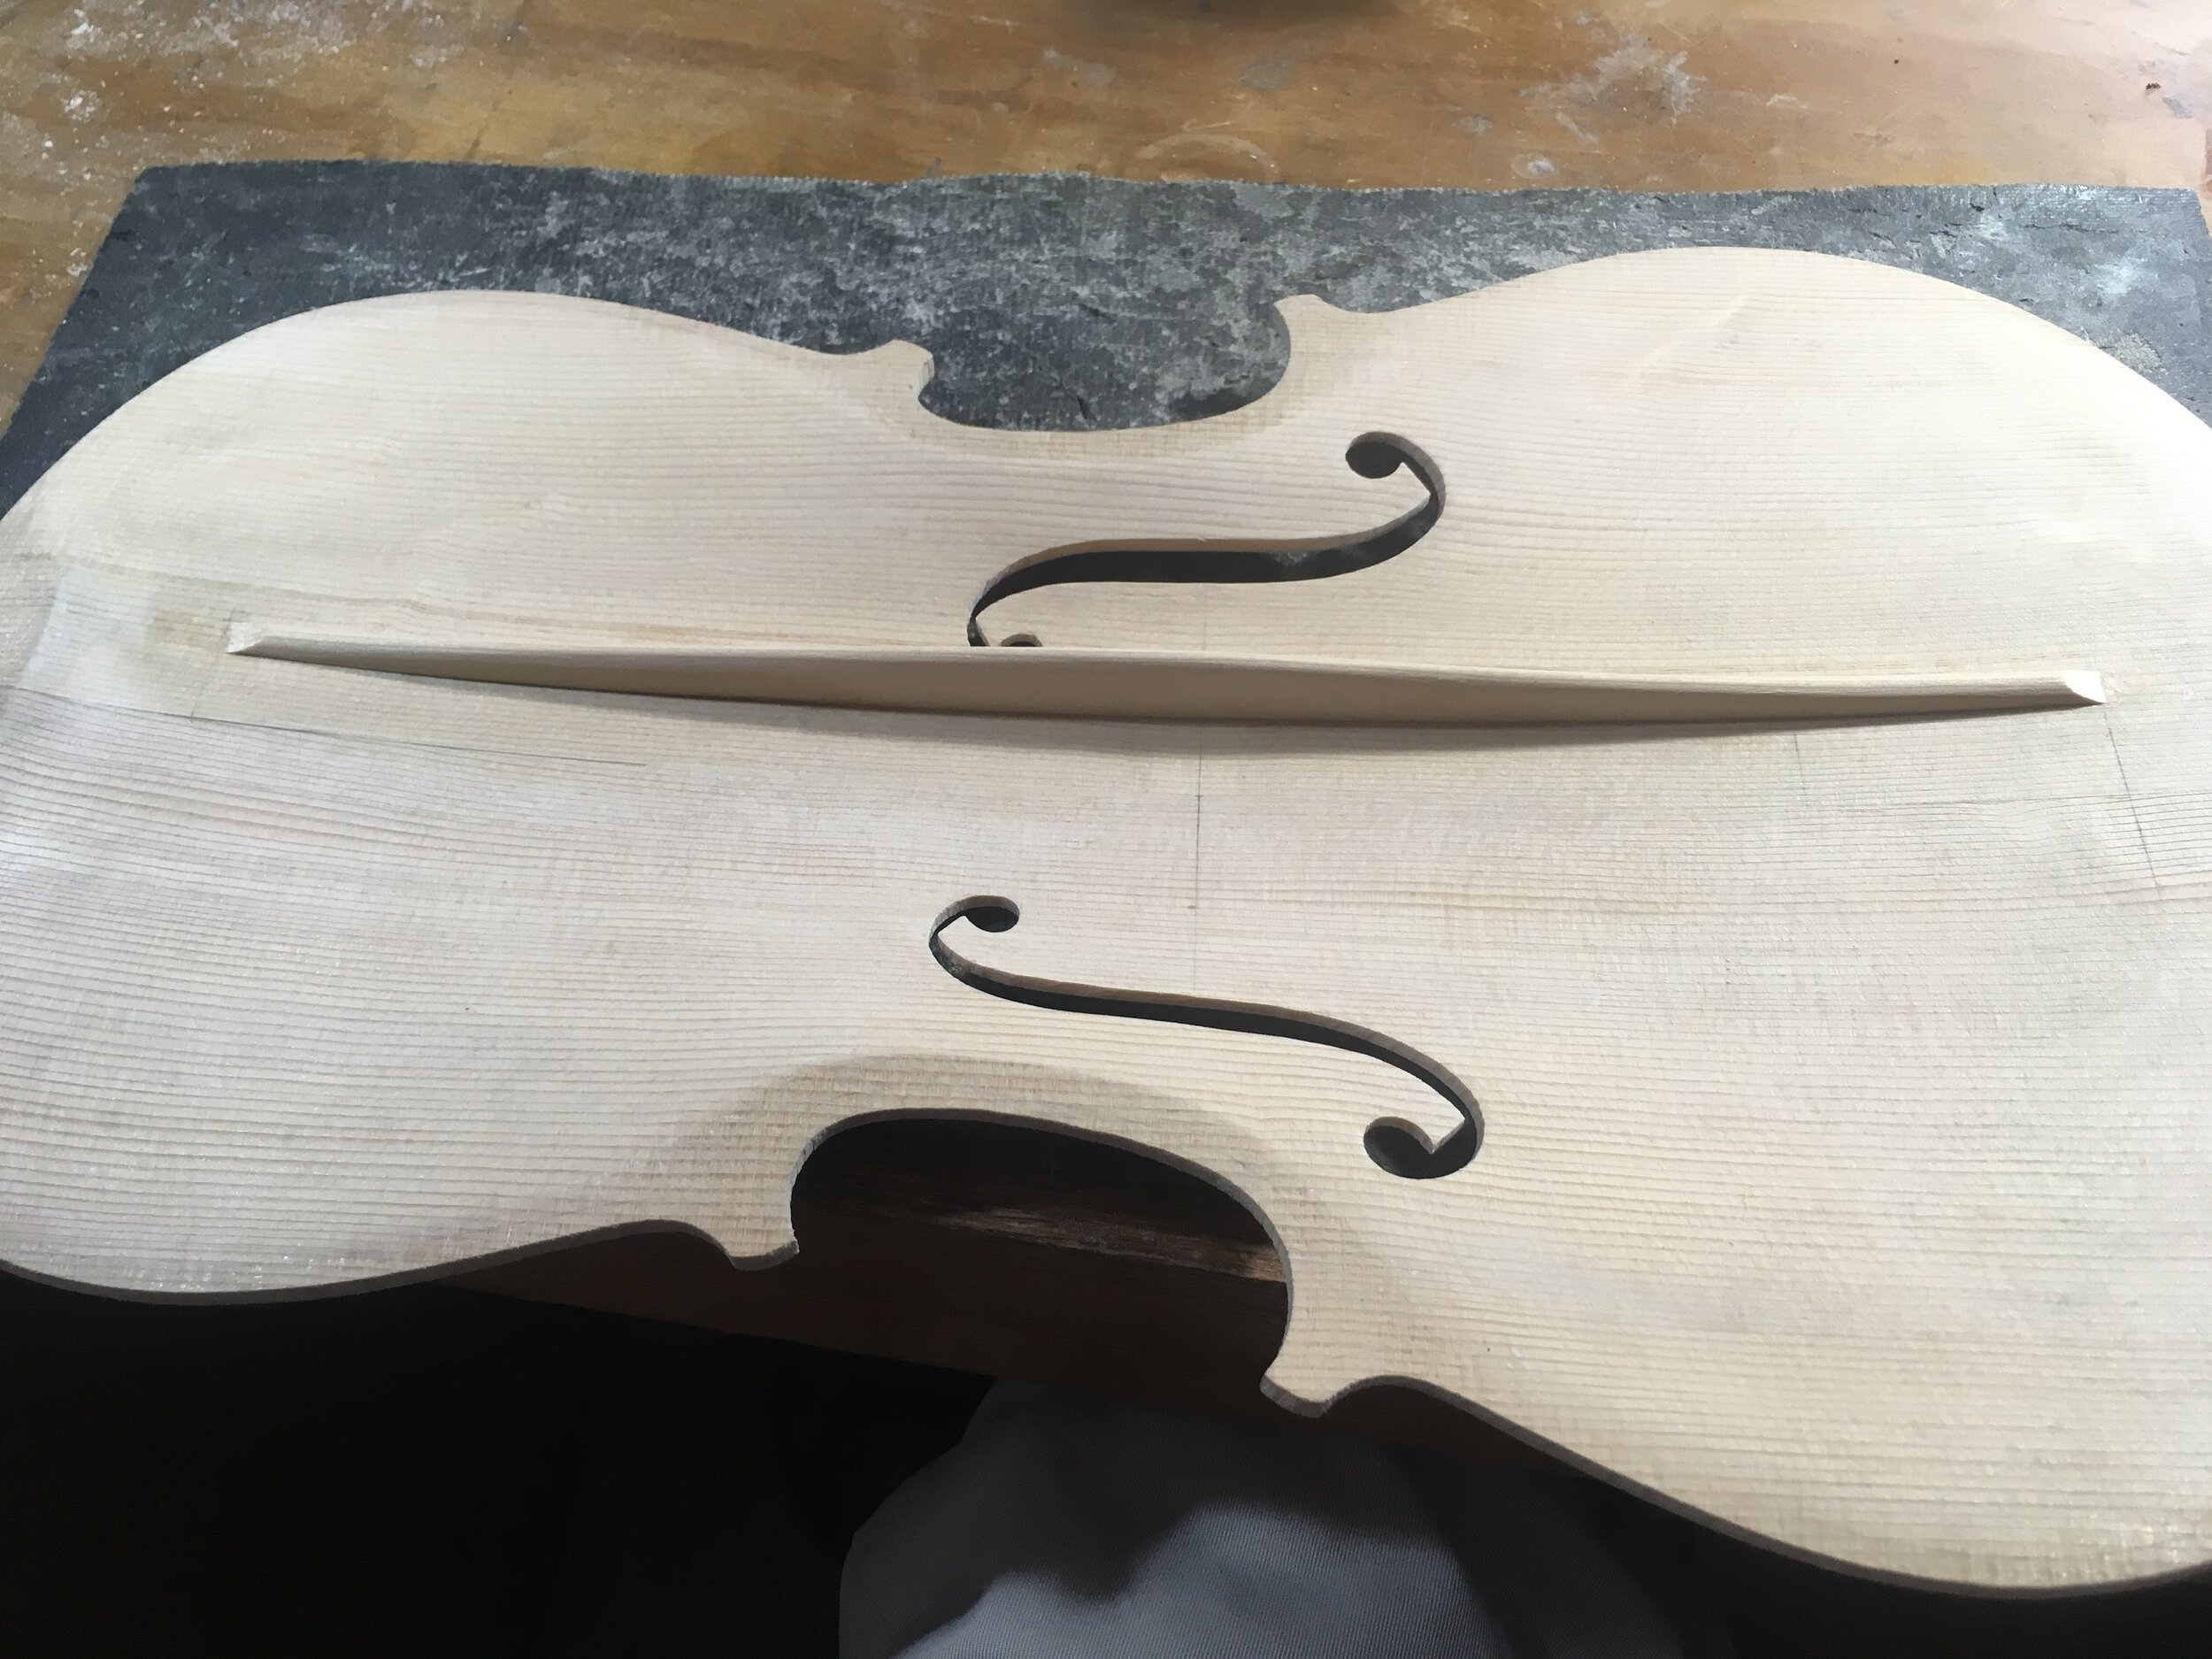
 Bass bar shaped
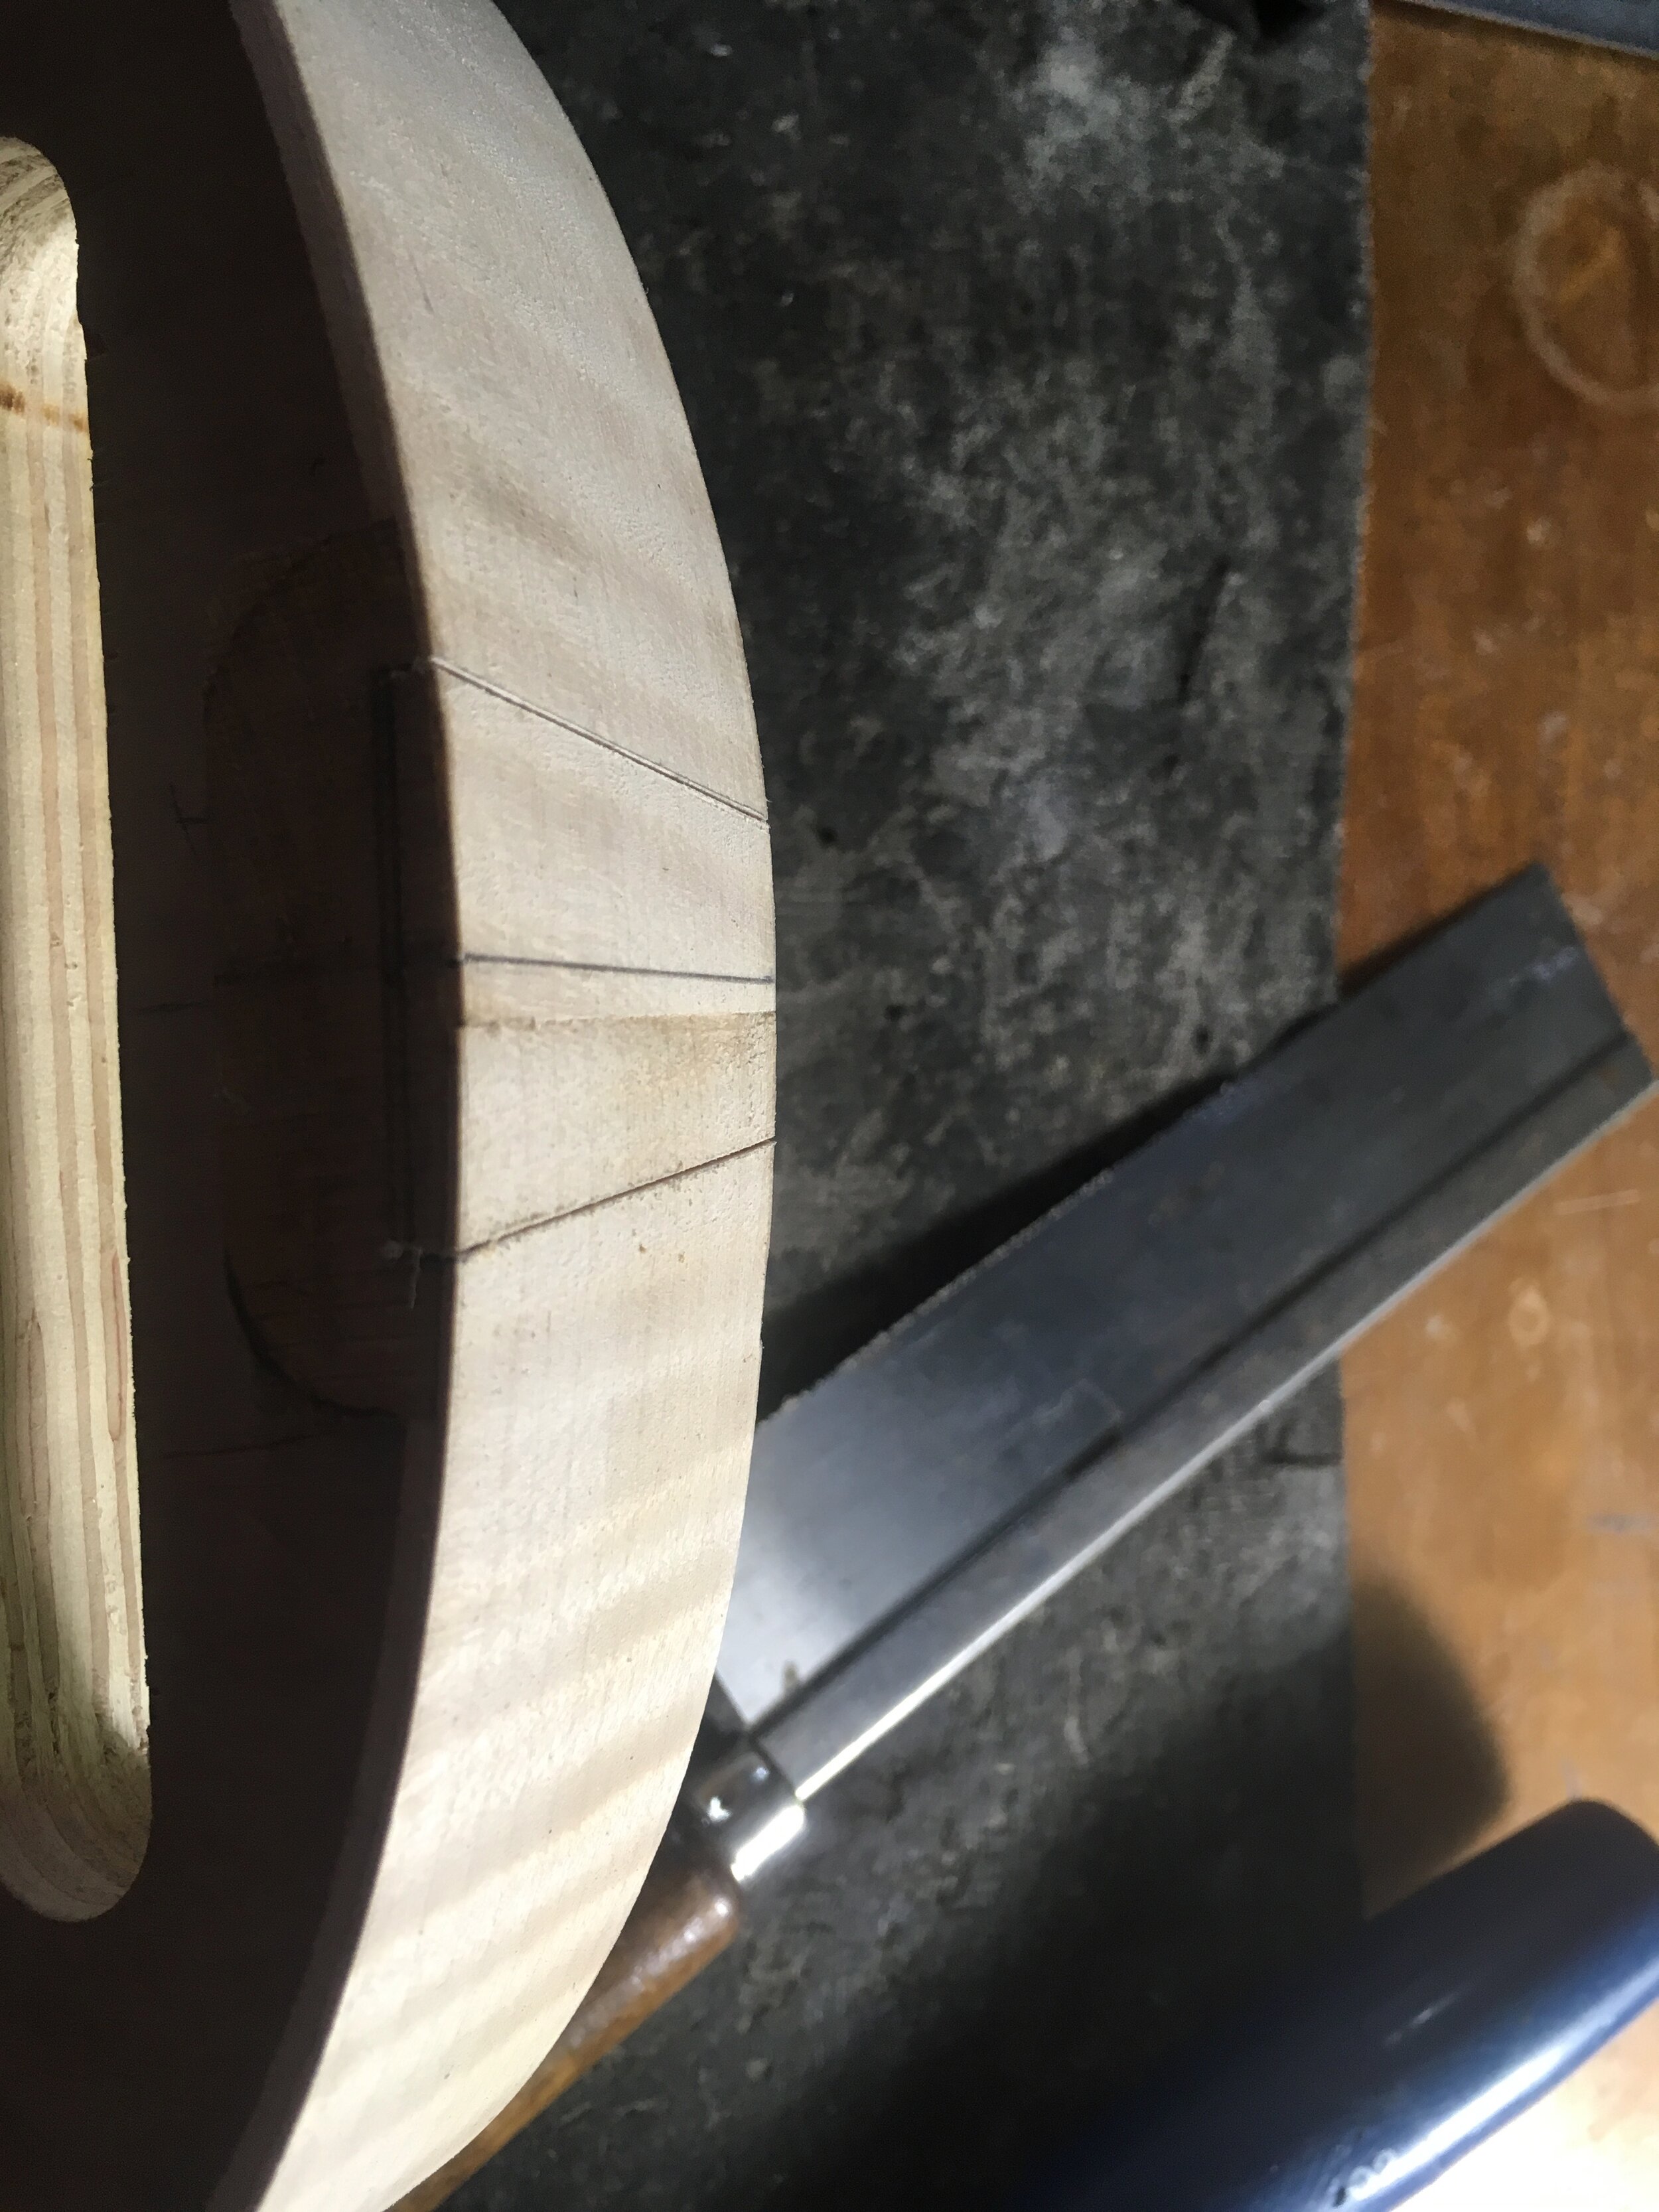
 Cutting the groves for the neck
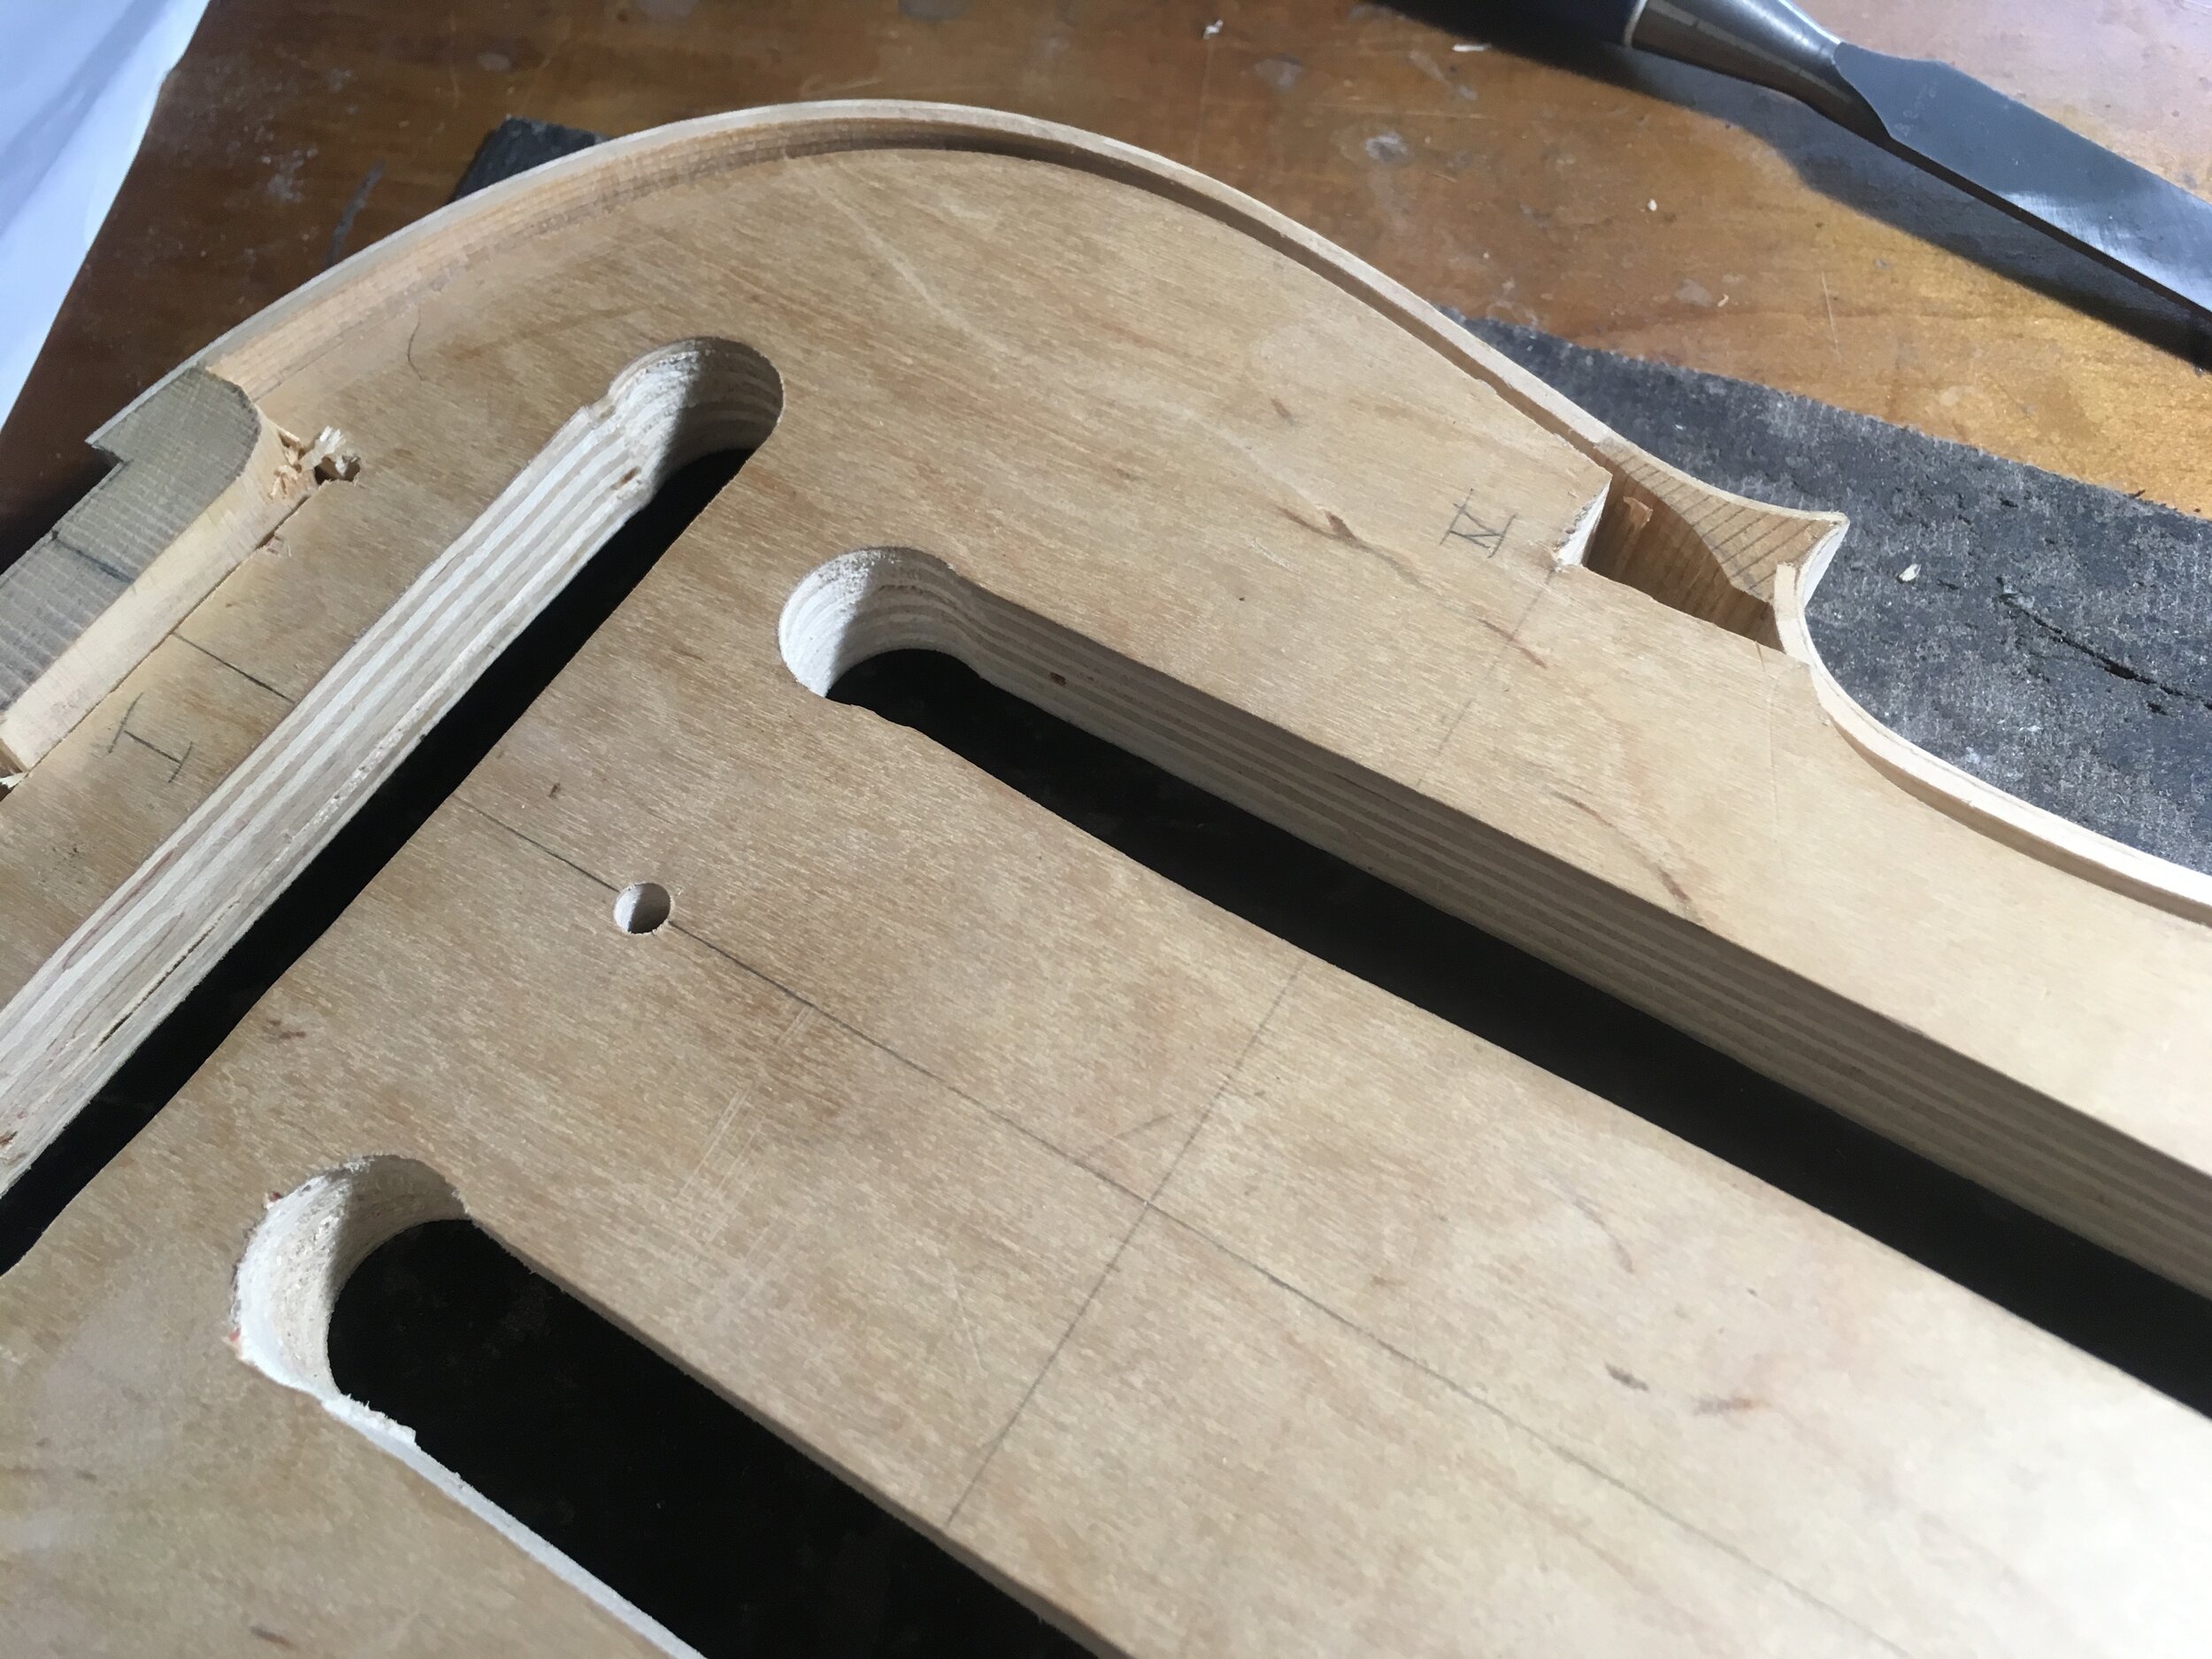
 Getting the mold out
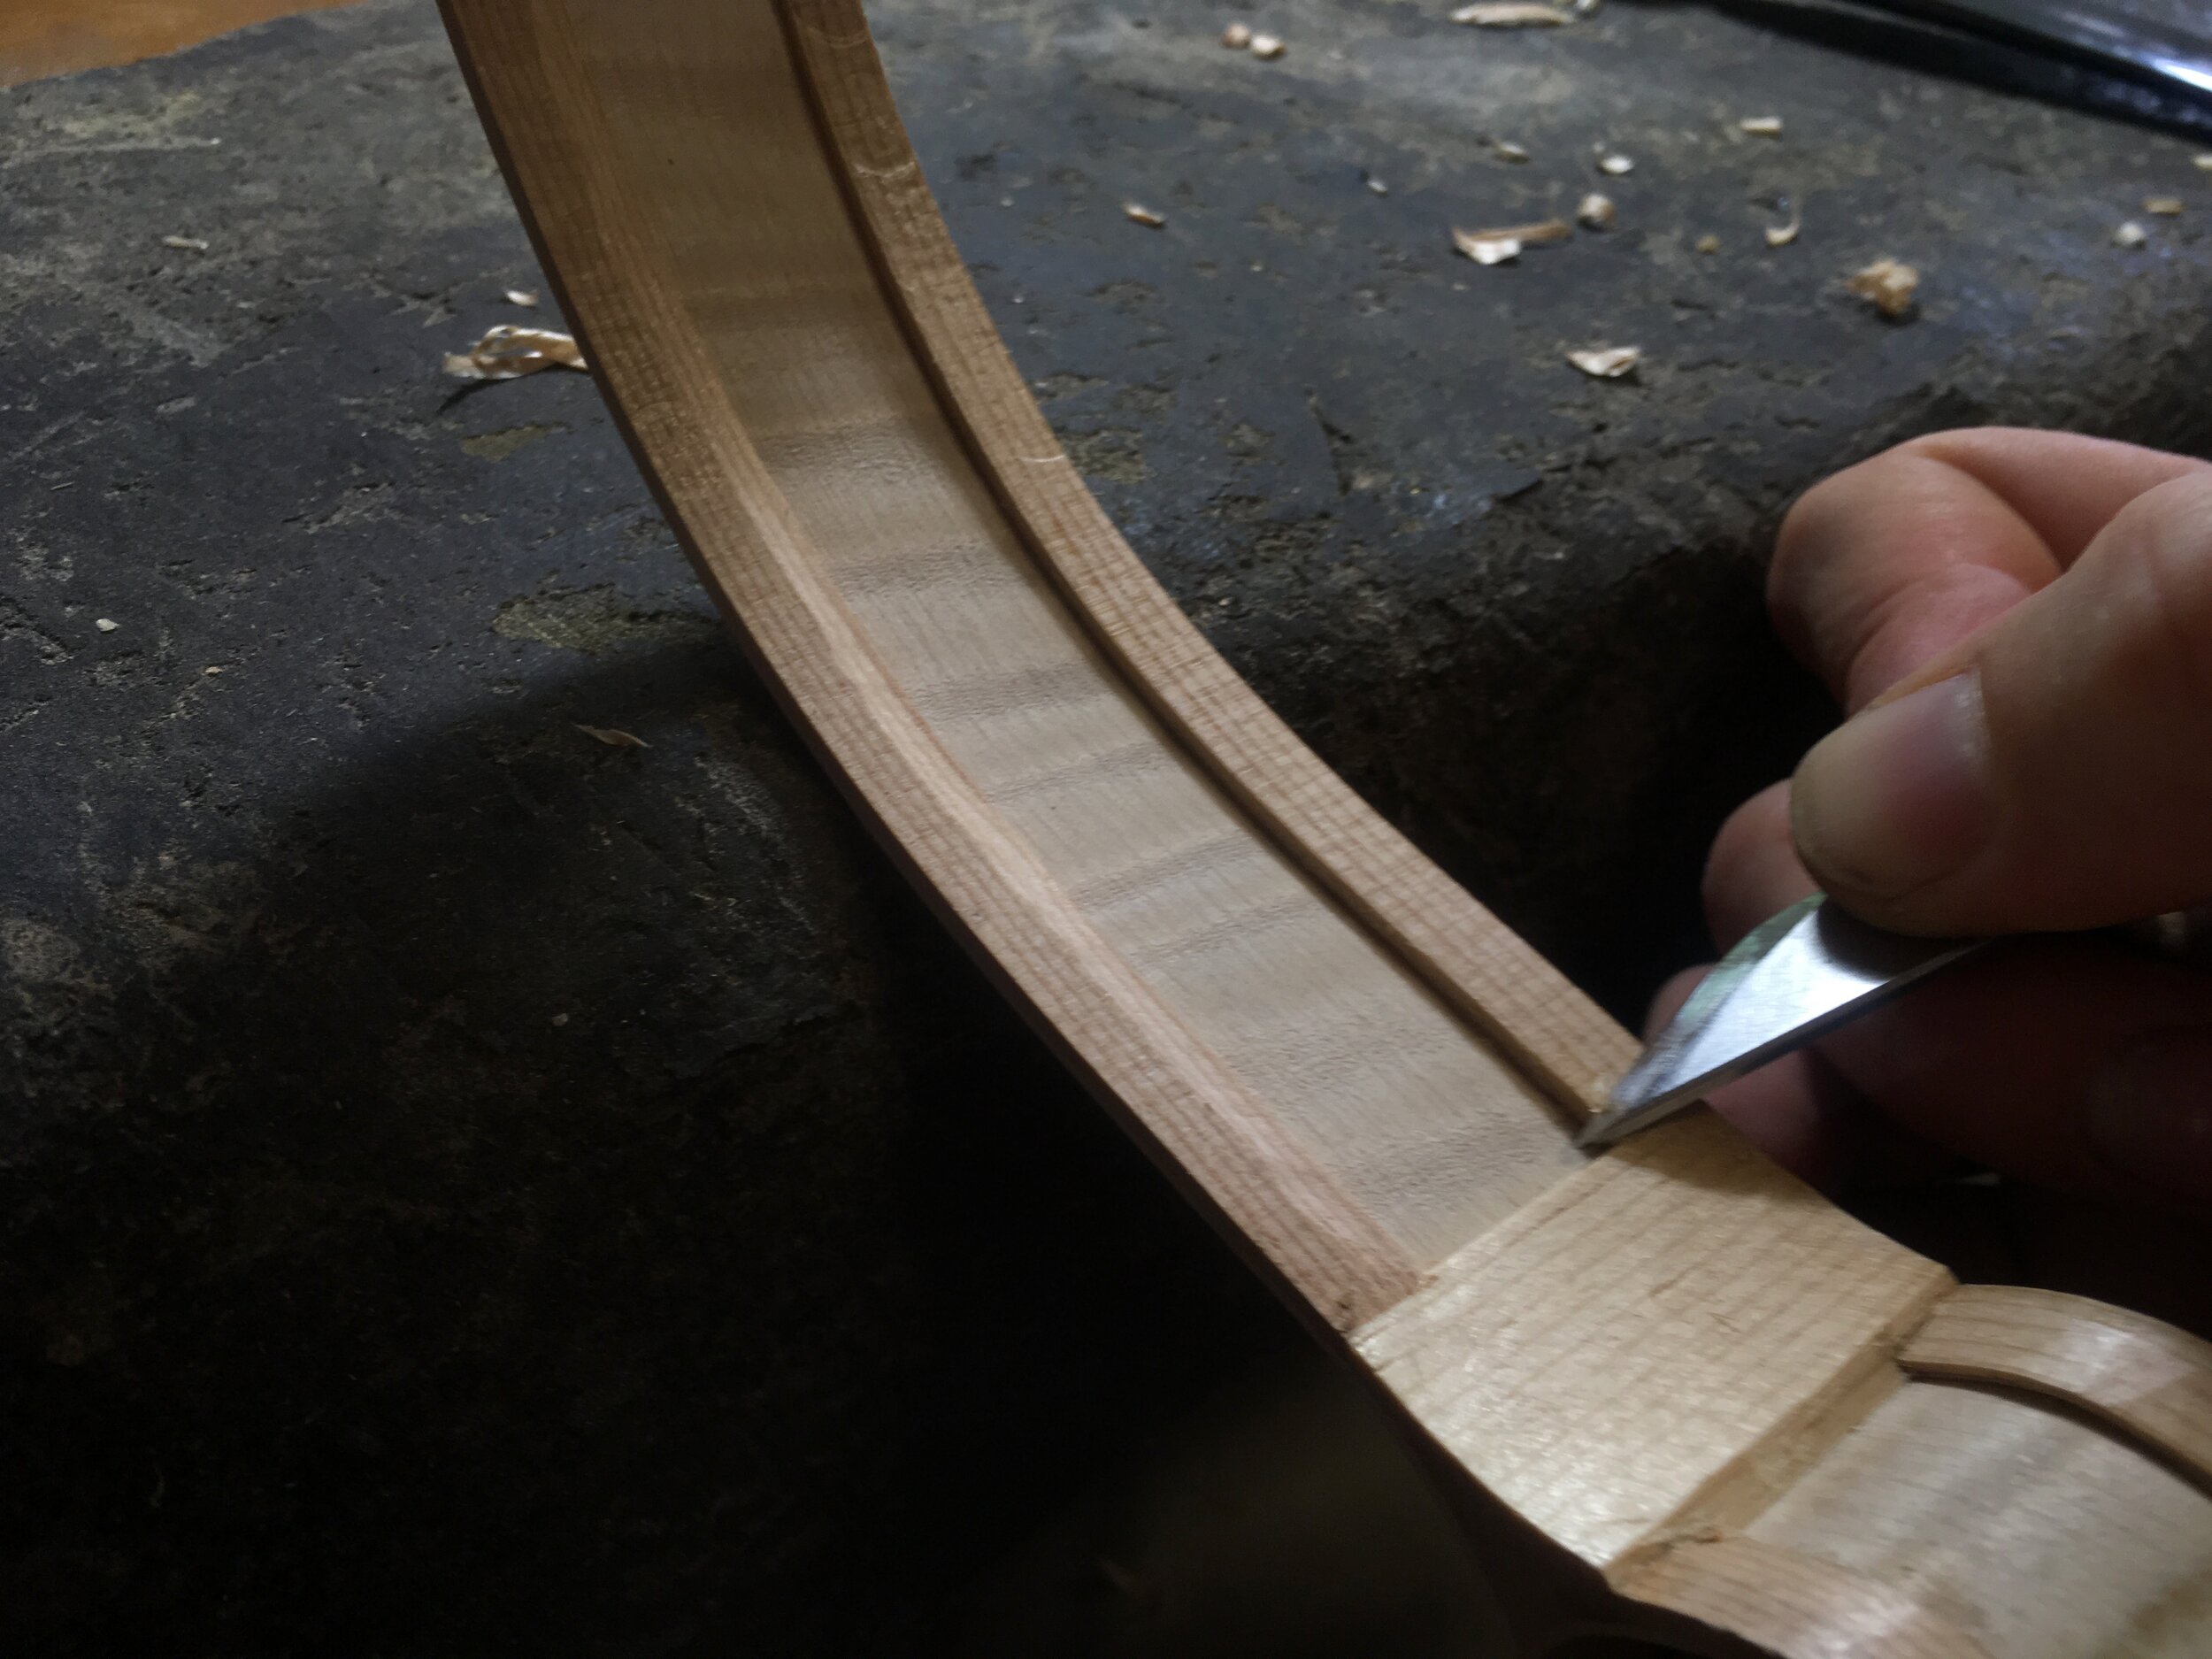
 Shaping the linings with a knife
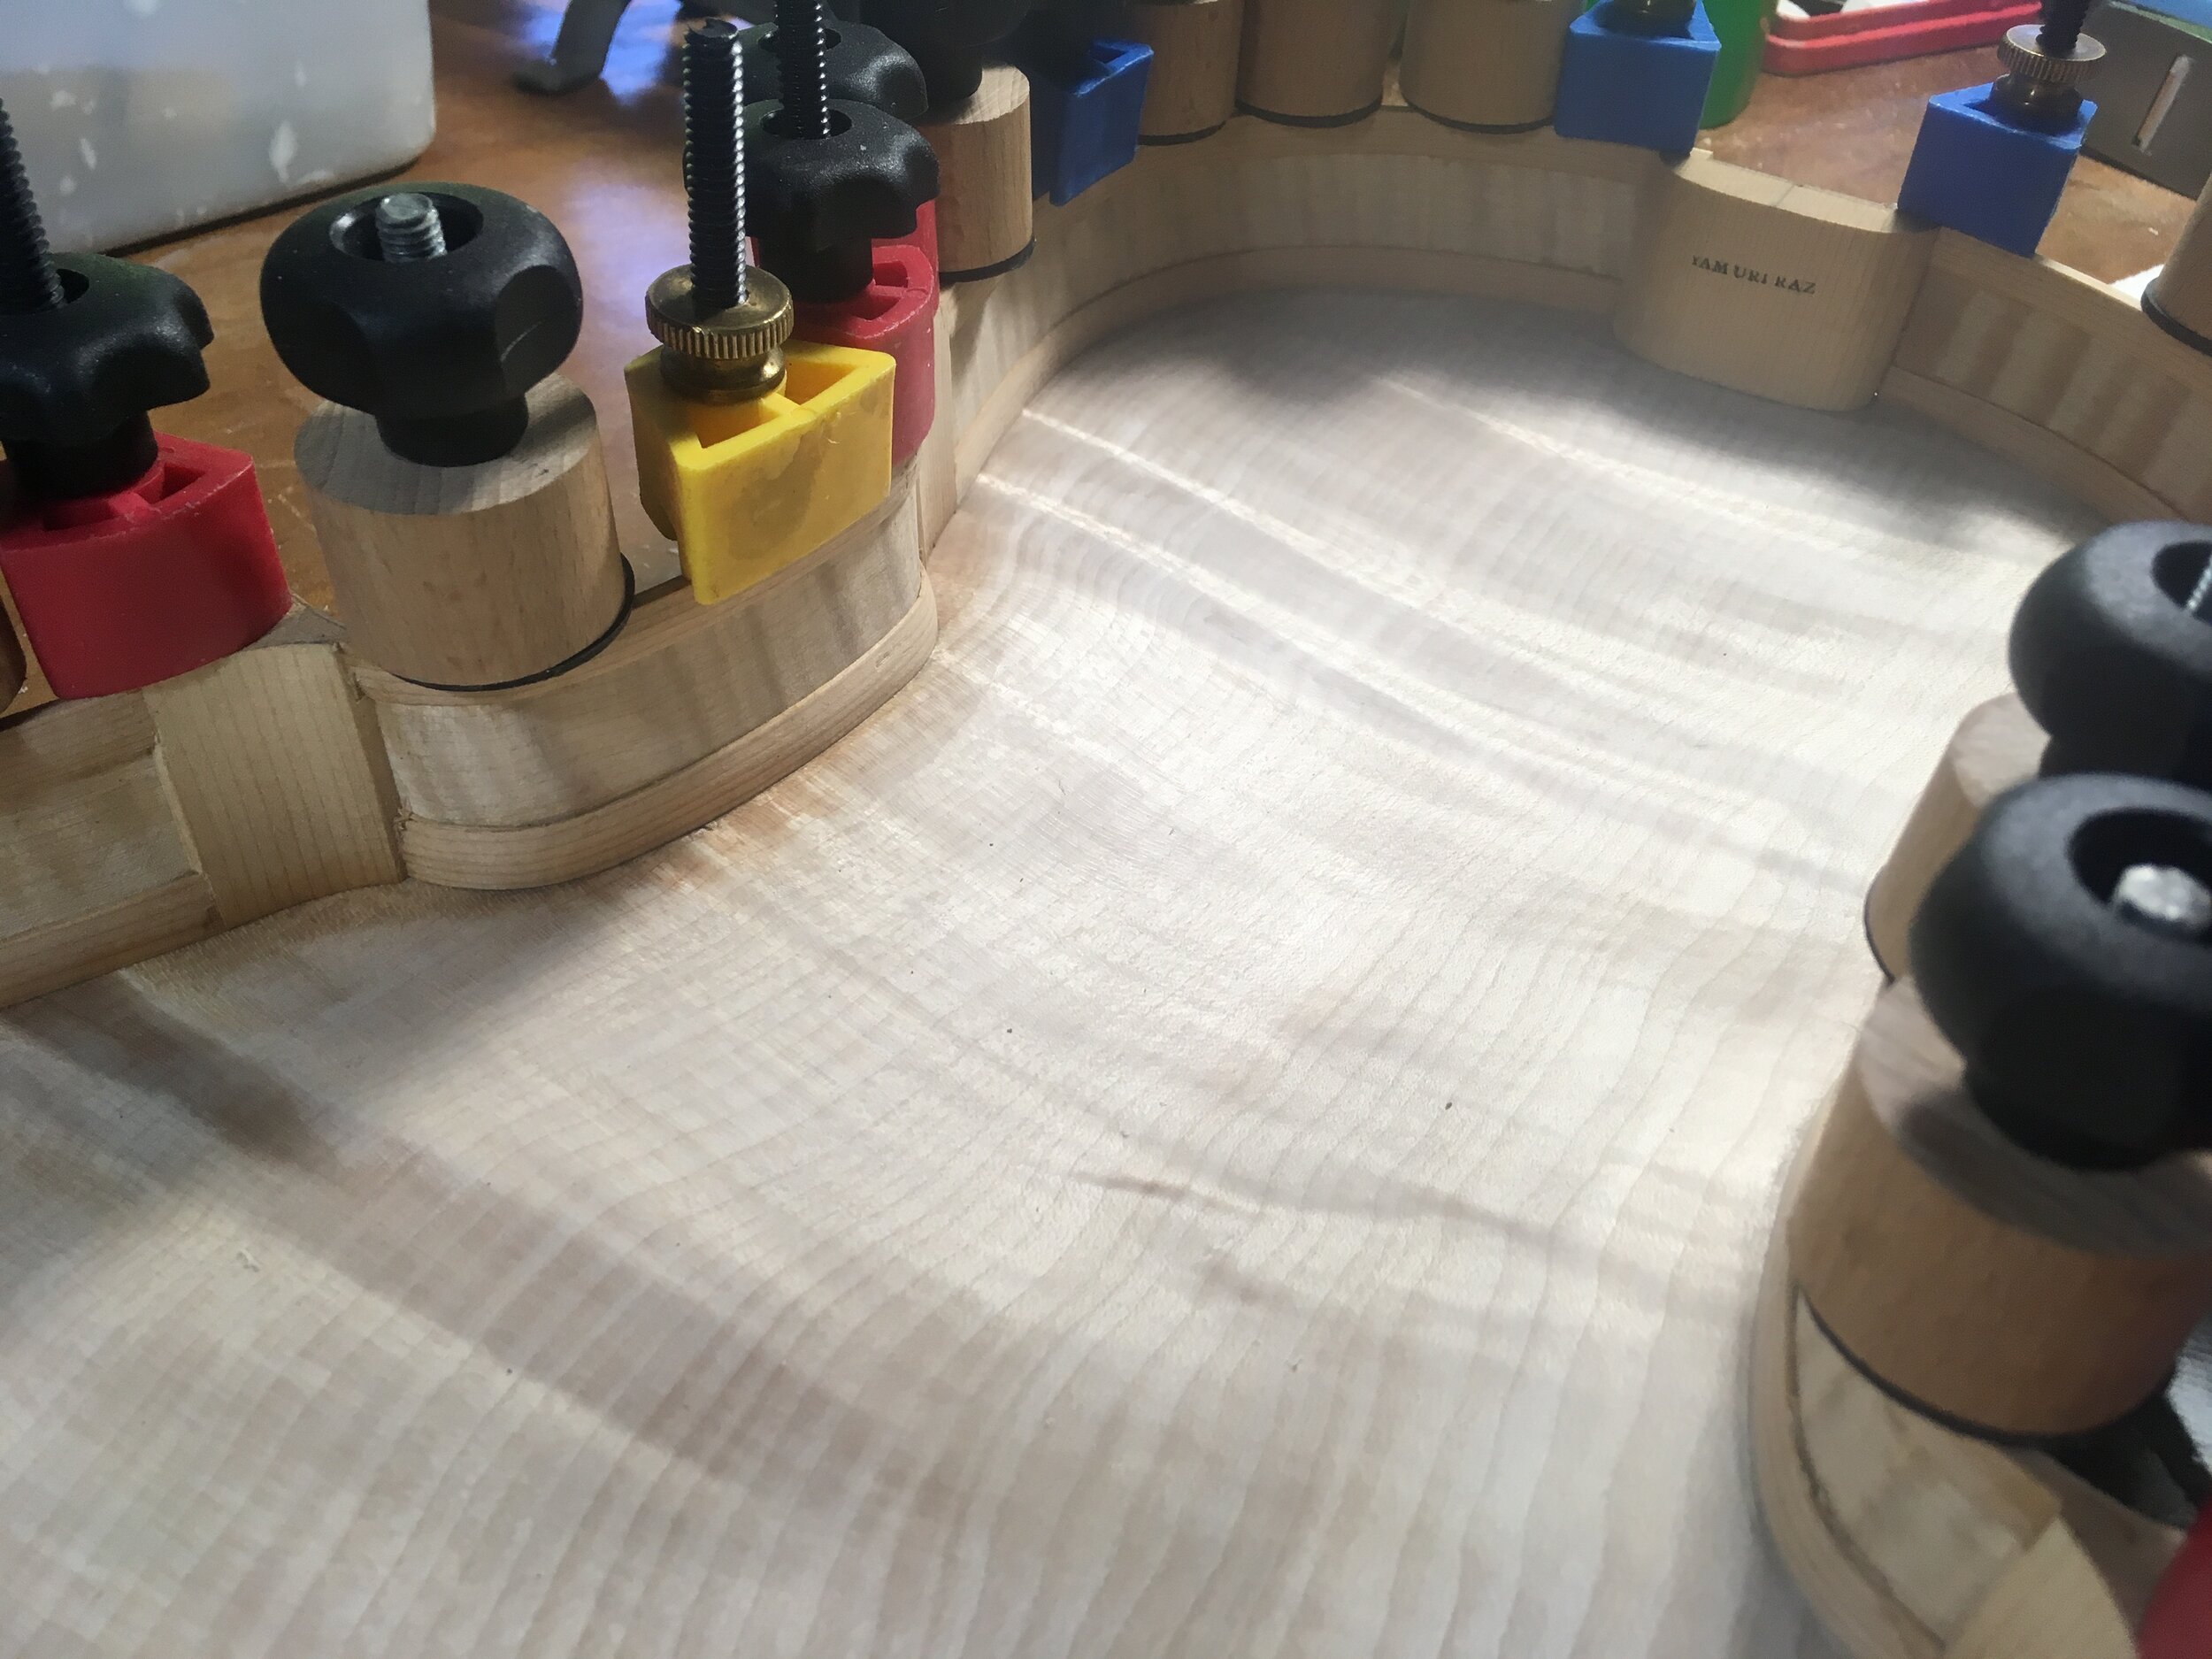
 Glueing the back to the ribs
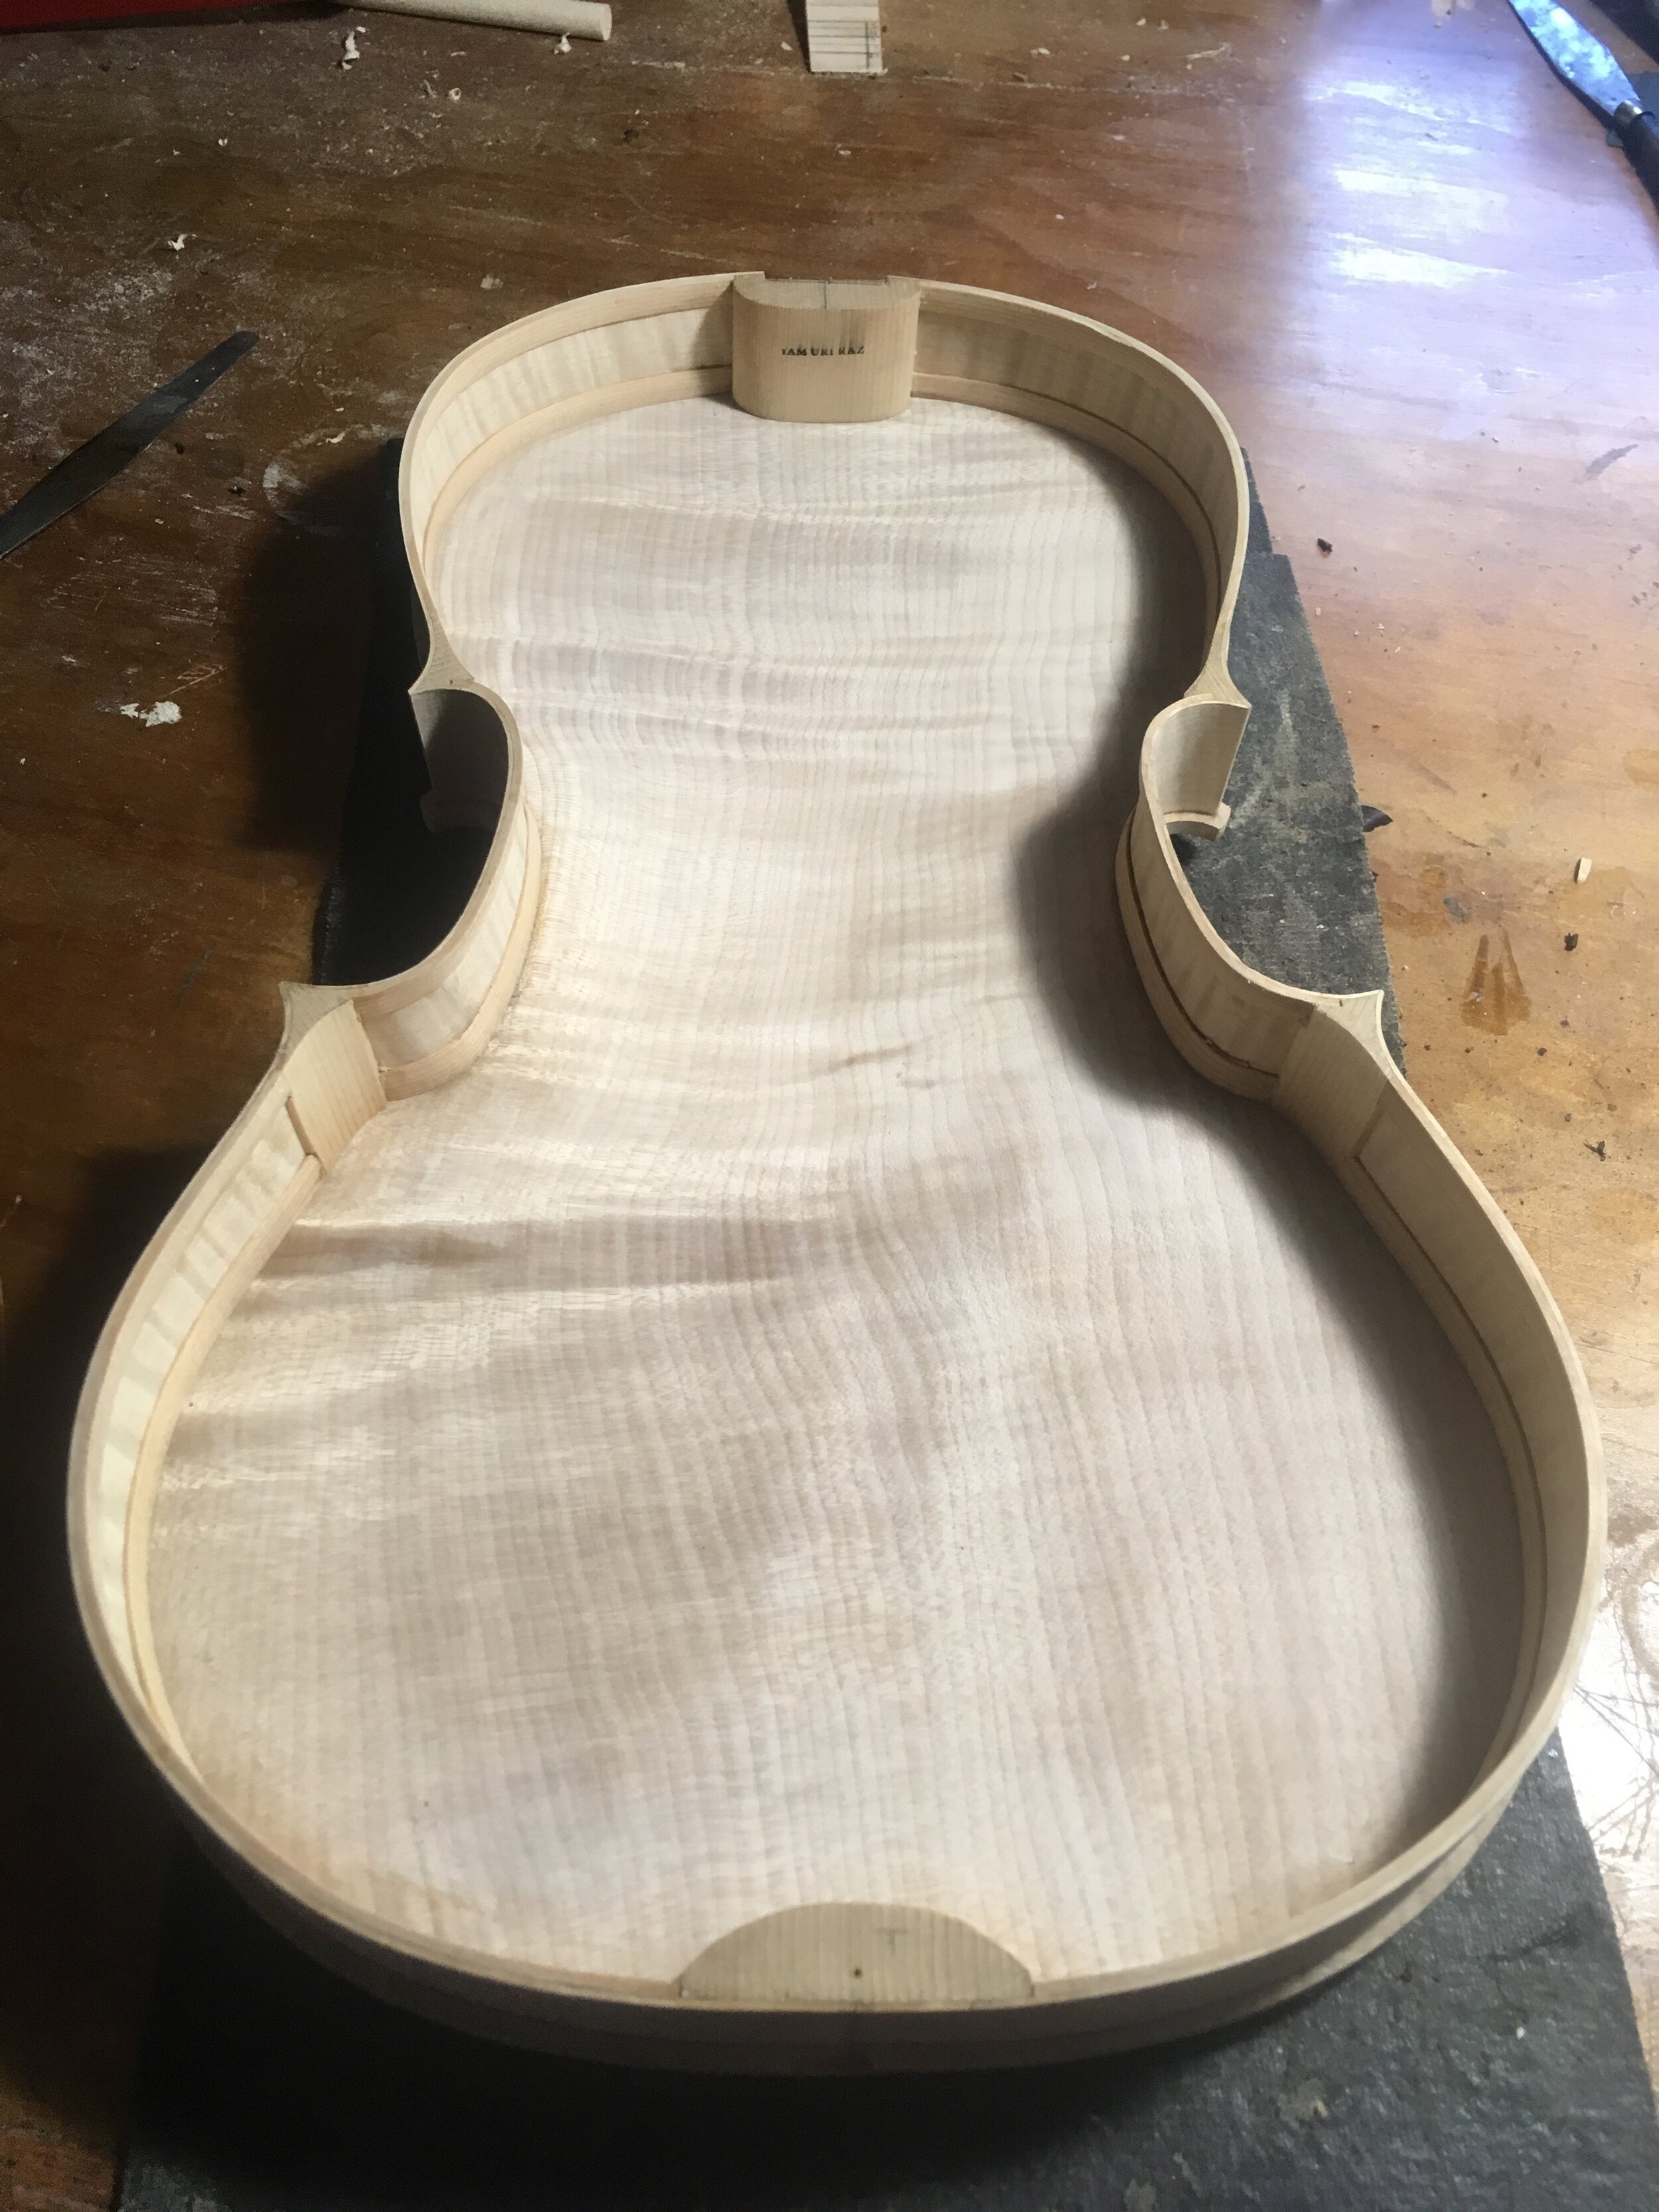
 Back glued and blocks shaped
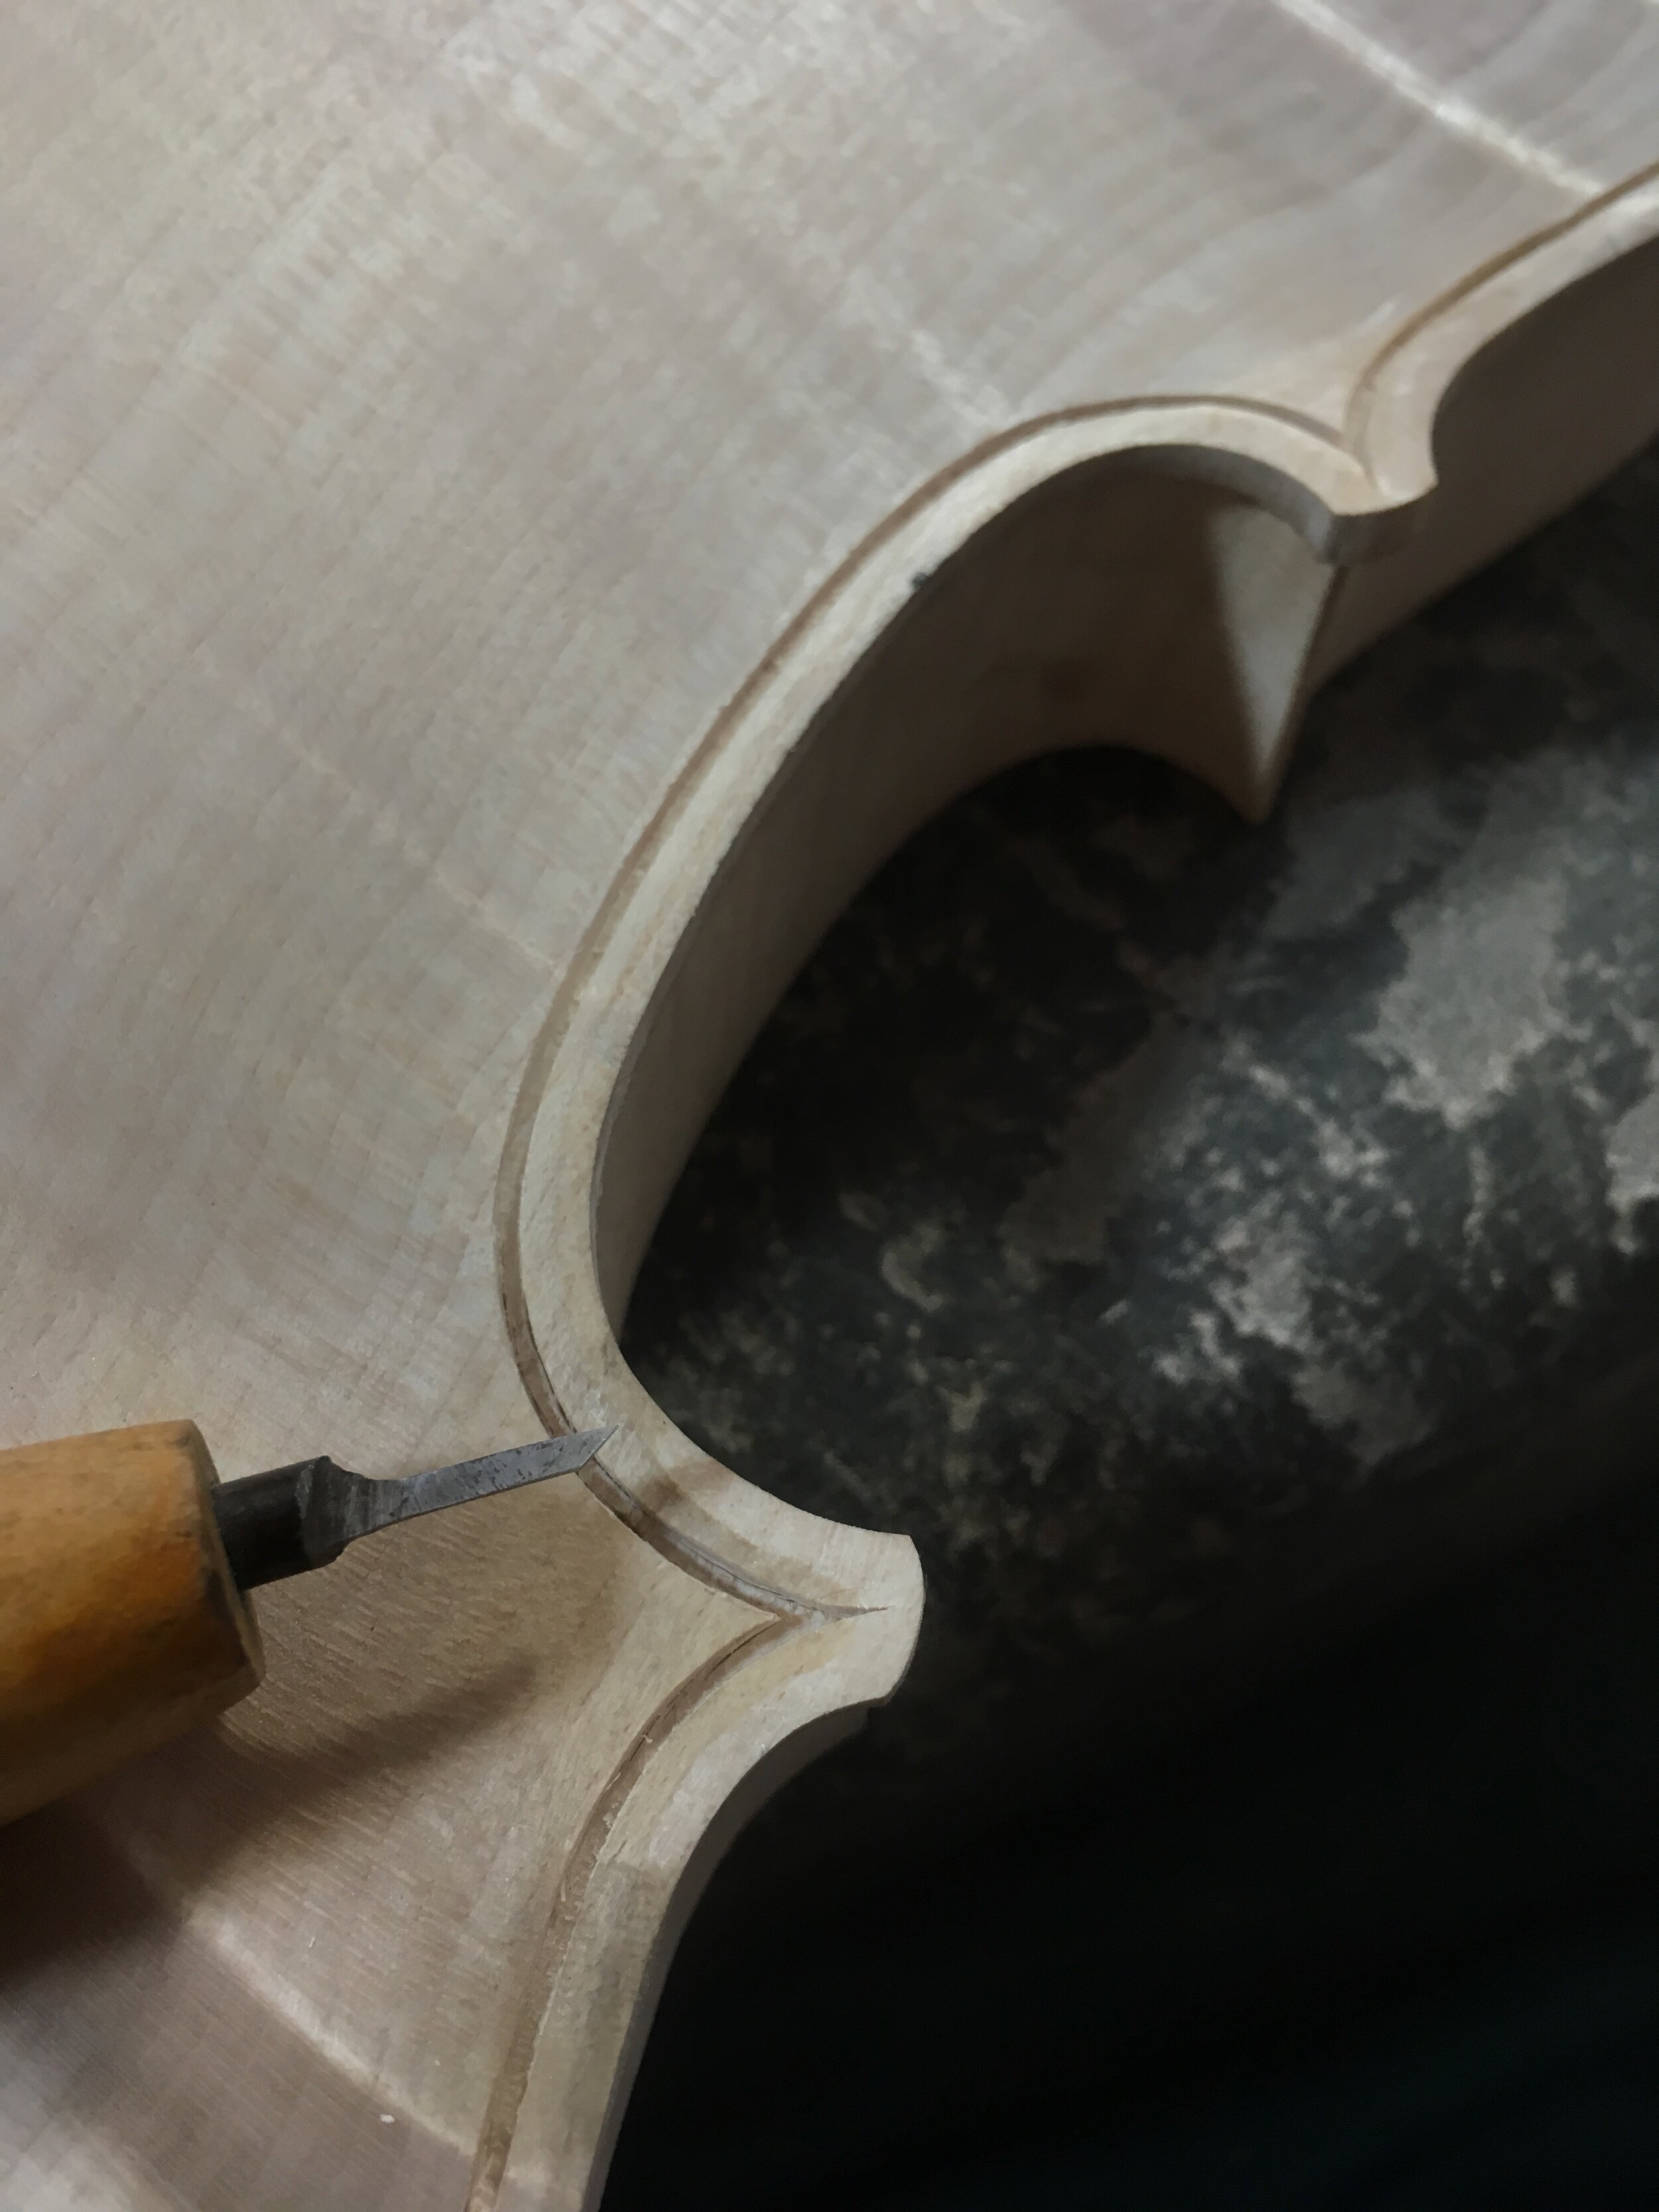
 Purfling channel cut and deepened with a handmade chisel
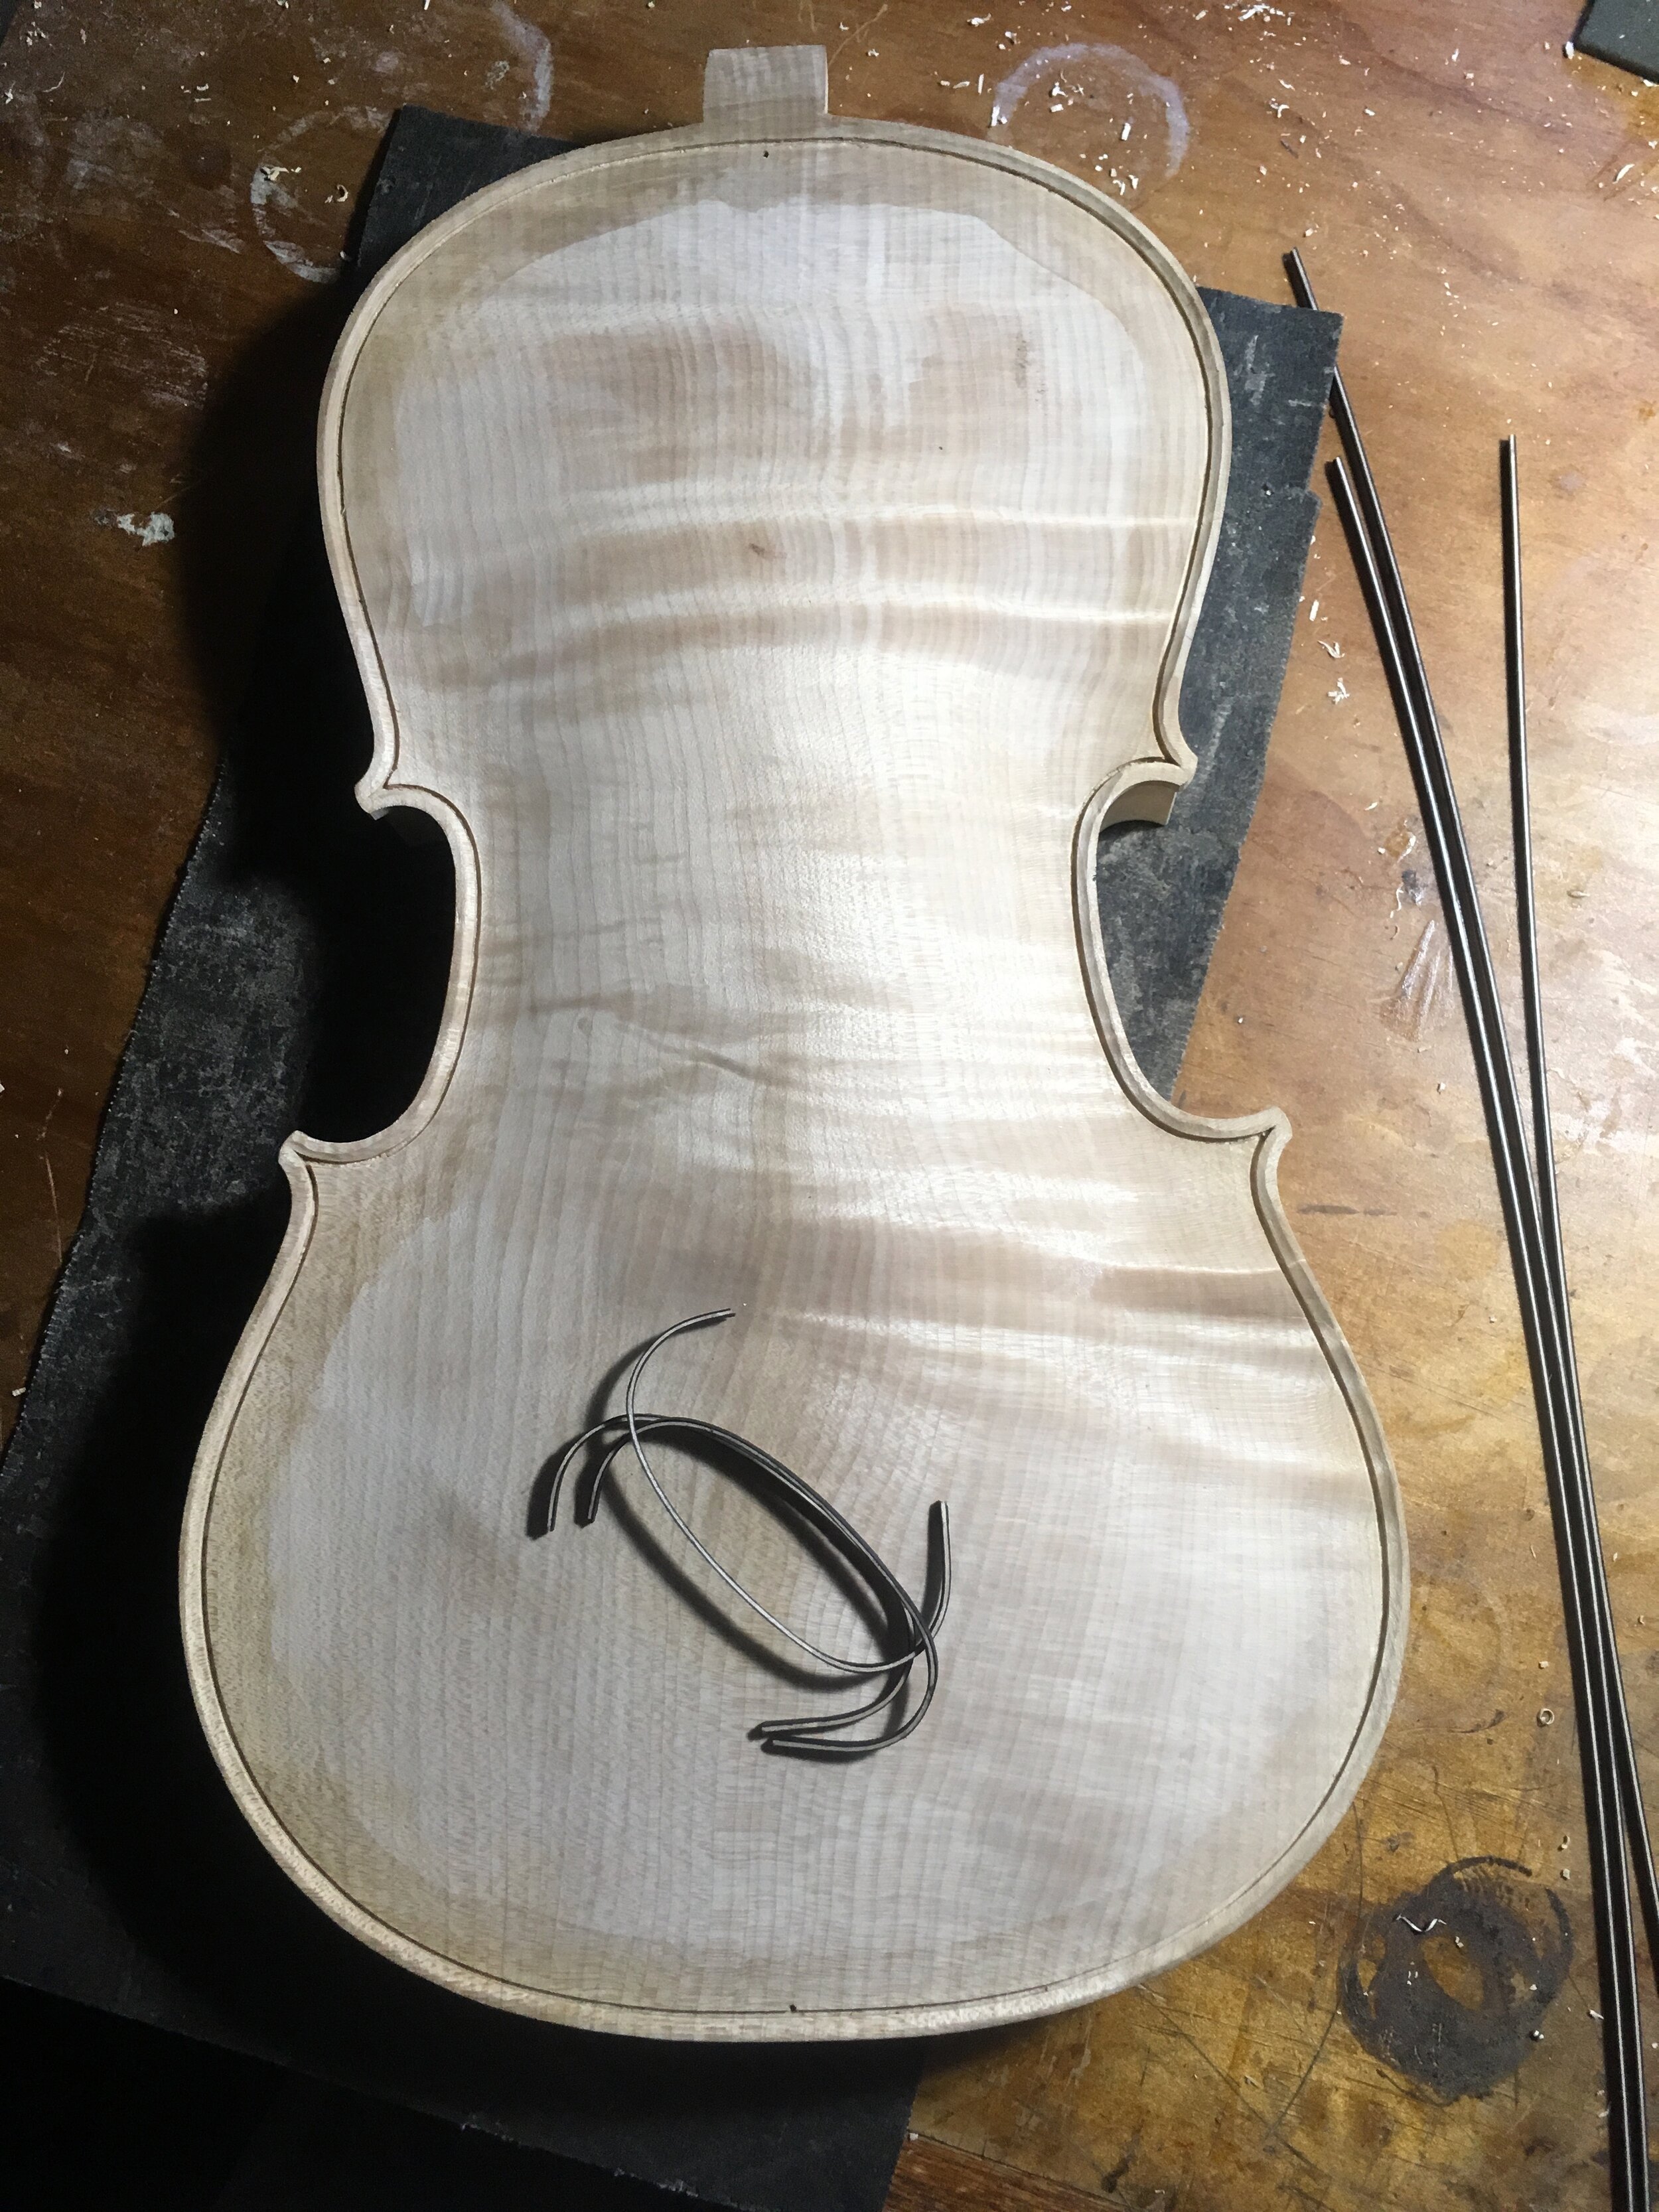
 Purfling before inlaying it inside
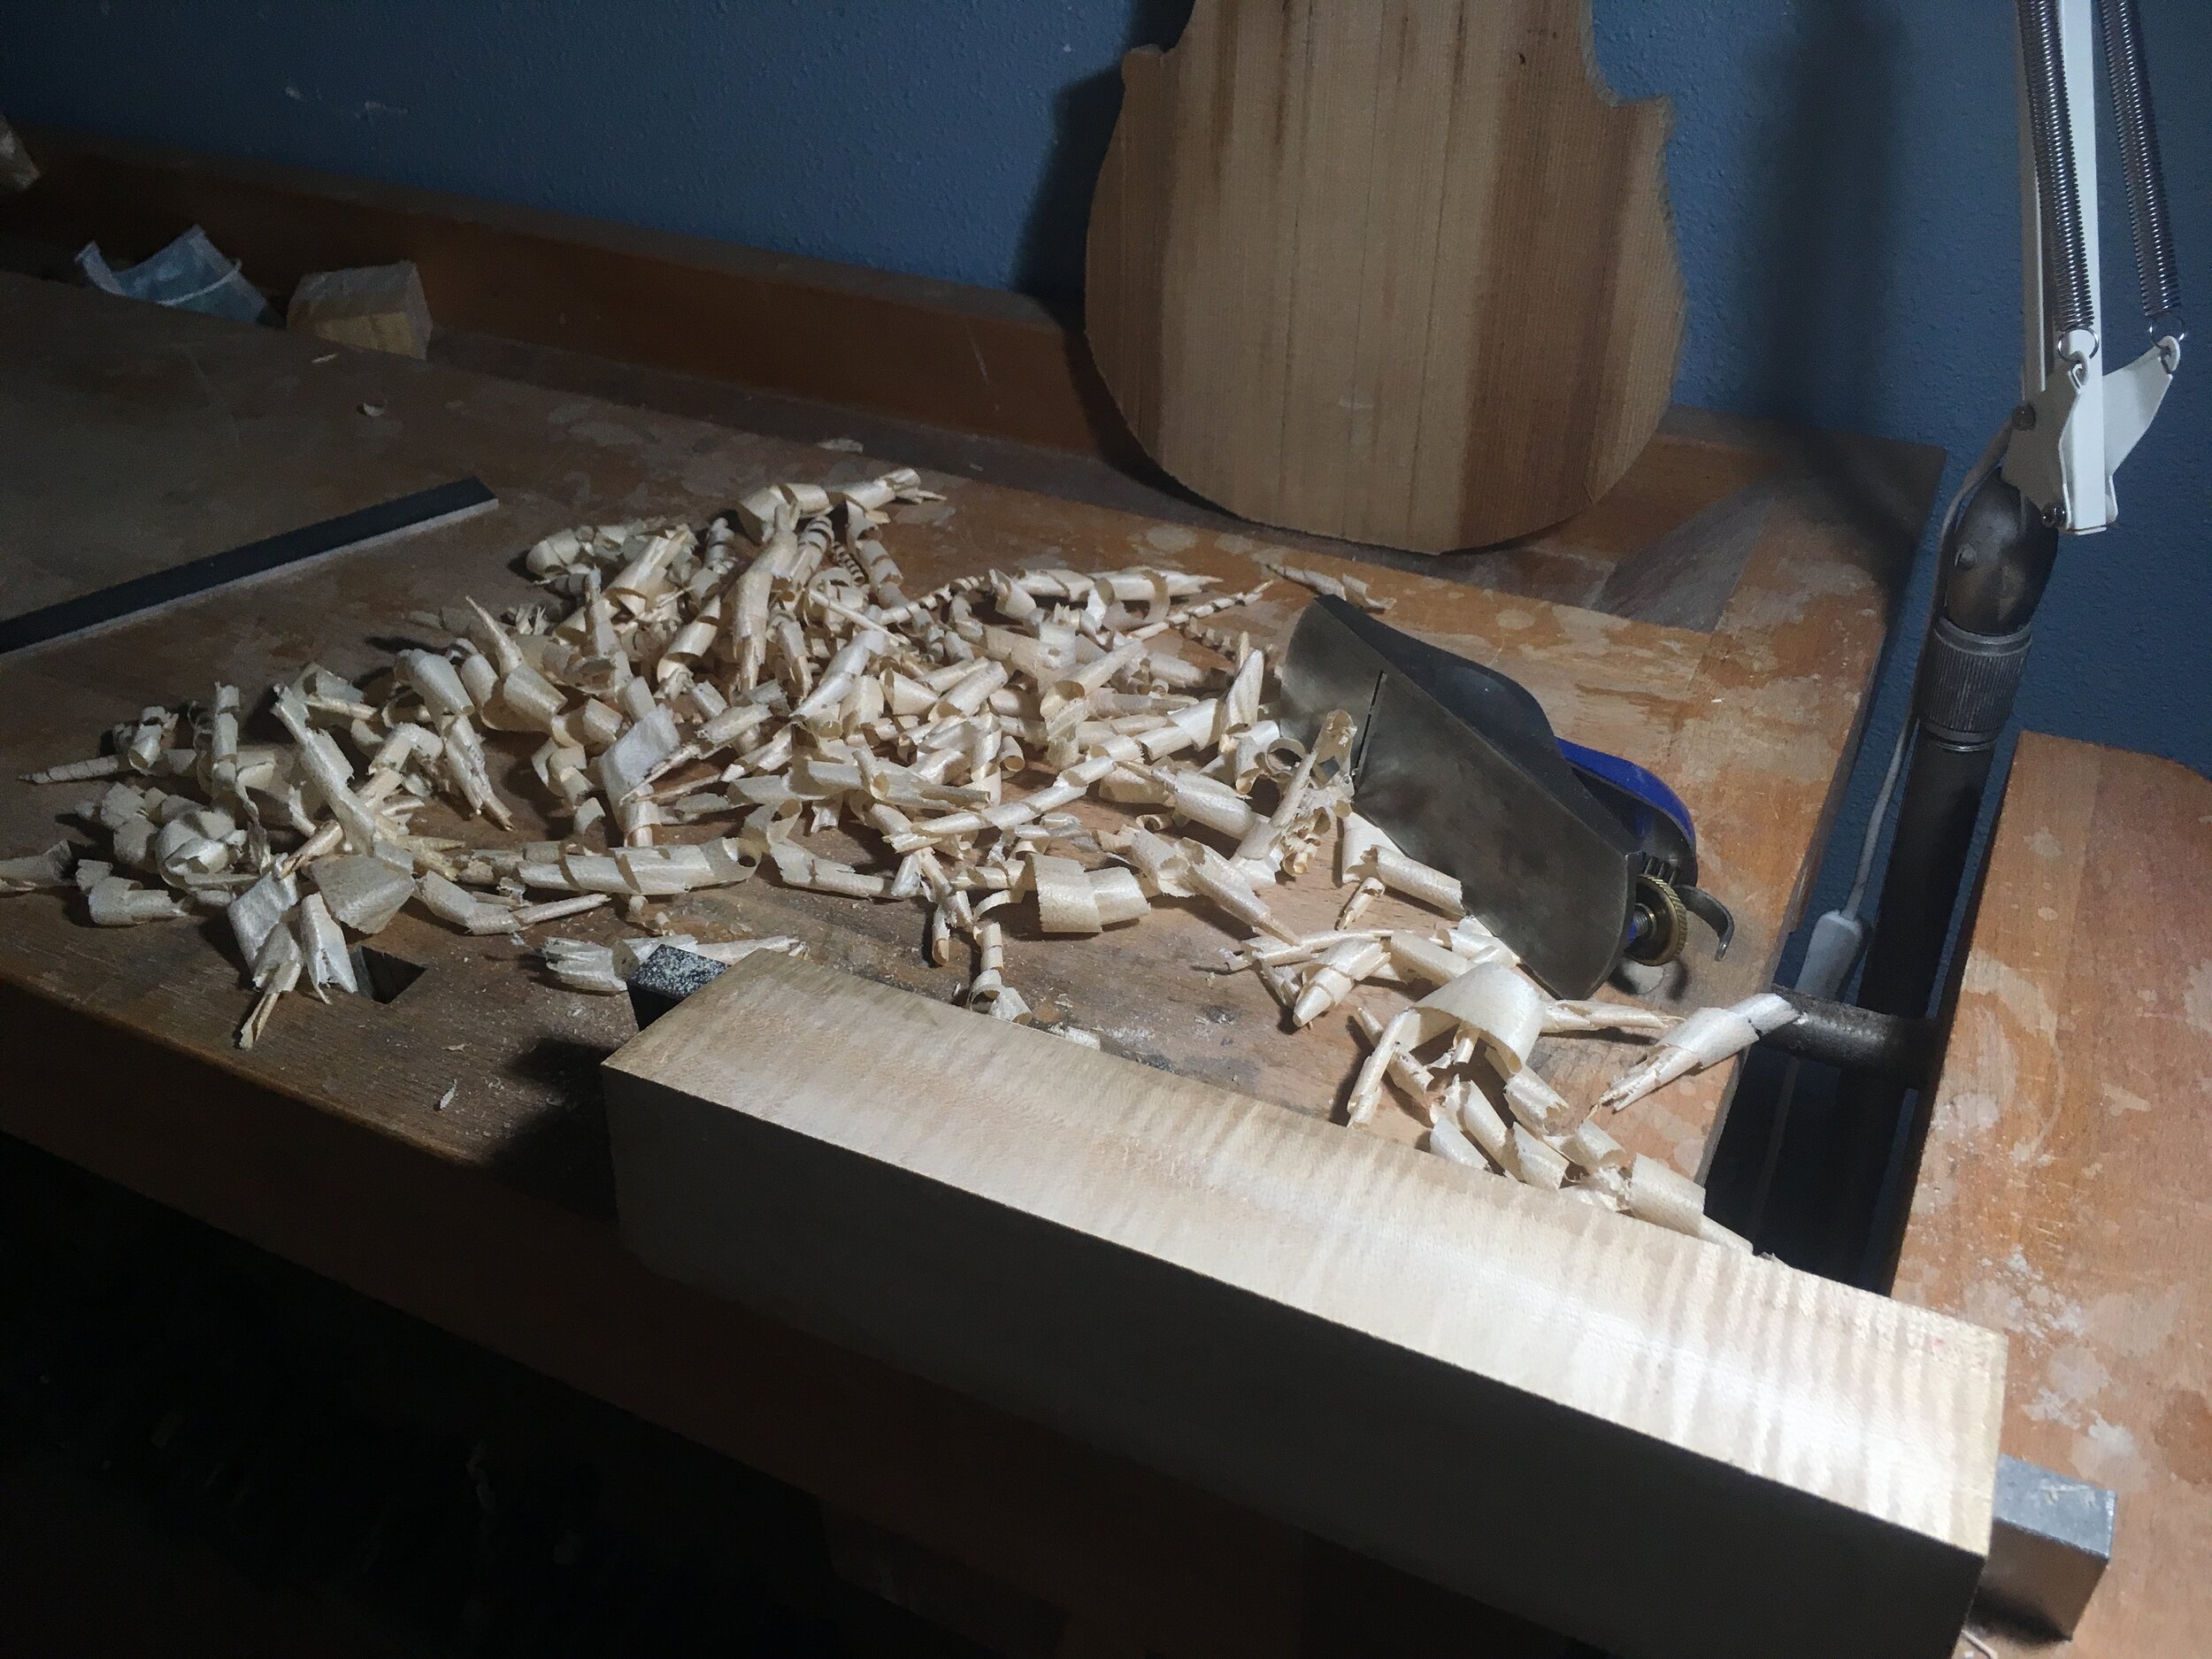
 Neck planned flat and perpendicular
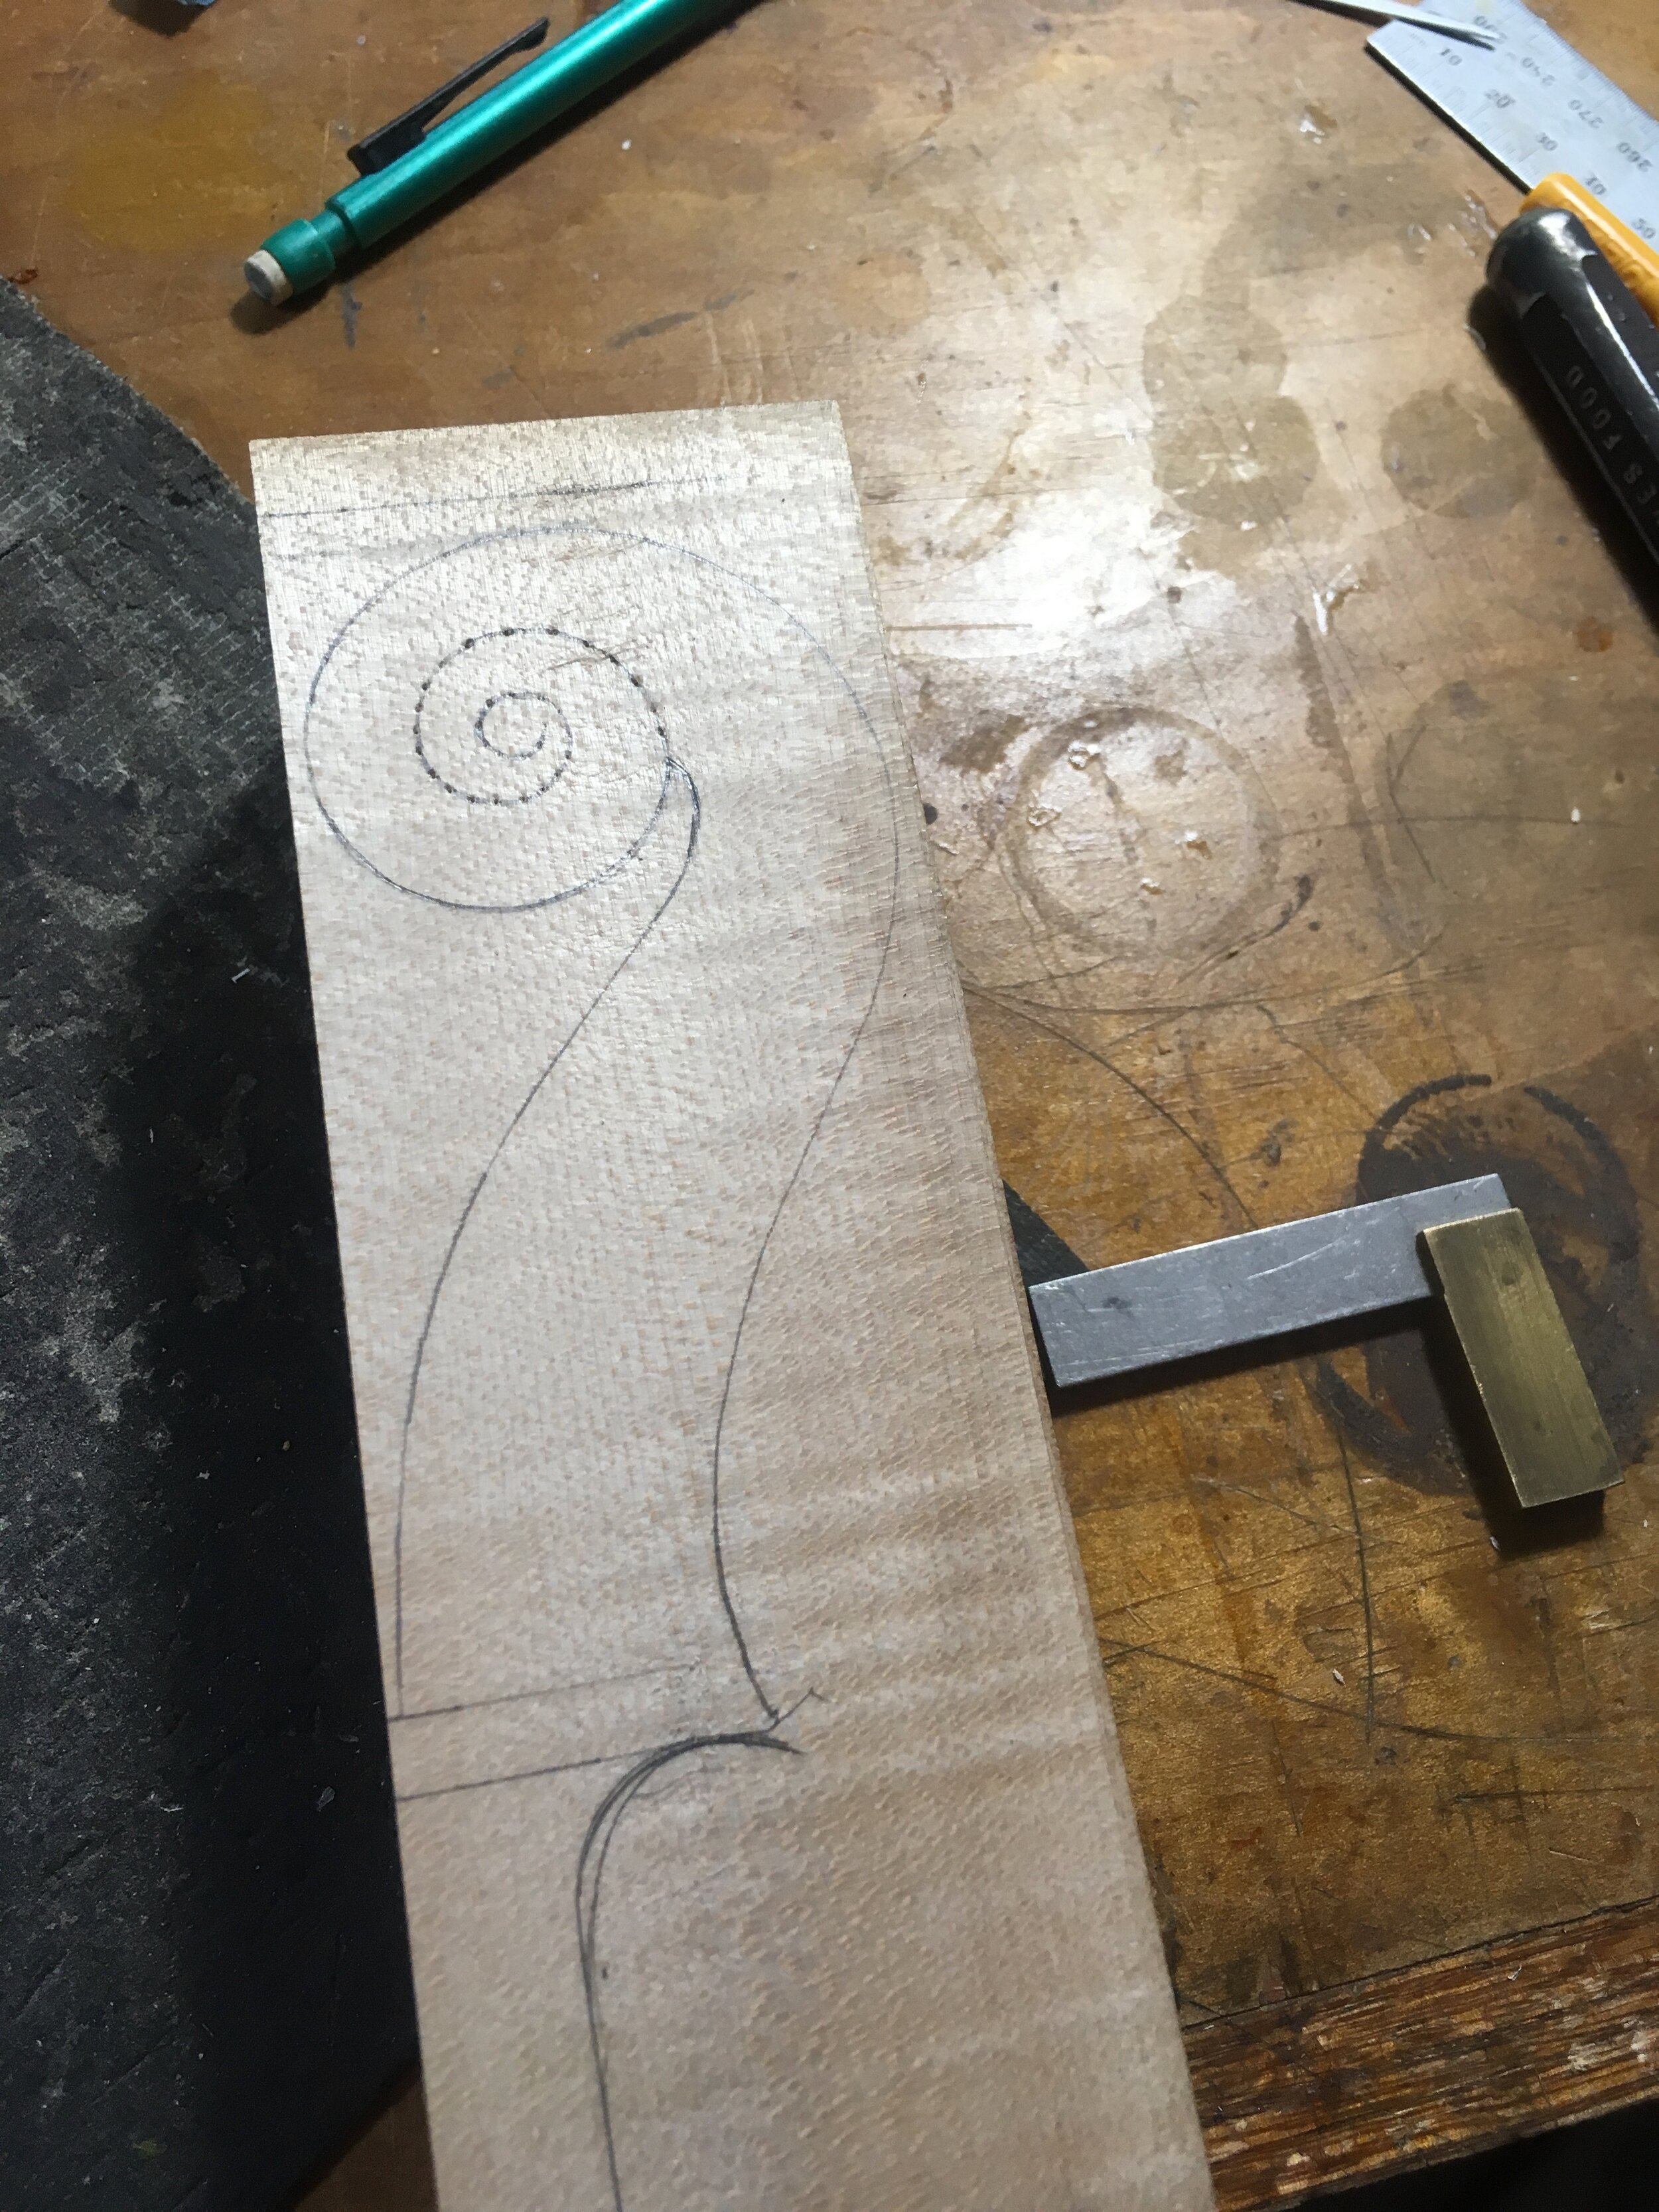
 Scroll designed
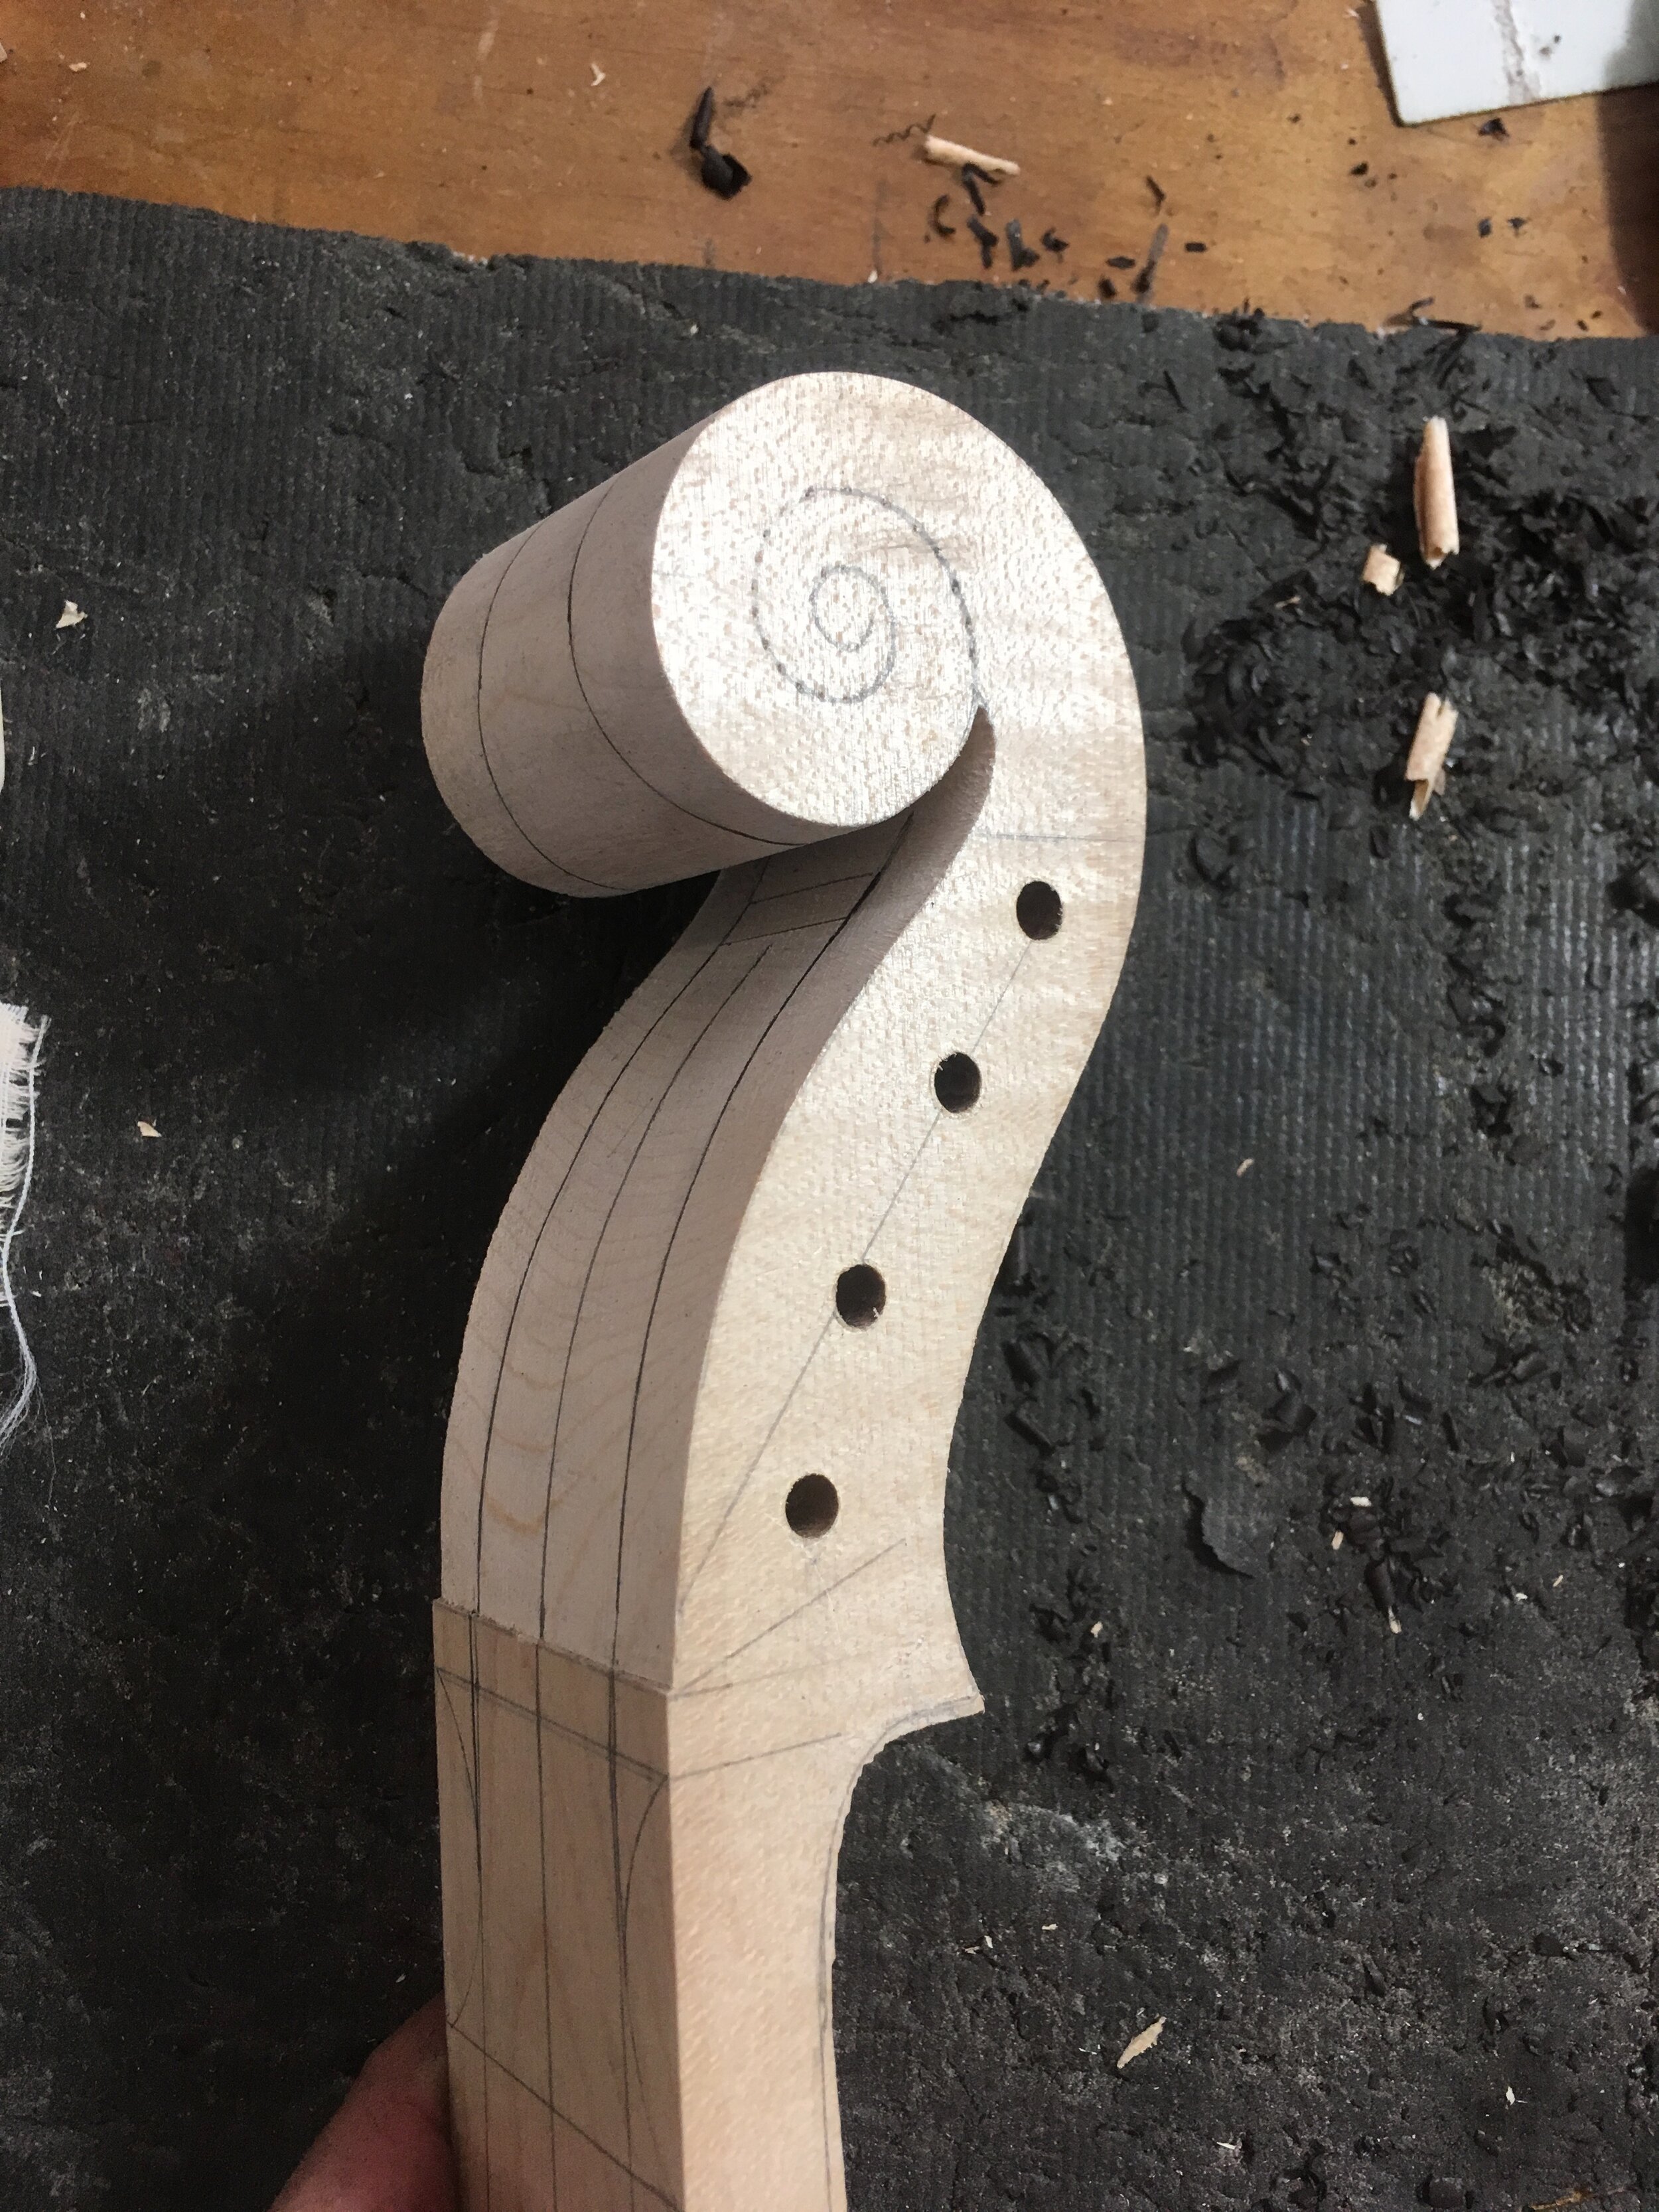
 Scroll design 3D
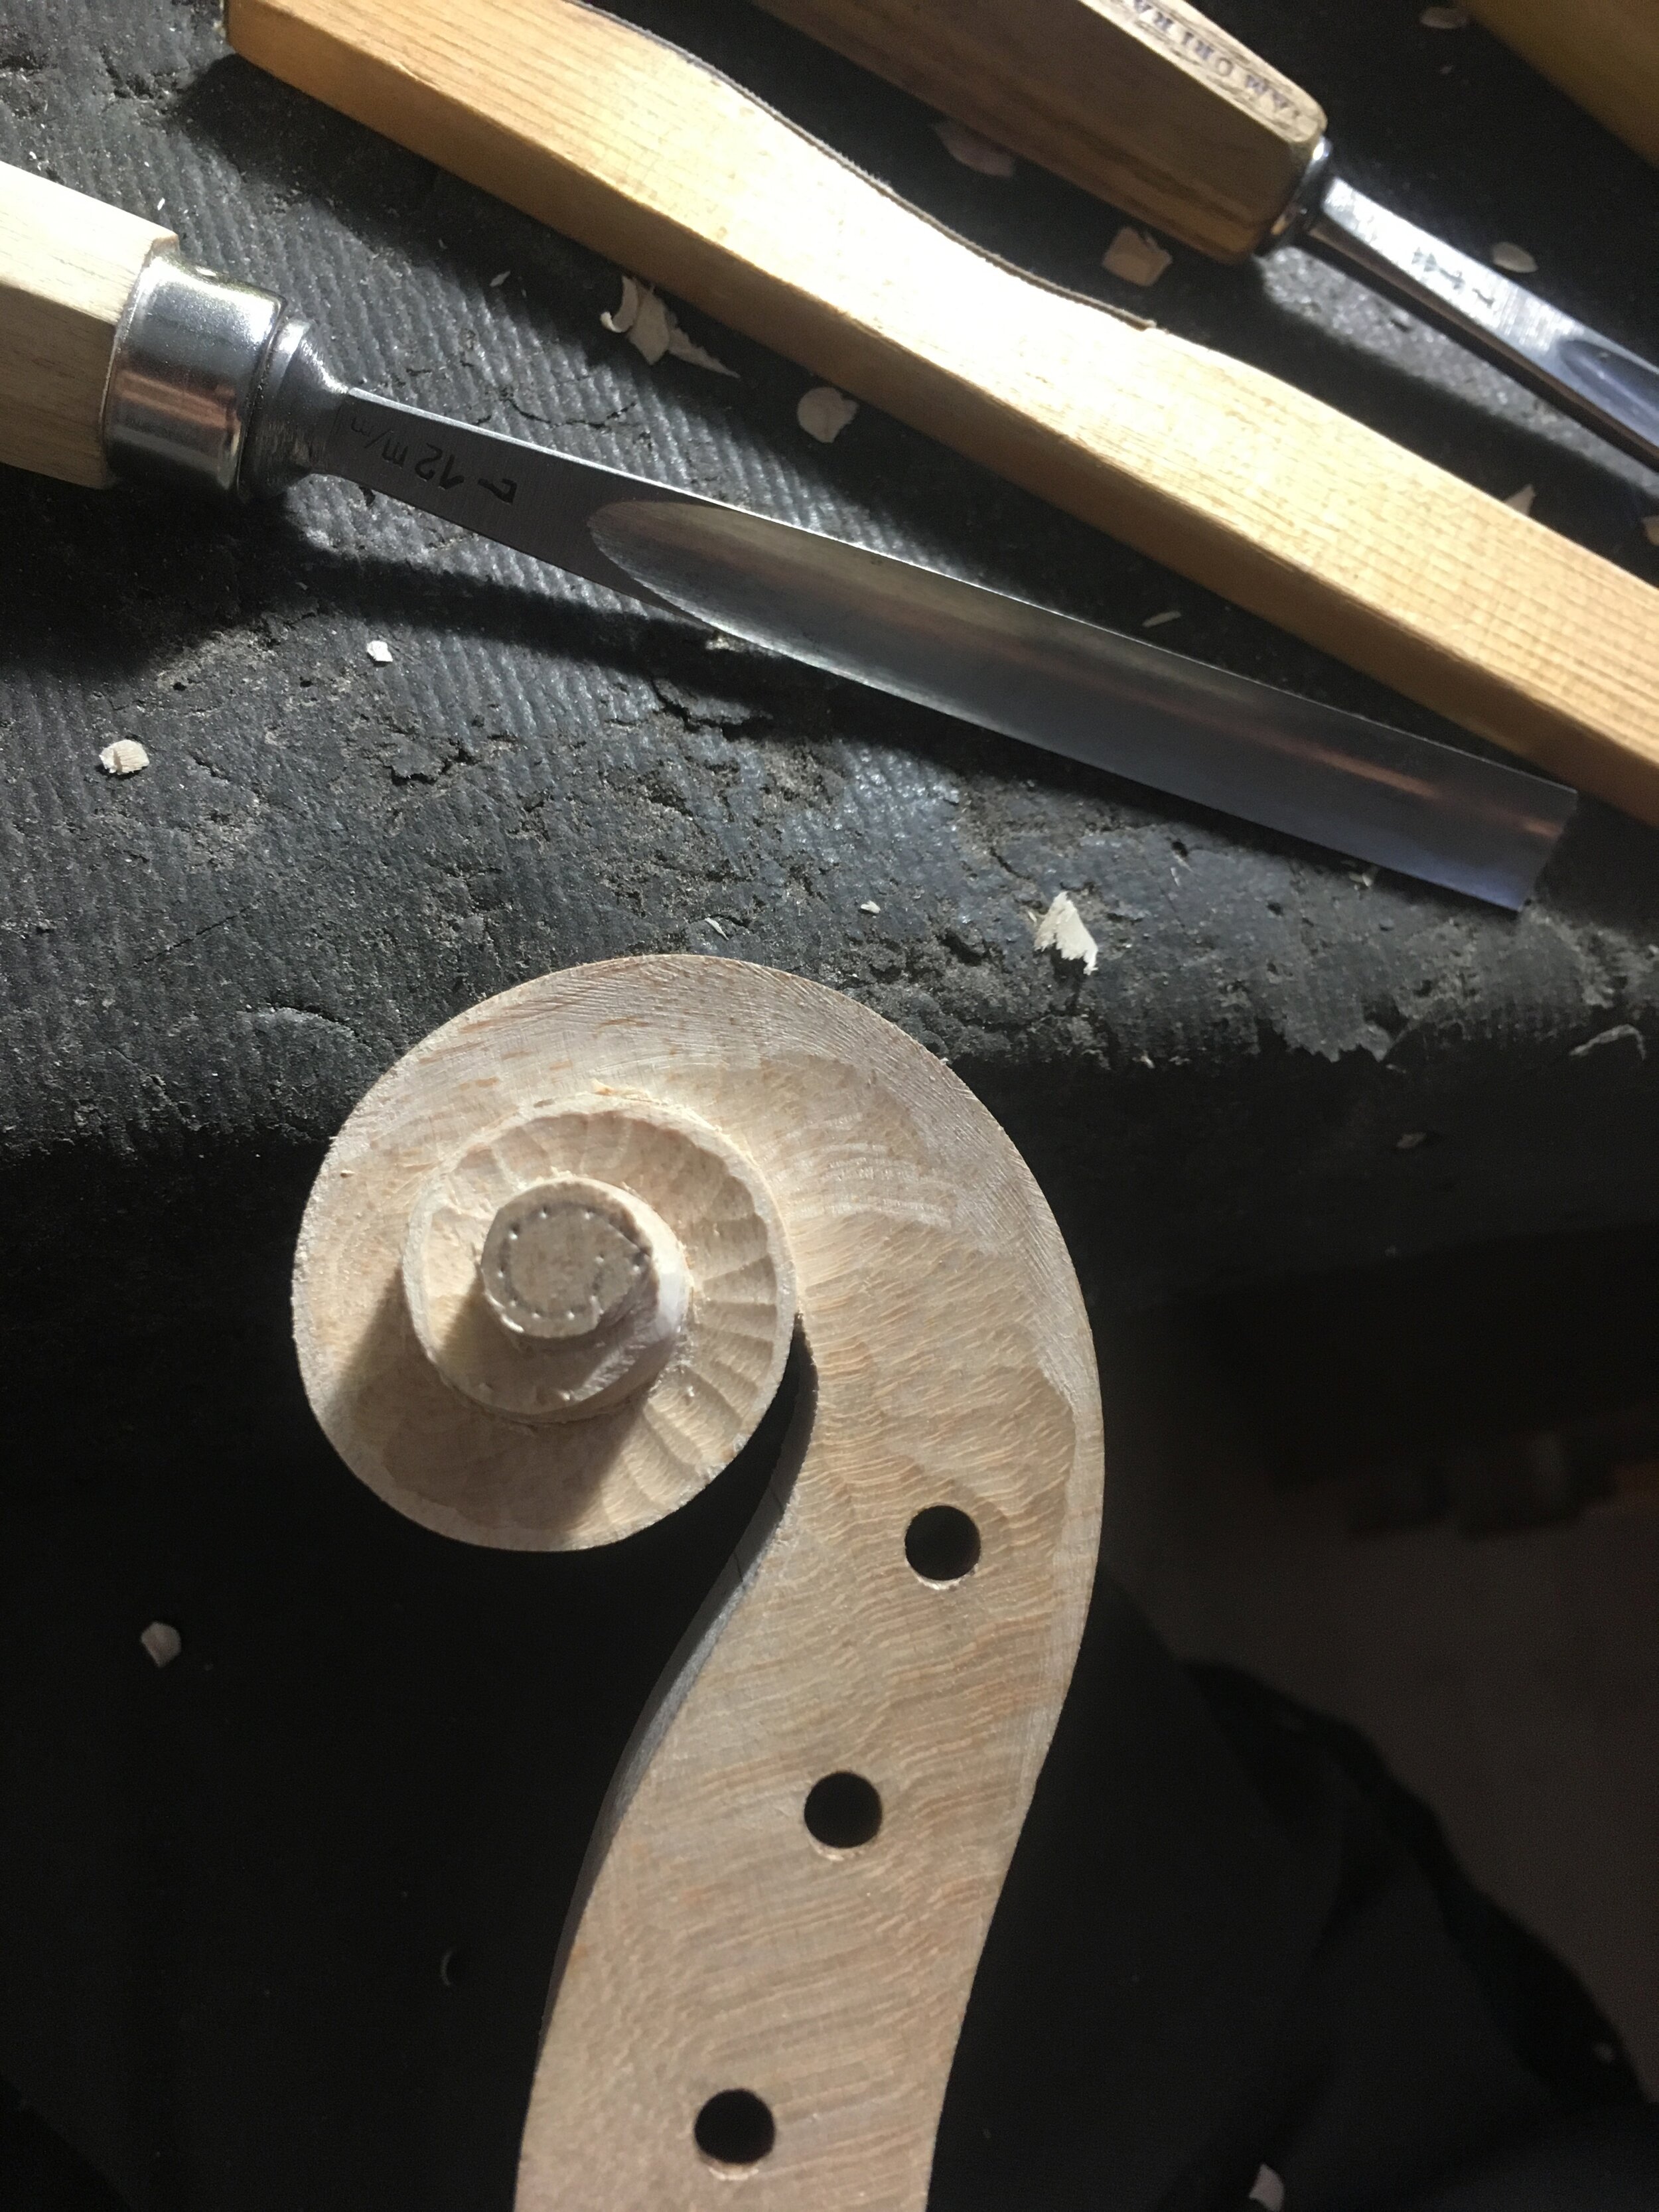
 Gauging the shape of the scroll
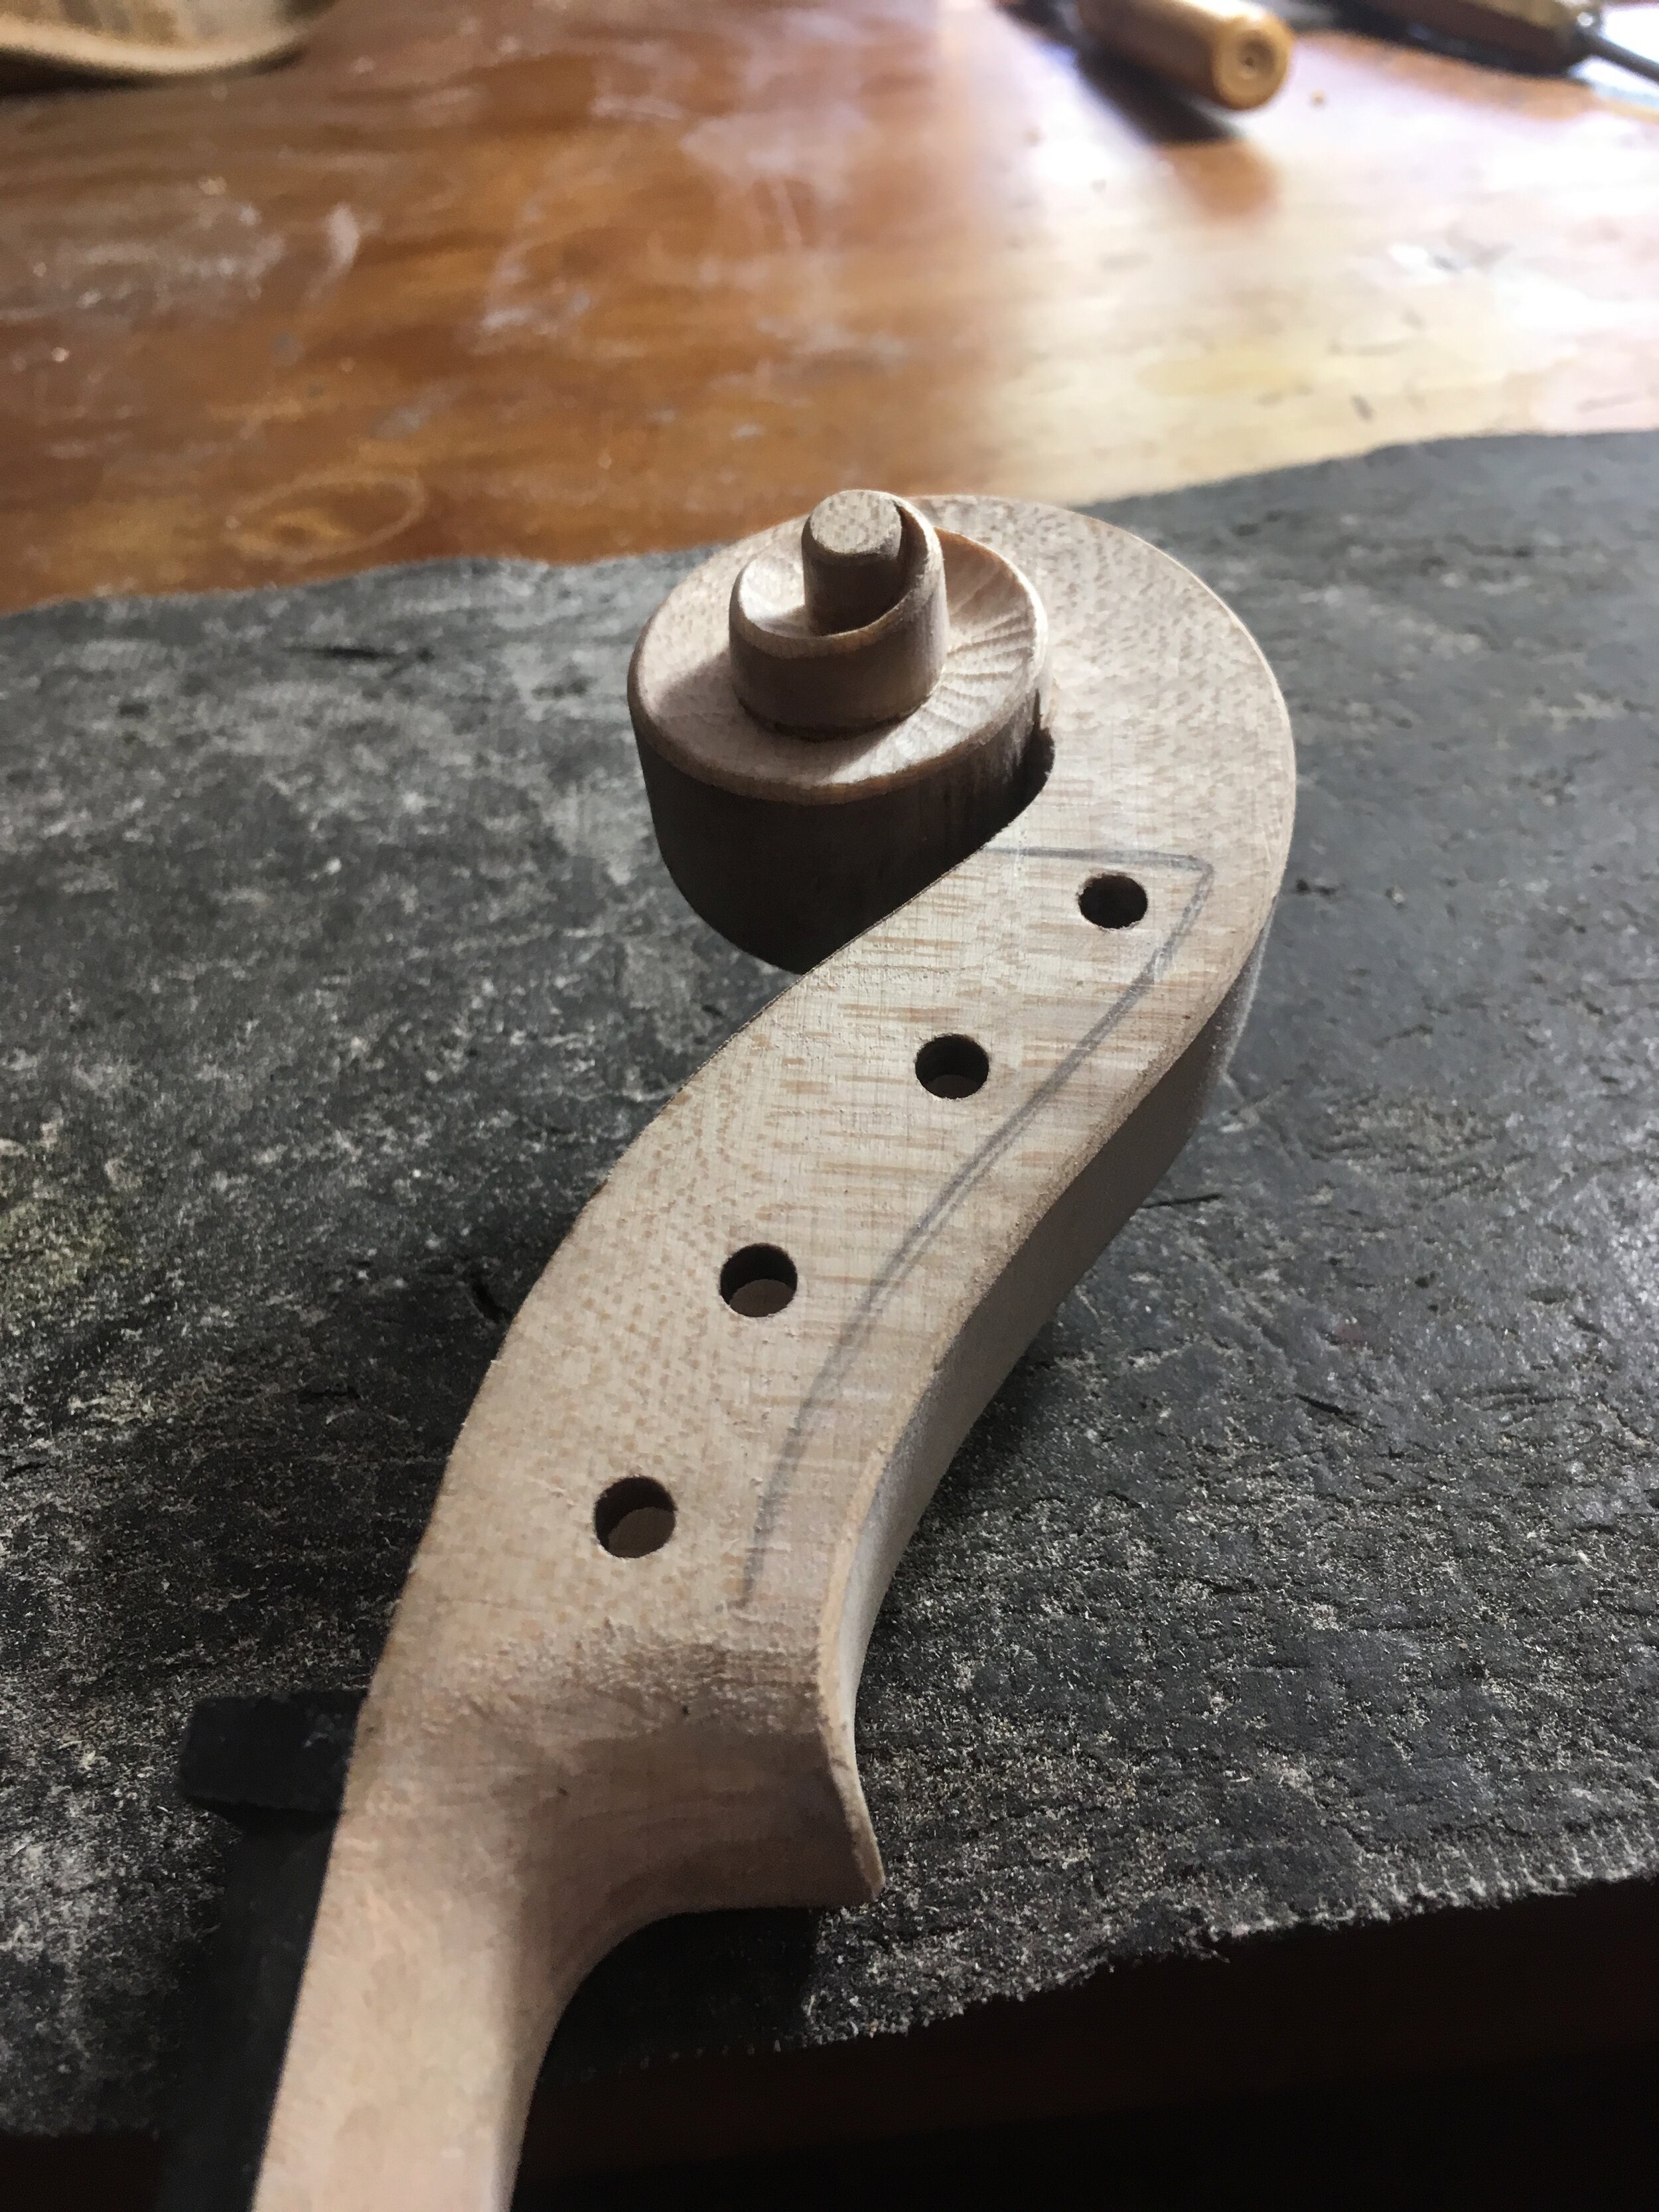
 Depth of the pegbox
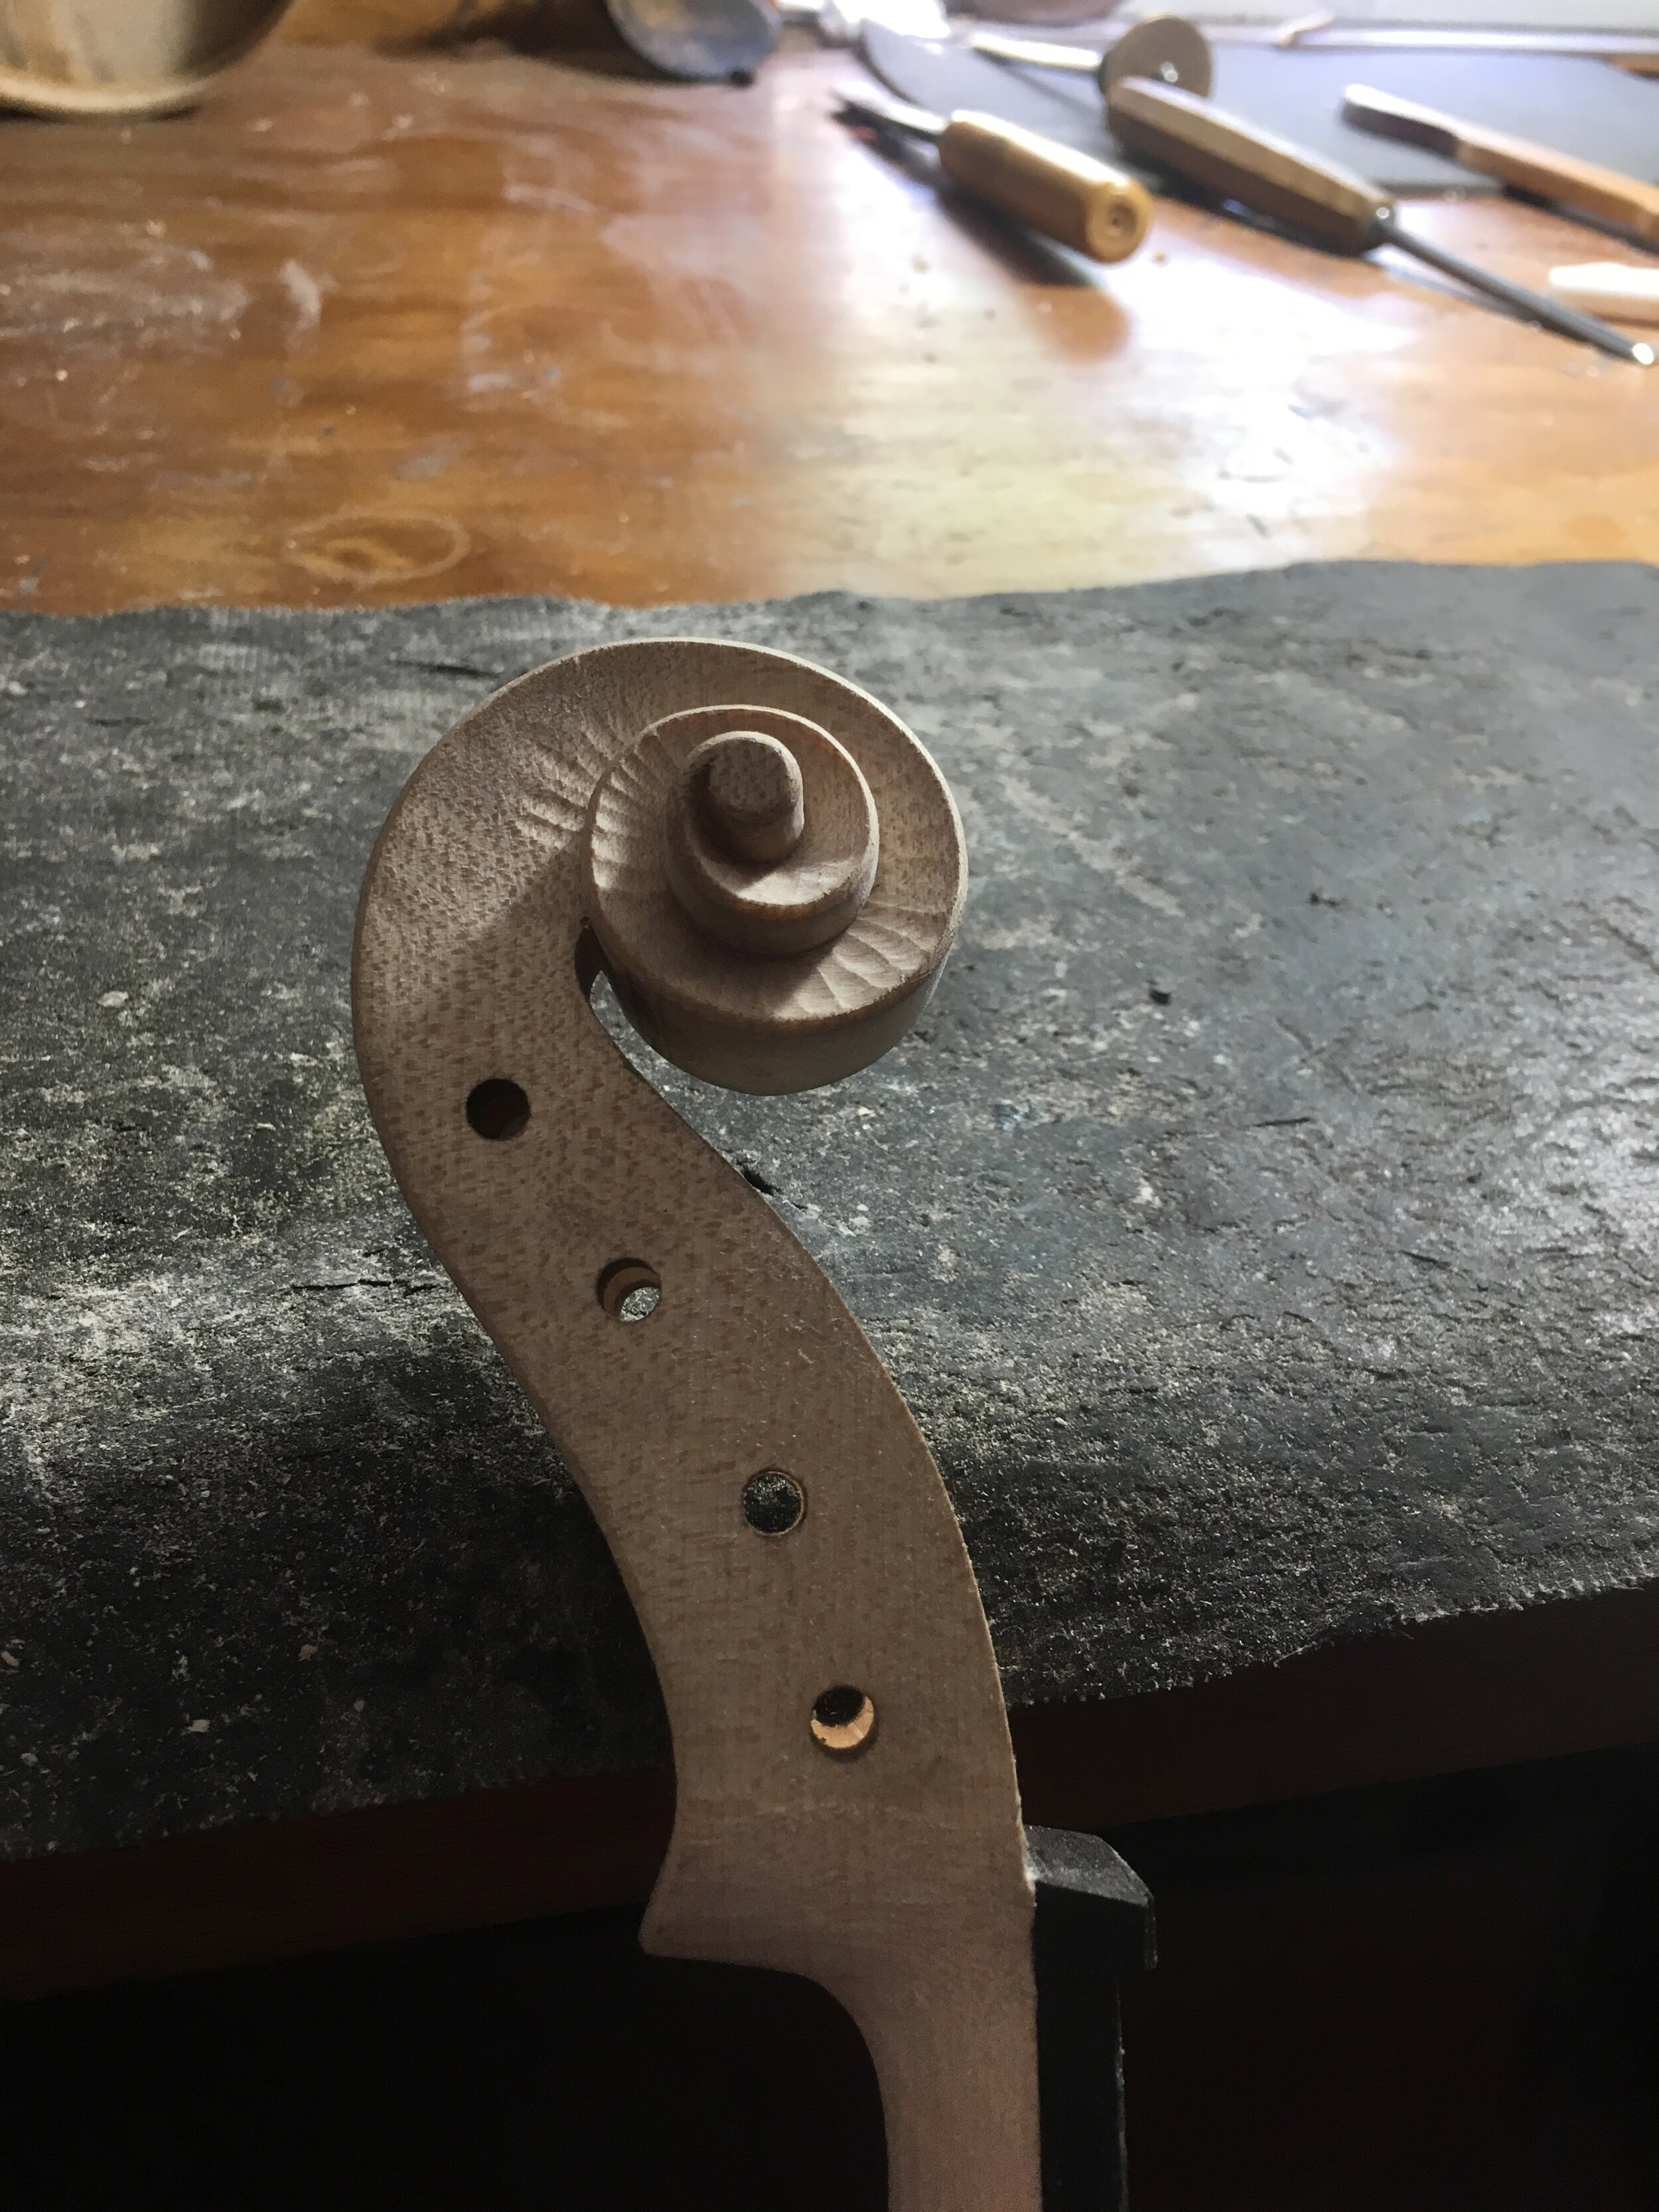
 Leaving gauge marks on scroll
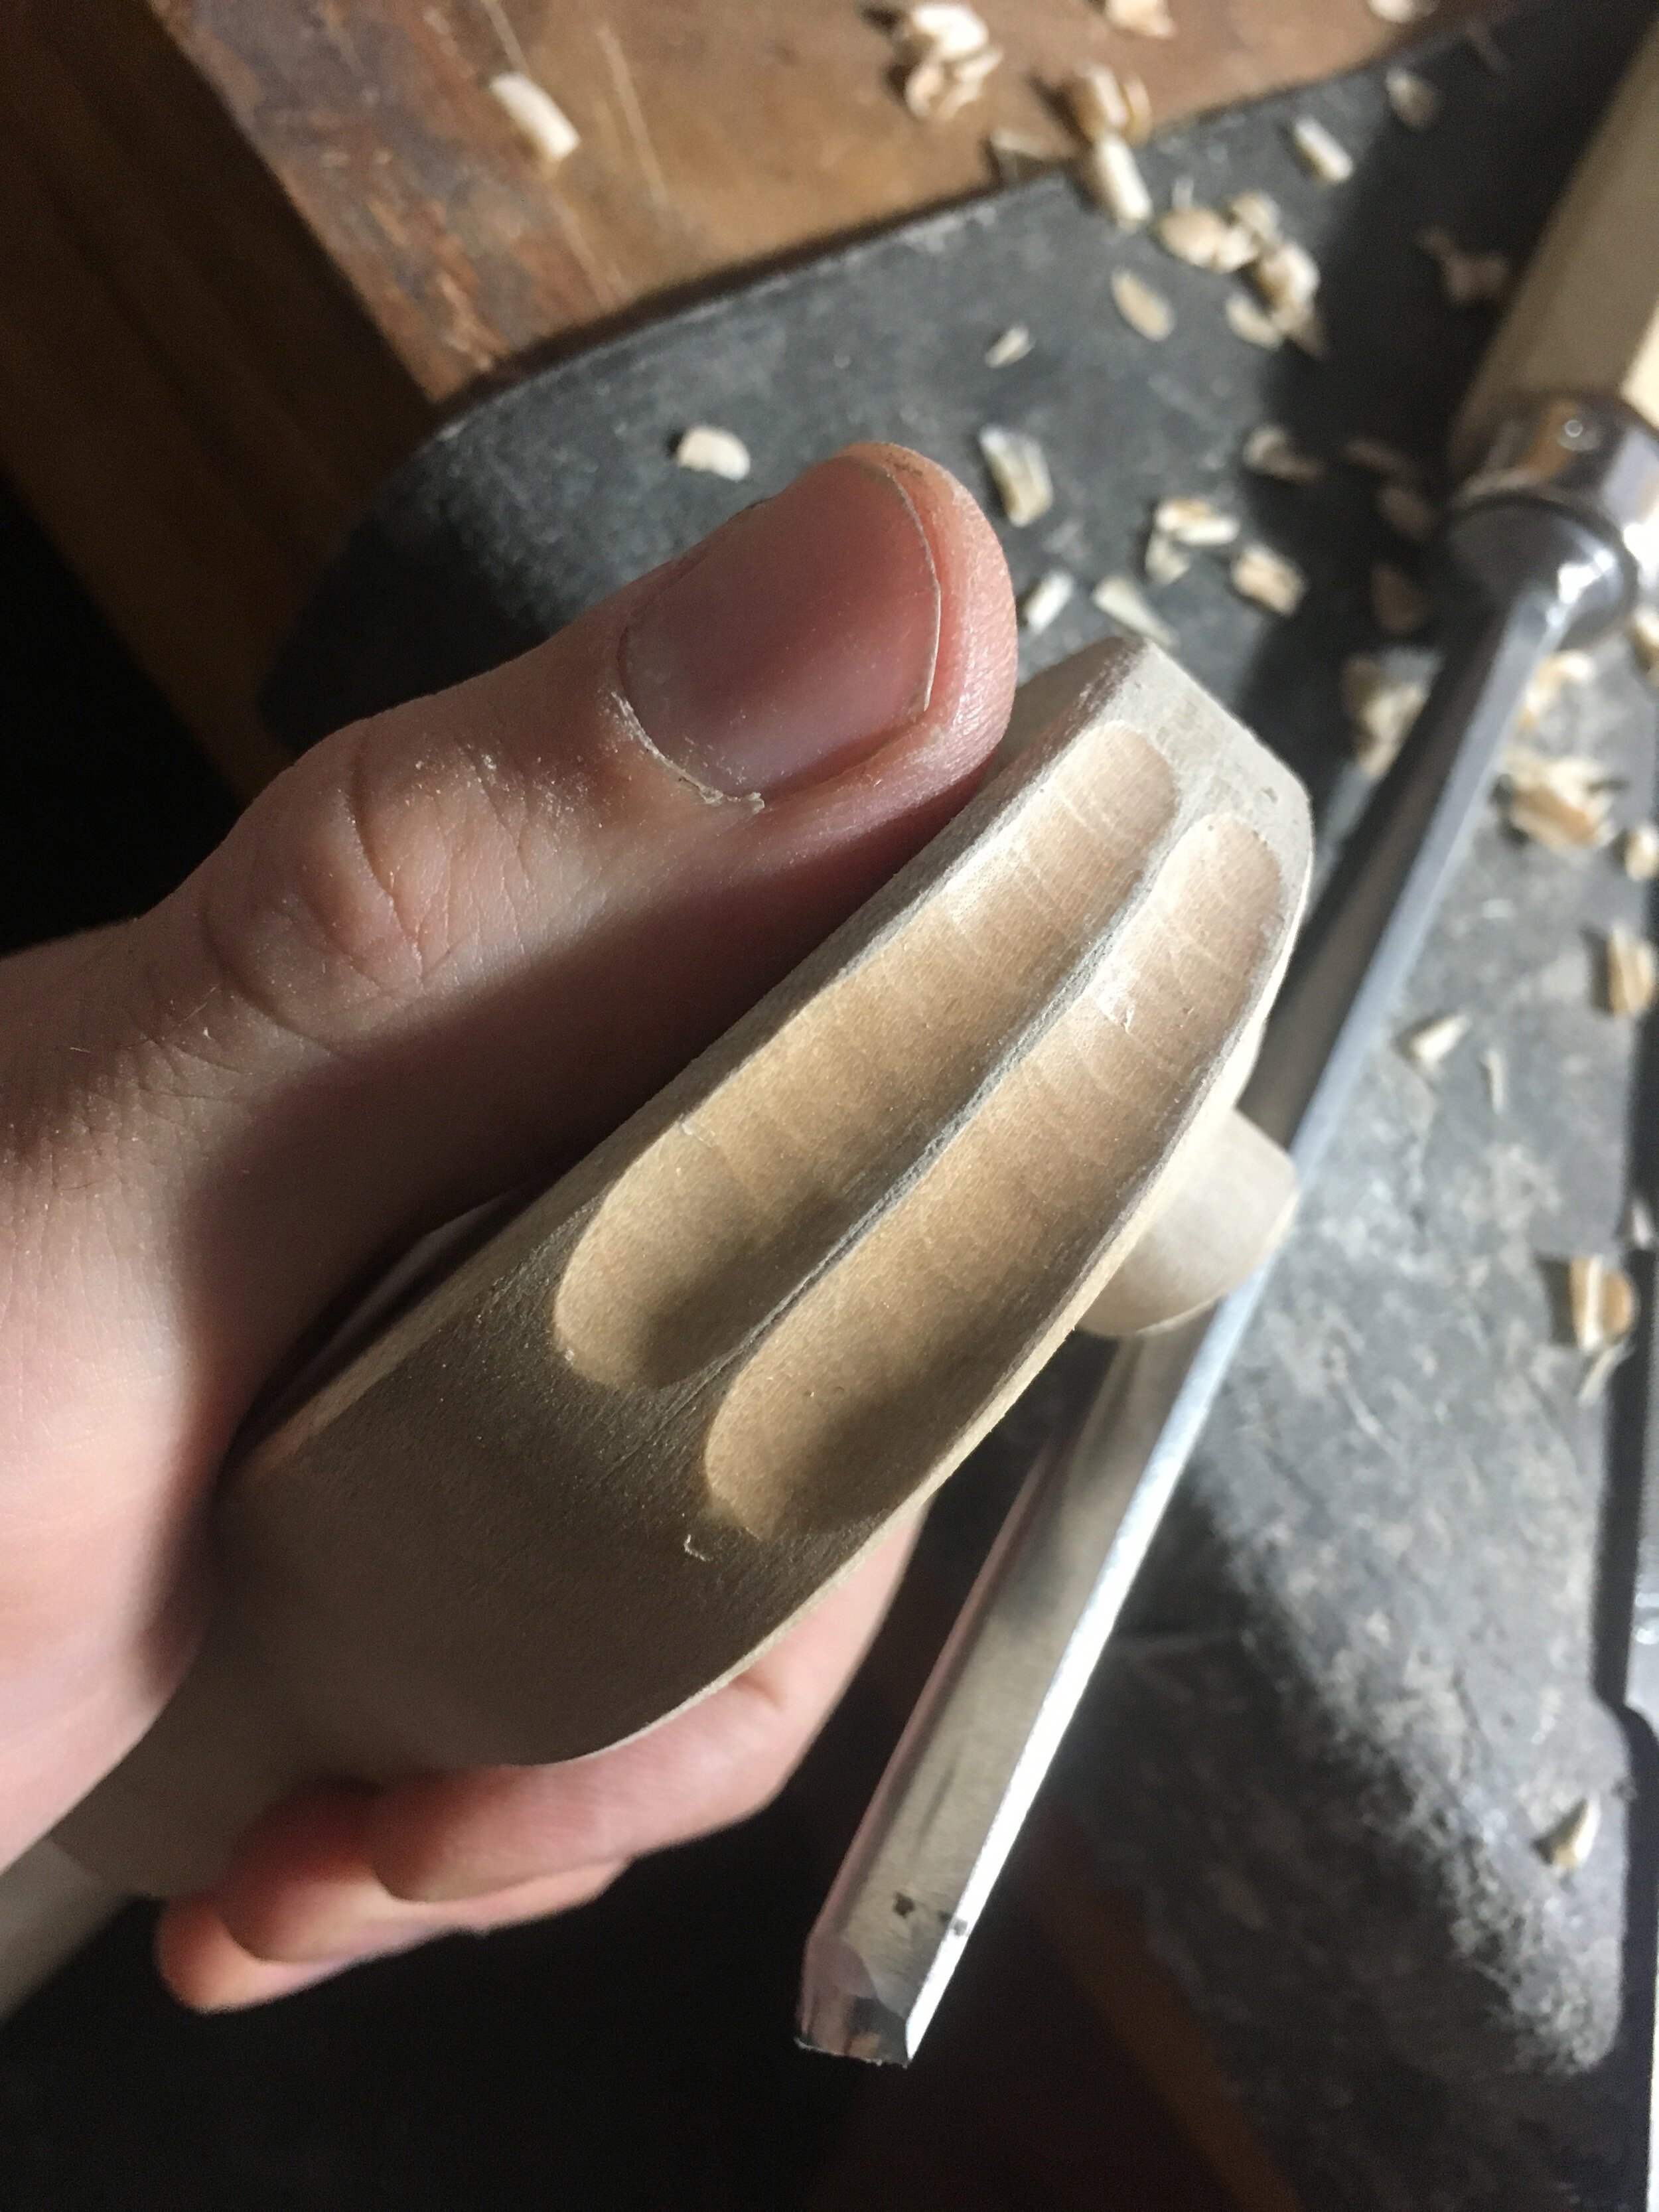
 Finishing the fluting on the scroll with a gauge
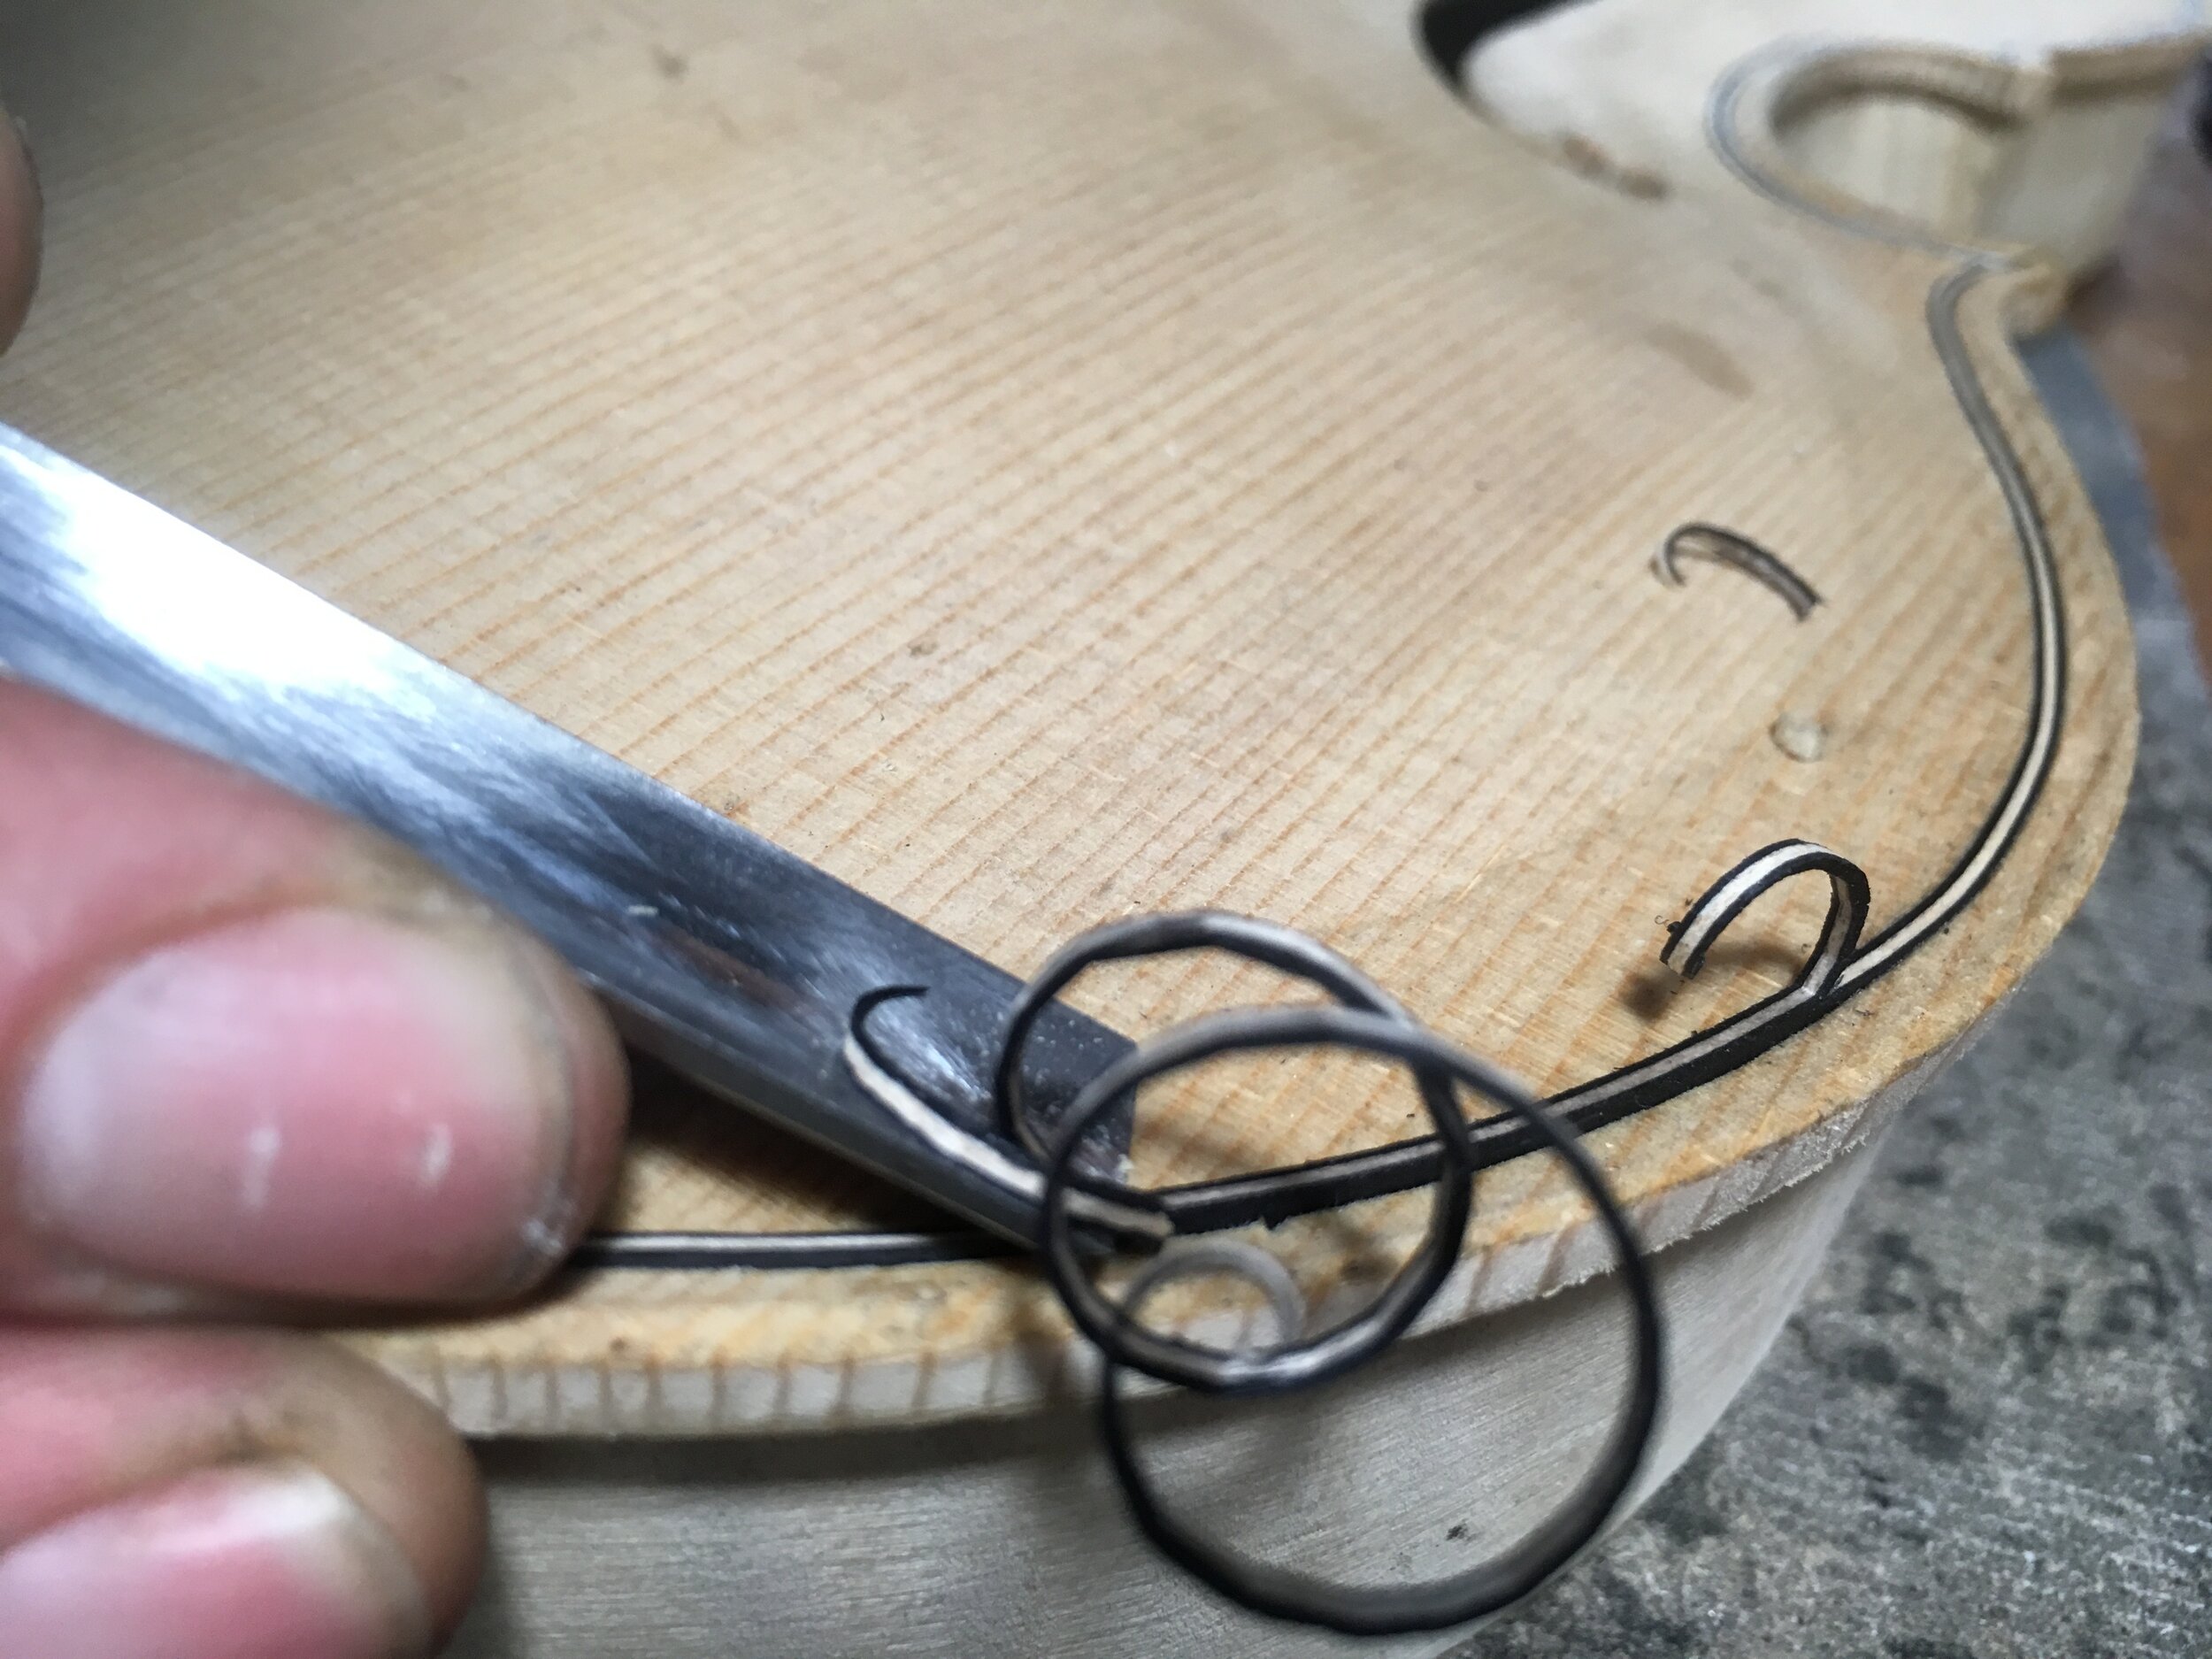
 Carving the purfling
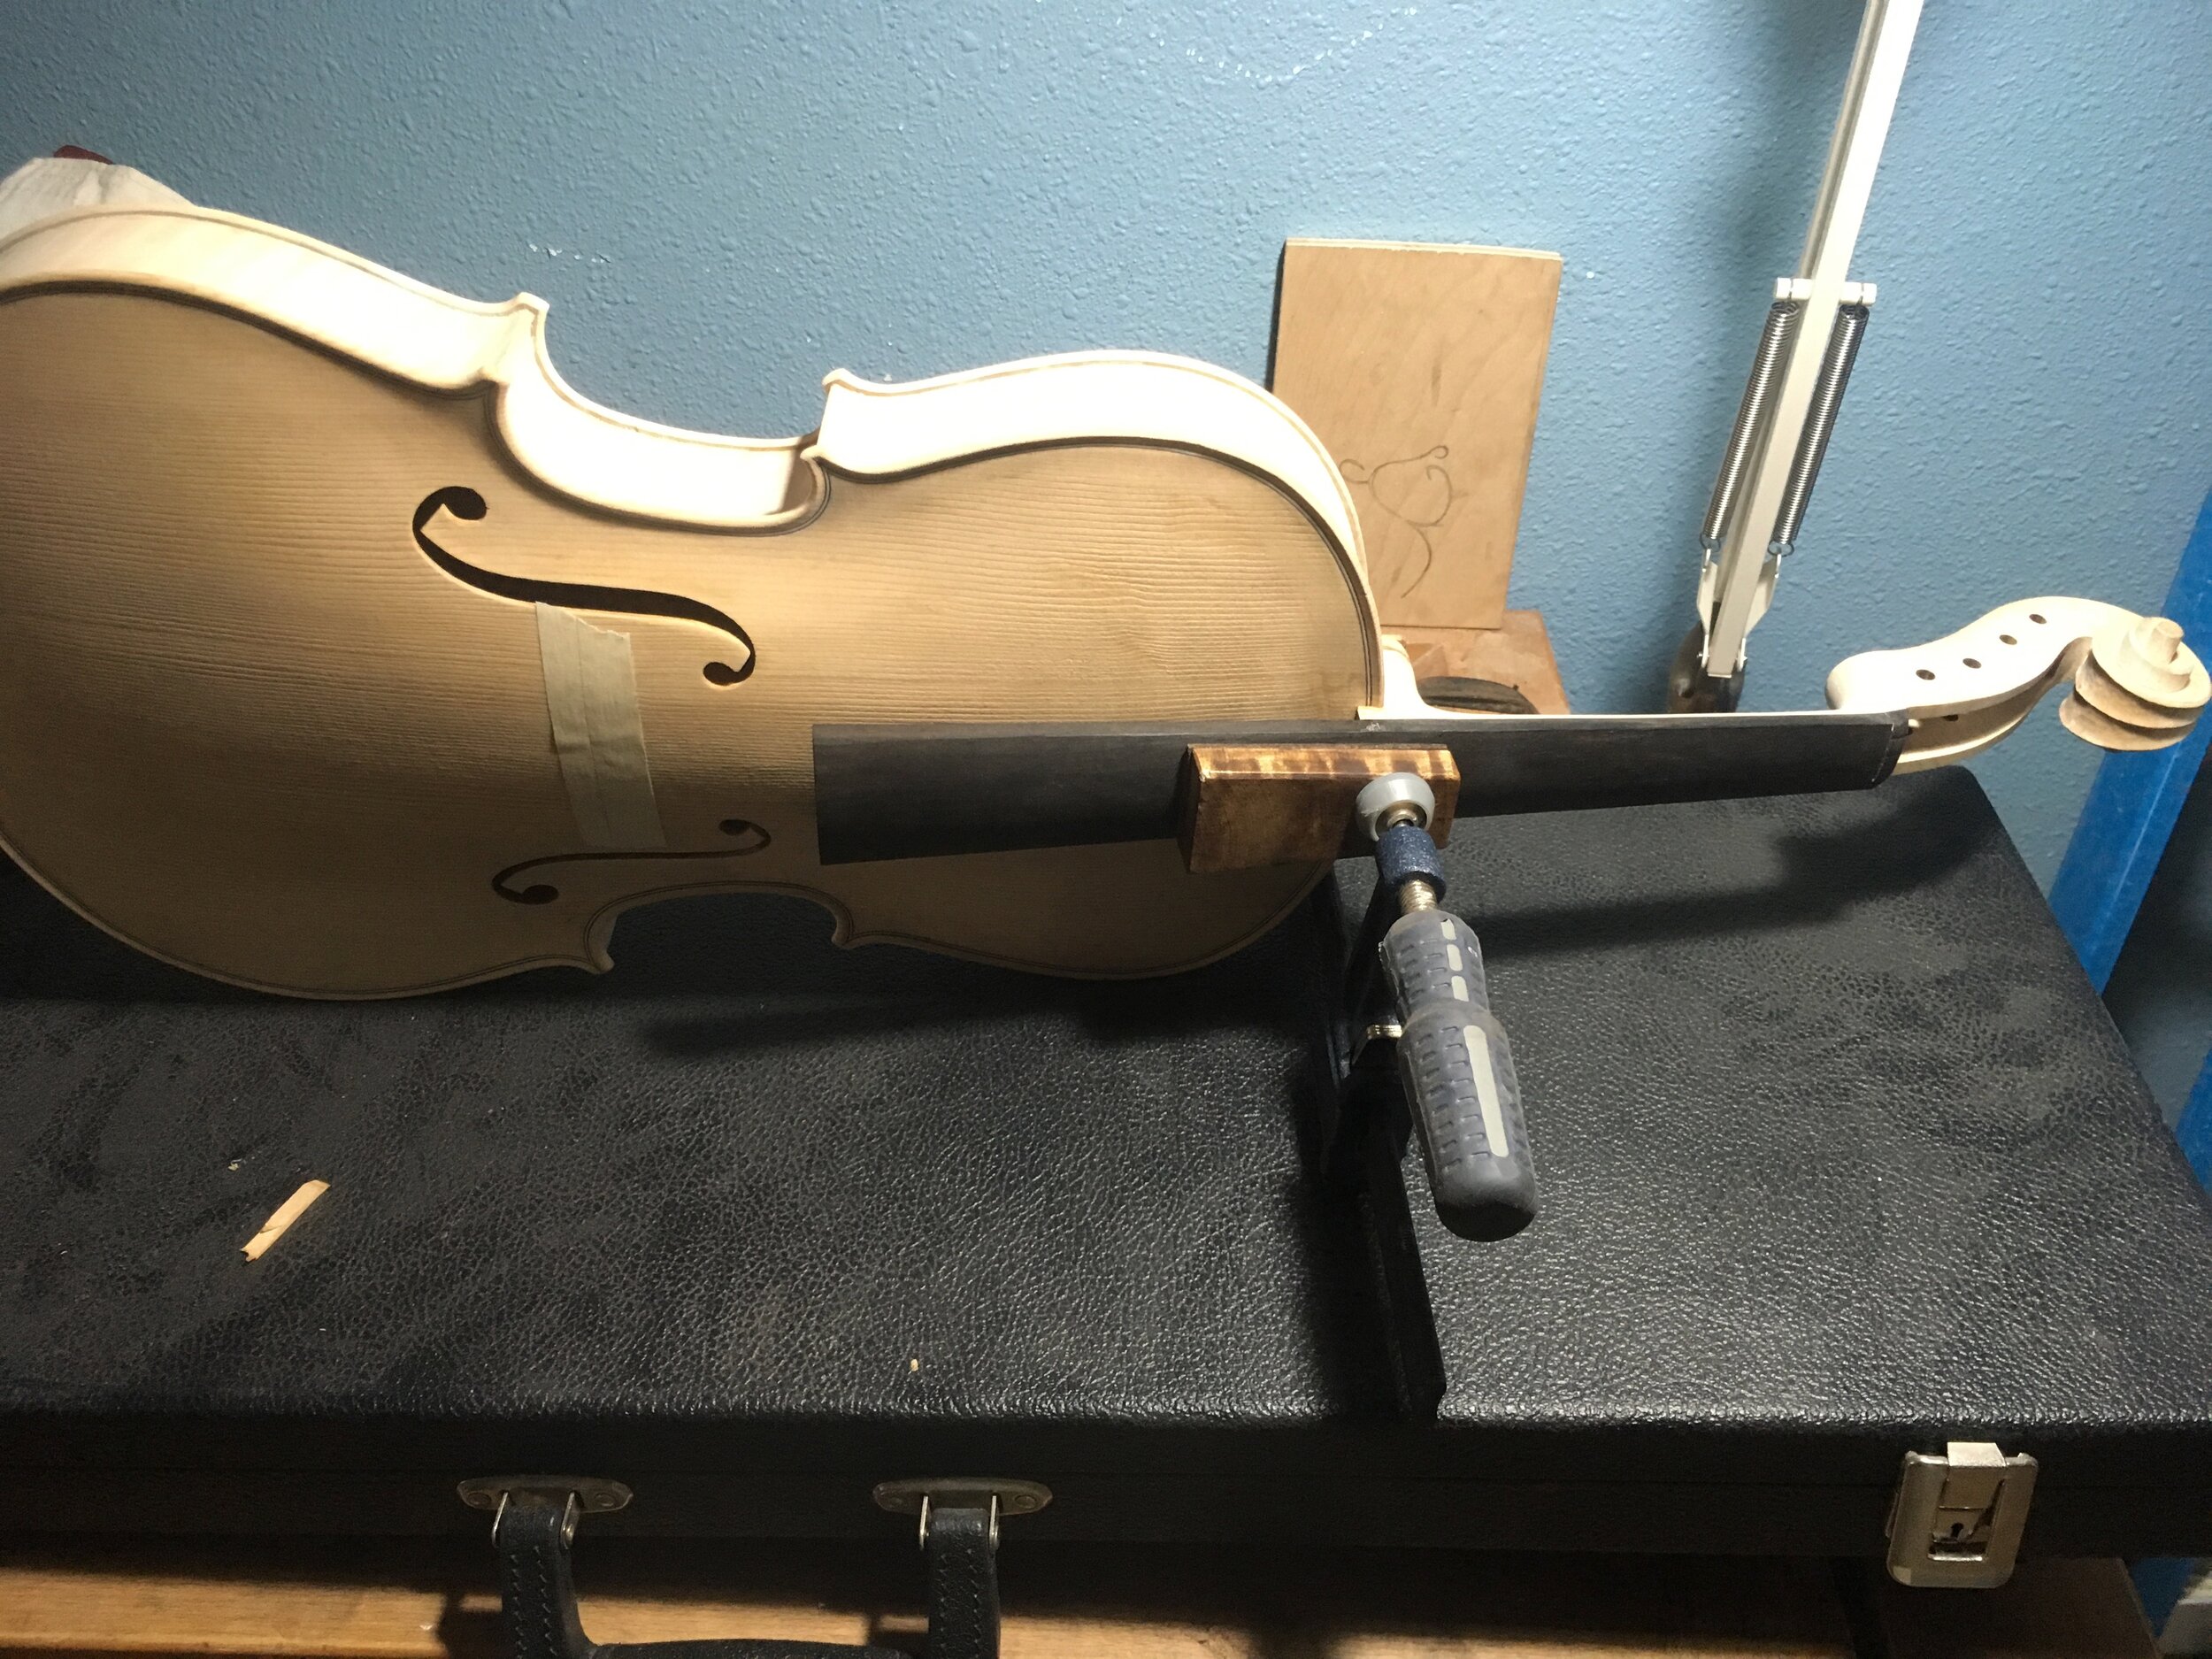
 Glueing the neck-set
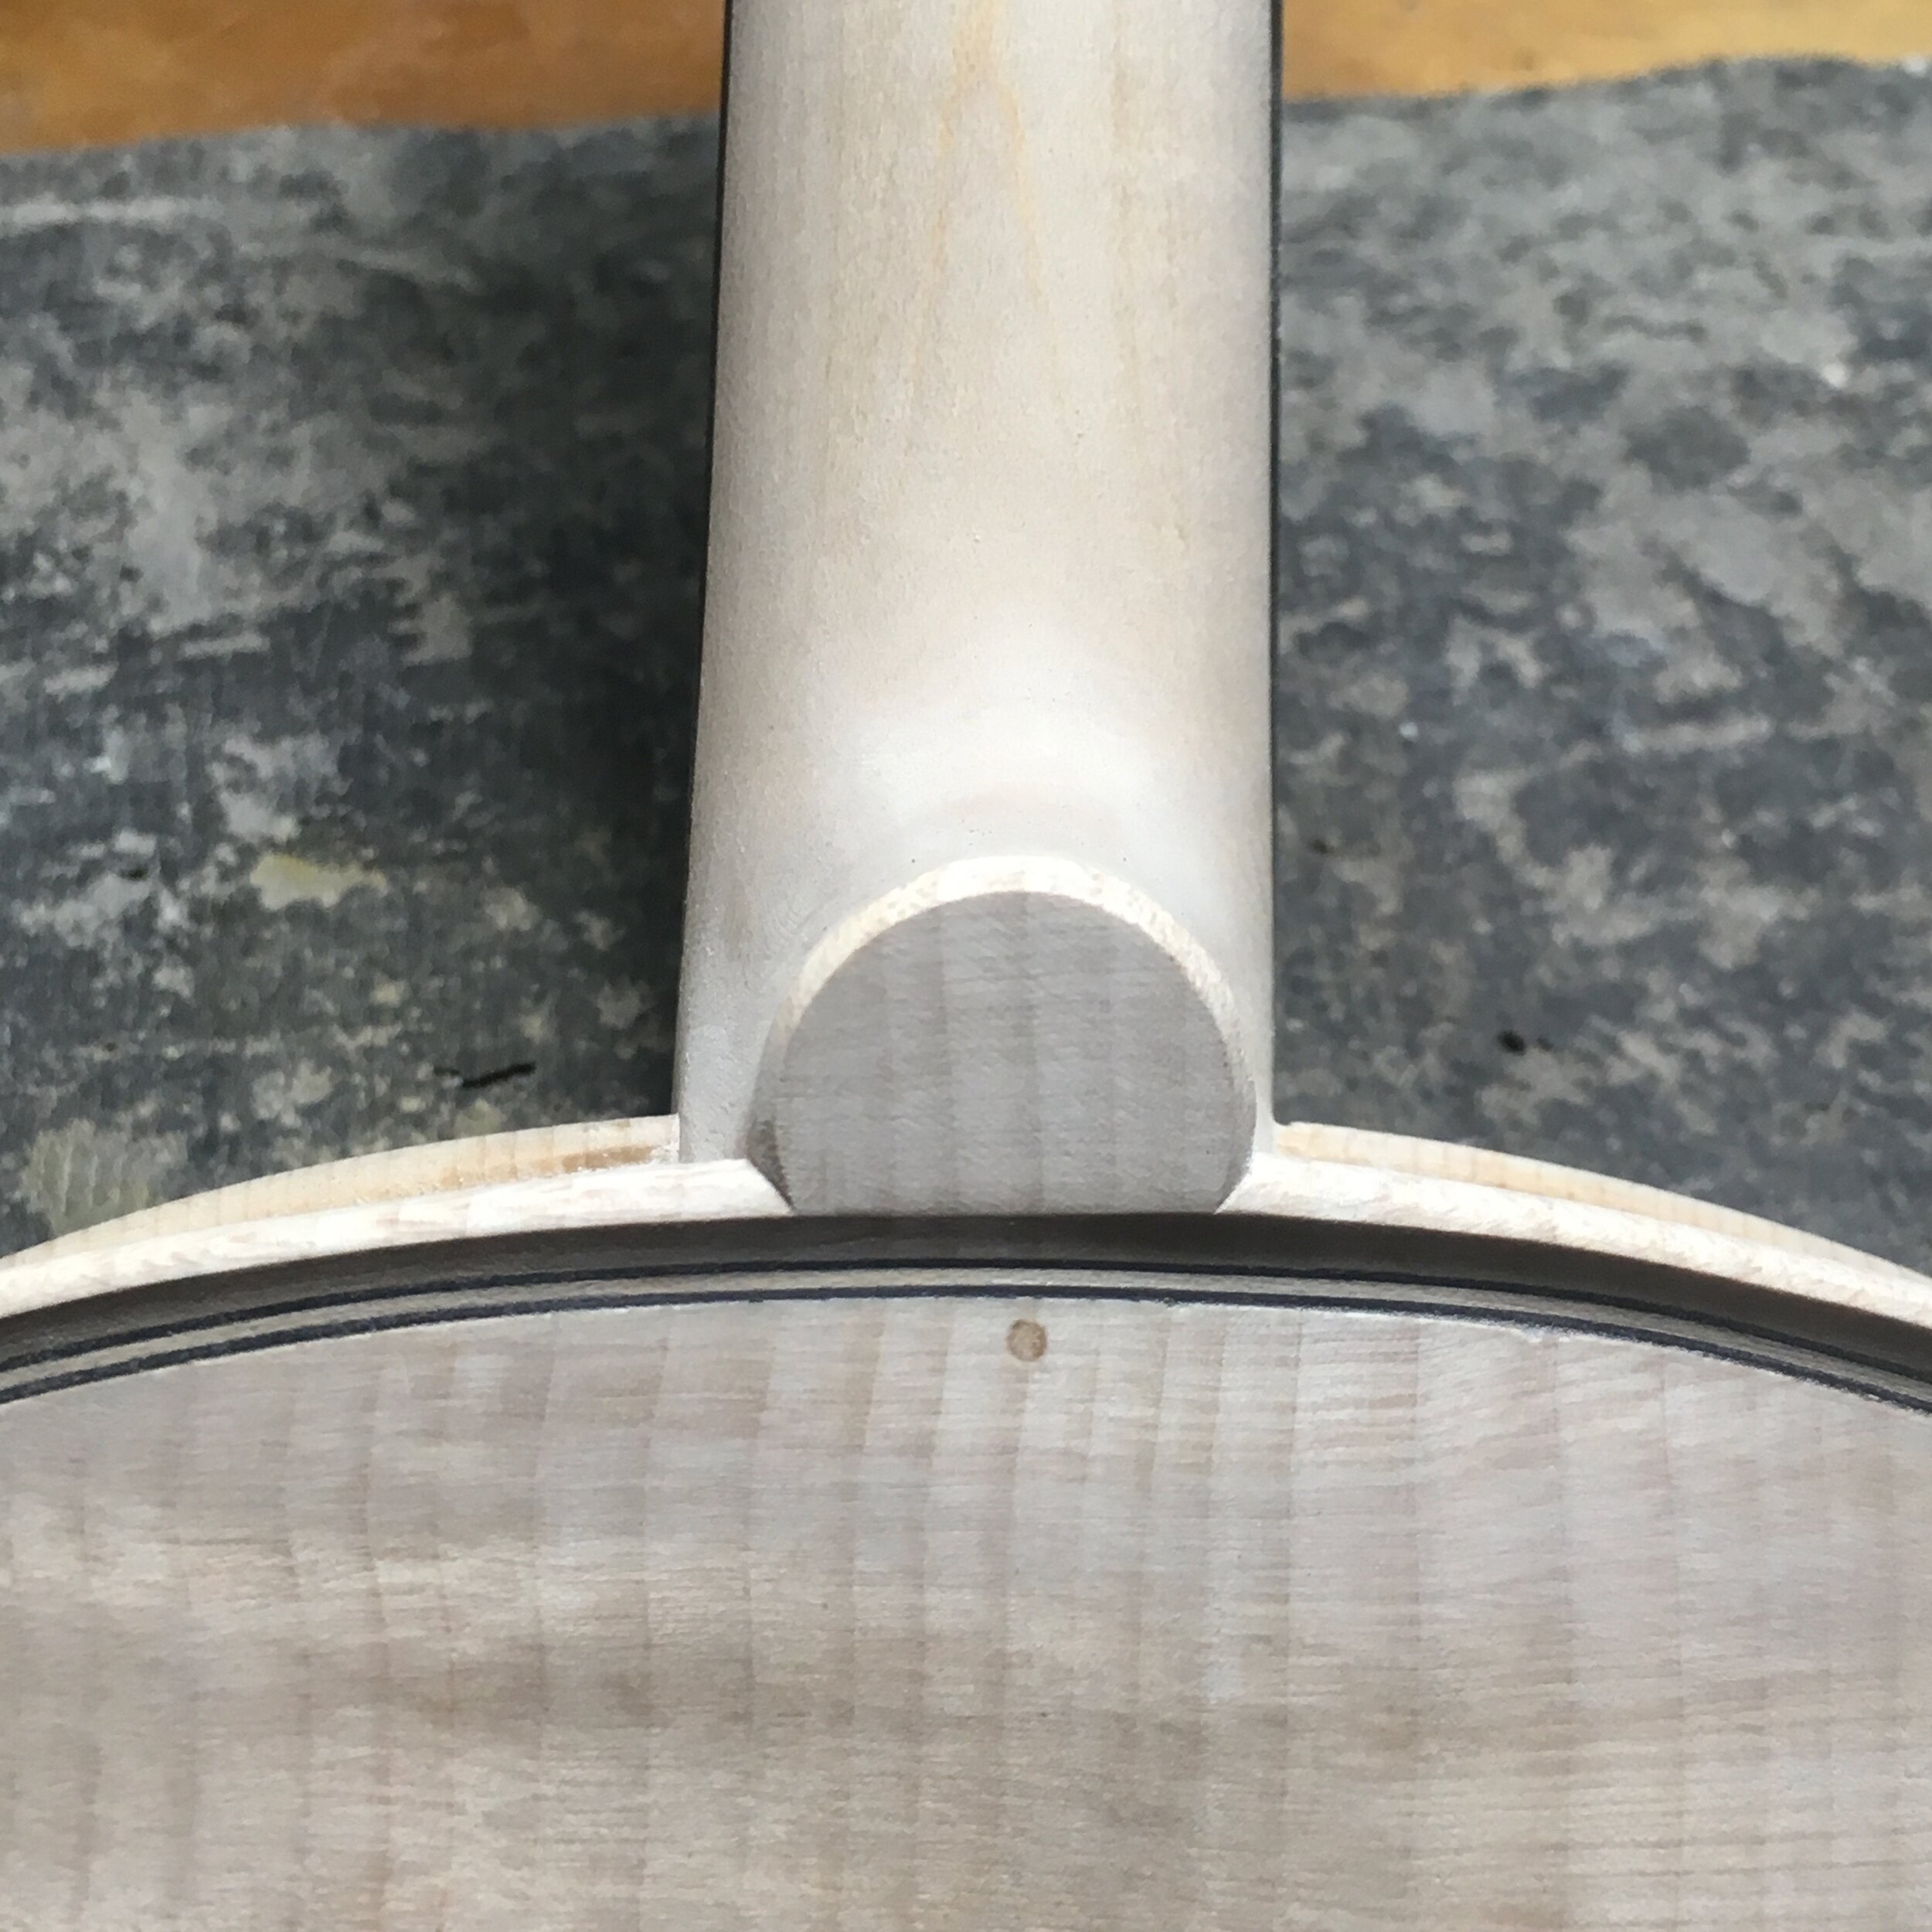
 Back button
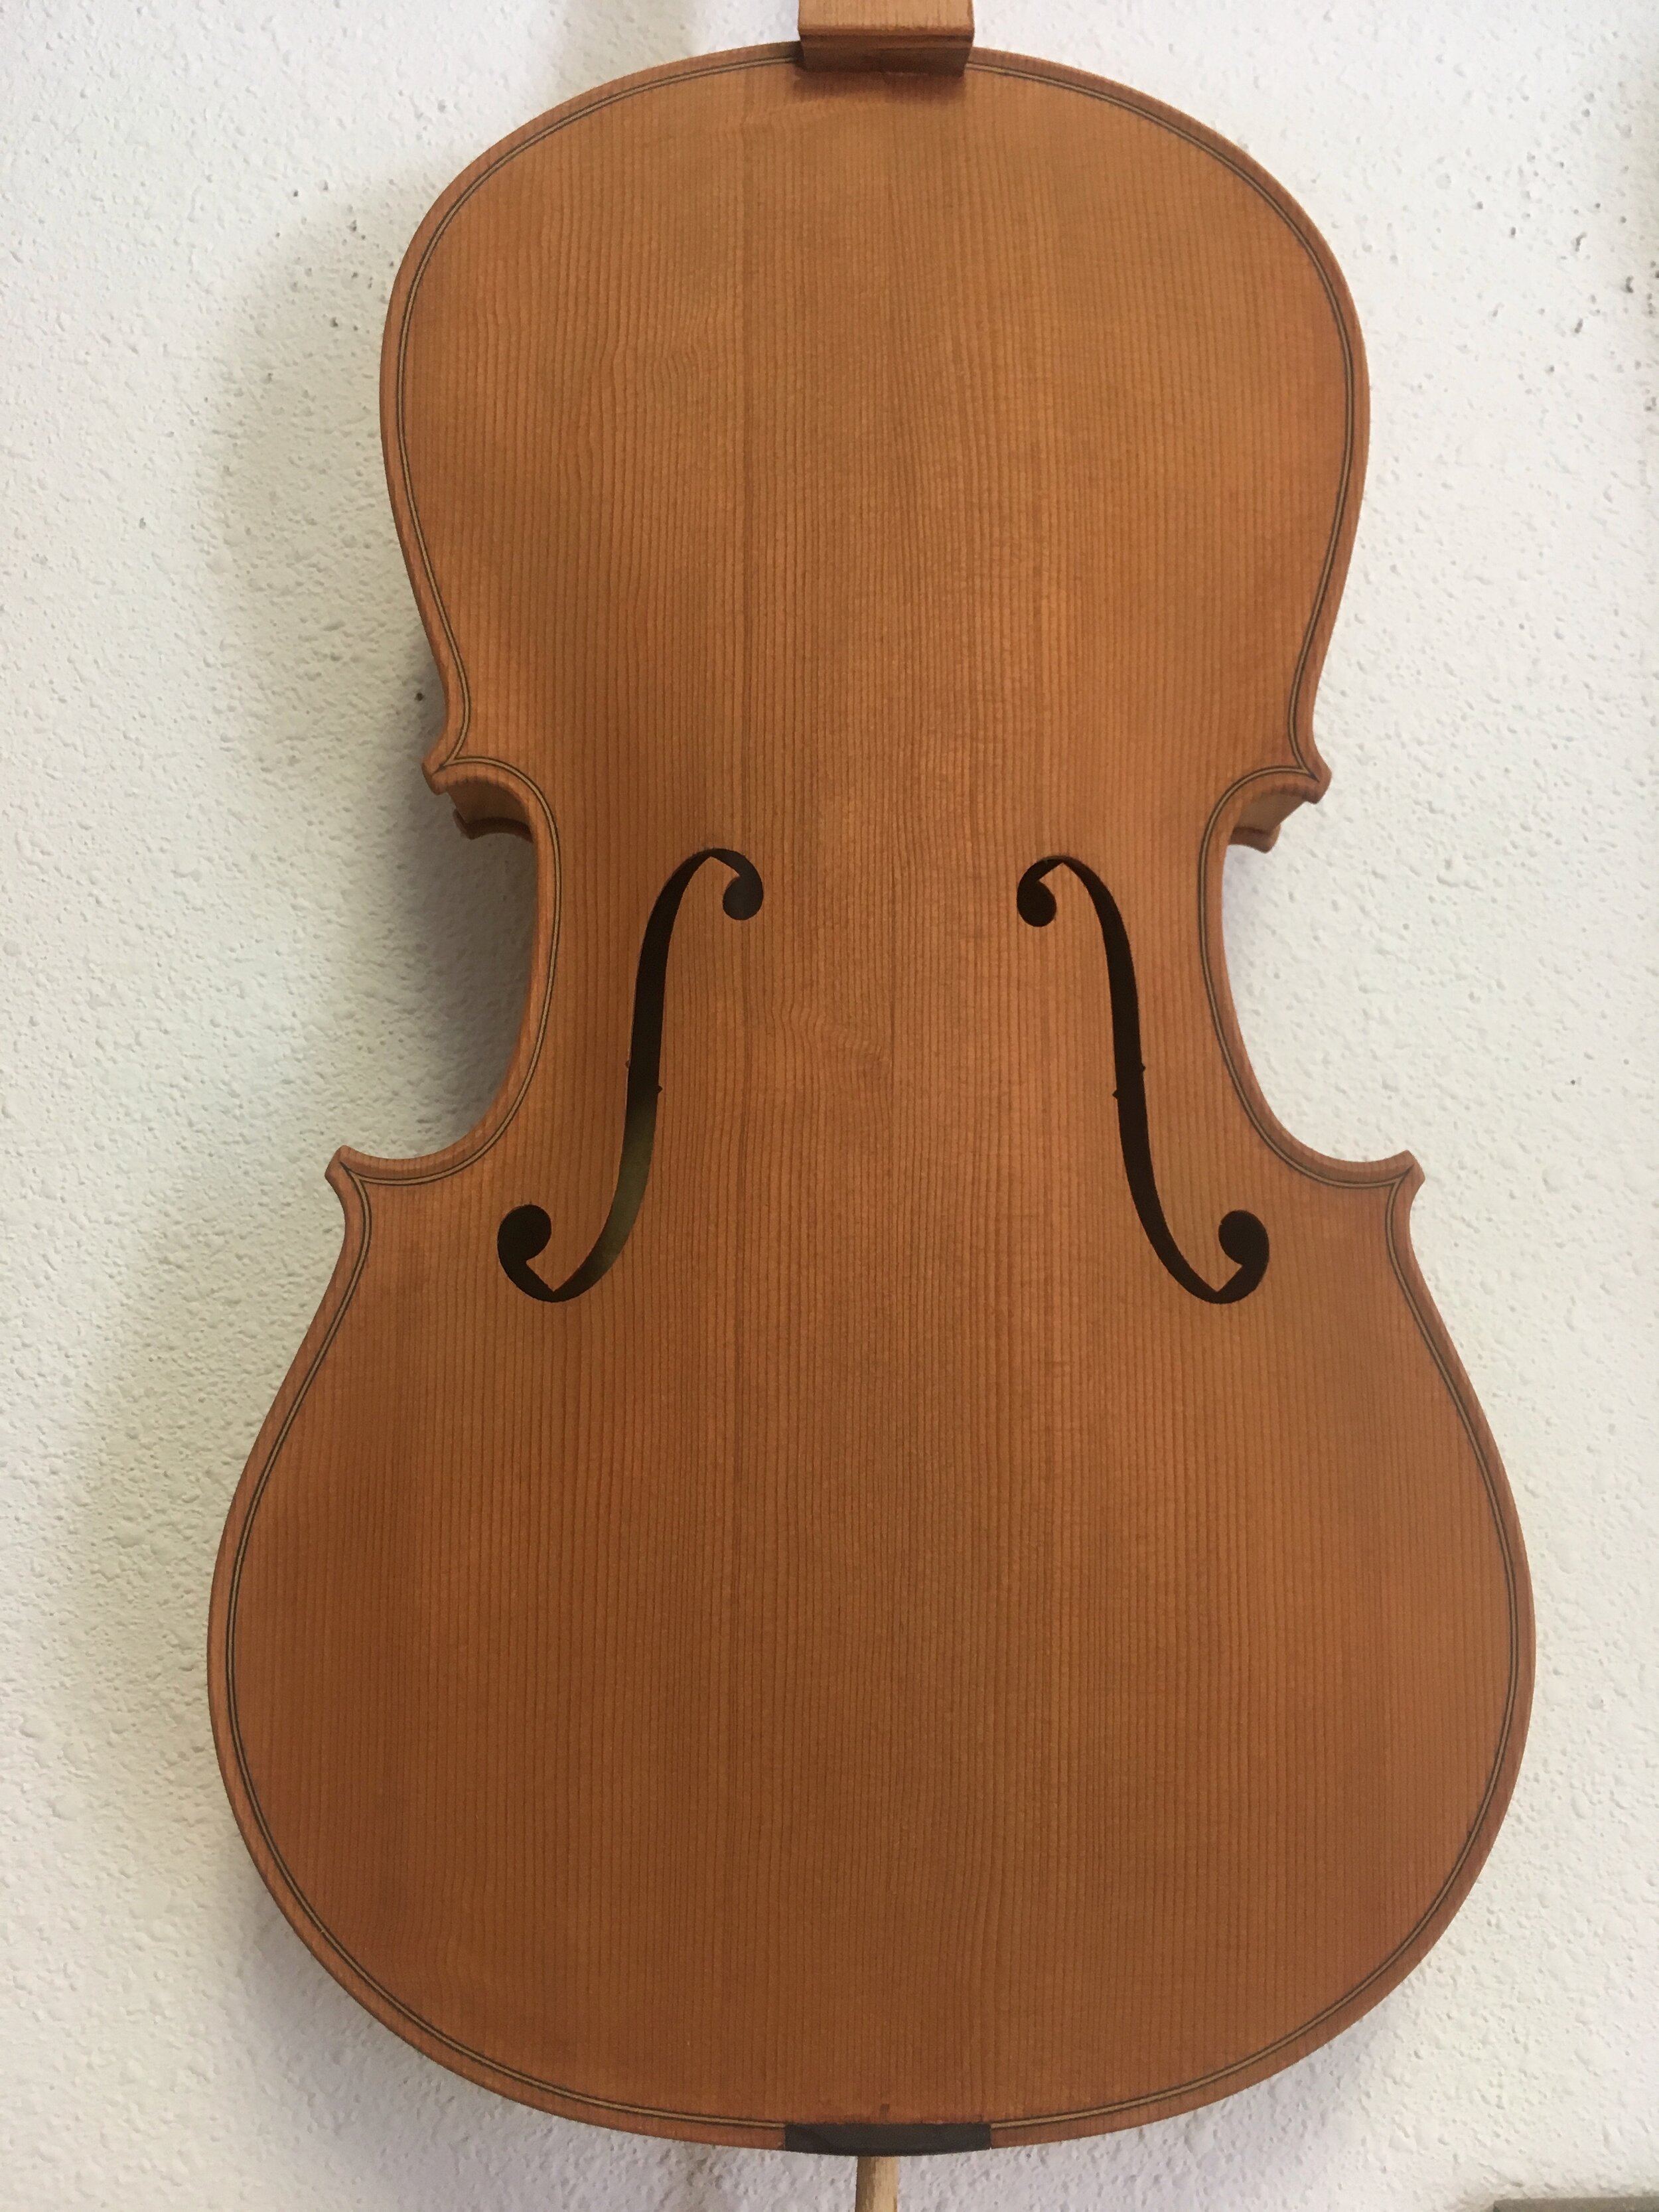
 Tanning the top with UV light
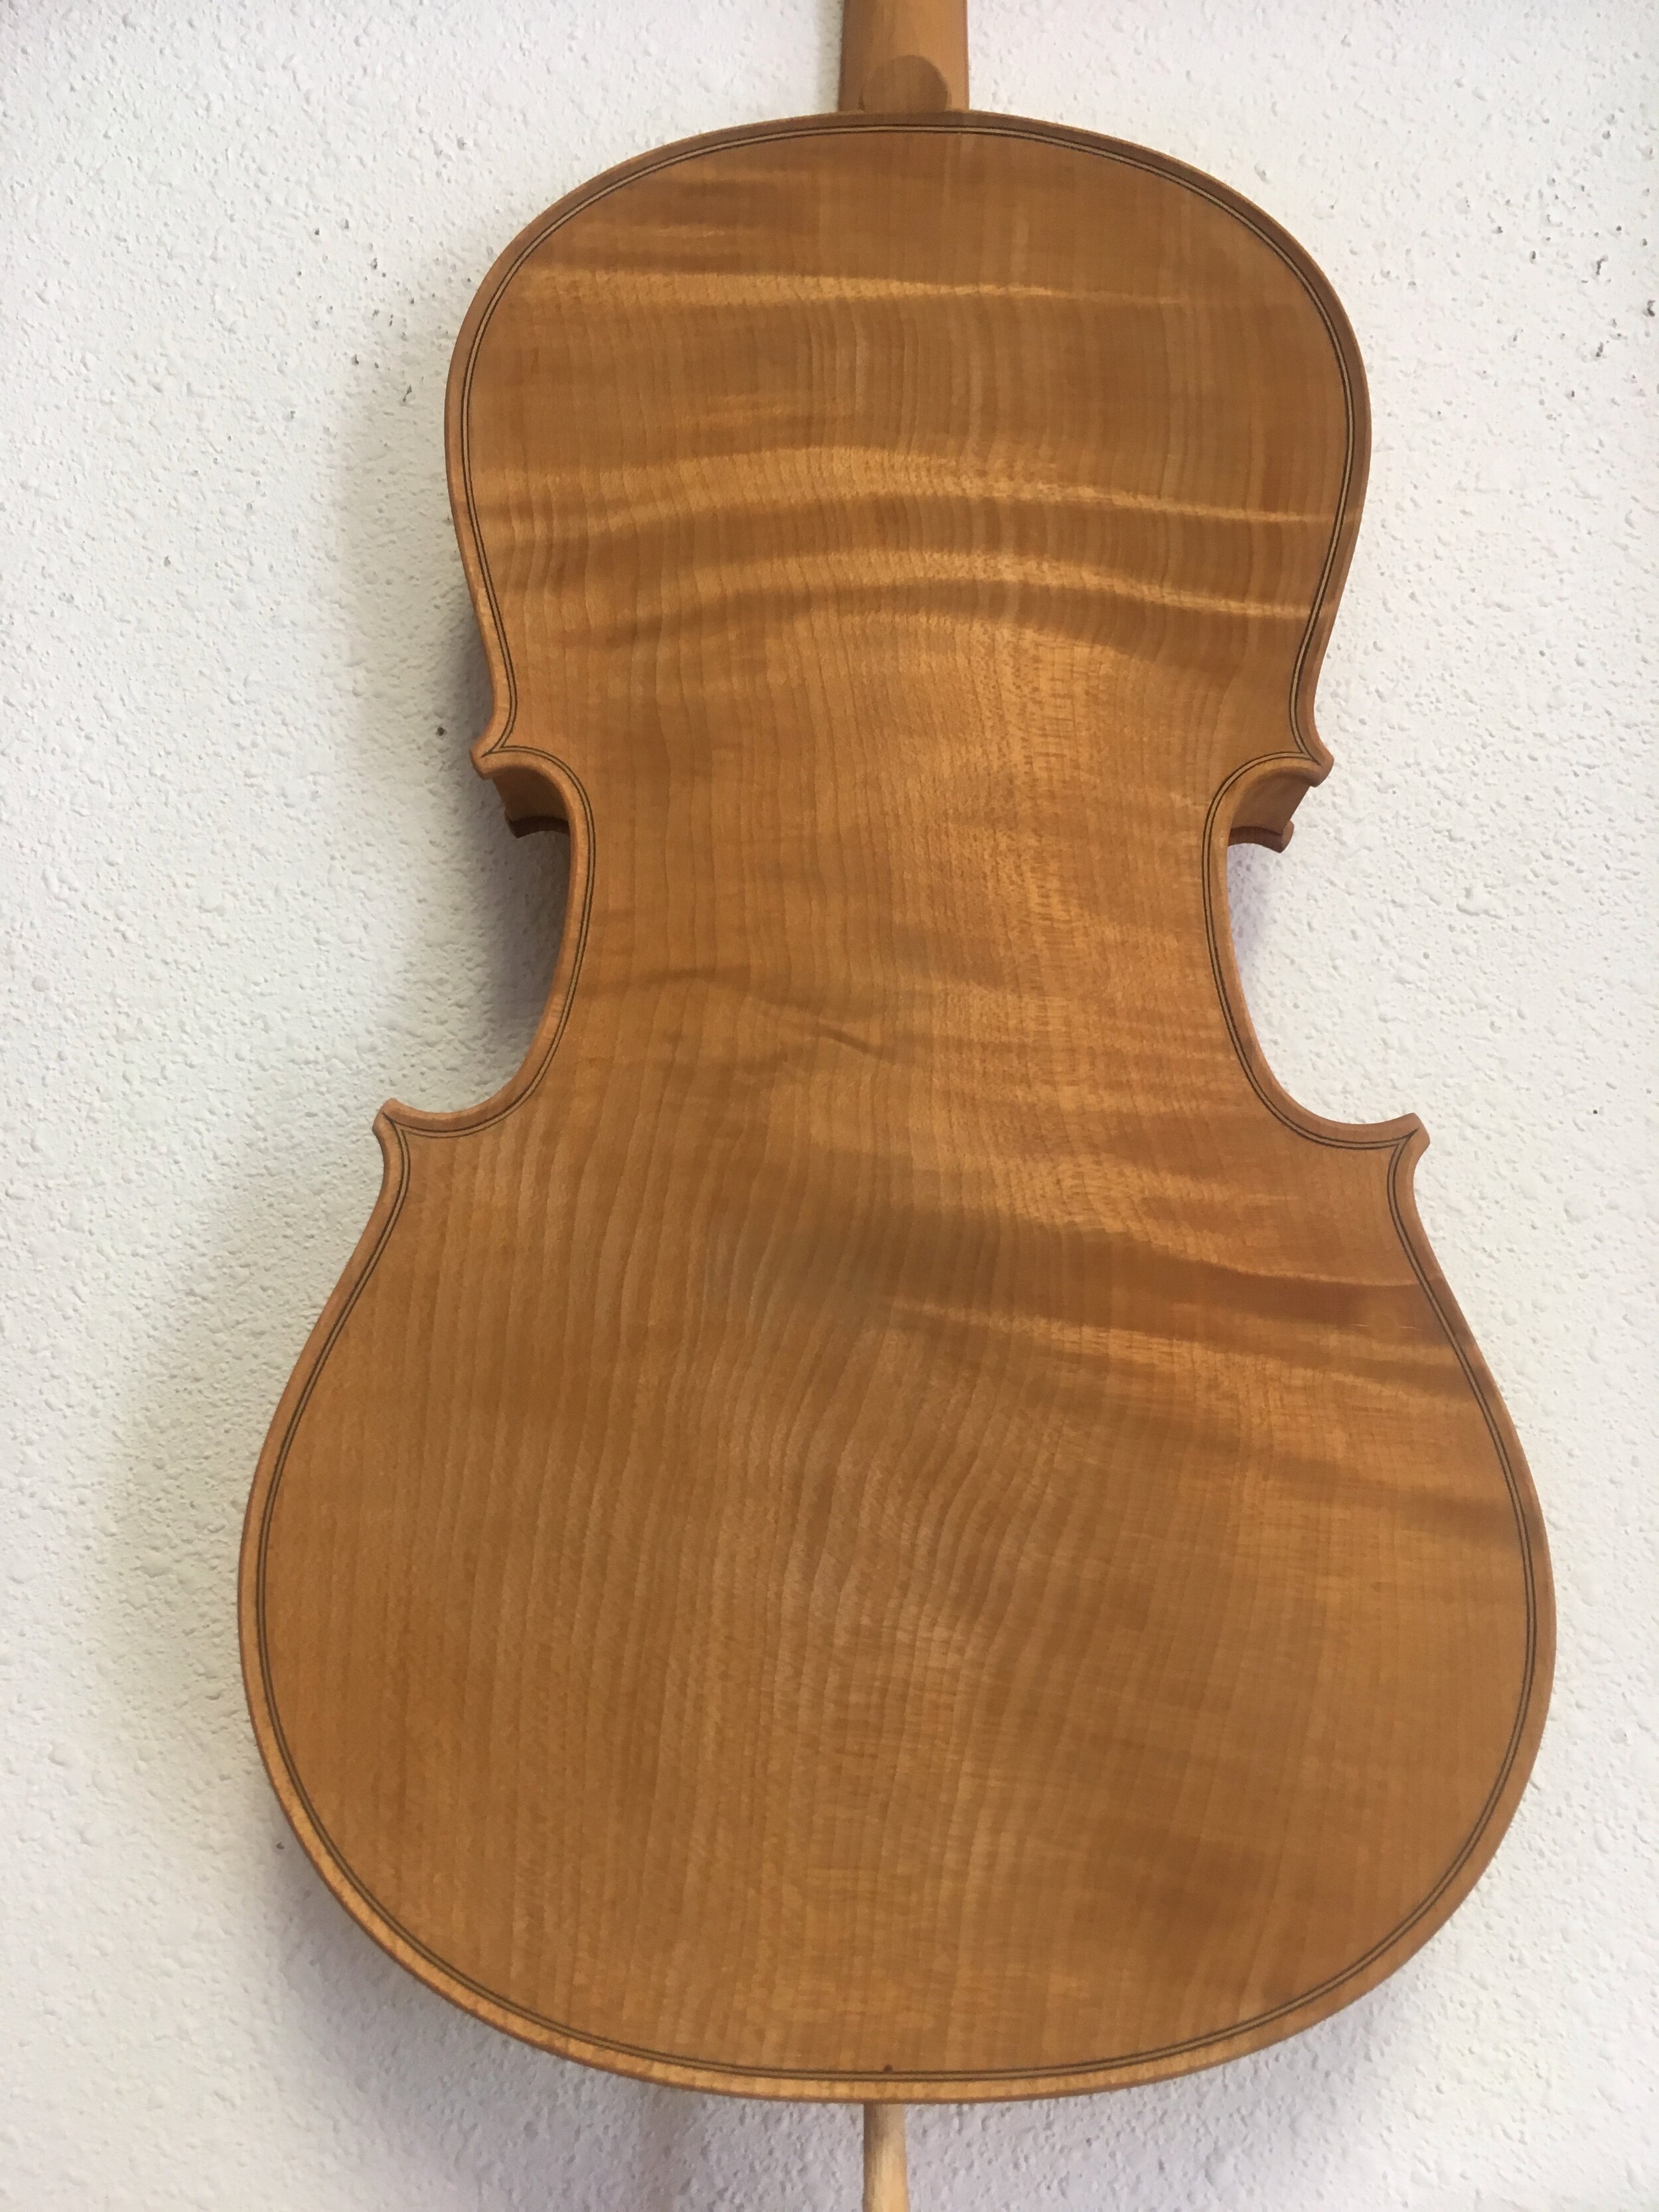
 Tanning the back with UV light
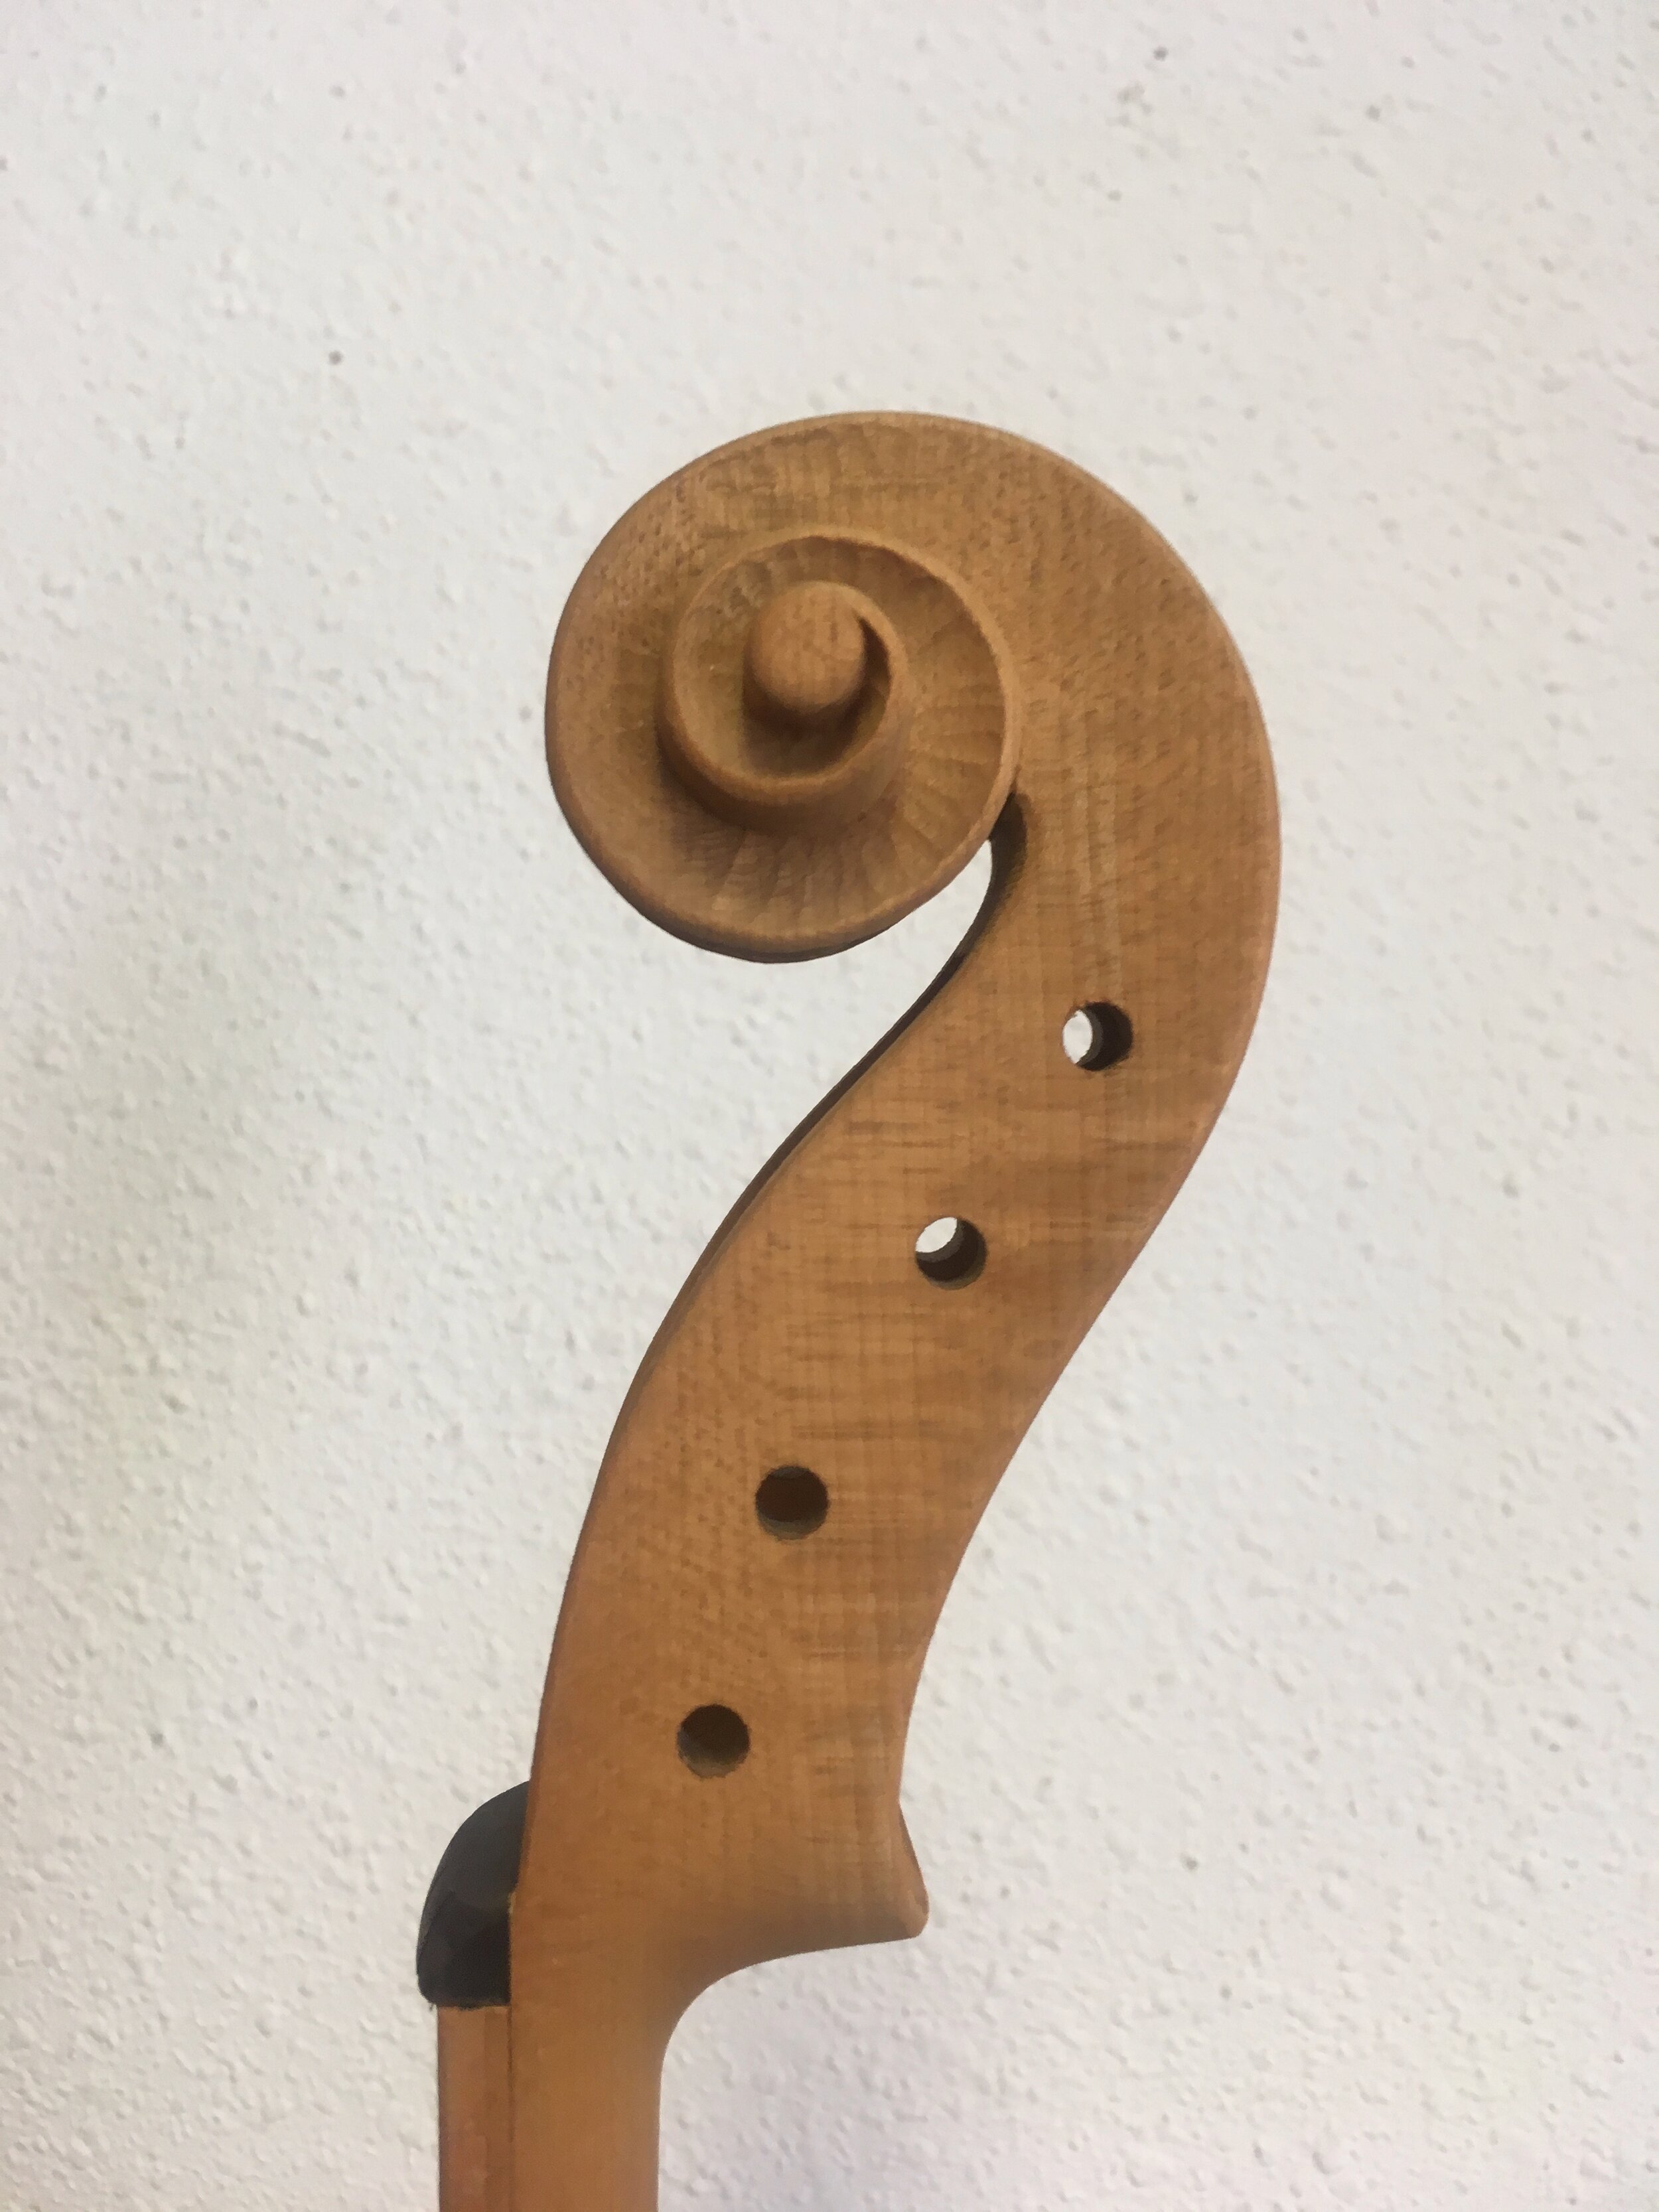
 Tanning the scroll with UV light
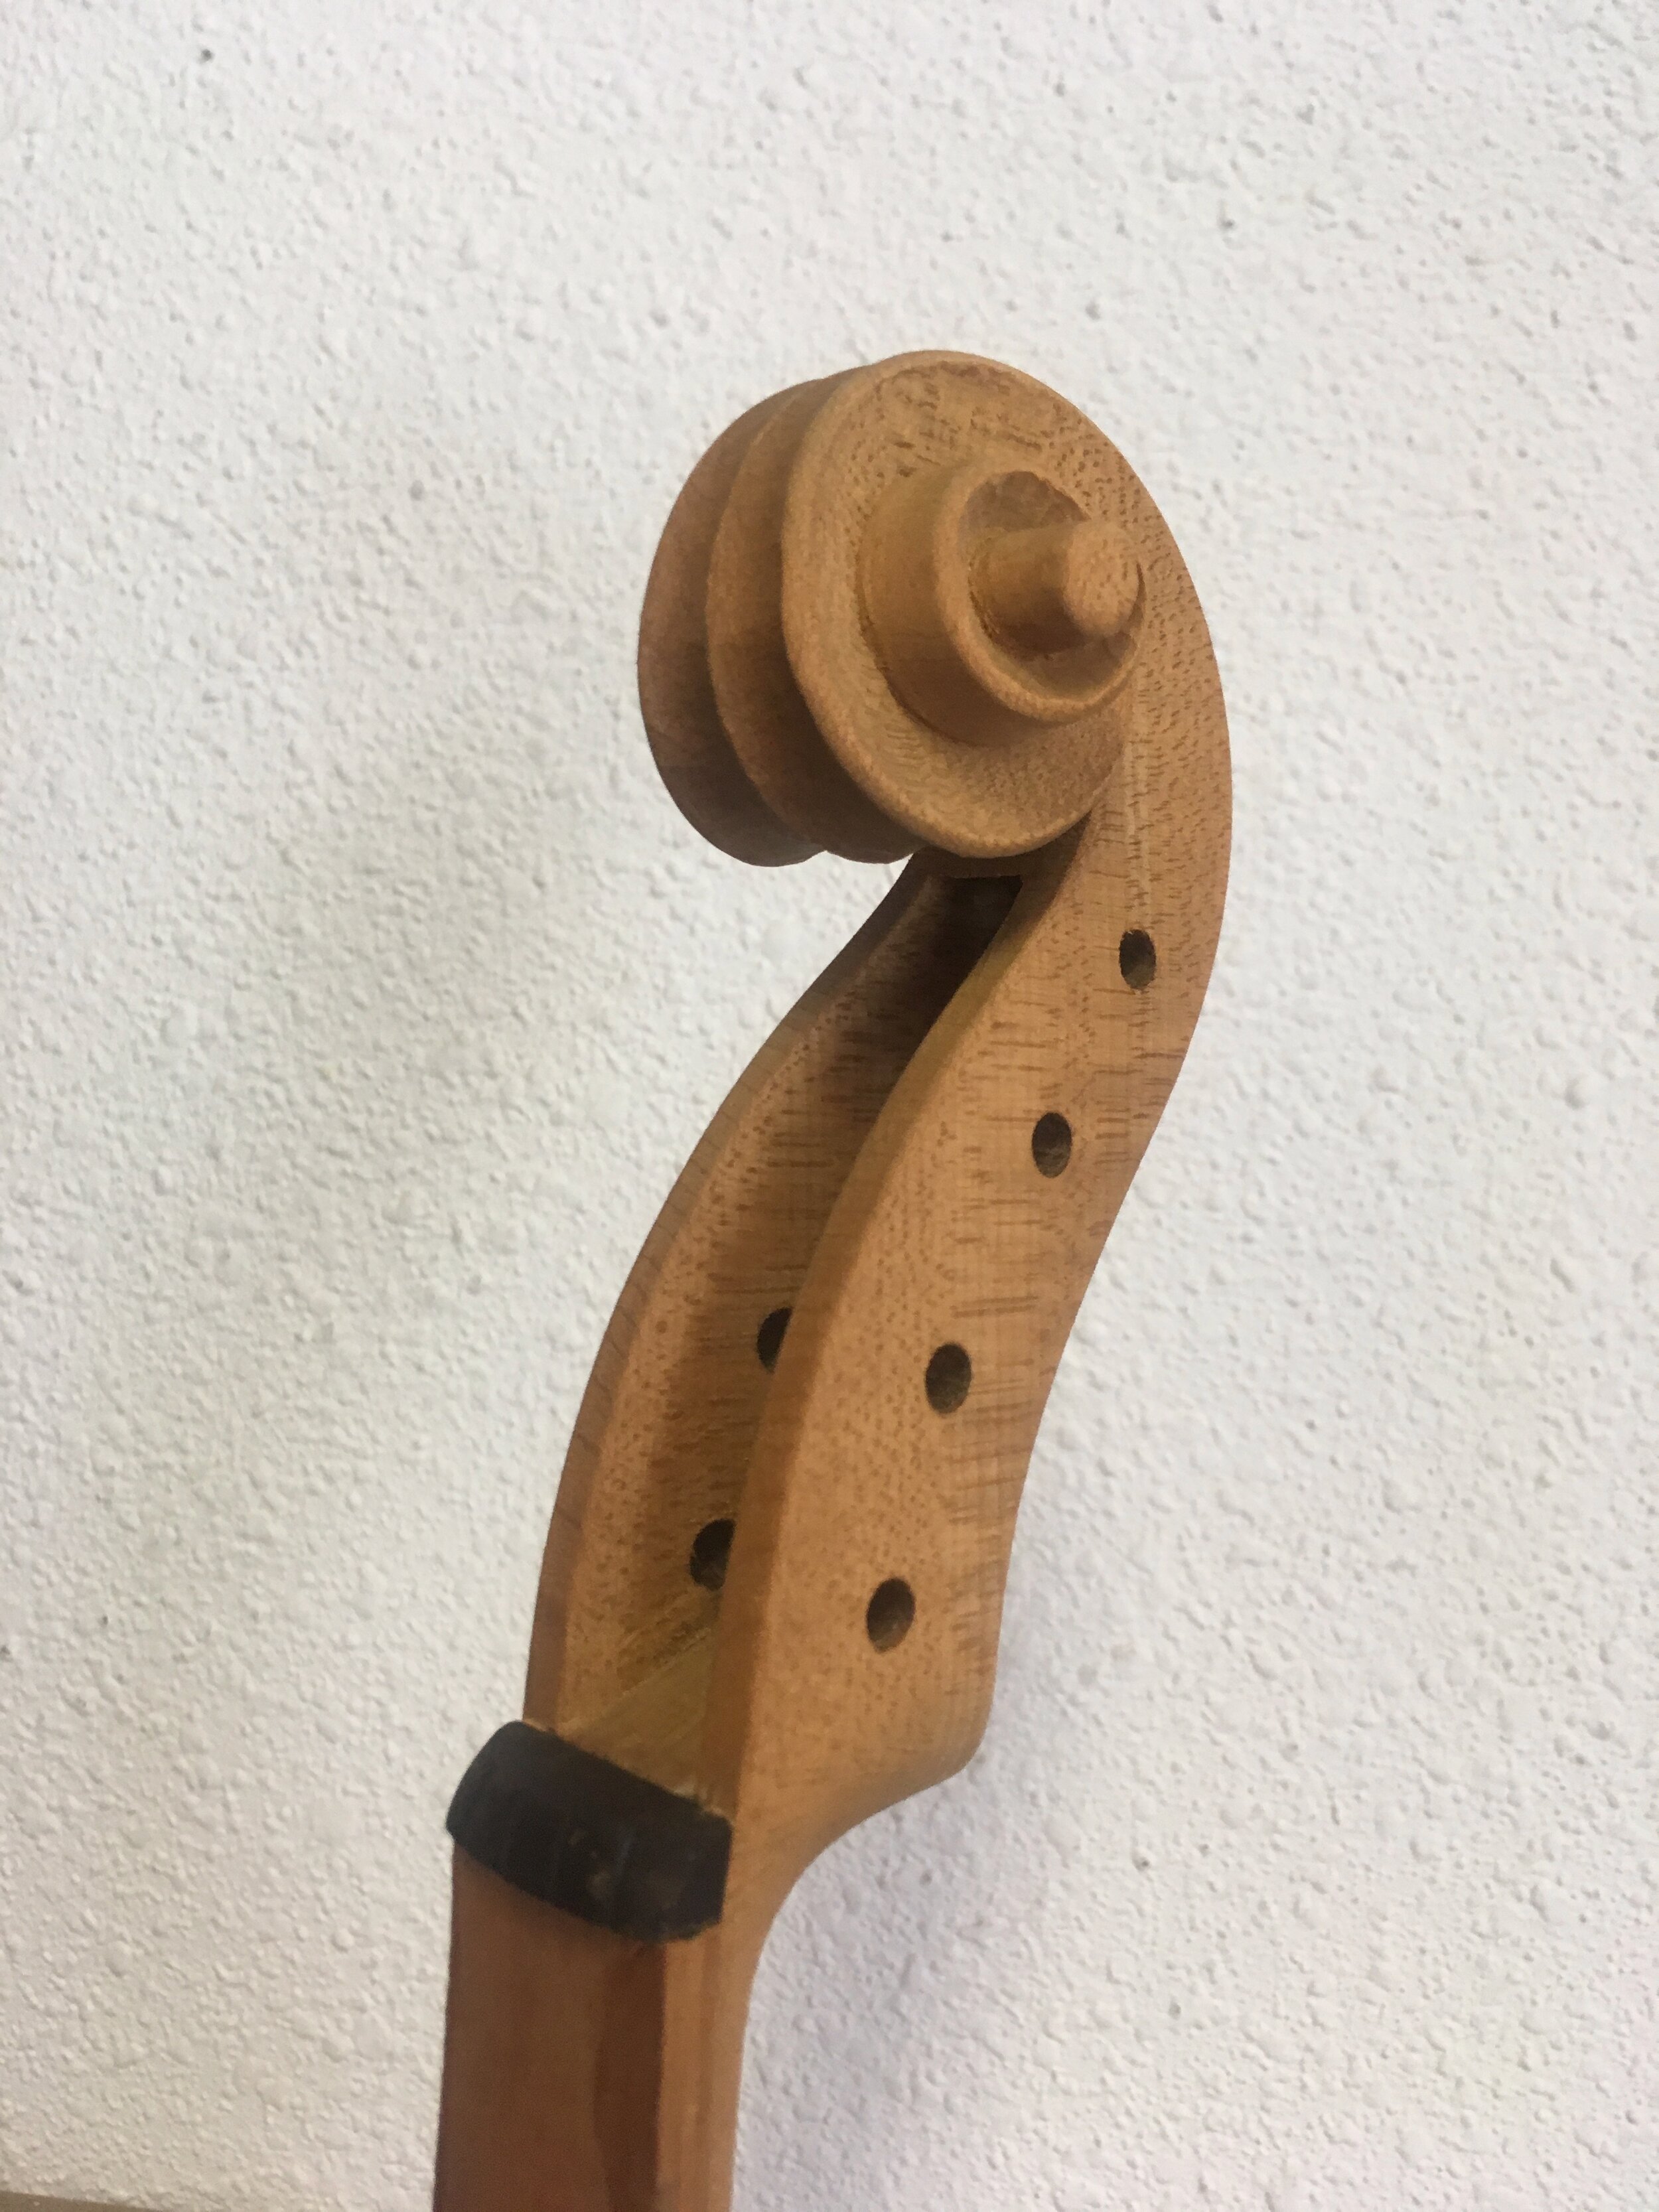
 Tanning the scroll with UV light
Yam-Uri Raz
Honolulu,
United States
8084626016 yamluthier@gmail.com
Hours
 

Copyright © 2024 Yam-Uri Raz
All rights reserved

Contact